
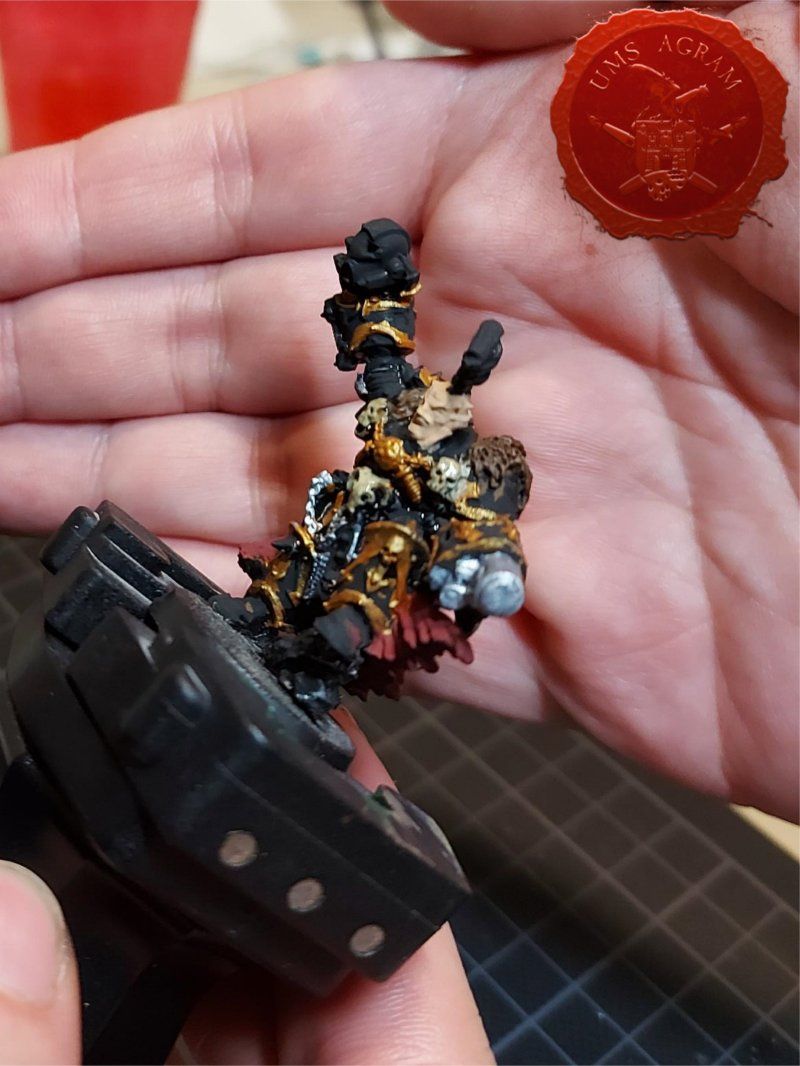
Danijel’s paintjob on his Chaos Space Marine Lord – Part 2
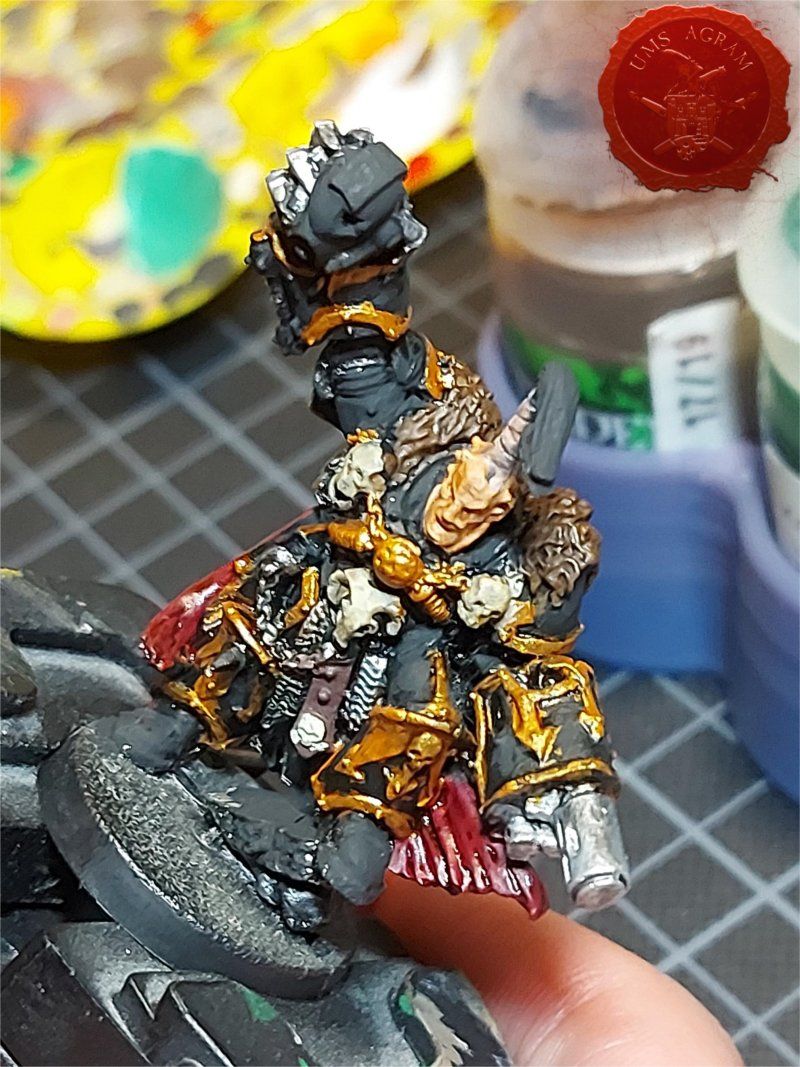
We continued to add shadows to the recesses (wash - darker, less pigmented and rarer color that capillary enters the recesses and thus creates shadows and contributes to the contrast that further evokes details).
He first set out to shade the upper fur of the mantle with Citadel’s Agrax Earthshade.
Then, with the help of Citadel's Nuln Oil, he set out to shade silver-metal parts, such as rifle barrels, chains, and chain armor below the waist.
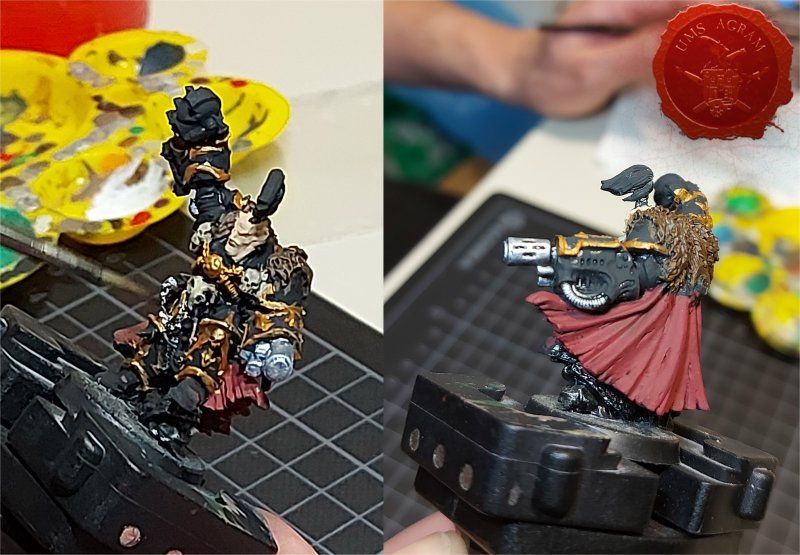
Like many beginners in painting miniatures before him, he noticed how many washes, ie shadows, evoke details and how much depth they add to models.
The model’s face set out to overshadow Reikland with Fleshshade.
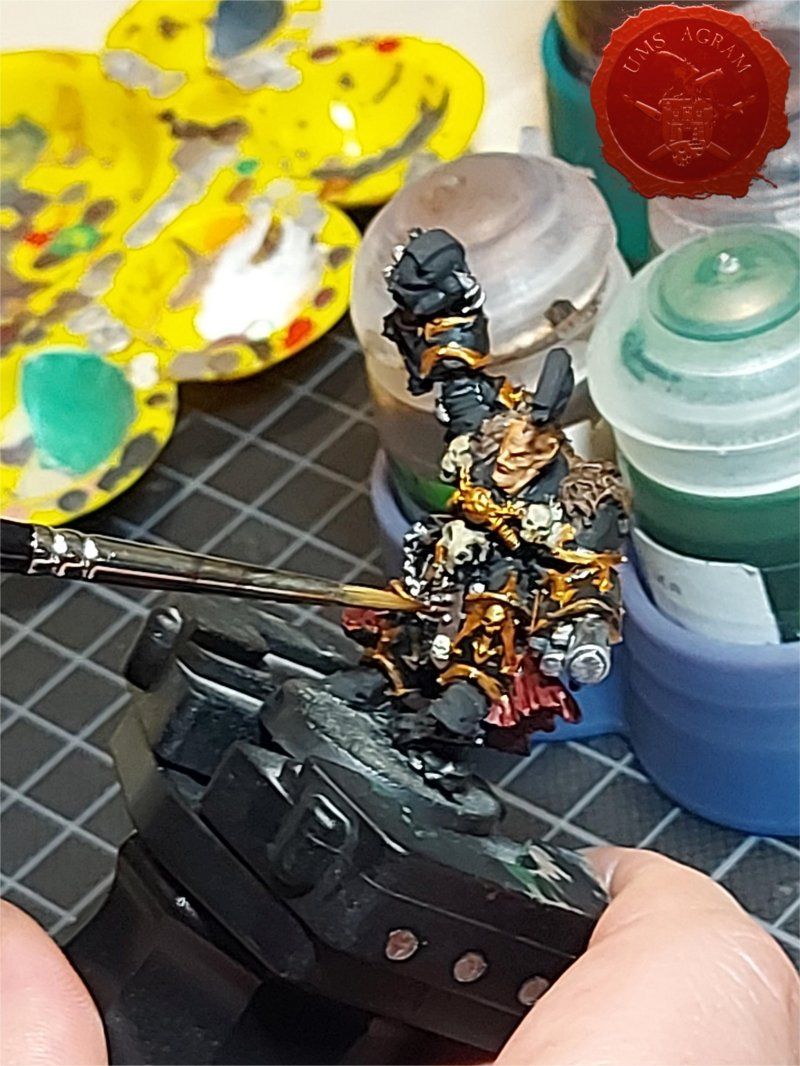
It is important to mention here that I repeatedly informed him at every step of shading and advised him to prevent washings from accumulating in large quantities on certain surfaces as soon as possible, as this leaves stains whose removal and correction requires extra effort and time.
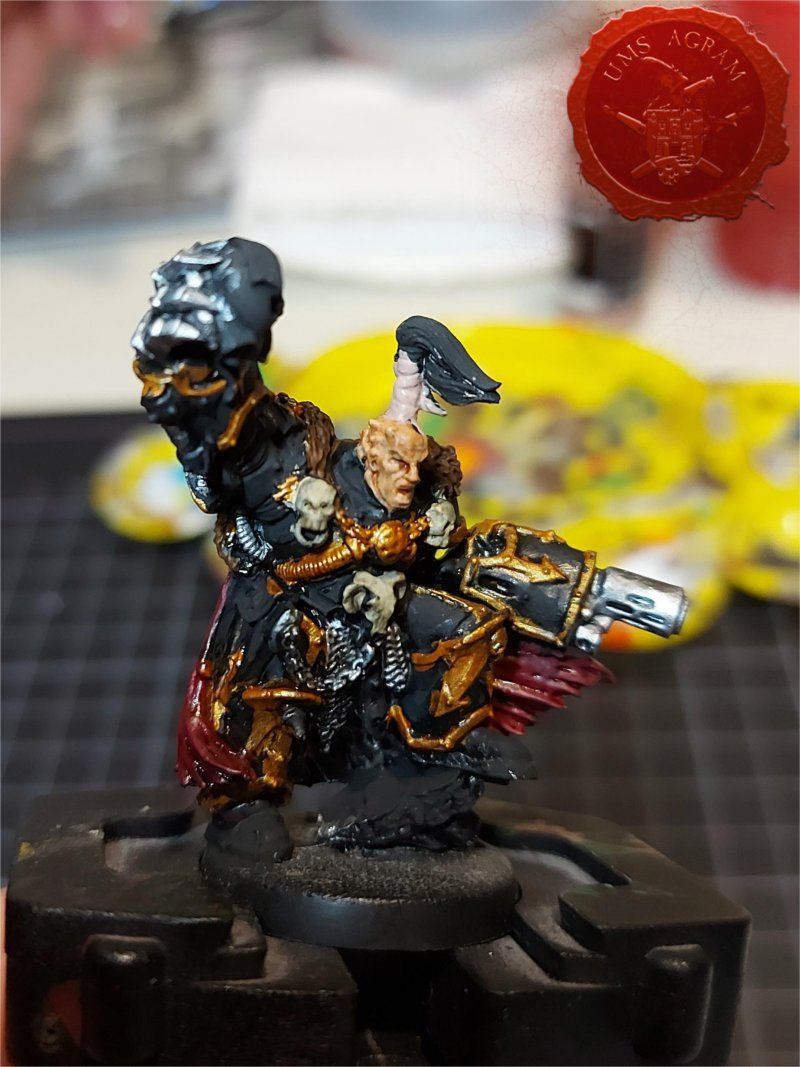
One thing he noticed very well is that the glove of his right hand looks quite boring only in black, so with Scalecolor Heavy Metal he started to define it, and later shade it with Nuln Oil as well.
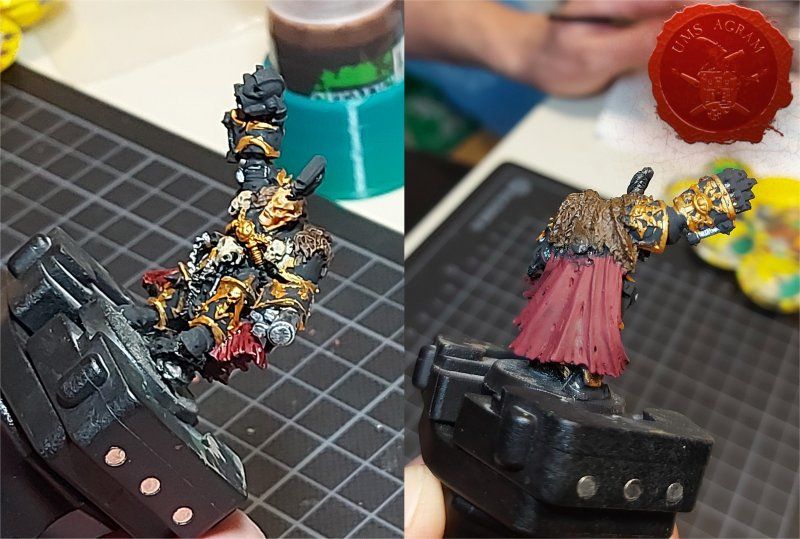
Then, with Citadel's Seraphim Sepia, he shaded all the bronze parts (armor trim and decorations, pipes and breathing apparatus on his chest).
Also, as a preparatory work, in these areas, he tried to fix some of the shortcomings from the previous workshop. For this step, he still has to work on noticing mistakes and details, but for a start, it is more than enough.
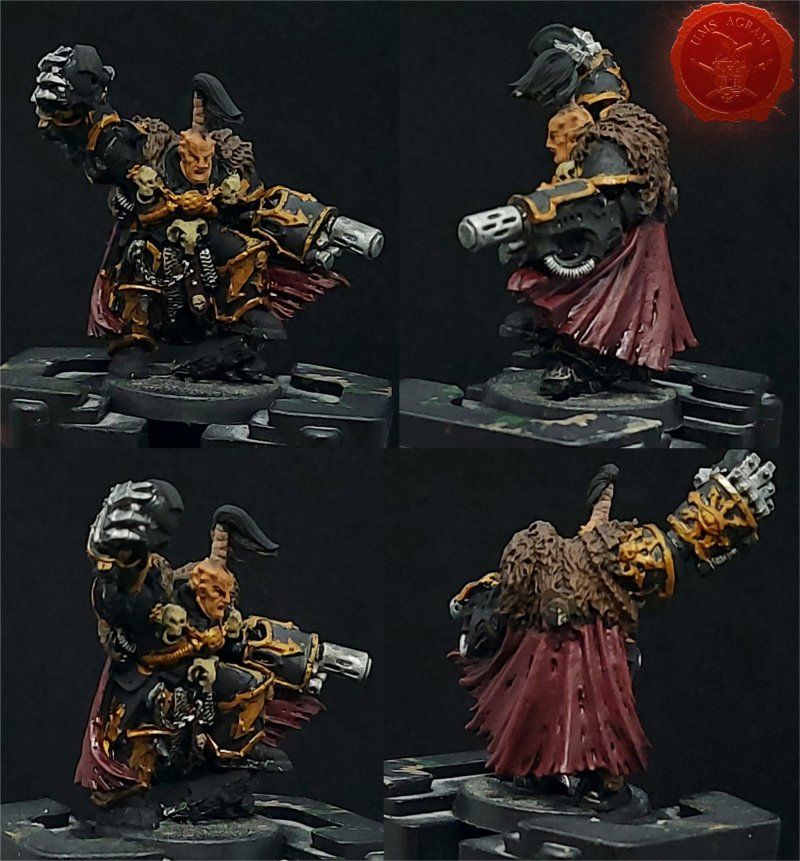
Also, the top knot went to shade Agrax Earthshade.
Then the red part of the mantle was shaded from the Carroburg Crimson.
Another detail that went to fix was the belt next to the chain mail under the waist, he painted it in Brown Leather by Scalecolor, the rivets on it in Heavy Metal, and then shaded it with Agrax Earthshade (leather part) and Nuln Oil (rivets).
Finally, he shaded the skulls on the front of the armor with Agrax Earthshade.
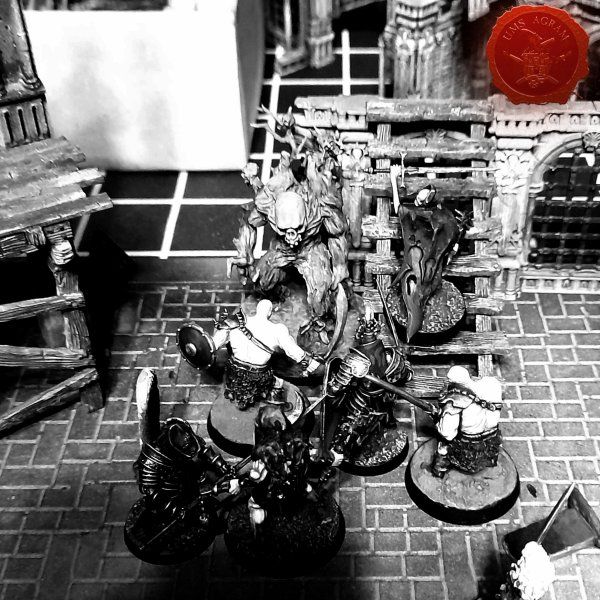
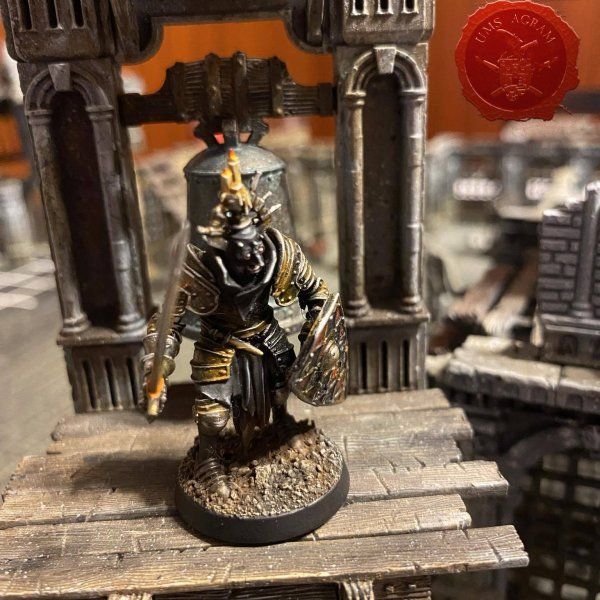
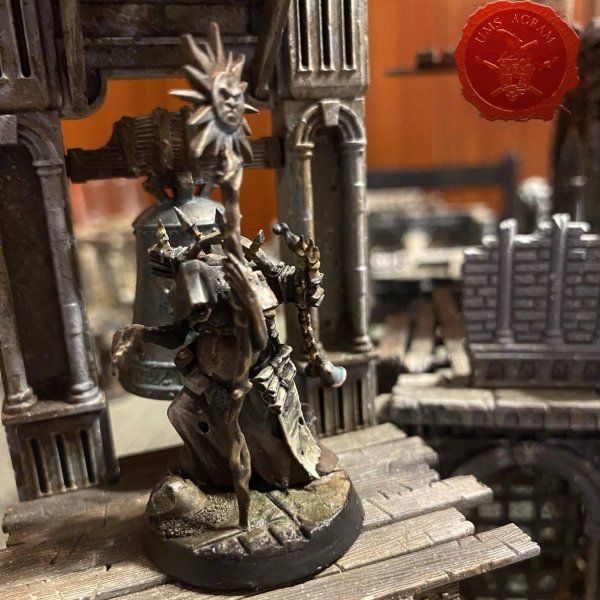
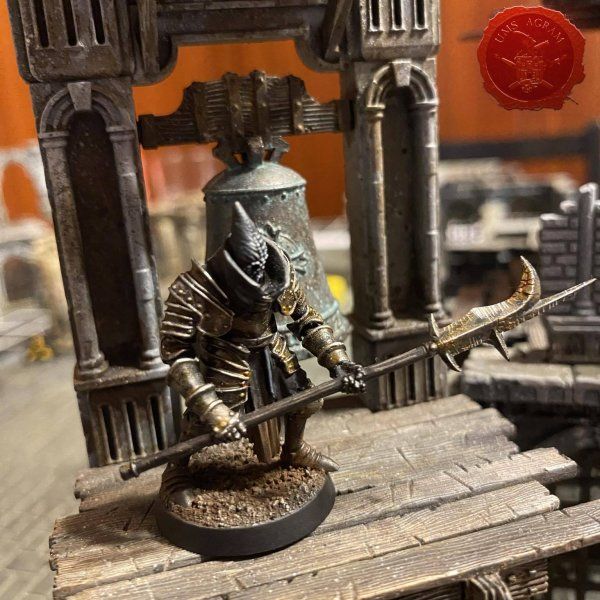
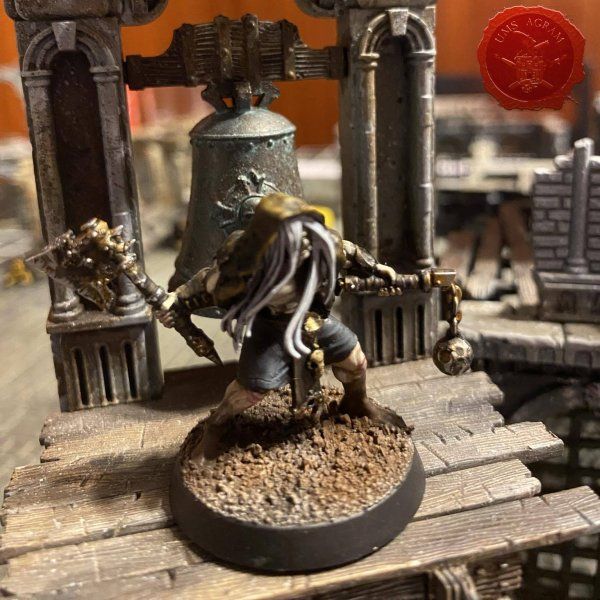
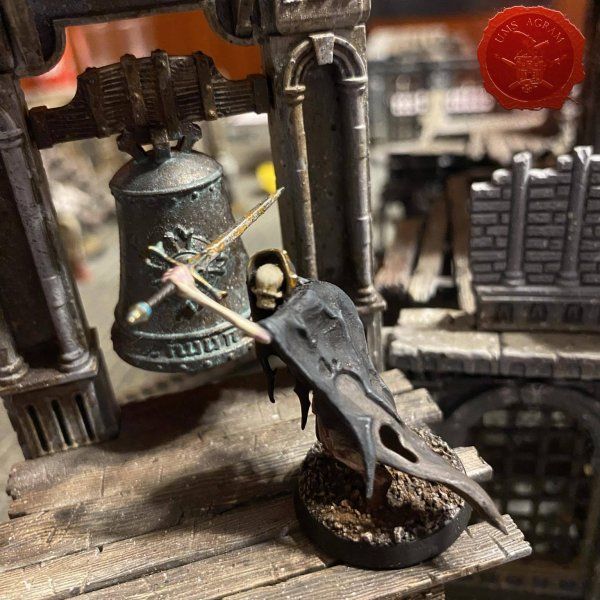
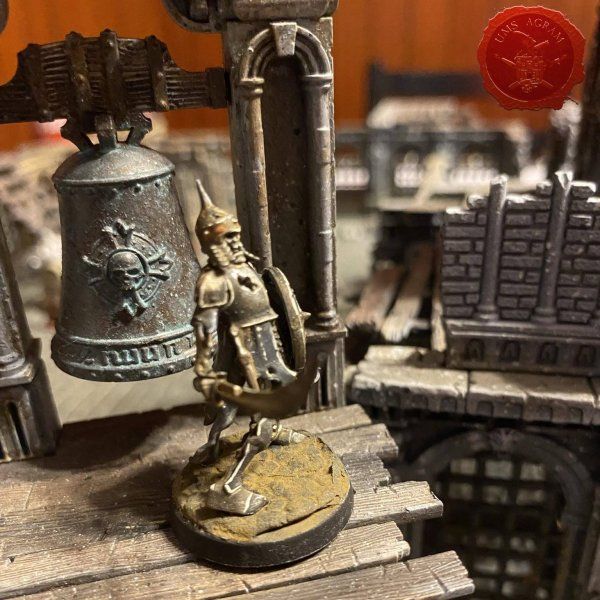
Below are photos of the shaded model from 4 angles:
General rules for the reader when using ink or washes when painting armies:
- Do not allow the liquid accumulated in large quantities to dry on a small part of the shaded area, as stains will form that need to be corrected.
- Black wash use for silver metal
- Reddish and brown wash use for bronze and gold metal
- Pastel colors (blue, purple, red, green, etc.) are best shaded with a darker shade of the base color.
Latest articles
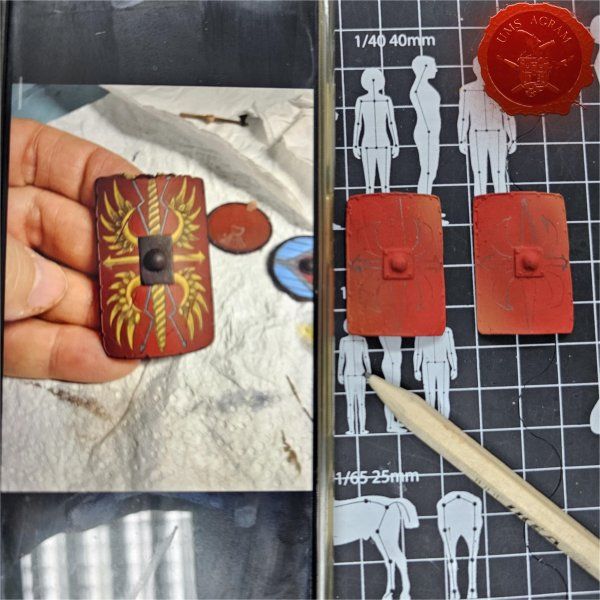
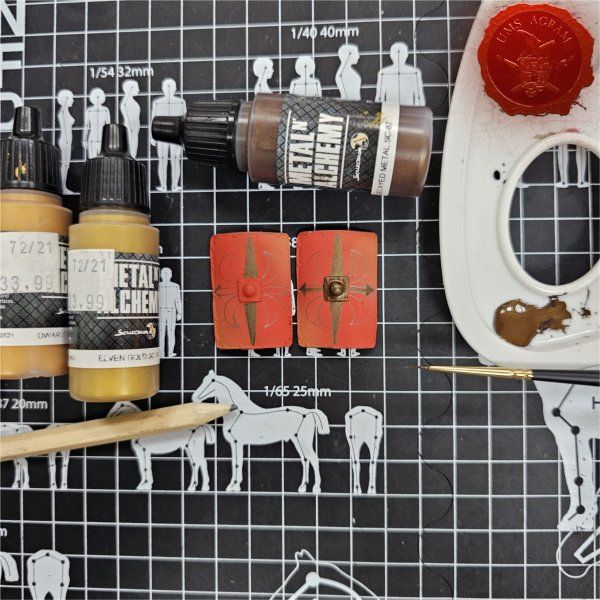
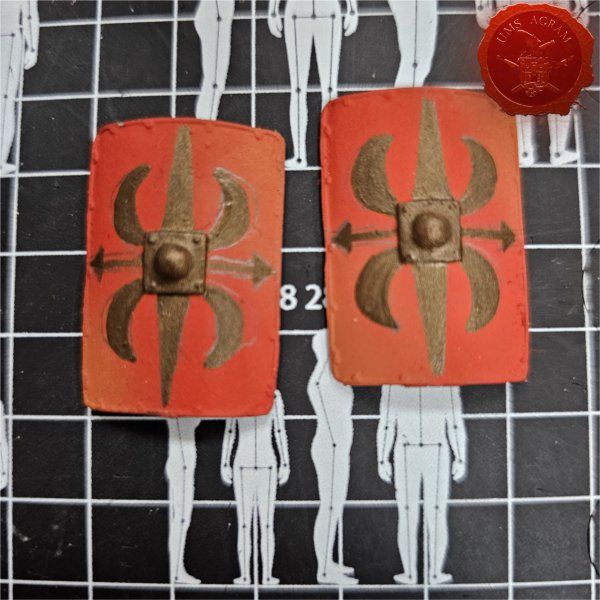
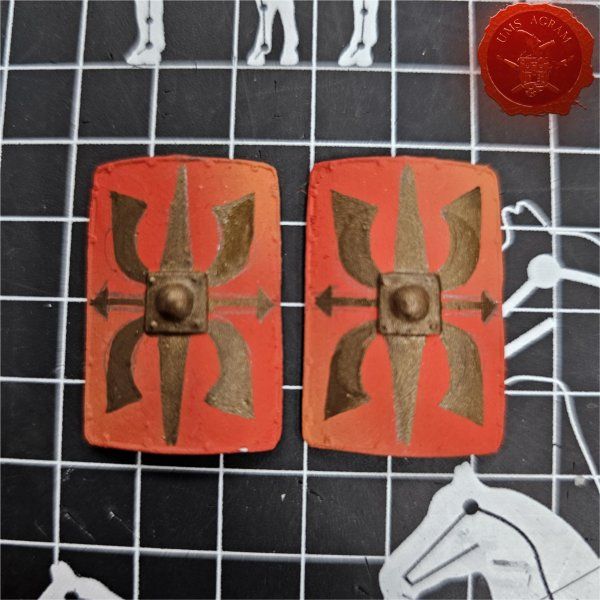
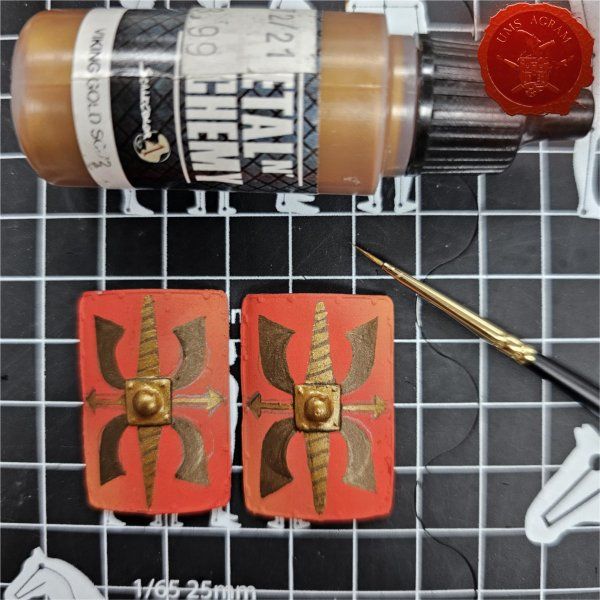
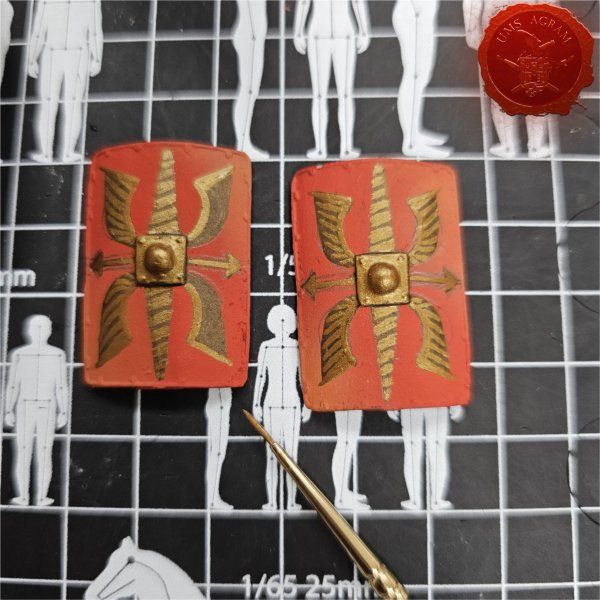
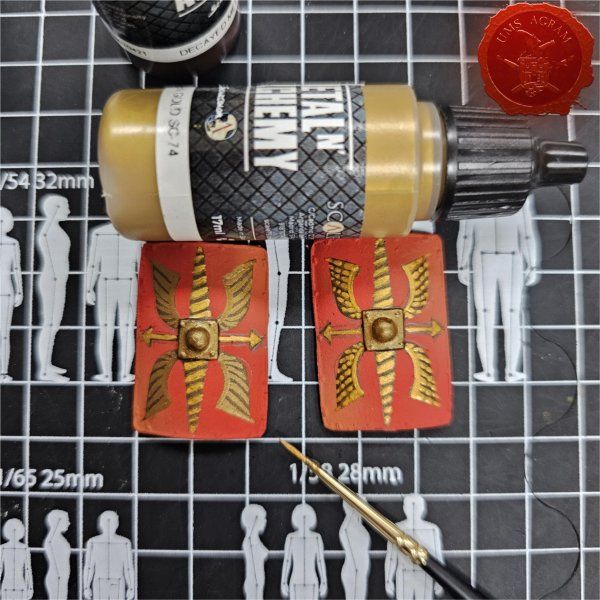
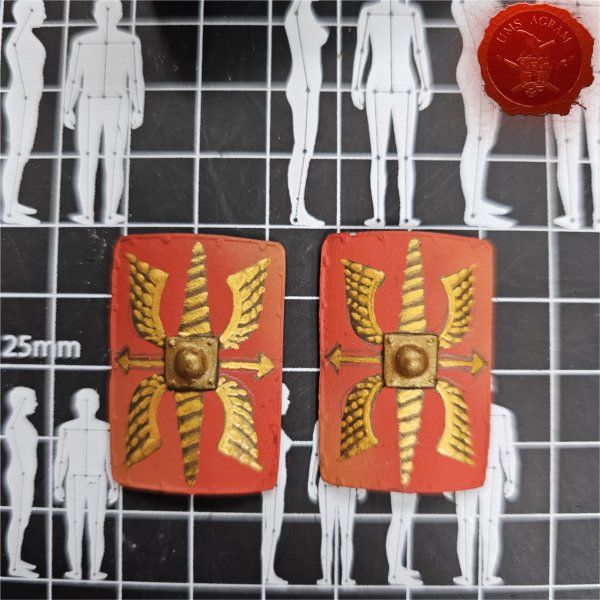
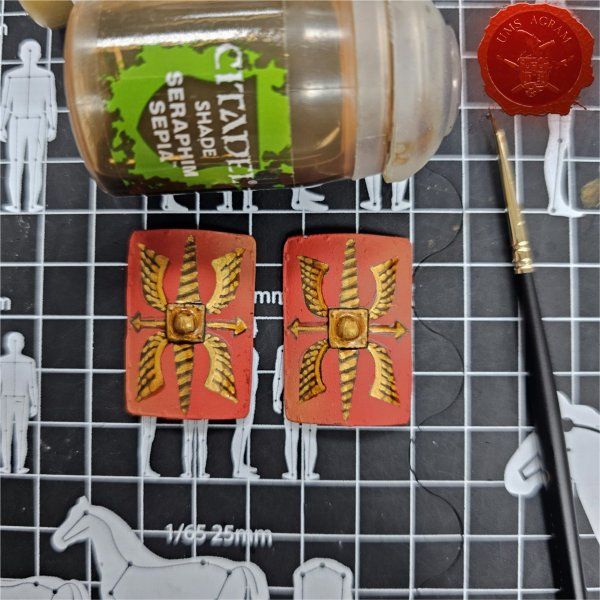
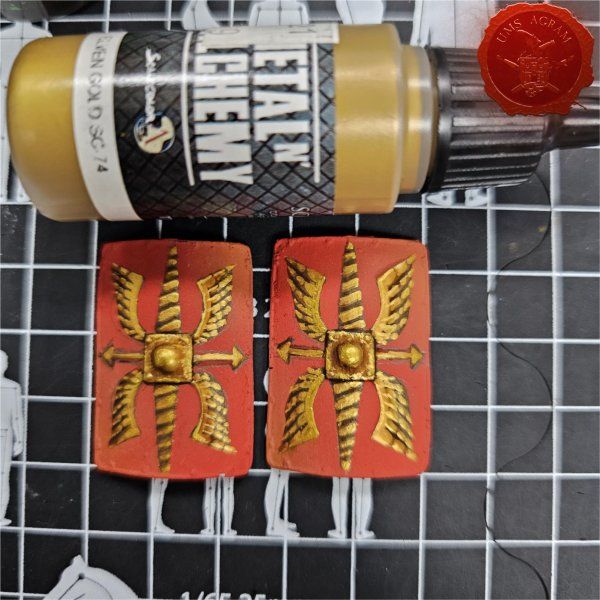
- Roman Shield Freehand Marko Paunović, 16th May 2024
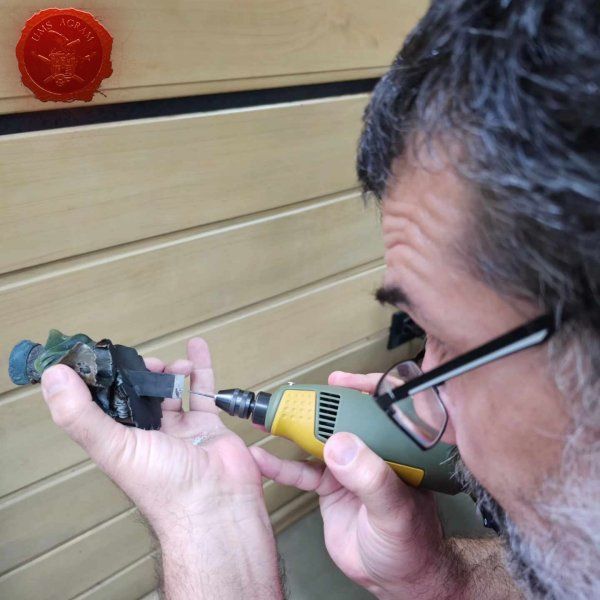
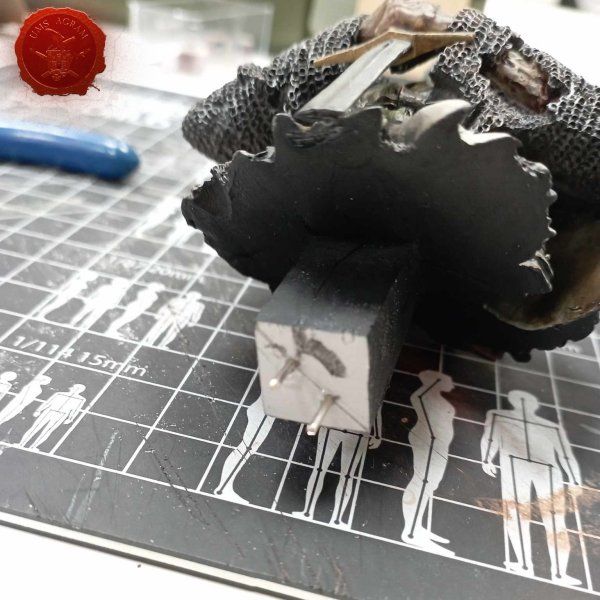
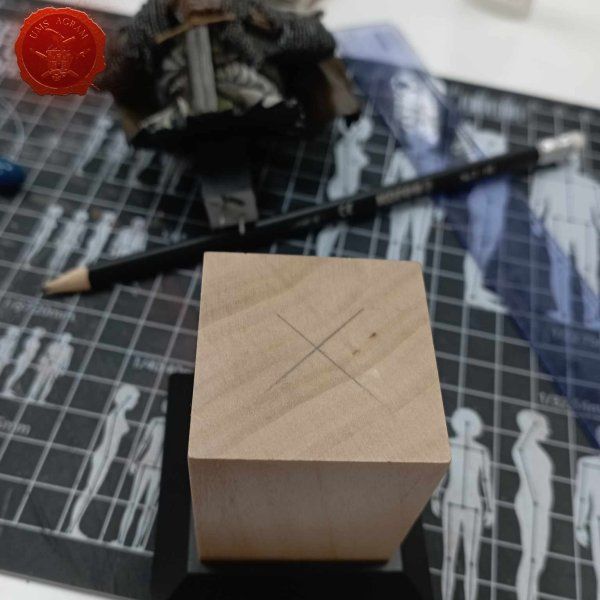
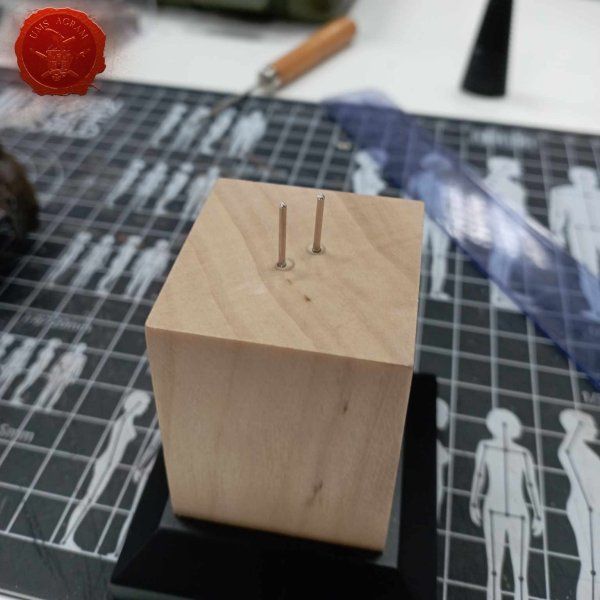
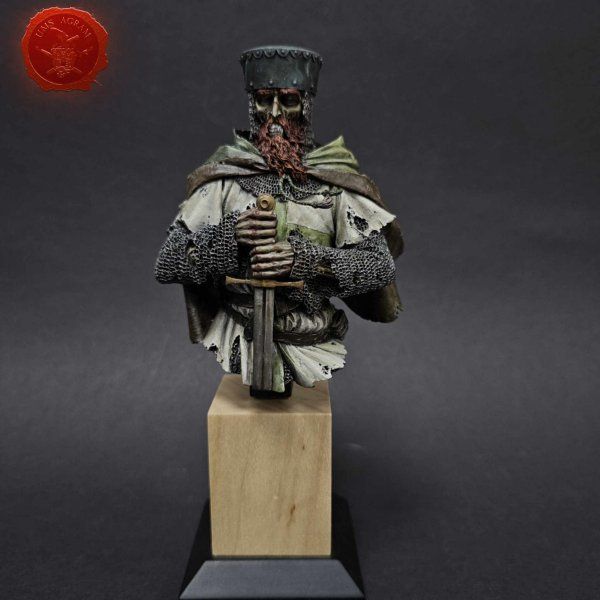
- How to pin a bust Krunoslav Belinić, 9th May 2024
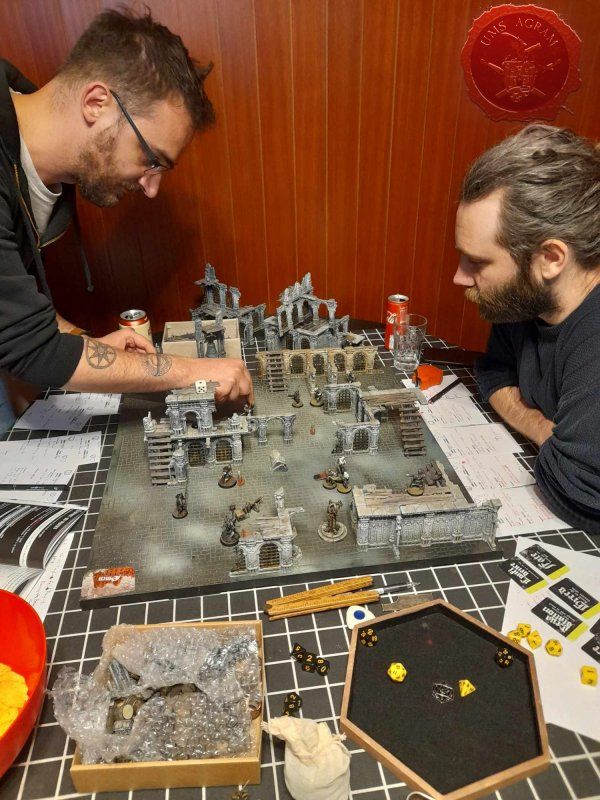
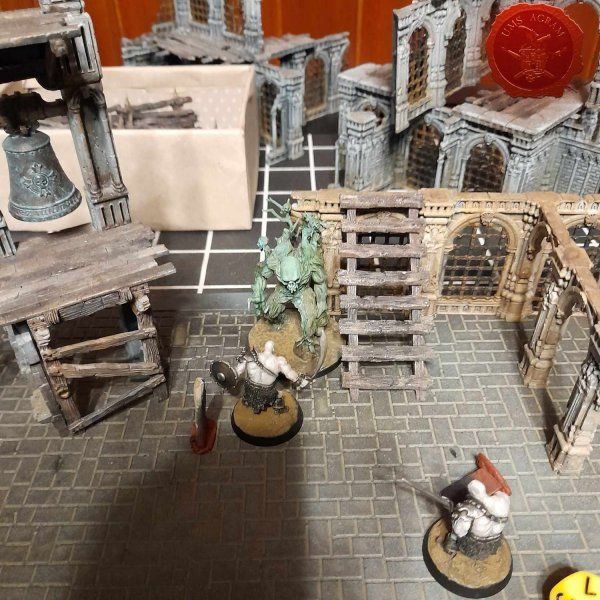
- Forbidden Psalm Demo 03 Domagoj Krpan, 28th April 2024
- AGRAM LEGO SECTION - Fourth Lecture and Final Part of the Build Marko Paunović, 24th April 2024
- AGRAM LEGO SECTION - Third Lecture and Part Three of the Build Mario Grgurev, 18th April 2024


Latest battle-reports
- 22nd April 2022, GW - Warhammer 40.000, Borna Pleše (Space Marines) and Kristijan Kliska (Tau Empire)
- 17th November 2021, GW - Warhammer 40.000, and Nino Marasović (Space Marines)
- 27th October 2021, GW - Warhammer 40.000, Borna Pleše (Space Marines) and Josip Strnad (Space Marines)