
Articles
Building a display base for Agramers v.2
Marko Paunović, 15th July 2026In this article, I will briefly describe the process of creating a scene base for Agramer v.2, from idea to creation, painting, adding vegetation, and finally casting the slices.
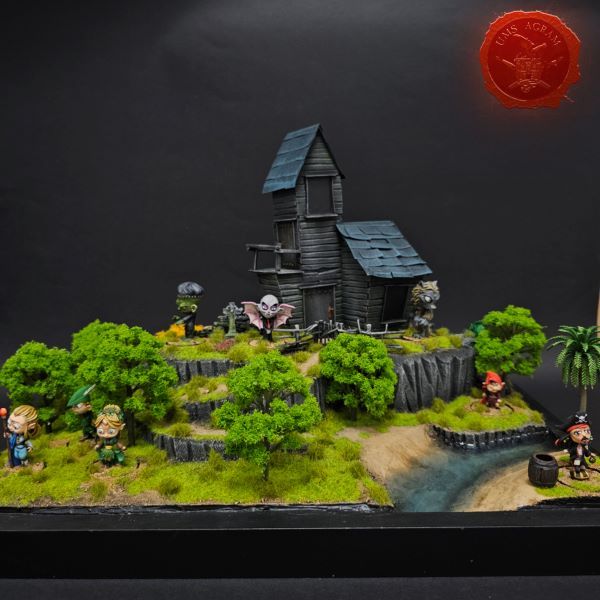
The first step in the creation is the idea. For this project, it wasn't too difficult for me, because I participated in (creating) how the figures themselves should look. Therefore, I already had them arranged in some groups in my head. Orc, troll and goblin in one; vampire, Frankenstein's monster and werewolf in another; desert Zorro and sheriff; Highland/Scottish Braveheart, dwarf and bard; and forest Robin Hood, Elf Mage and Elf Enchantress. In the end, there remains the gnome and Jack Sparrow who goes to the island. Inside the purchased frame, I placed the figures, and drew the outlines of the terrain.

After that, I added volume to the base using 2 cm and 5 cm thick HD Styrofoam, slowly shaping the final look of the terrain. I also tried out the look with the figures in each ite...
Read more about "Building a display base for Agramers v.2"Pigmentation principles: Binders and solvents - what holds the paint in place and what allows it to flow
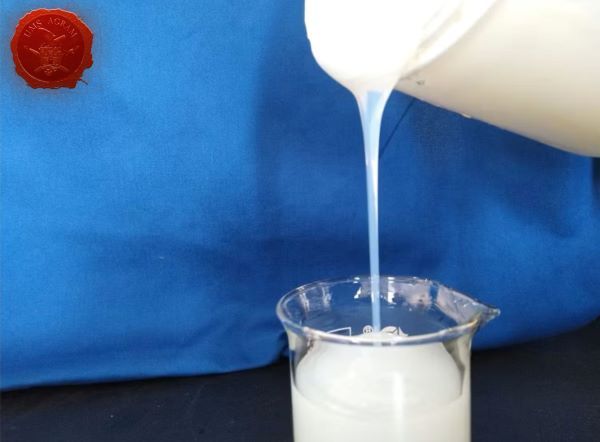
Dunja Singer, 13th July 2026So far in this series, we've written about the visible and tangible properties of paint — why paint has a certain shade, why it covers or doesn't cover, why it flows more easily or more slowly. This article is about what lies beneath it all: binders and solvents, the components that determine what remains on the surface when everything else evaporates.
1. What is a binder and what is its role
A binder is a component of paint that holds pigment and filler particles together and ensures their adhesion to the substrate. When the paint dries or sets, the binder forms a continuous film that encapsulates the pigment and protects it from mechanical and chemical influences. The binder determines most of the application properties of the finished paint: film flexibility, hardness, gloss, chemical resistance, adhesion and durability. Two coatings with the same pigment but different binders can behave completely differently — one may be flexible and waterproof, the other brit...
Read more about "Pigmentation principles: Binders and solvents - what holds the paint in place and what allows it to flow "Pigmentation principles: Density, viscosity and opacity - three different things we call the same name
Dunja Singer, 13th July 2026In discussions about paints, coatings and various masses, one often hears: this paint is thick; — and this can mean three completely different properties. This text explains what each of them actually means, why it is important to distinguish between them and how this difference affects practical decisions such as thinning the paint.

1. Density — how much material is in a given volume
Density is a physical property that describes the mass of a material per unit volume. It is measured in grams per milliliter (g/ml) or kilograms per liter (kg/l). Water has a density of about 1 g/ml; metals are much denser, oils somewhat less. Density is a property of a material — it does not change when you stir it, heat it, or cool it. A paint with a density of 1.4 g/ml remains that density whether you stir it with a spoon or let it sit. In the context of paints and coatings, density depends on the composition of the formulation — how much pigment, filler, binder, and solvent is in ...
Read more about "Pigmentation principles: Density, viscosity and opacity - three different things we call the same name"Pigmentation principles: Pigments and paints with effects – when a color is not only a color
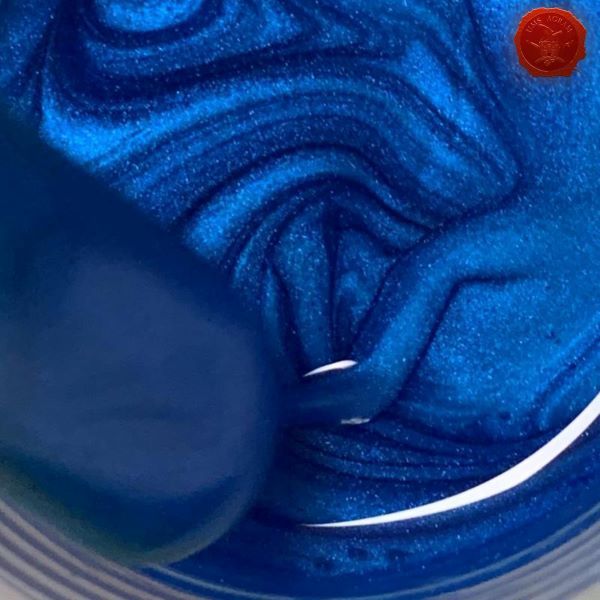
Dunja Singer, 13th July 2026So far in this series, we've talked about pigments that provide color by absorbing and reflecting light. There is, however, a whole group of pigments that don't work on this principle — or complement it in subtle ways. These pigments are collectively called effect pigments, and they are responsible for metallic sheens, pearlescent effects, color changes with viewing angle, and many other visual effects that classic pigments can't reproduce.
1. What are effect pigments and how do they differ from classic ones?
Classical pigments are solid particles that absorb certain wavelengths of visible light and reflect others. The color we see is relatively independent of the angle from which we view it and the intensity of the light source — red remains red whether we view it straight on or at an angle. Effect pigments impart color or visual effect by mechanisms that are dependent on geometry — the angle of incidence of light and the angle of view. As a result, their appearan...
Read more about "Pigmentation principles: Pigments and paints with effects – when a color is not only a color "We attended: Isle of Wonders 2026
Ili Said, 6th July 2026On June 27-29 we attended the Isle of Wonders convention held on the island of Cres.


I took part in their miniature painting competition which boasted over 50 works. I'm proud to say I managed to snag a Highly Commended medal!


We attended: 13. Trofeo San Giusto 2026.
Marko Paunović, 6th July 2026On June 20-21 we attended 13th Trofeo San Giusto in Trieste, Italy.


It was held in Palazzo Vivante in the heart of Trieste and gathered miniature painters from Spain, Italy, France, England, Germany, Austria and I was the only participant in the miniature painting part of the competition from Croatia


As always we awarded the best of show prize as voted by our members. This time the prize went to Mr Alessandro Baialardo from Italy. And I managed to walk away with a gold, a silver and four bronze medals in Standard categories.

Latest battle-reports
- Kill Team - Blooded vs. Vespid Stingwings 28th February 2025, GW - Warhammer 40.000, and Antoni Pastuović (Imperial Guard)
- 22nd April 2022, GW - Warhammer 40.000, Borna Pleše (Space Marines) and Kristijan Kliska (Tau Empire)
- 17th November 2021, GW - Warhammer 40.000, and Nino Marasović (Space Marines)