
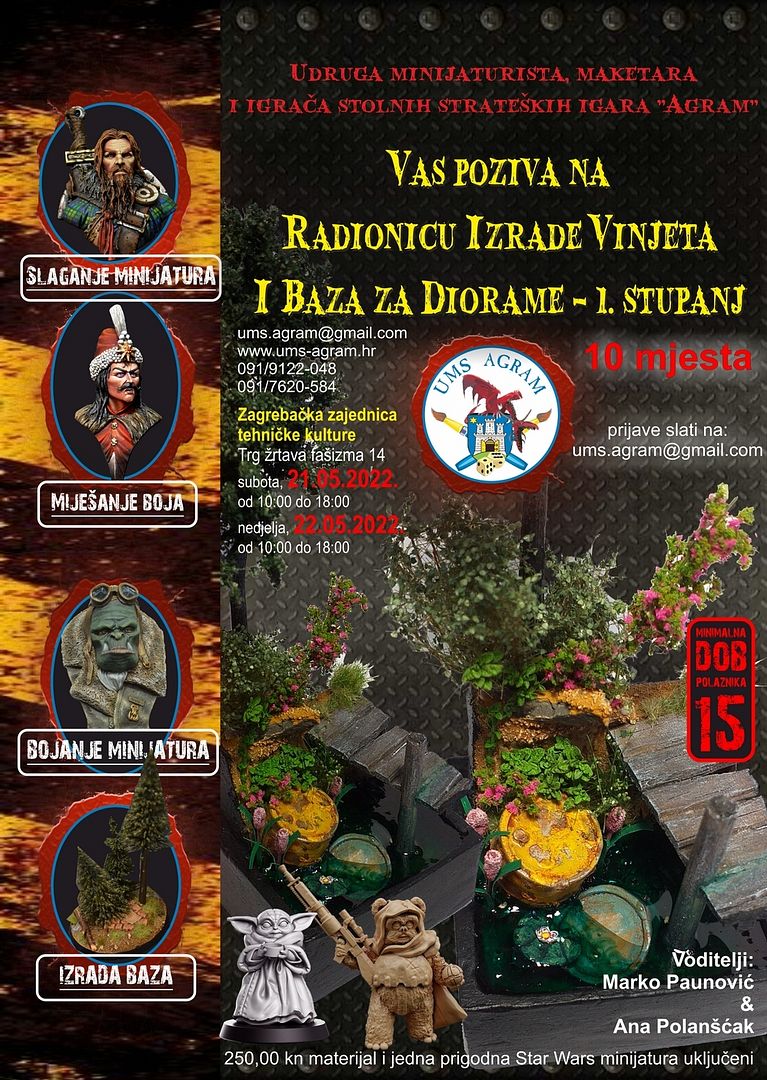
Diorama Workshop 2022 – Step by Step
During the weekend 21.-22.5.2022. vignette and diorama base making workshop was held. Participants had the opportunity to get acquainted with the materials and tools for making dioramas and, after acquiring theoretical knowledge, apply the same to a practical example. This article will briefly describe the process of making this diorama.
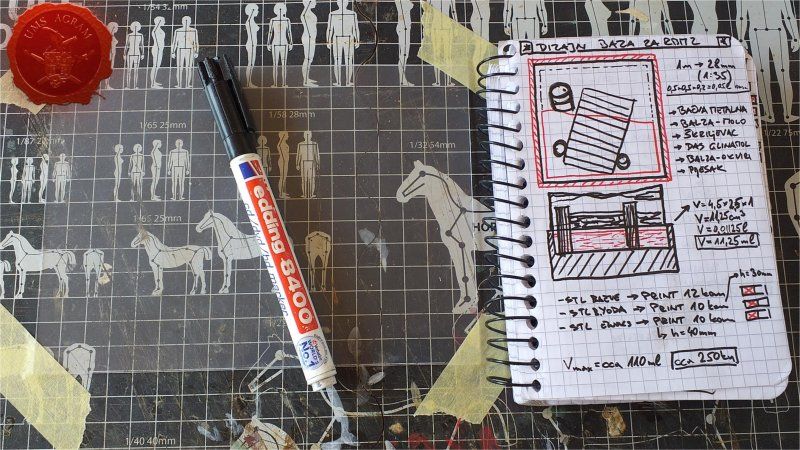
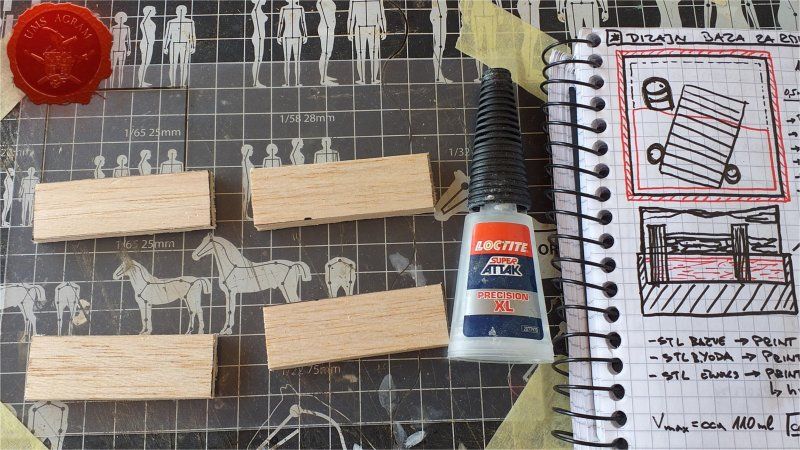
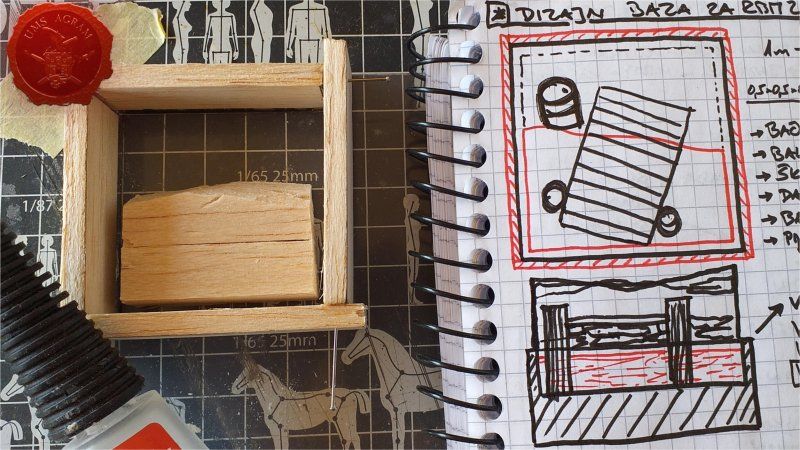
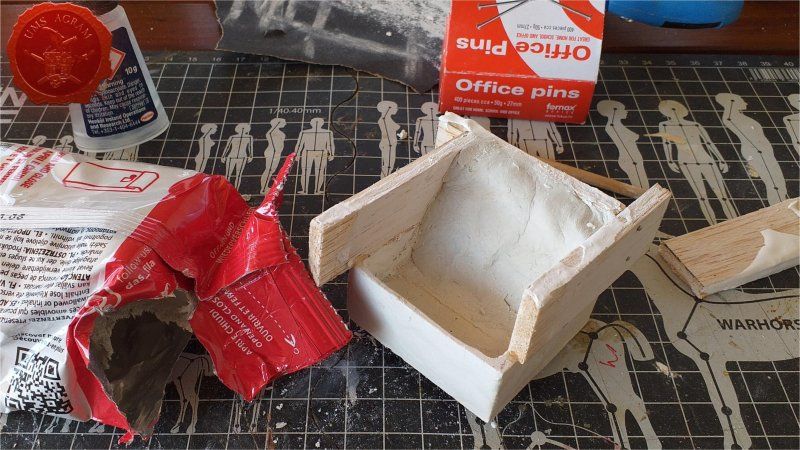
The first step, after making the draft, is to make the base for the diorama. We decided to cast in gypsum so it was first necessary to make a mold. The underside of the mold was plain overhead transparencies that we placed on a 1: 1 scale base design. We fastened the foil with crepe tape. Another way is to draw the shape of the base directly on the foil with a permanent marker (note that in this case the left becomes the right or to mirror the drawing). We made the frame of the mold from balsa 5 mm thick, and the insert with which we made a water basin from two pieces of balsa glued to each other. Another option is to cut that styrofoam insert. We glued the balm with super foil glue (in two points for easier separation), while we fastened the balm laths on the contacts with pins.
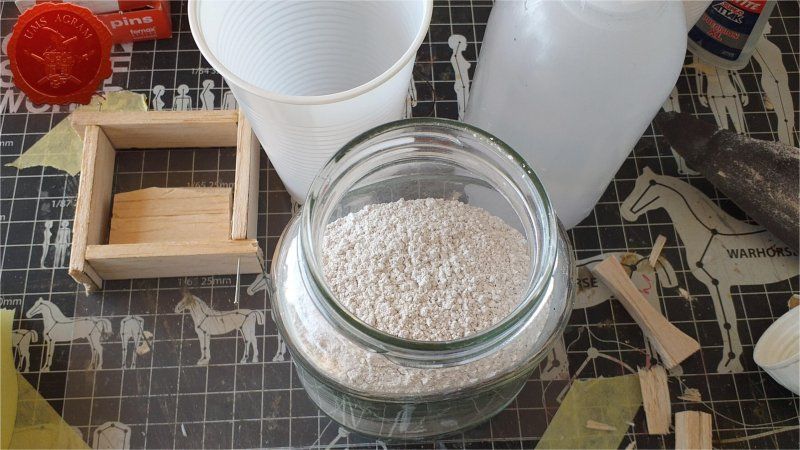
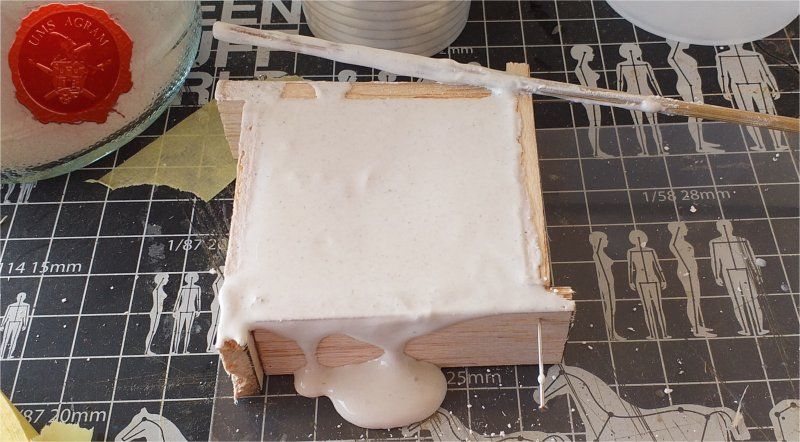
Then we mixed the plaster. Gypsum from a hobby shop was used (for approx. 30-40 kn / kg). It is mixed with water so that a slightly liquid mixture is obtained, so that it can leak on its own, but it is not watery. We filled the mold, making sure that the plaster entered the thin parts around the pool intended for rubber. After drying for about an hour, we removed the casting from the mold and patched all possible defects and holes with DAS clay. When everything was dry, we sanded the excess.
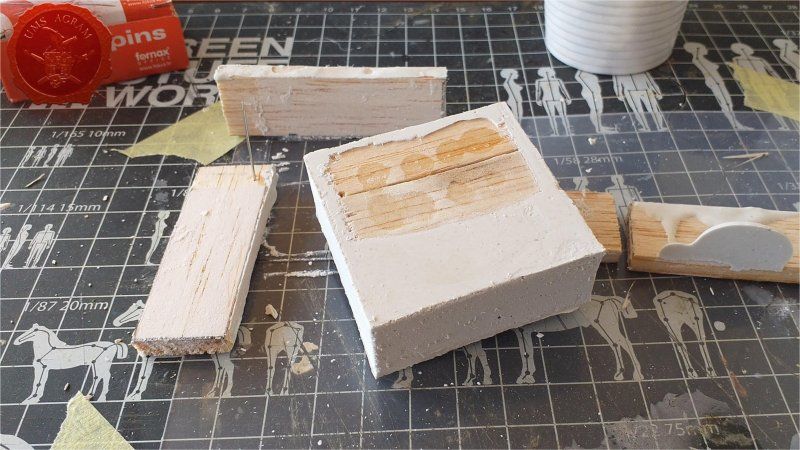

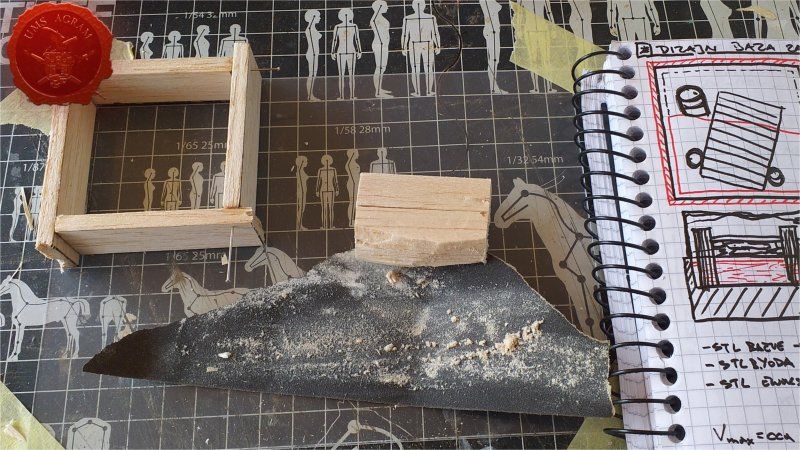
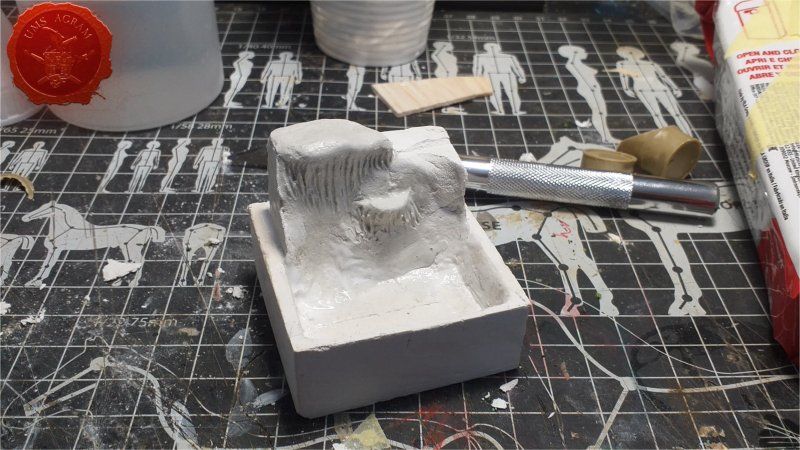
Then we started building the base superstructure. The photographs show the production using DAS clay. It is more durable because it requires drying for at least 24 hours, so we decided at the workshop to cut the superstructure from styrofoam.

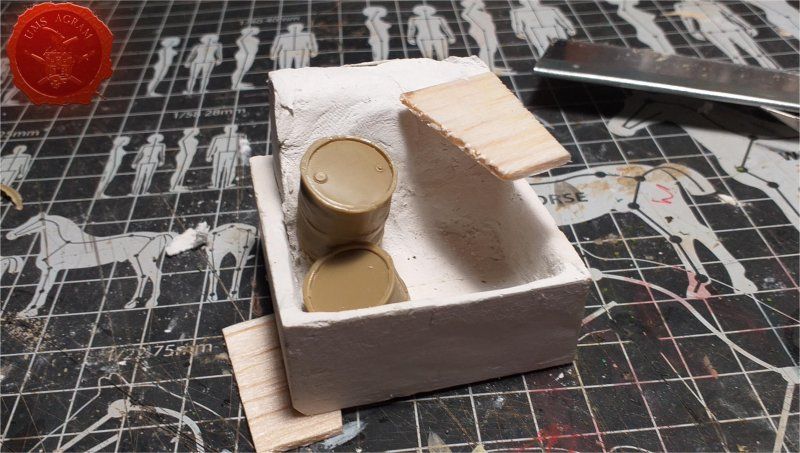
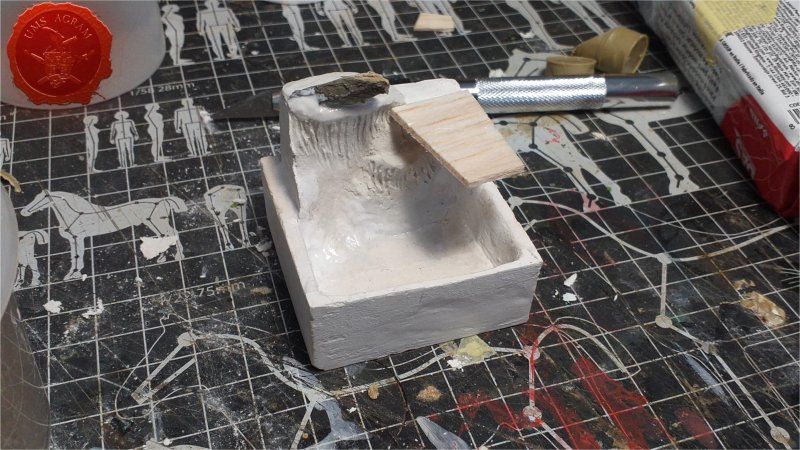
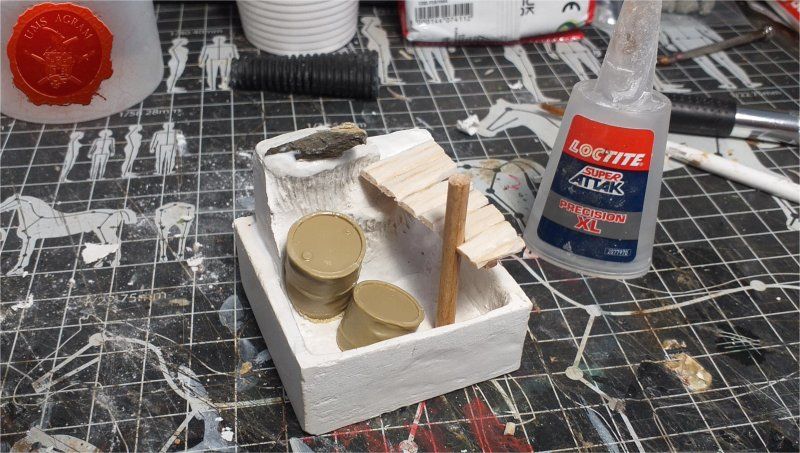
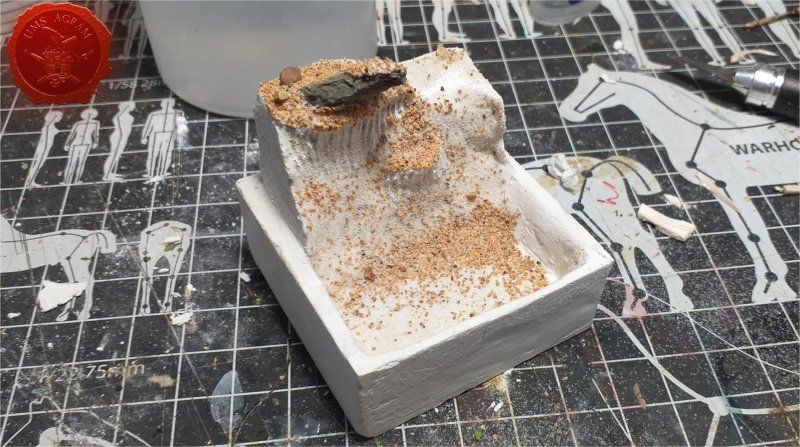
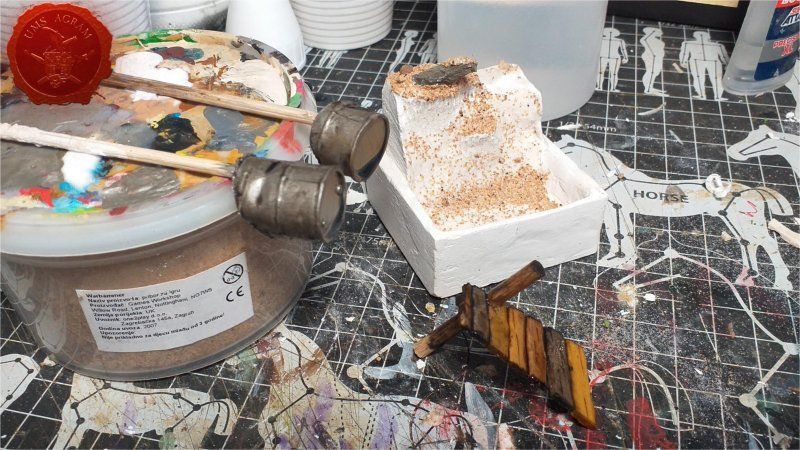
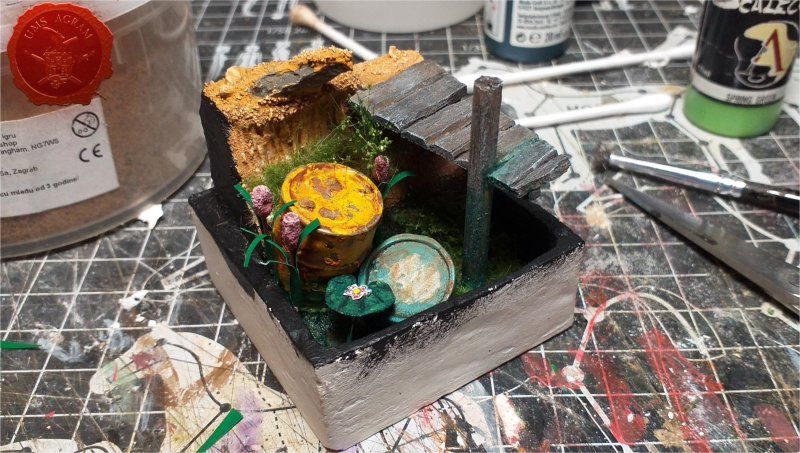
This was followed by modeling the terrain using DAS clay, to which we only added volume in certain places and plotted the texture. We coated everything with gypsum or PVA glue and set the sand texture in two granulations. During the creation of the terrain shape, we set up human parts of the diorama (barrel and pier) every now and then to check the positions and relationships between the parts of the diorama. The barrel is a 3D resin print while we made the pier from balsa boards 2 and 5 mm thick. We carefully cut each board individually and glued them together with superglue.
PAINTING OF THE METAL BARREL:
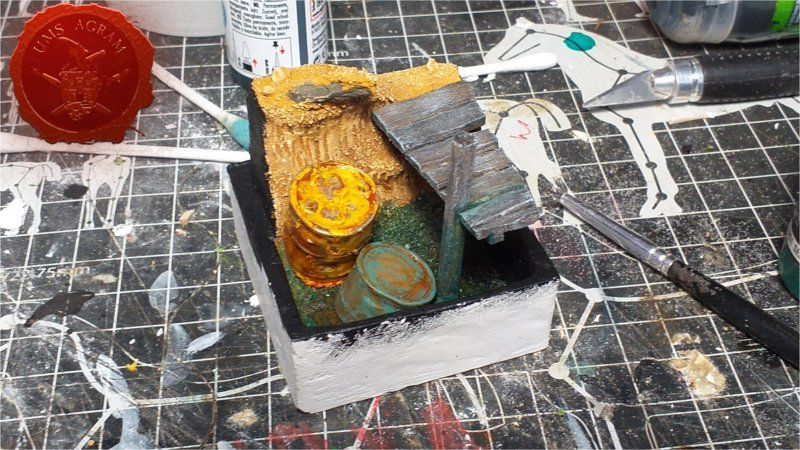
The last step of the first day of the Workshop was to give the basic color to the barrels. We did this using Citadel acrylic paints: Runefang Steel and two layers of wash from the same company: Nuln Oil and Reikland Fleshshade. Then the next day we coated the barrel with the Heavy Chipping effect of Ammo by Mig Jimenez and sprayed it with yellow acrylic spray. After drying for about 10 minutes, remove the excess yellow color using soft ear sticks and the remains of soft balsa slats. After additional drying, we added rusty effects using Oilbrusher oil paints (Rust and Orange) and removed the excess with Odourless Thinner from the same company.

PAINTING OF THE BASE:
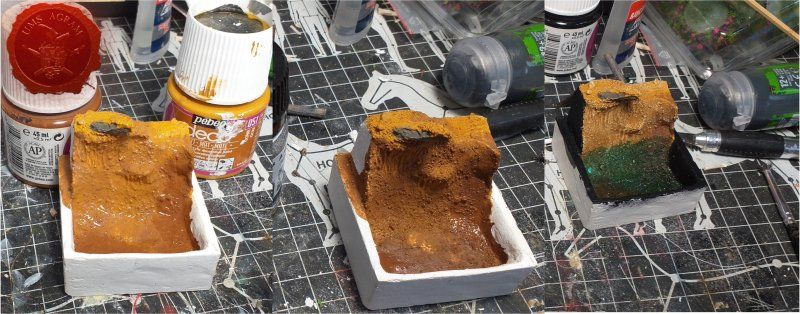
We painted the base with Pebeo Deco acrylic paints. They have more pigment than Citadel paint, but it is also a coarser pigment so it is suitable for the drybrush method. It is significantly lower in price, so it is suitable for large areas. We painted the lower part of the base (immersed in slice / water) in shades of green with the colors that were available to us, considering that three layers of resin go on that part.
PAINTING A WOODEN PIER:
Painting of the pier was started using different Citadel washes (Nuln Oil, Agrax Earthshade and Seraphim Sepia). Each board in its own wash and after drying in another layer of Nuln Oil wash to connect into one whole. This was followed by a layer of drybrush in a light gray shade. In the end, everything is painted with oil effects (Oilbrusher: Olive Green and Dark Green).
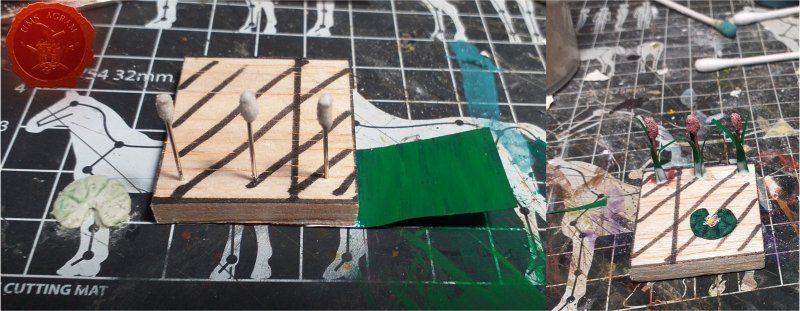
PREPARATION OF SELF-MADE VEGETATION:
We made sedges and water lilies in our own hands. We made water lilies from a DAS clay disk with a hole for a pin, and the flower was drawn on paper and cut out. The sedge, on the other hand, was made on a pin, on top of which we glued sand with superglue to get a flower. And the leaves are cut from pre-colored paper to green.
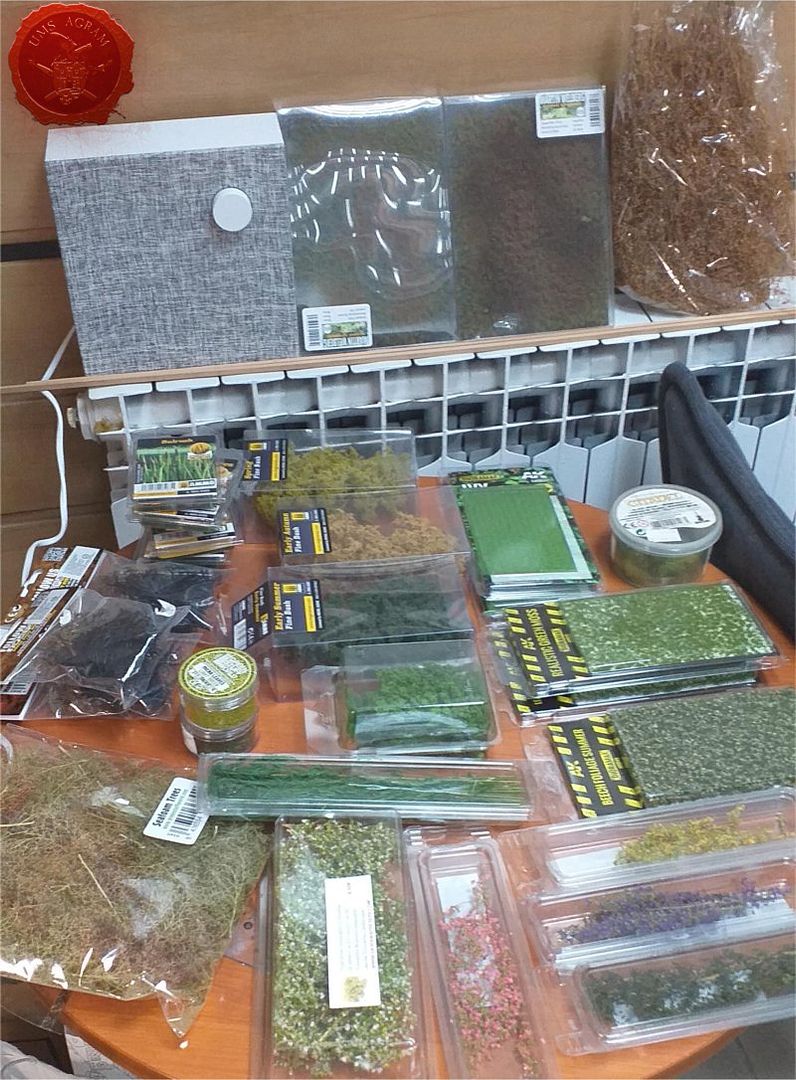
STORE-BOUGHT VEGETATION:
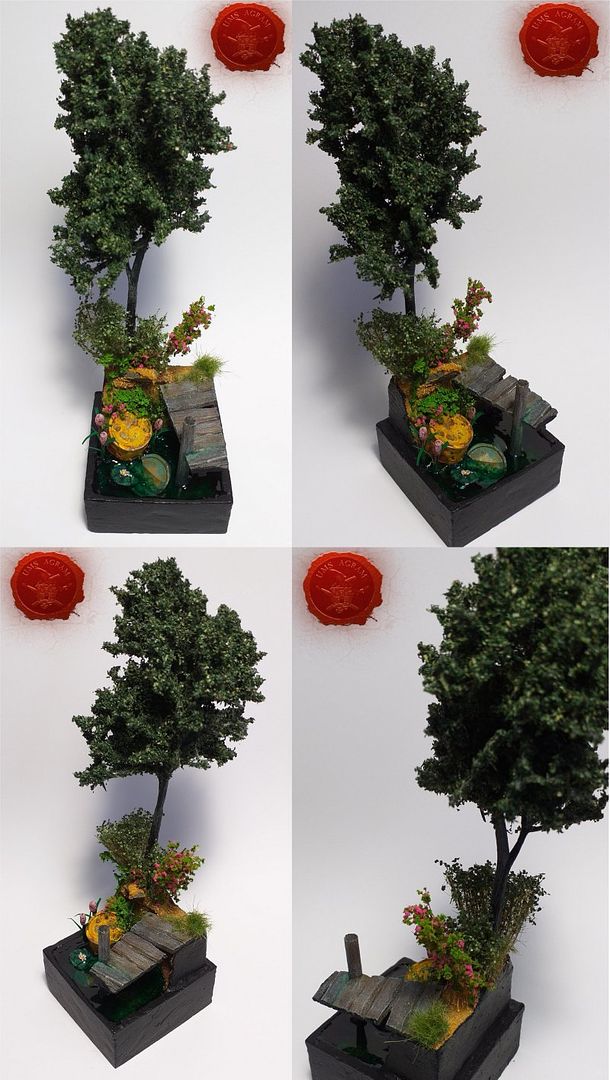
From the purchased vegetation we used static grass (Citadel, Green Stuff World, etc.), sod (tufts) (Gamer's Grass, Green Stuff World, Ammo by Mig Jimenez), shrubs (Green Stuff World, Martin Welberg Scenic Studios, Diorama Presepe), flowers (Diorama Presepe). We also used wood roots (which you can find in forests on overturned trees) as dried trees.
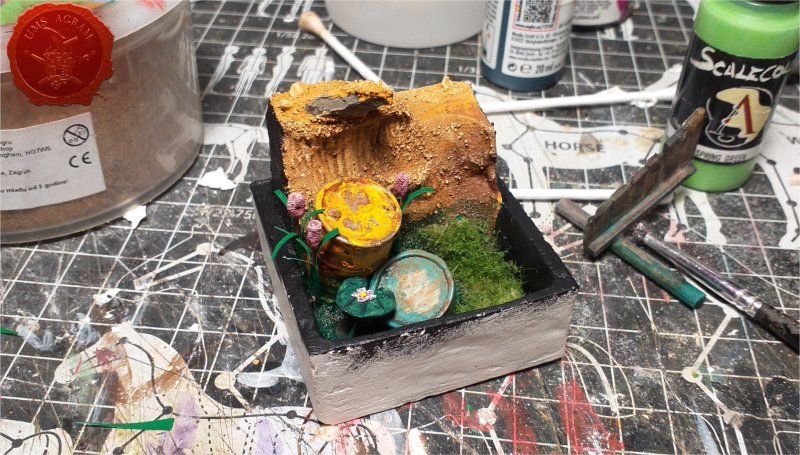
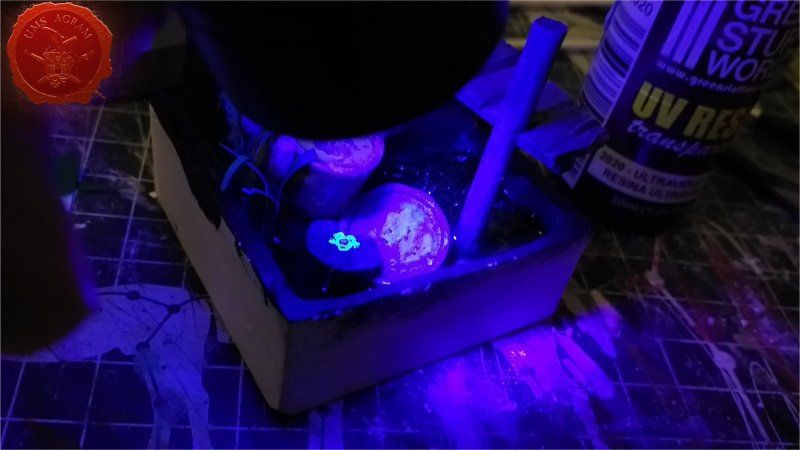
UV RESIN:
For the water effect, we used a UV resin from Green Stuff World. It is easy to use because the resin is one-component and requires only pouring into your "pool". After pouring the first layer, we "baked" it with a UV lamp (also from Green Stuff World). When the layer dried, we covered it with Marabu green alcohol wash. We repeated the same step three times putting in fewer and fewer washes. After the last layer of UV resin, we did not put any ink.
Then we continued with the vegetation, moving first from the lower to the higher.
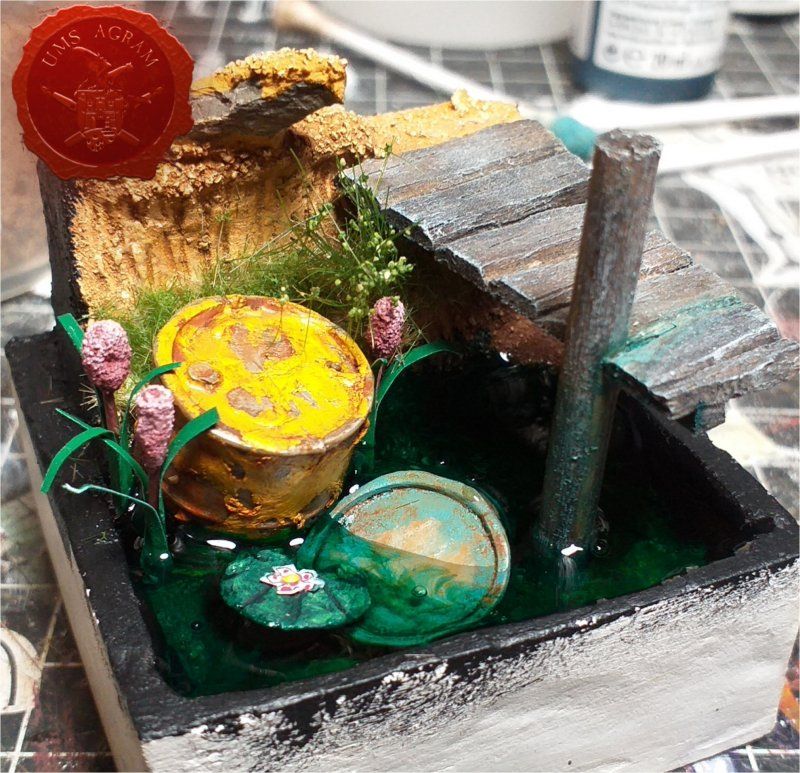

And with that we finished making the base for the diorama.
Latest articles
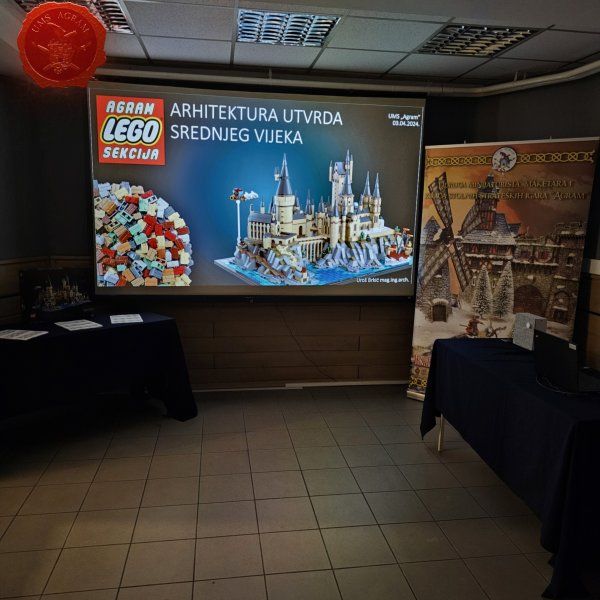
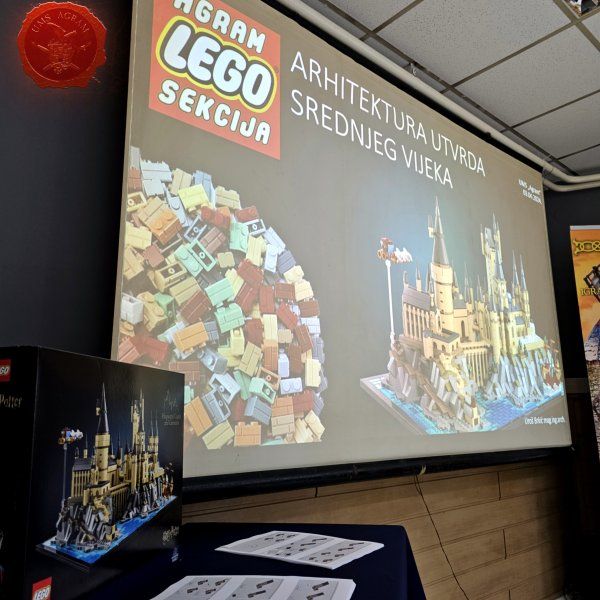
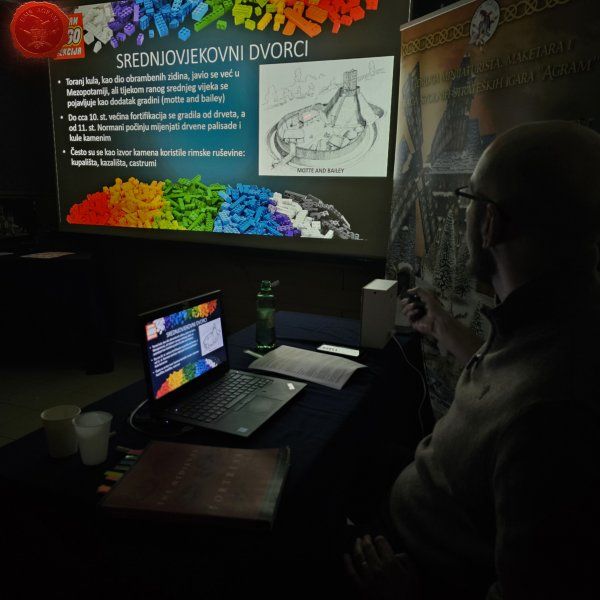
- AGRAM LEGO SECTION - Fourth Lecture and Final Part of the Build Marko Paunović, 24th April 2024
- AGRAM LEGO SECTION - Third Lecture and Part Three of the Build Mario Grgurev, 18th April 2024
- AGRAM LEGO SECTION - Second Lecture and Part Two of the Build Mario Grgurev, 11th April 2024
- Streaking Grime Test Sebastian Søgård, 6th April 2024
- AGRAM LEGO SECTION - First Lecture and Start of the Build Uroš Brkić, 4th April 2024


Latest battle-reports
- 22nd April 2022, GW - Warhammer 40.000, Borna Pleše (Space Marines) and Kristijan Kliska (Tau Empire)
- 17th November 2021, GW - Warhammer 40.000, and Nino Marasović (Space Marines)
- 27th October 2021, GW - Warhammer 40.000, Borna Pleše (Space Marines) and Josip Strnad (Space Marines)