Diorama USSR 1986 – part 1
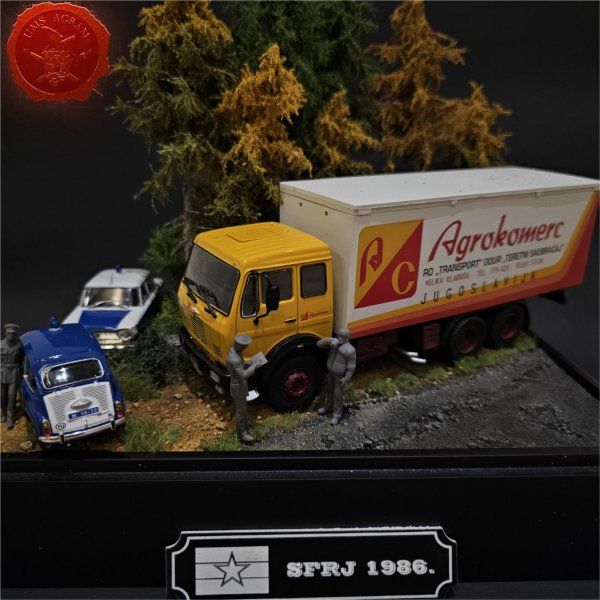
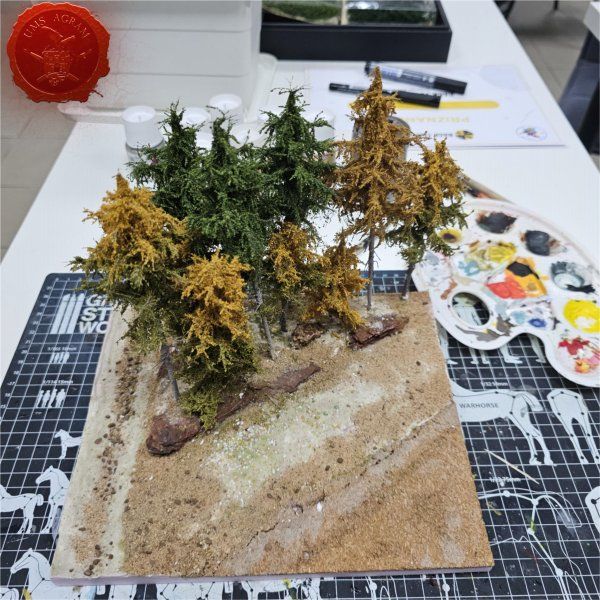
In this series of articles, I will write about making a USSR diorama in 1986. I will show how I made the "terrain" and the model myself, how I painted them and what effects I used. In addition, vegetation and slices will be discussed.
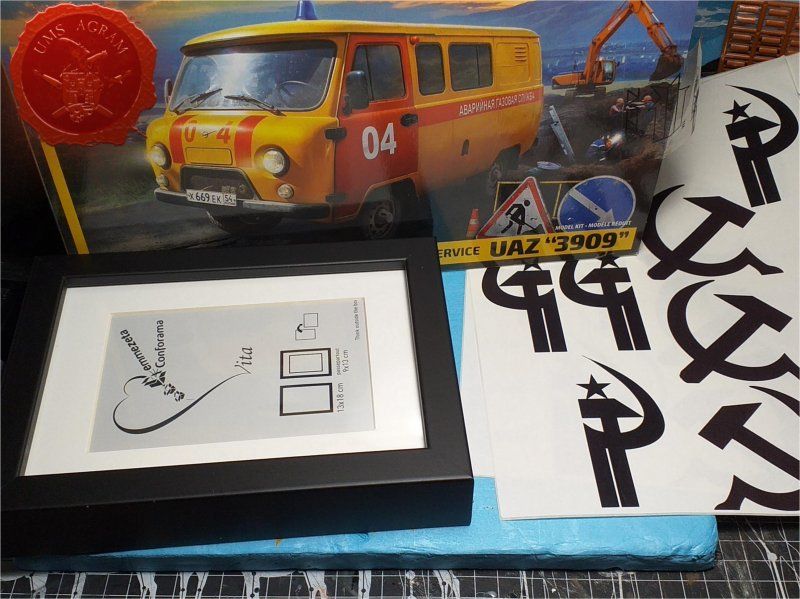
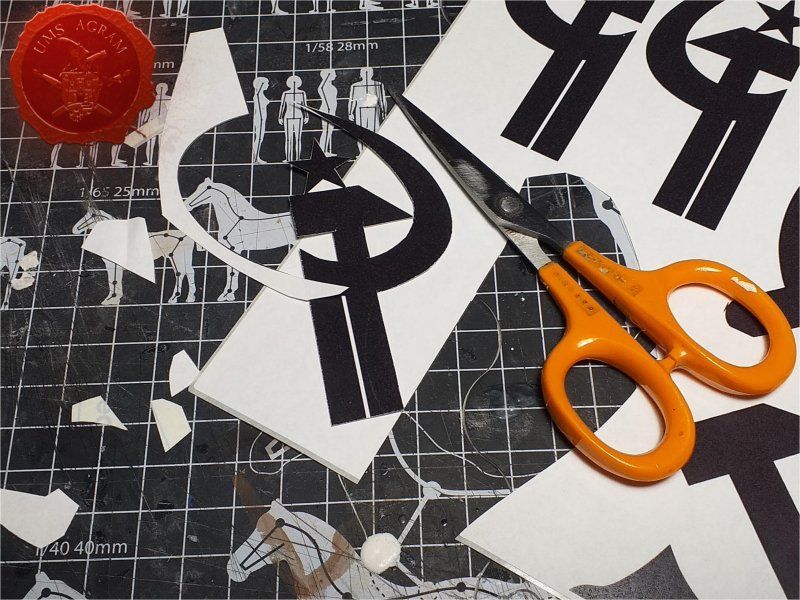
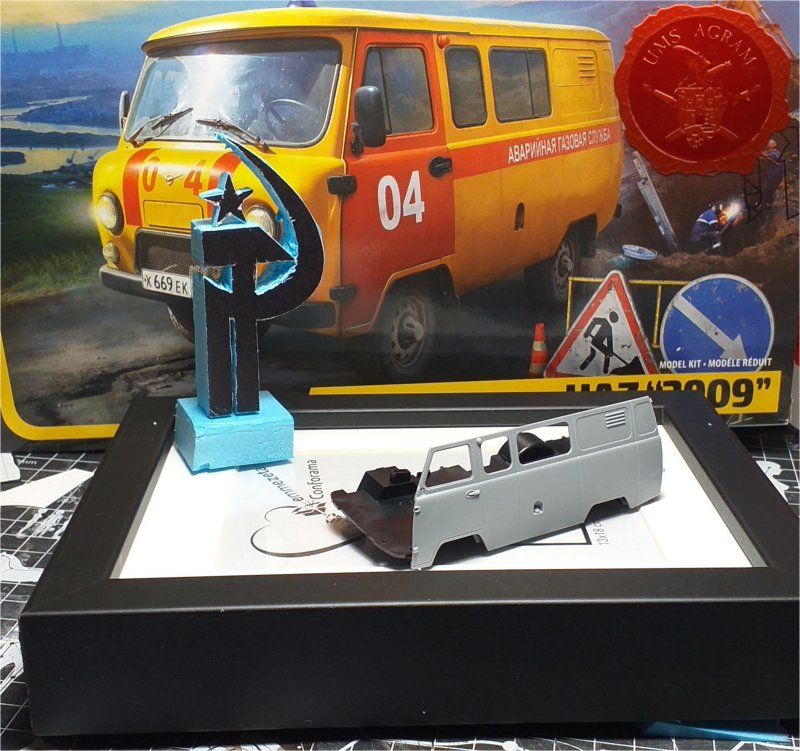
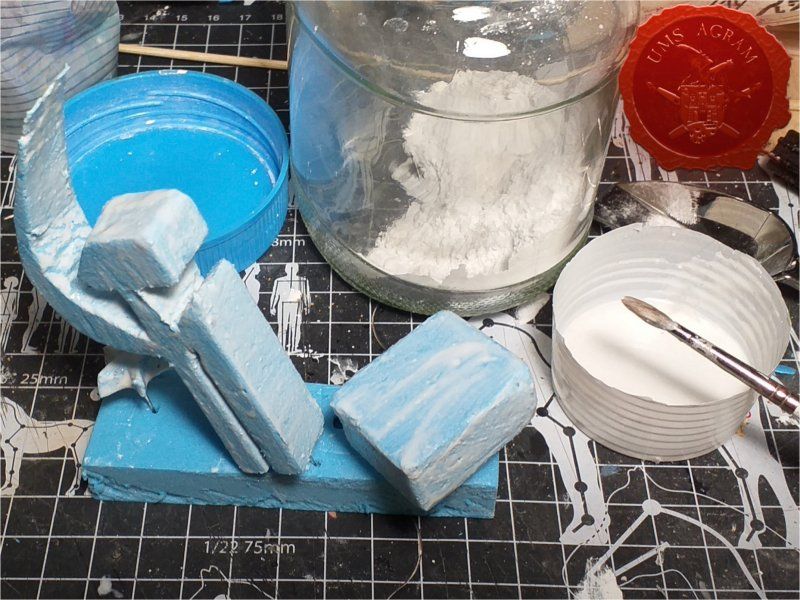
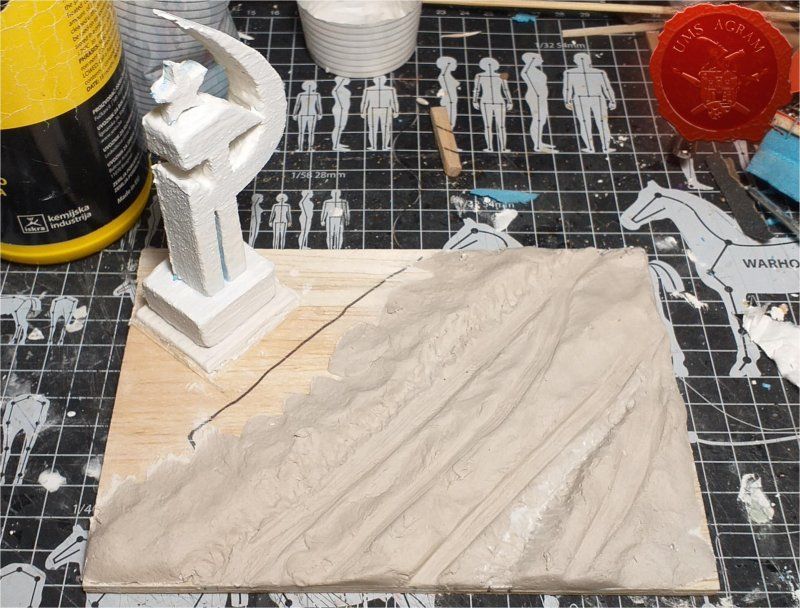
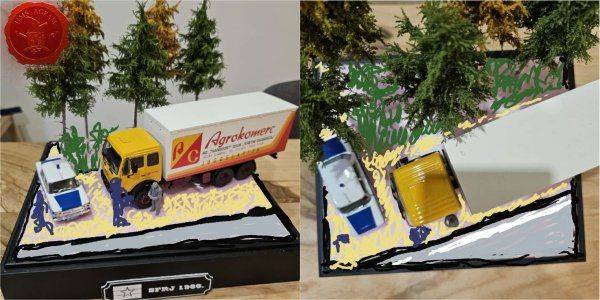
In the first article I will describe the making of the terrain. For the base I took a picture frame that I got in Lesnina. Size is 13 x 18 (opening). The idea I got was to put the van, UAZ 3909, as a wreck next to some Soviet statue. I opted for a sickle and a five-pointed hammer. I googled that there were several versions of such a statue, so I decided to do it because it seemed popular in those parts of the time. I made a statue shape on a computer and printed it out on self-adhesive paper.
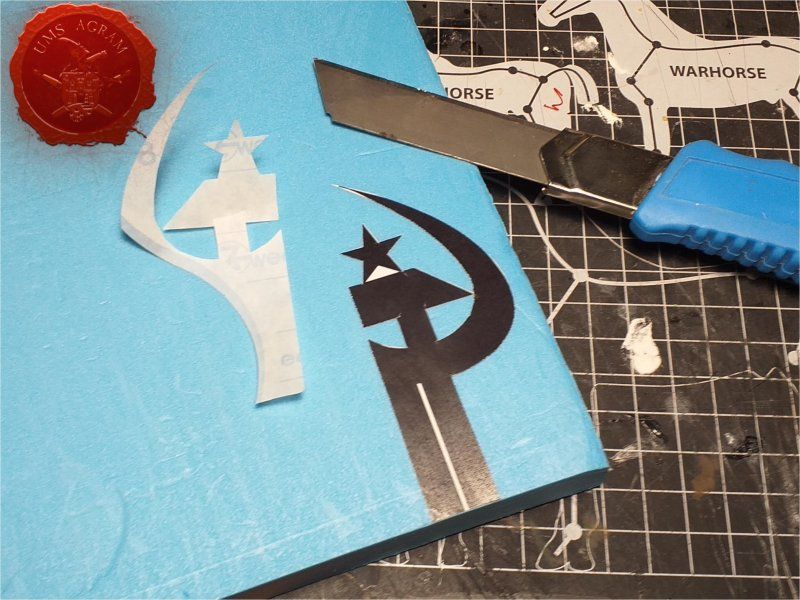
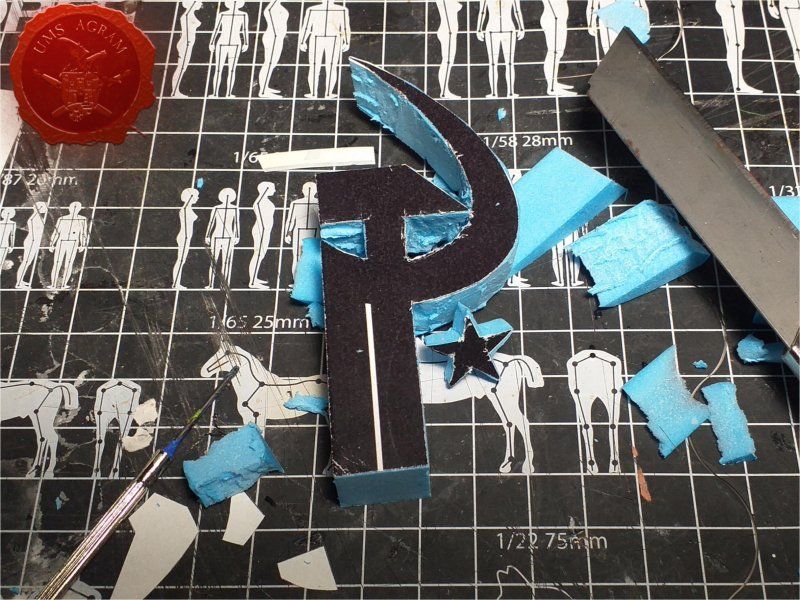
The idea behind it was to cut out the shape of the statue from the sticker and stick it on the styrofoam. Then I cut out the styrofoam and have the shape of a statue.
Be careful when cutting and sanding before the next step. Also, it’s a good idea to check how your parts fit the base. In order not to run out of space…
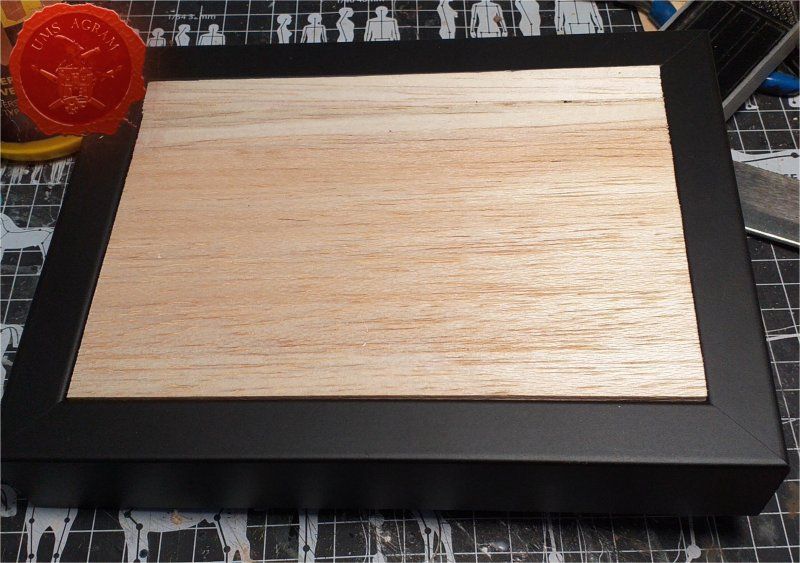
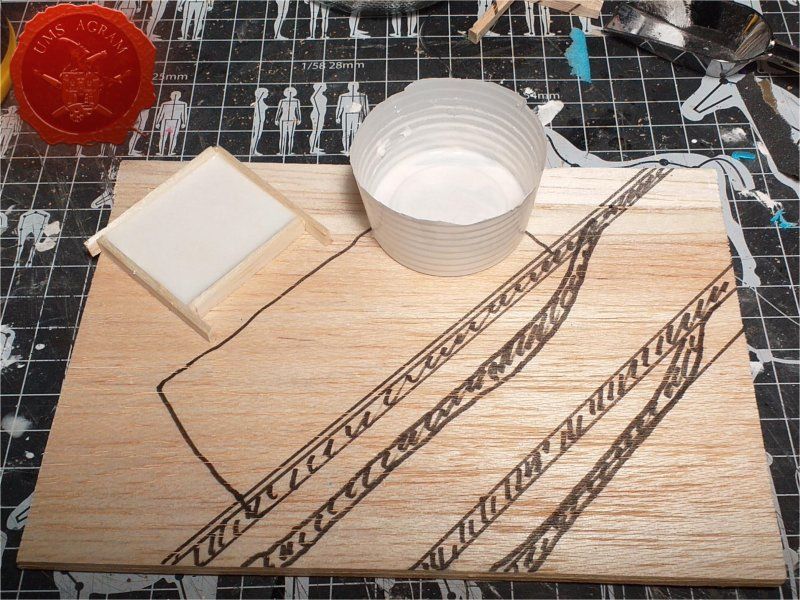
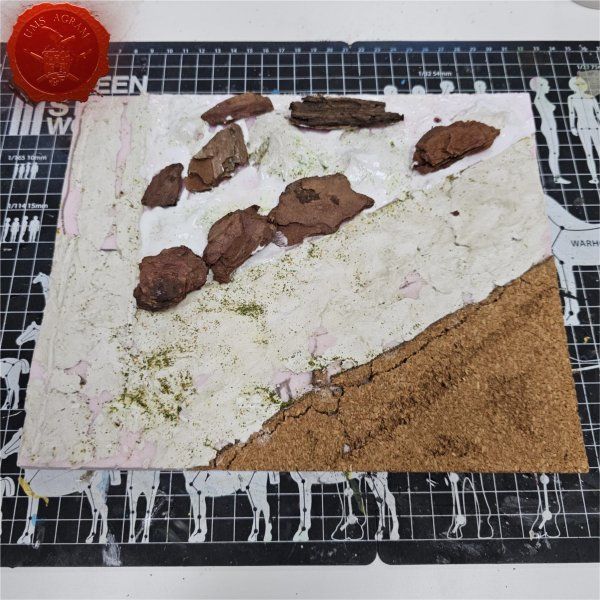
Since it is a picture frame, the basic plane of the diorama was inserted into the frame. This did not suit me in this case, so I decided to make a "floor" of balsa. I cut out a matching 5mm thick balsa board and checked that it fit the frame groove.
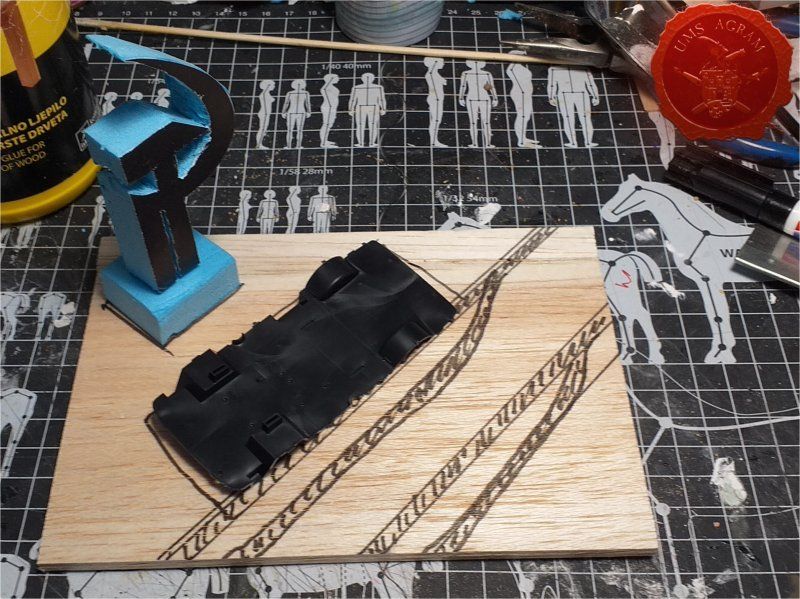
Then I marked the tracks on the road with a marker. In doing so, I used the elements I had at my disposal (statue and UAZ chassis).
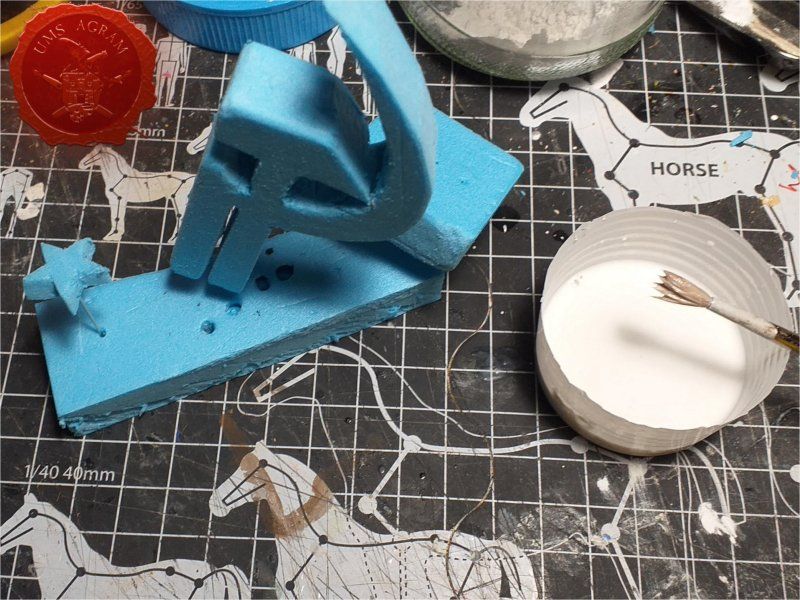
Then came the turn of the plaster. I used gypsum to simulate the concrete on the statue. I concluded that this would be the most convincing, and the making of the whole statue has been simplified to the maximum. I mixed in the aqueous version of the plaster so that it was lightly smeared on the statue. I poured the rest of the plaster into a wooden frame on the base floor. That will be the base of the statue.
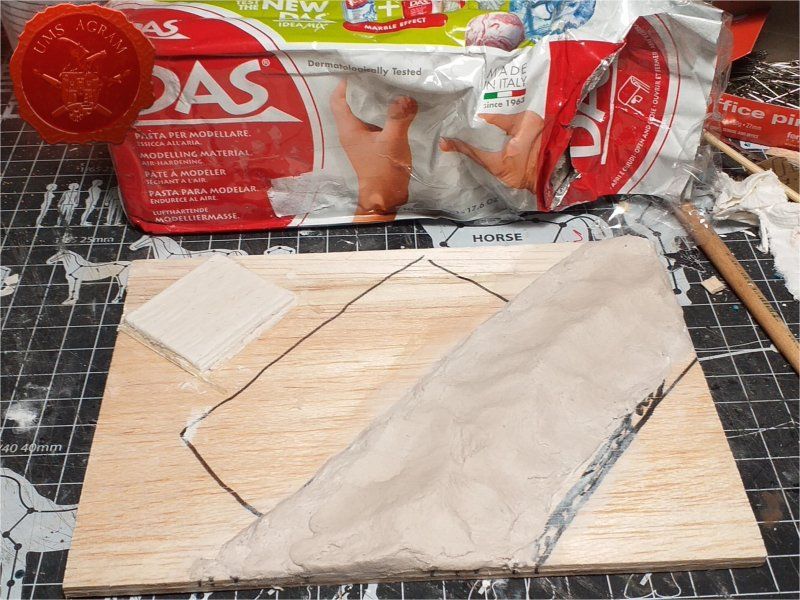
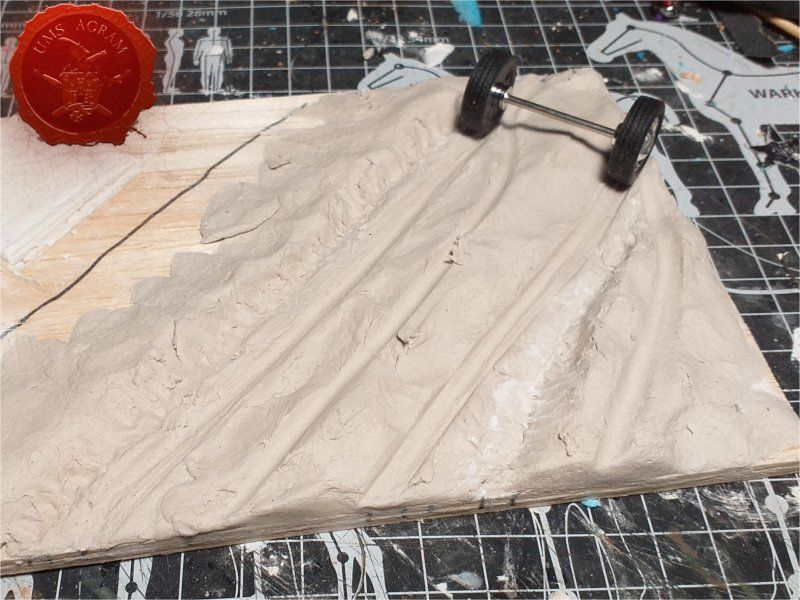
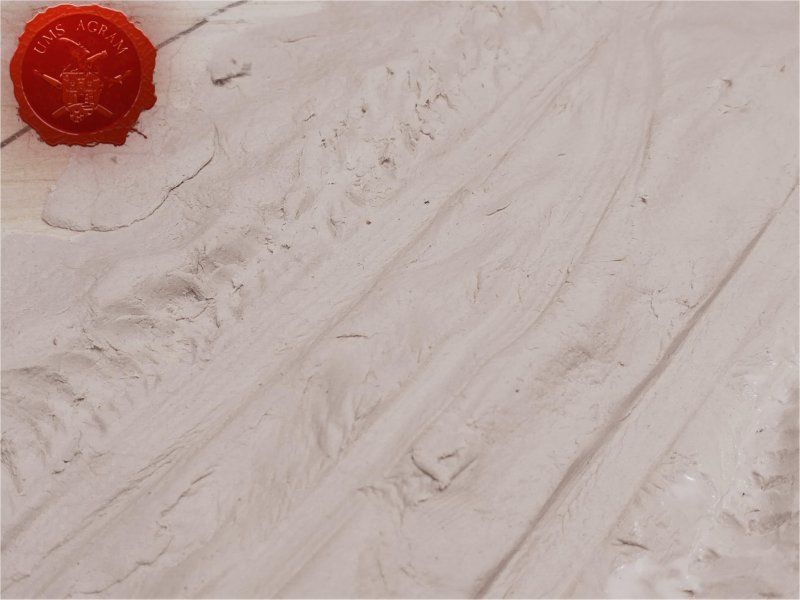
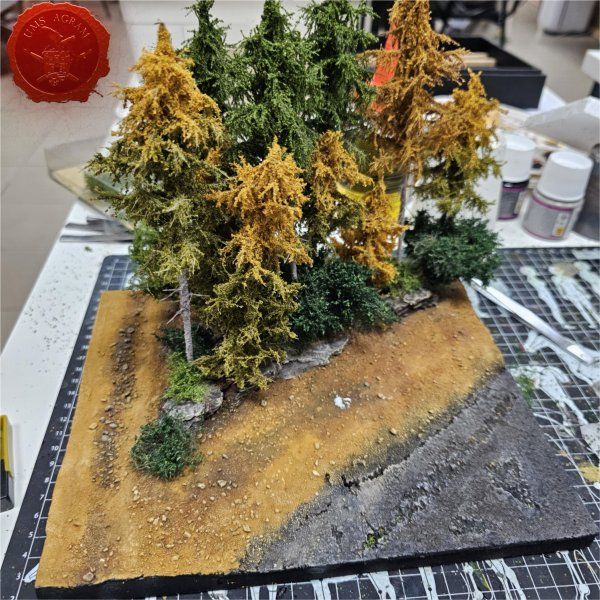
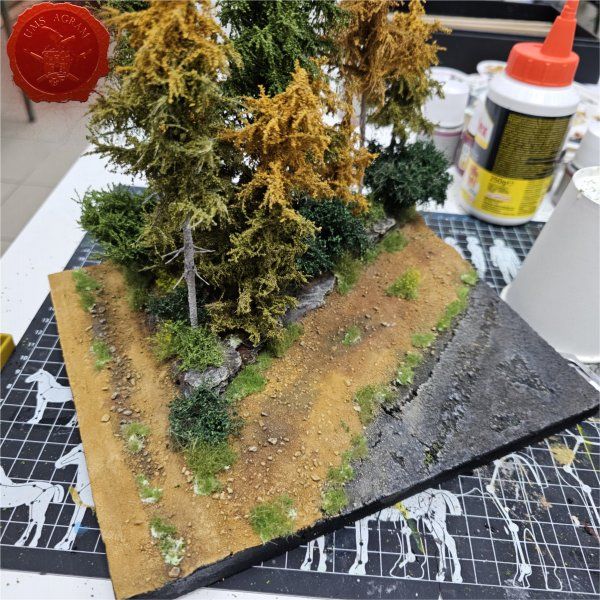
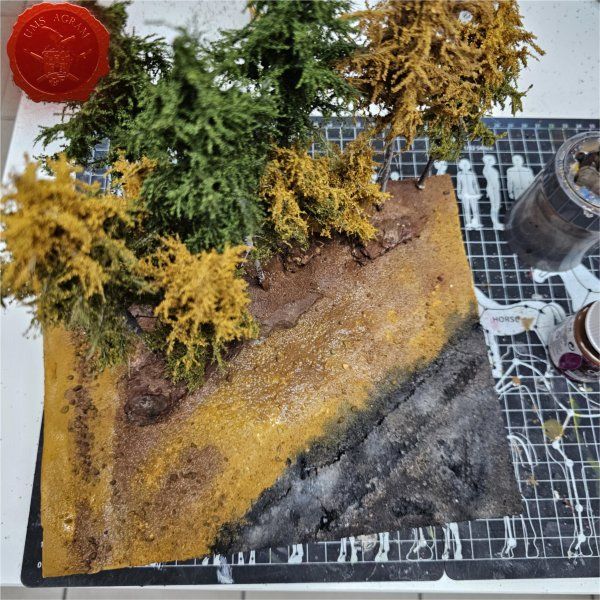
The next step was the formation of a road - macadam. For that I used DAS clay. I formed the body of the road and pressed the wheel tracks into it, according to the distance on the UAZ model. Also, since I realized it wouldn’t fit all the way between the road and the statue, I decided to keep his left wheel set in one wheel track. That meant I had to imprint another, shallower, set of tracks - made by vehicles that bypassed it. For the tire prints, I used real rubber wheels from another model.
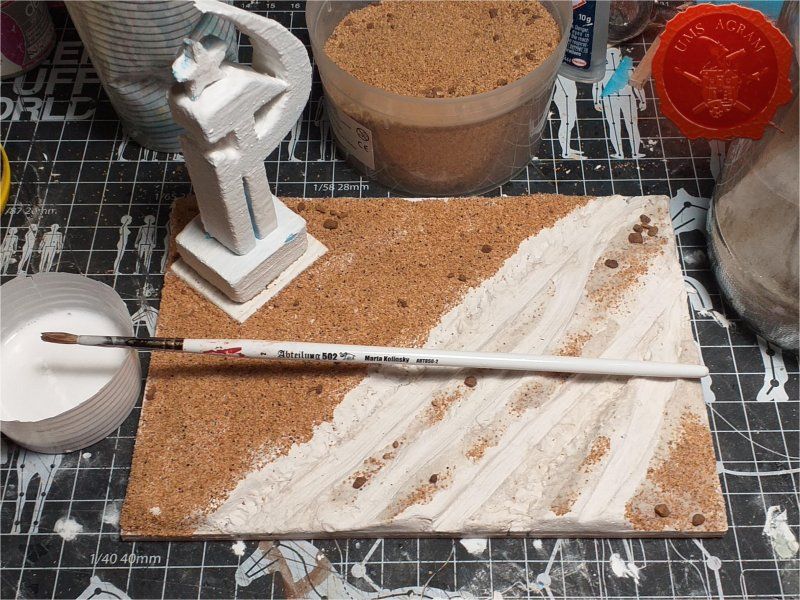
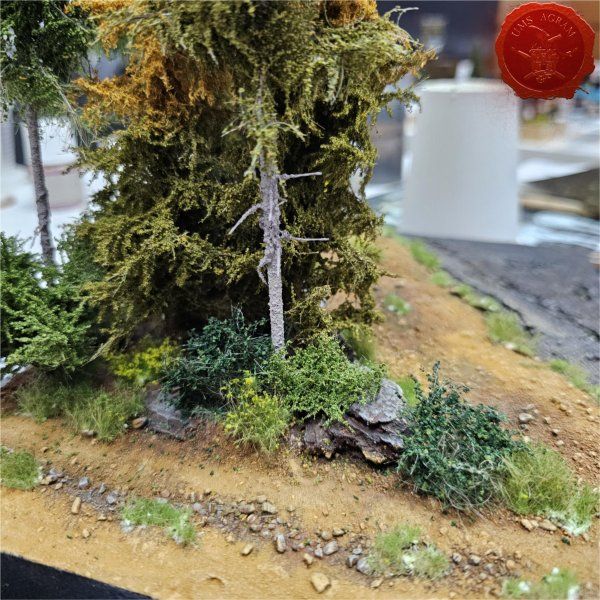
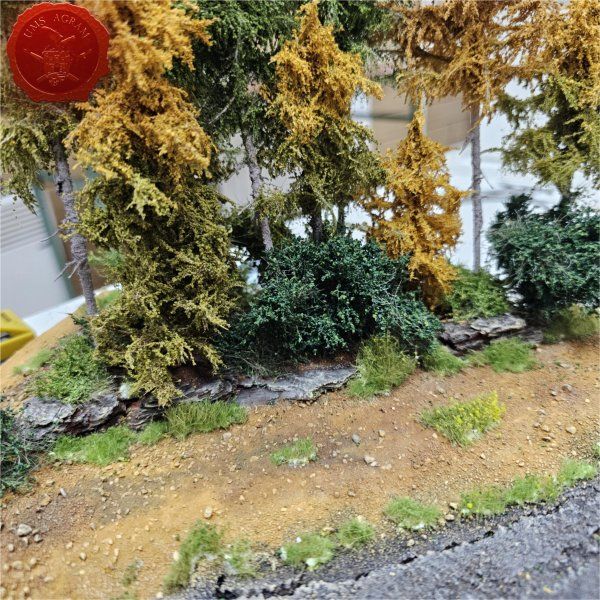
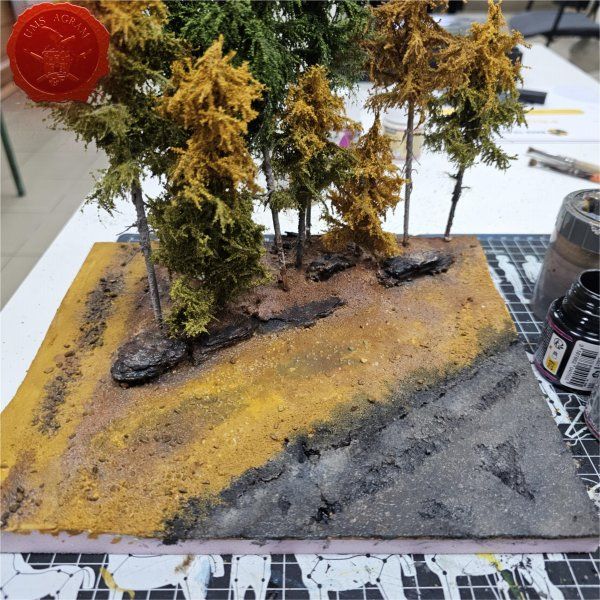
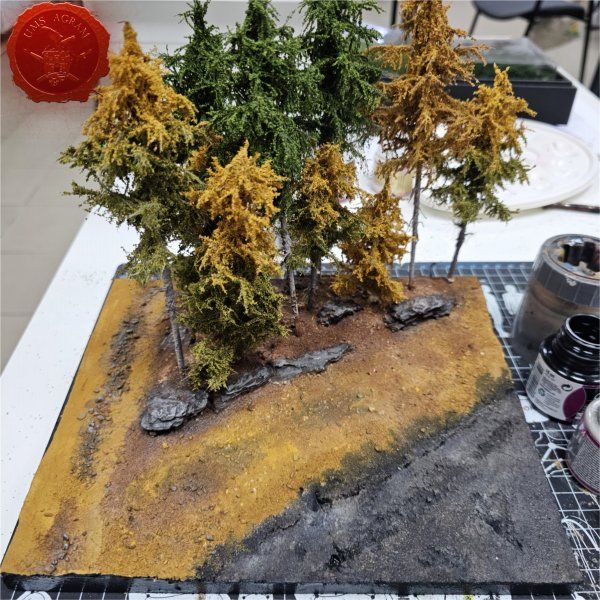
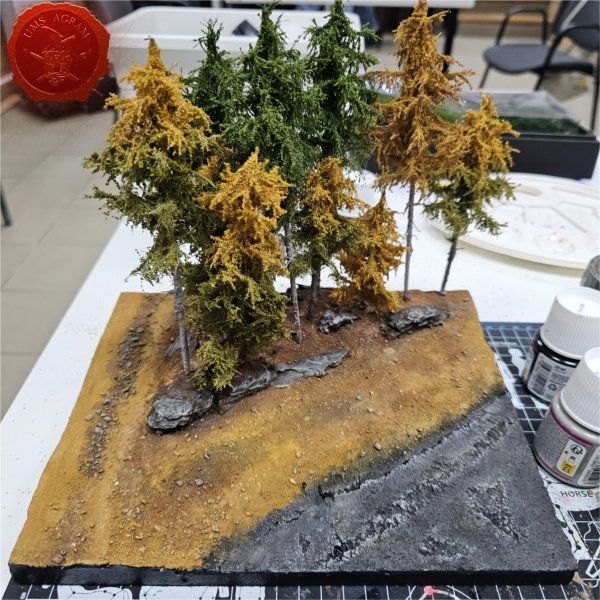
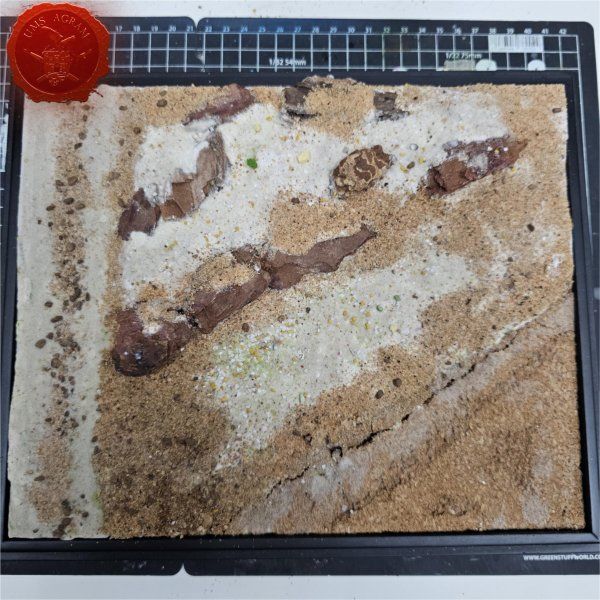
When the clay dried, I covered everything except the wheel tracks with diluted PVA glue and sprinkled with two different types of sand. I didn't bother too much about the texture because I had already planned to cover most of the surface with vegetation. The only place I tried was the road. There I carefully applied glue and sprinkled with sand.
For this article, that's it. Next time start painting the base.
Latest articles
- SFRJ 1986 v2 Diorama part 5 Marko Paunović, 19th January 2026
- SFRJ 1986 v2 Diorama part 4 Marko Paunović, 19th January 2026
- SFRJ 1986 v2 Diorama part 3 Marko Paunović, 19th January 2026
- SFRJ 1986 v2 Diorama part 2 Marko Paunović, 19th January 2026
- SFRJ 1986 v2 Diorama part 1 Marko Paunović, 19th January 2026
Latest battle-reports
- Kill Team - Blooded vs. Vespid Stingwings 28th February 2025, GW - Warhammer 40.000, and Antoni Pastuović (Imperial Guard)
- 22nd April 2022, GW - Warhammer 40.000, Borna Pleše (Space Marines) and Kristijan Kliska (Tau Empire)
- 17th November 2021, GW - Warhammer 40.000, and Nino Marasović (Space Marines)

