
Building a display base for Agramers v.2
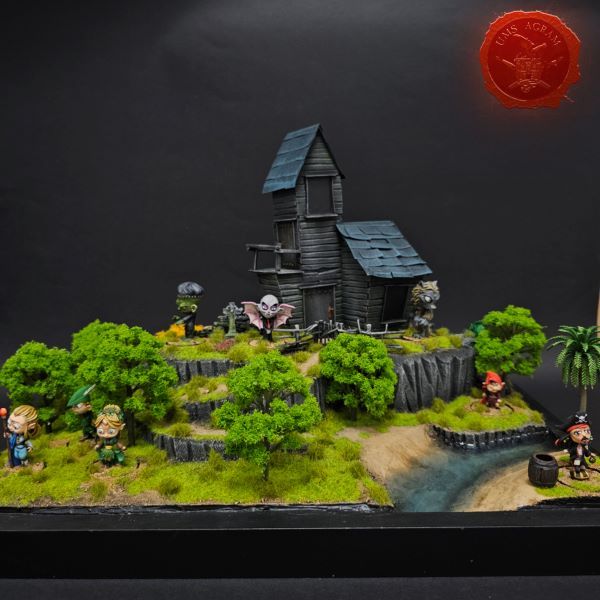
In this article, I will briefly describe the process of creating a scene base for Agramer v.2, from idea to creation, painting, adding vegetation, and finally casting the slices.
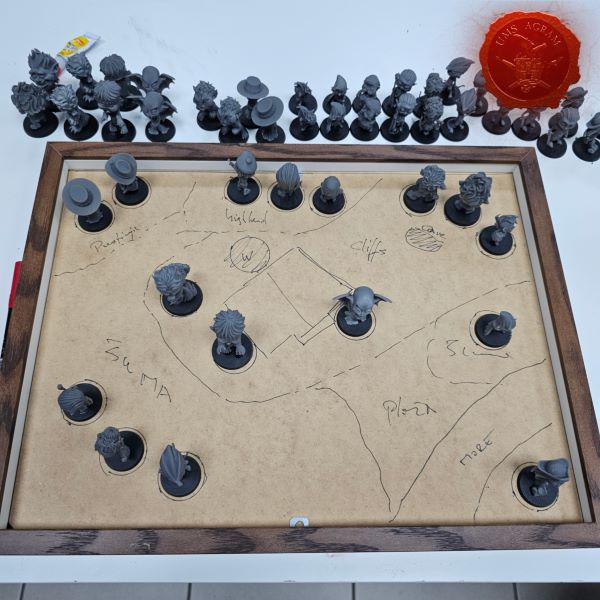
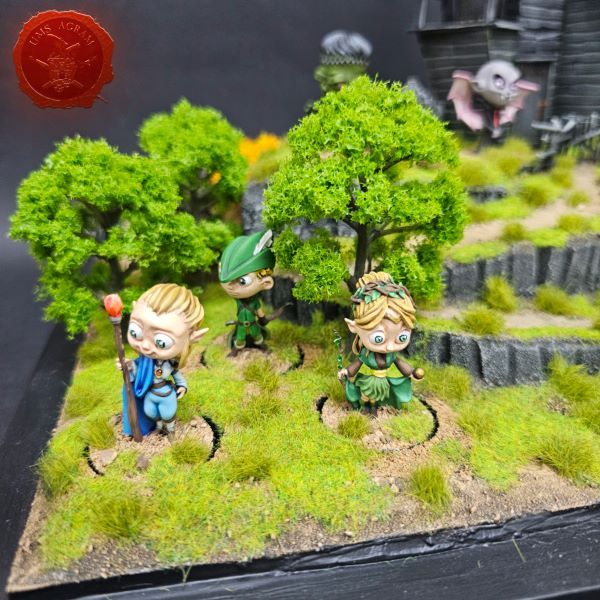
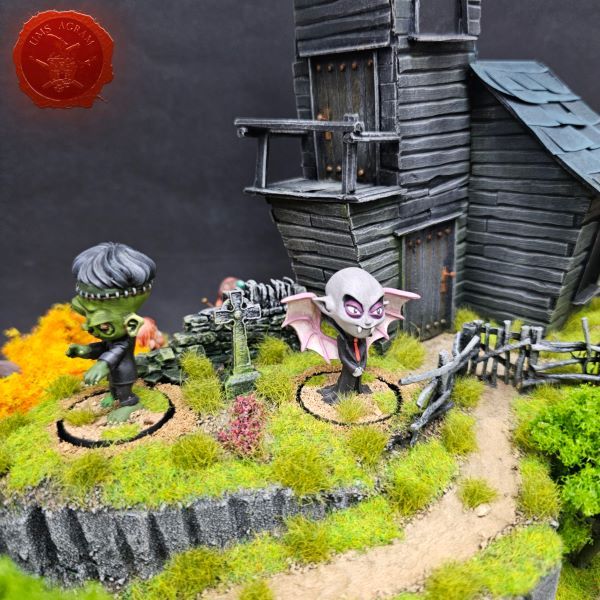
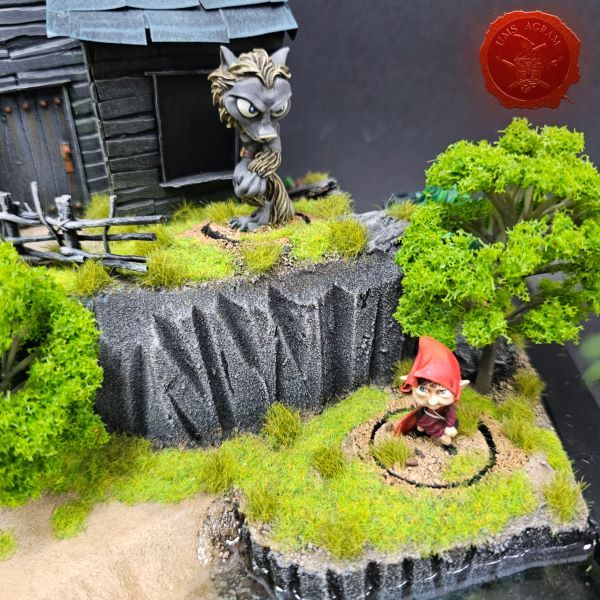
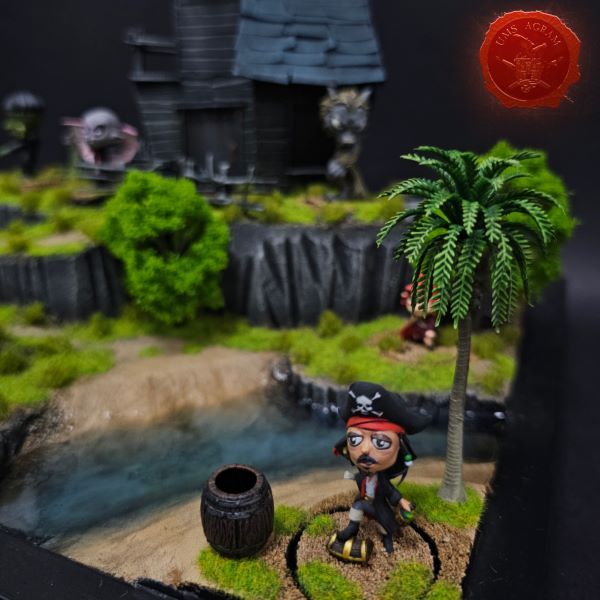
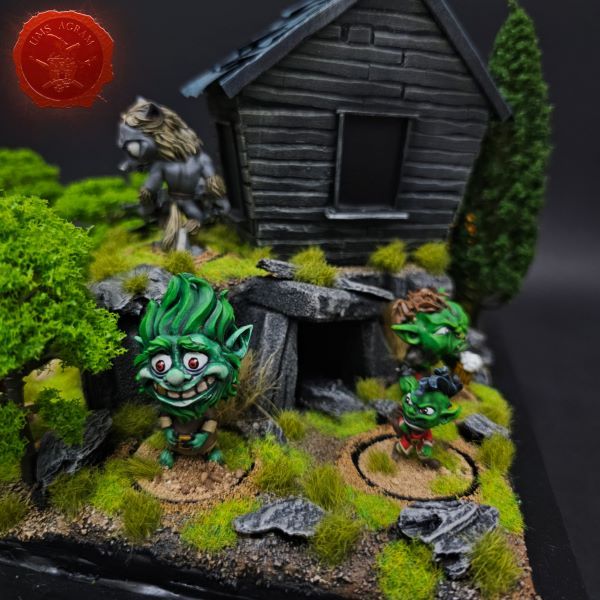
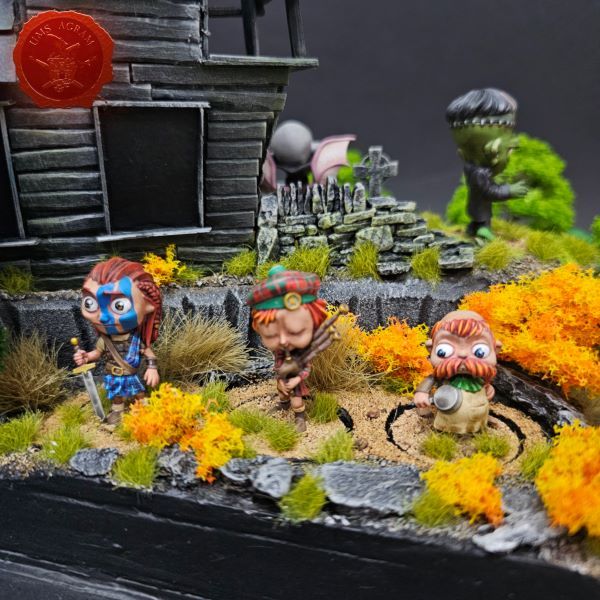
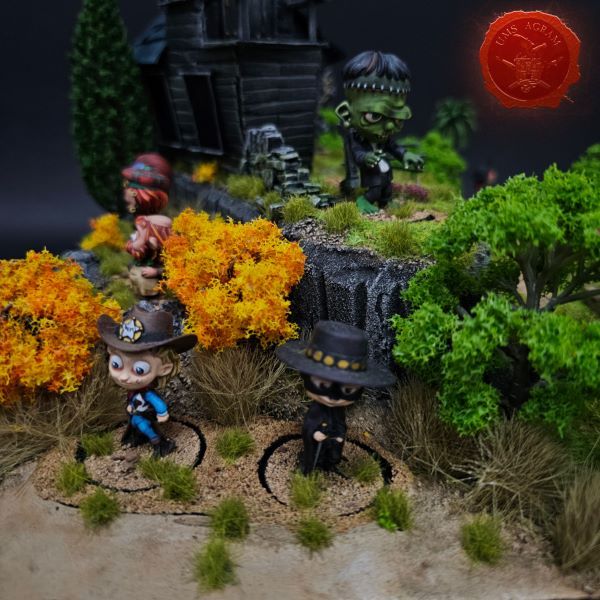
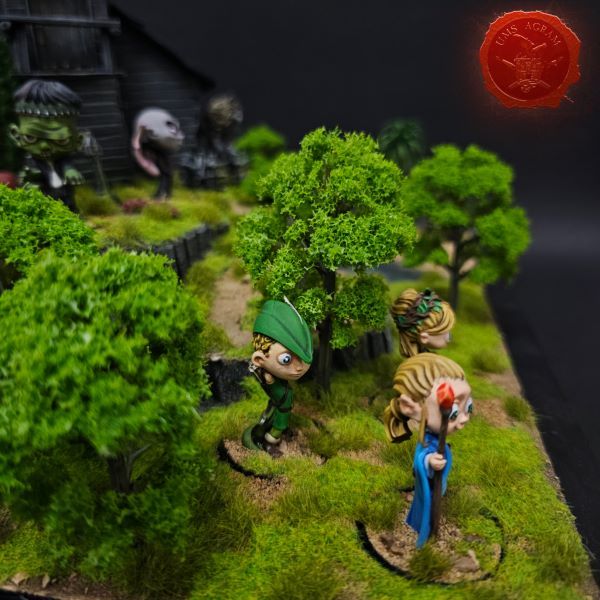
The first step in the creation is the idea. For this project, it wasn't too difficult for me, because I participated in (creating) how the figures themselves should look. Therefore, I already had them arranged in some groups in my head. Orc, troll and goblin in one; vampire, Frankenstein's monster and werewolf in another; desert Zorro and sheriff; Highland/Scottish Braveheart, dwarf and bard; and forest Robin Hood, Elf Mage and Elf Enchantress. In the end, there remains the gnome and Jack Sparrow who goes to the island. Inside the purchased frame, I placed the figures, and drew the outlines of the terrain.
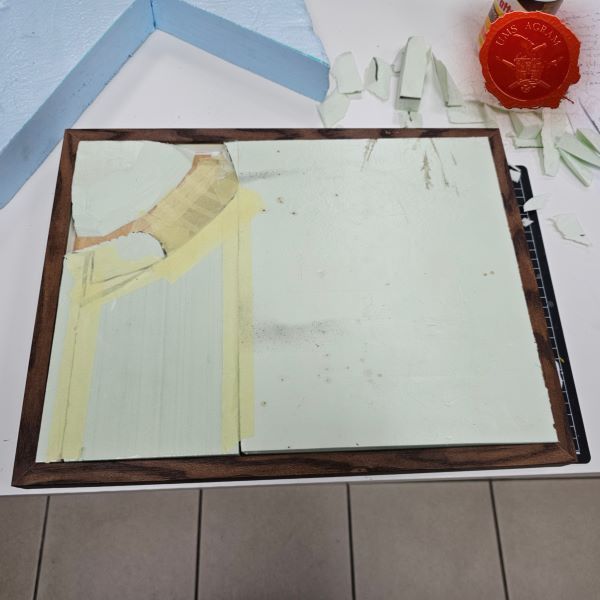
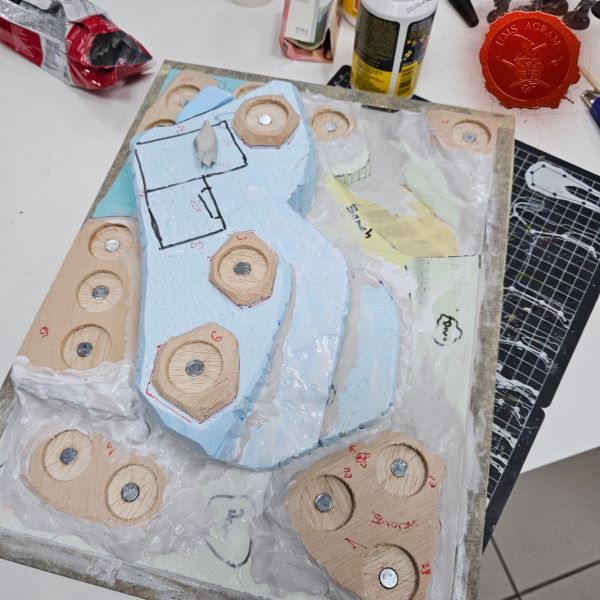
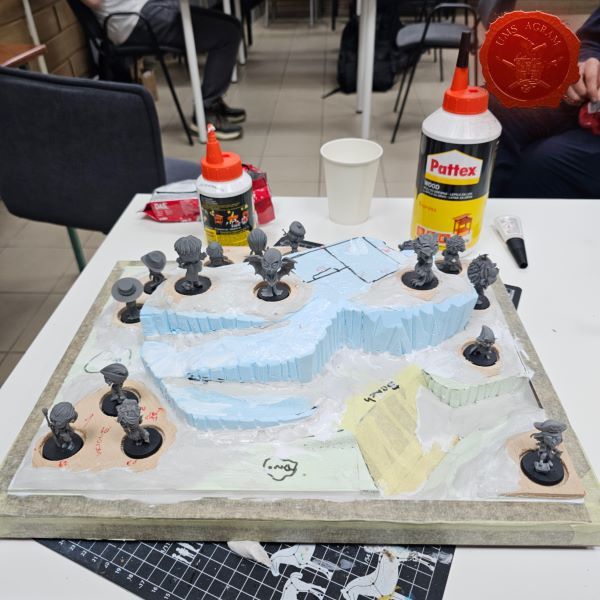
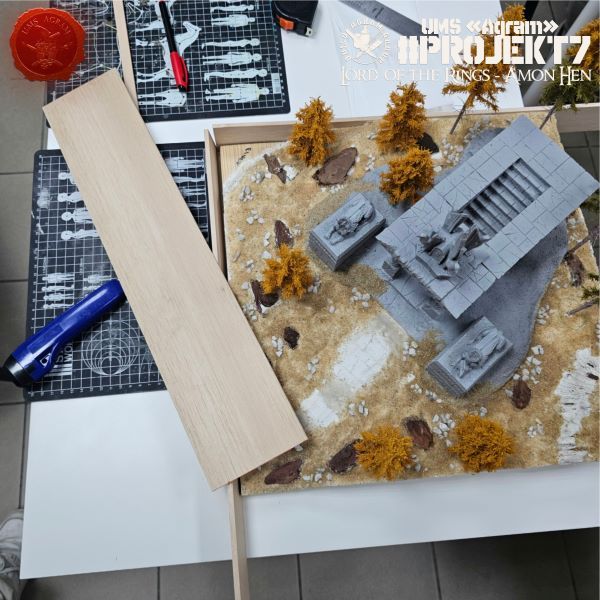
After that, I added volume to the base using 2 cm and 5 cm thick HD Styrofoam, slowly shaping the final look of the terrain. I also tried out the look with the figures in each iteration.
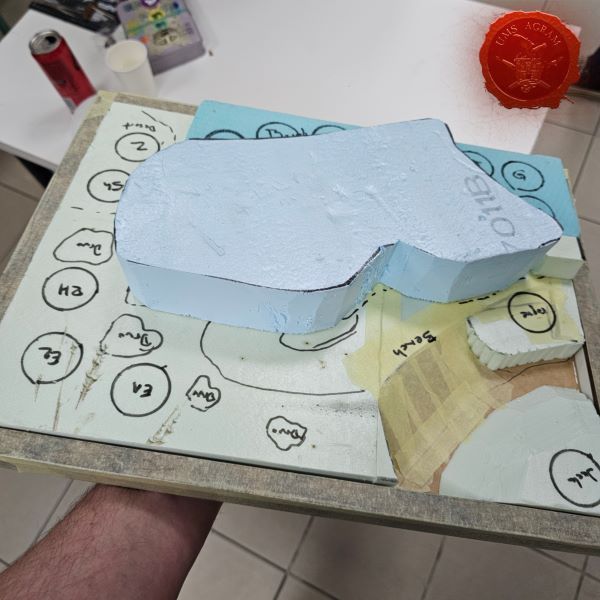
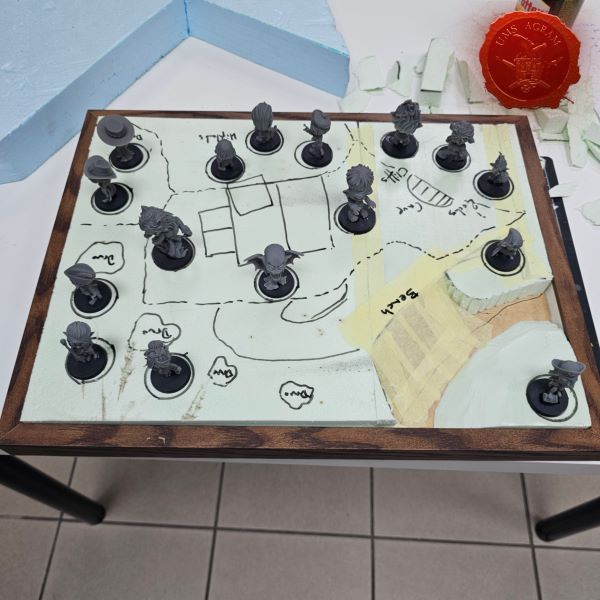
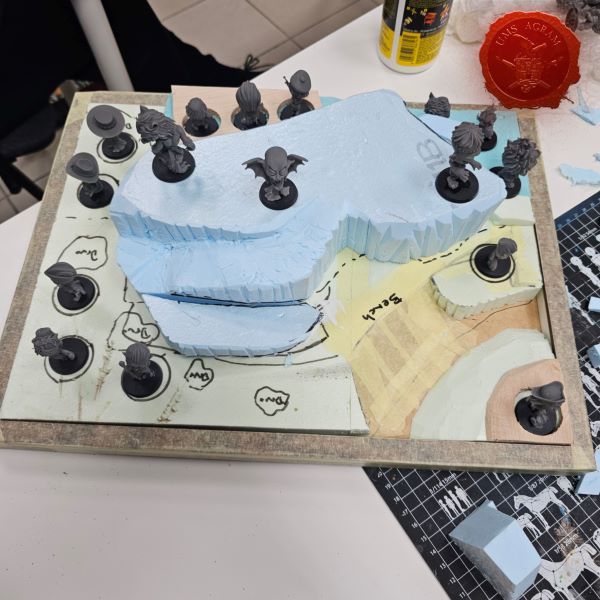
Once I was happy with the look, I tackled the problem of locking the figures. Since this base is primarily intended for transportation and display at various performances, I wanted the figures to be attached to the base quite firmly, but still be able to be removed from it. From experience, it is best to use magnets for this. They are difficult to attach, or rather glue, to Styrofoam. Therefore, I had to make slots for the figures from balsa, in which I drilled holes for the magnets. When placing them, make sure that all the magnets on the base are facing the same way - so that you can move the figures to other places if necessary. Also, turn the magnets to the opposite side when placing them in the figure bases. The easiest way to do this is to mark the side of the magnet on which you will put the glue.
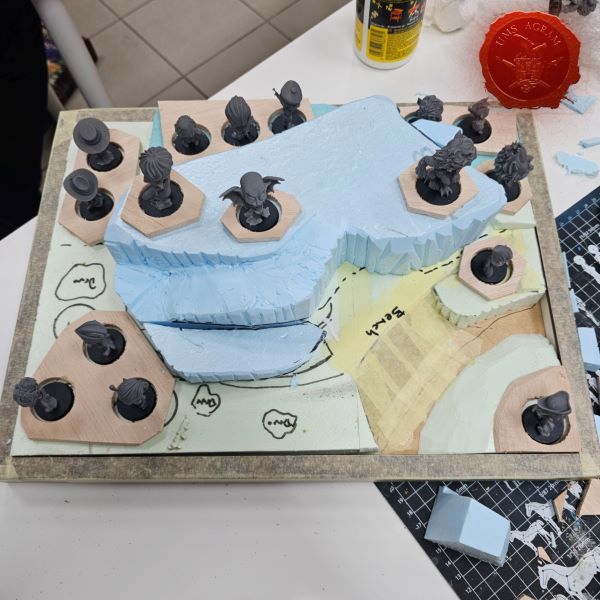
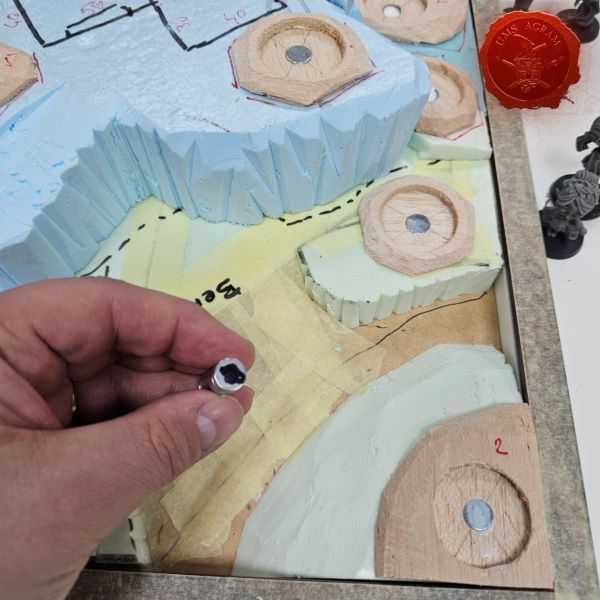
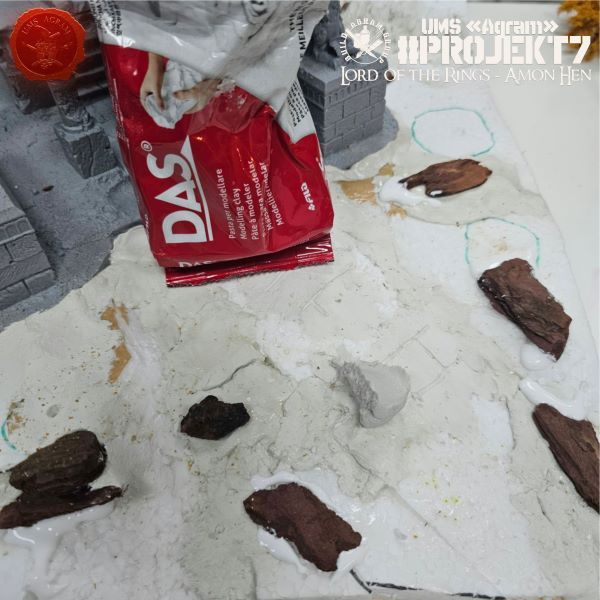
Then, using DAS clay, I created transitions and smoothed out individual parts to make them look natural.
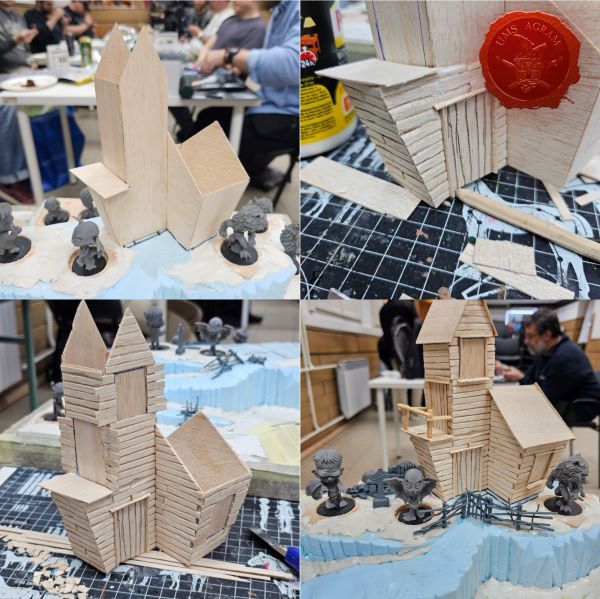
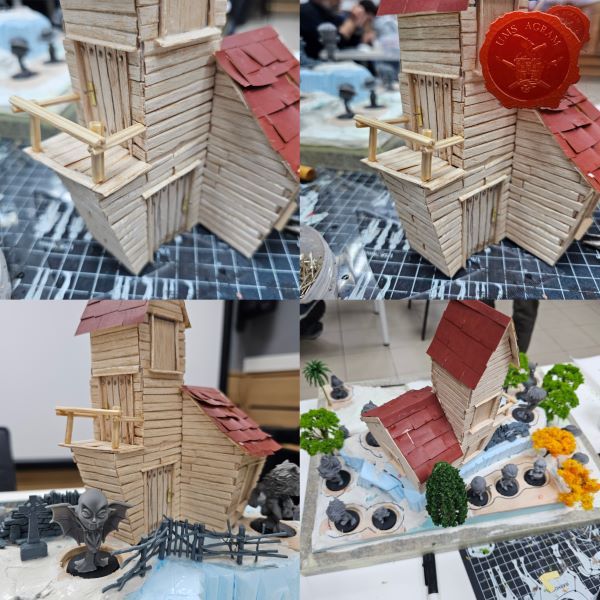
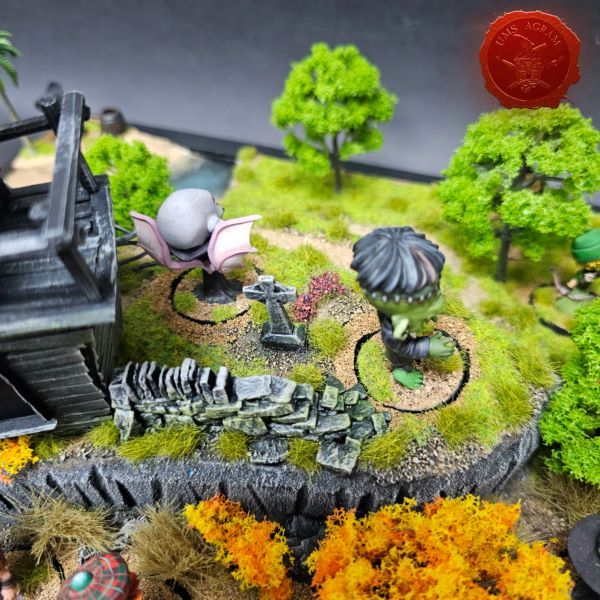
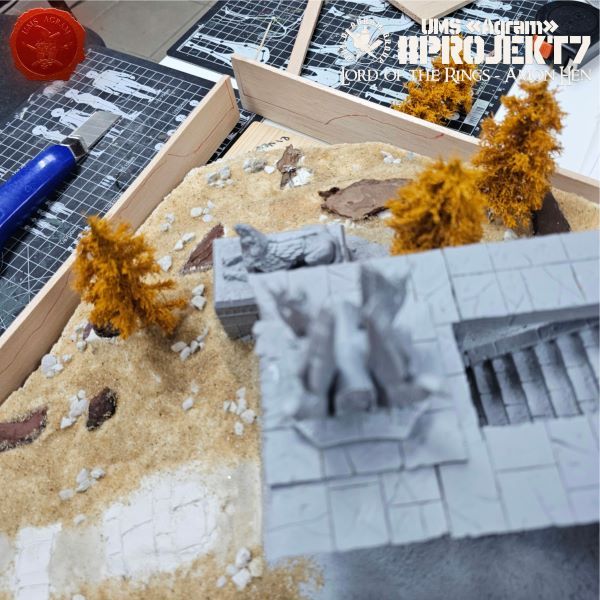
The next step was to build the building. I decided on a Burton-esque haunted house design with a turret. I built it out of balsa, cutting each slat individually. I made the roof out of sandpaper sheets.
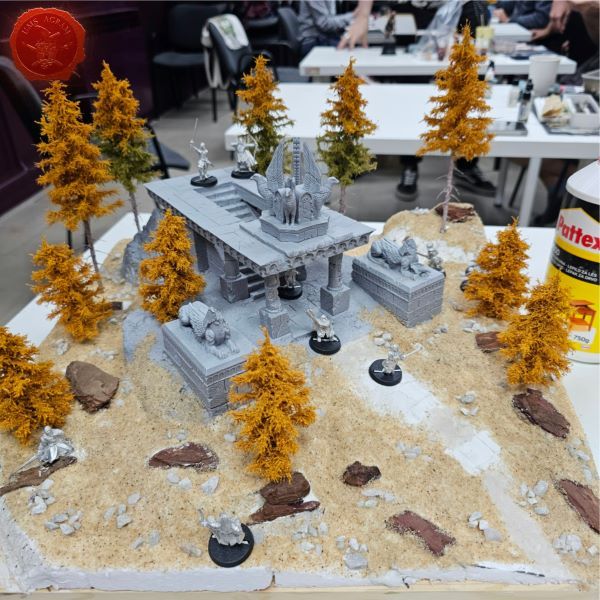
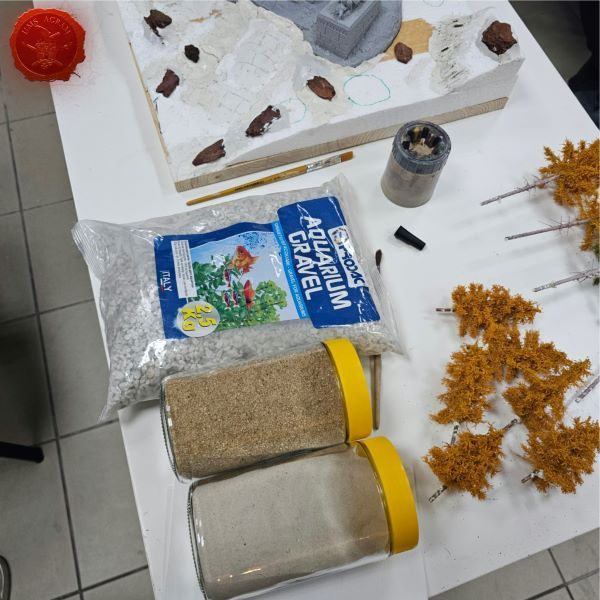
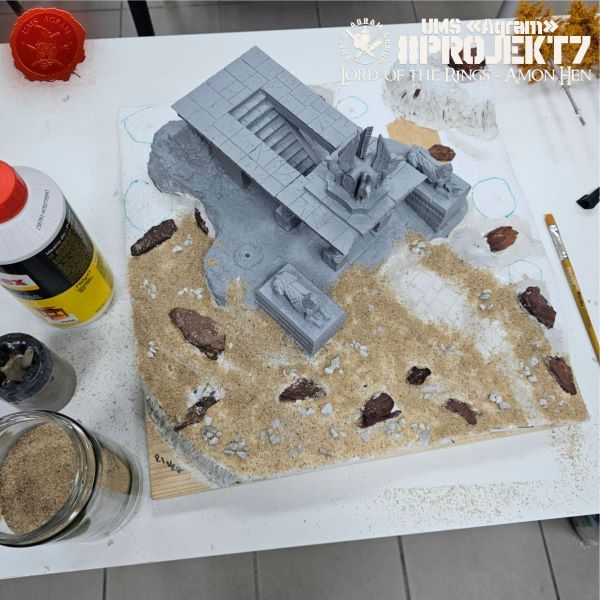
Then I added texture. I used pebbles and sand in several granulations which I glued together using PVA glue. In parallel with this process, I drilled holes for the trees and tested how it worked.
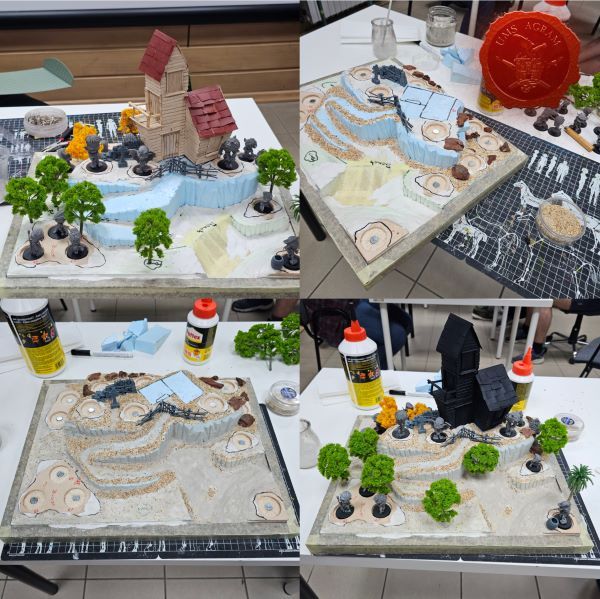
Painting was the next step. As always, I used PEBEO DECO acrylic paints. Black, gray, white, brown, and ochre are the shades I most often use to get a uniform look for my courts.
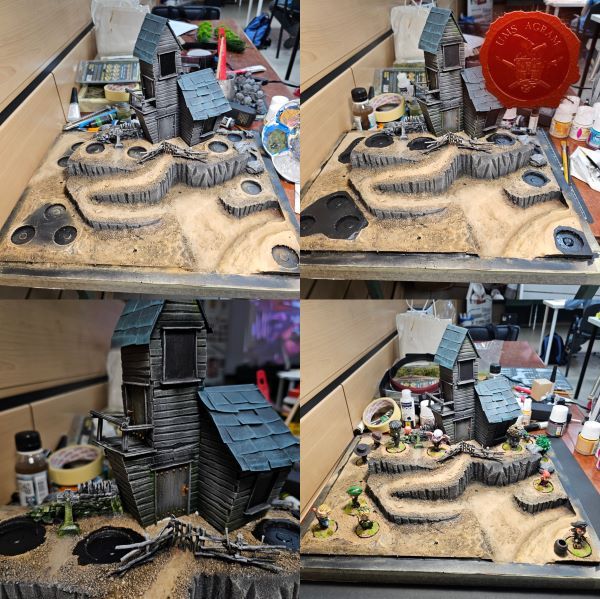
After painting, it was time for the vegetation. I placed two or three types of 5-7 mm tufts and static grass. In addition, I placed trees that I glued using PVA glue.
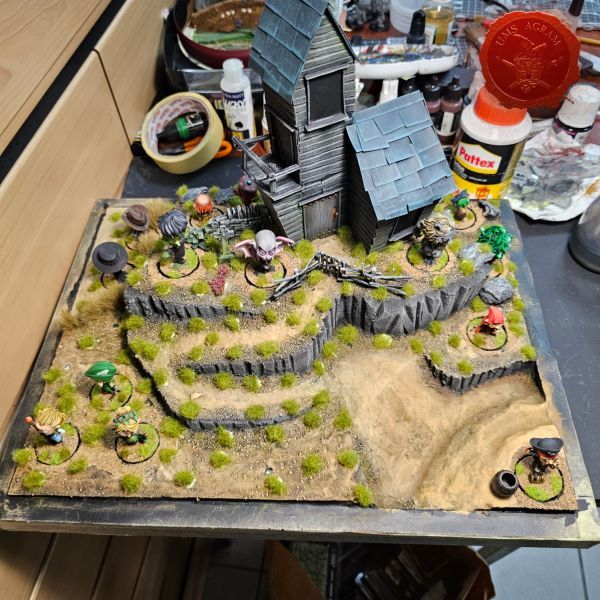
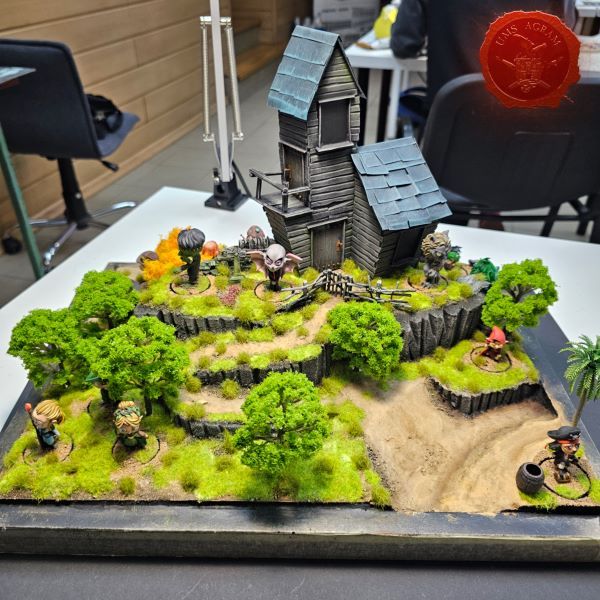
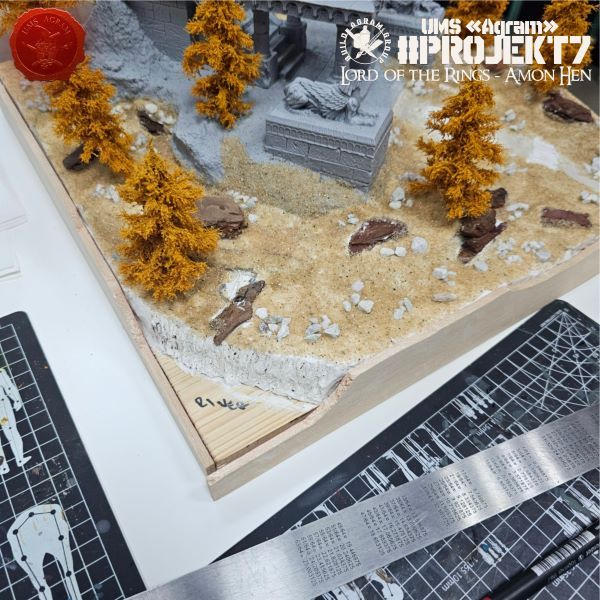
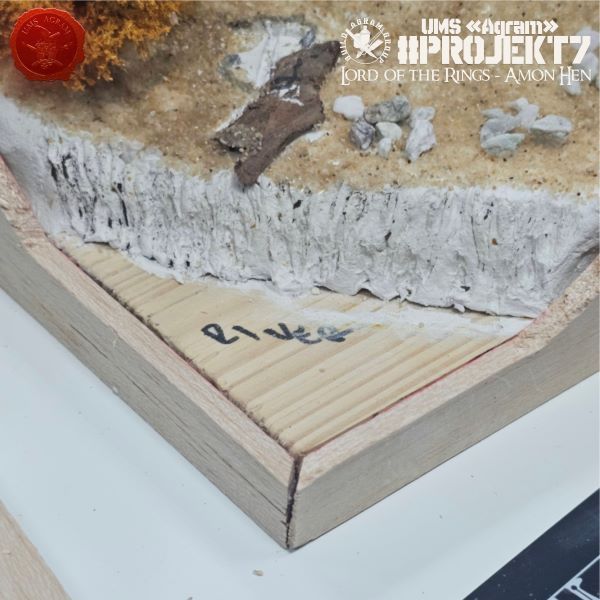
The last step was pouring the resin for the sea. I use two-component Gedeo Crystal Resin, which I tint with Pebeo Vitrail. First, you need to mix the two resin components well in a volume ratio of 1:2. When it is well mixed, I add Vitrail color drop by drop to the resin until I am satisfied with the tone of the resin. I pour the resin from the container so that it drips over the stick, this way I get rid of air bubbles that are created by mixing.
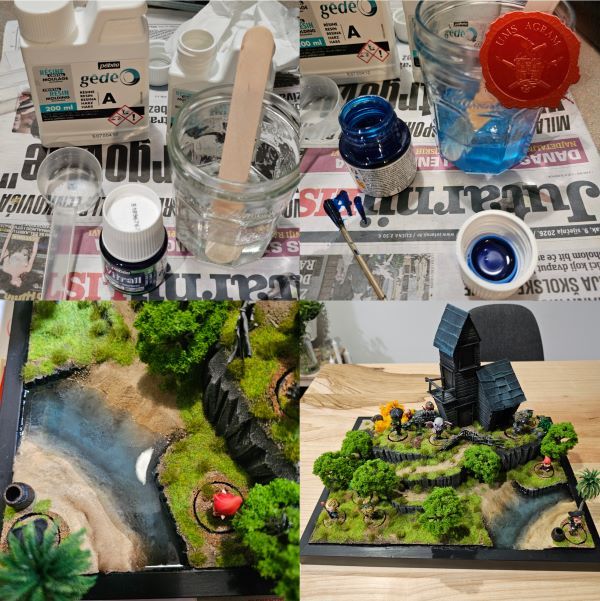
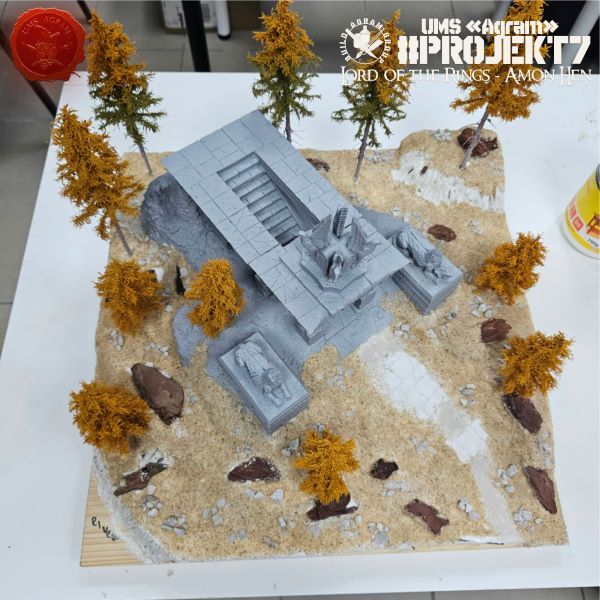
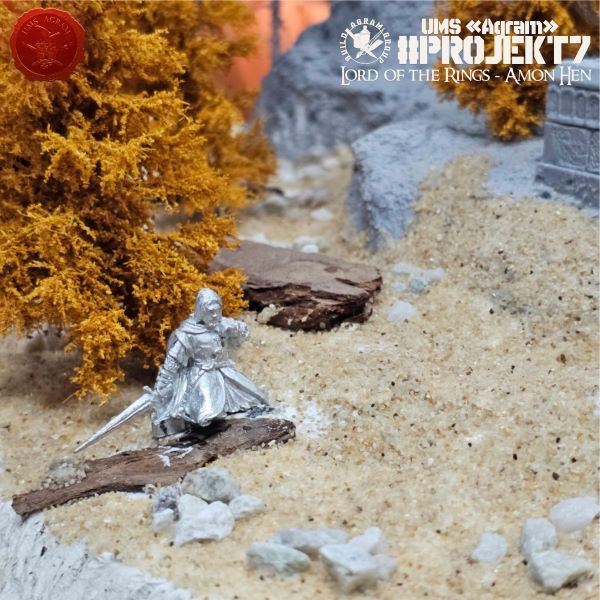
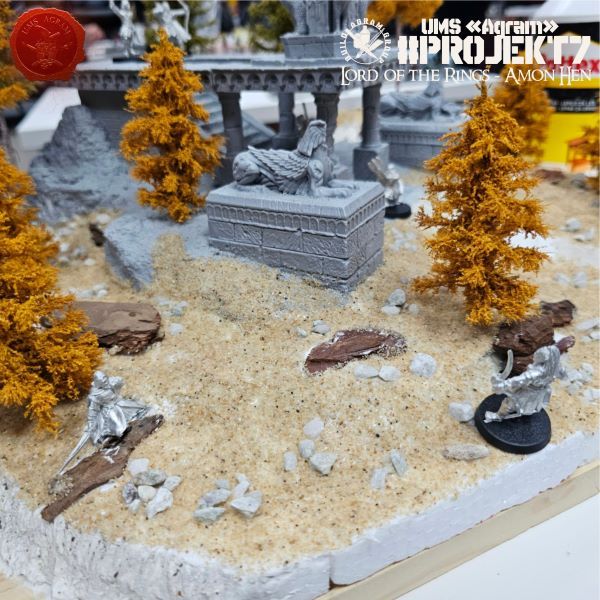
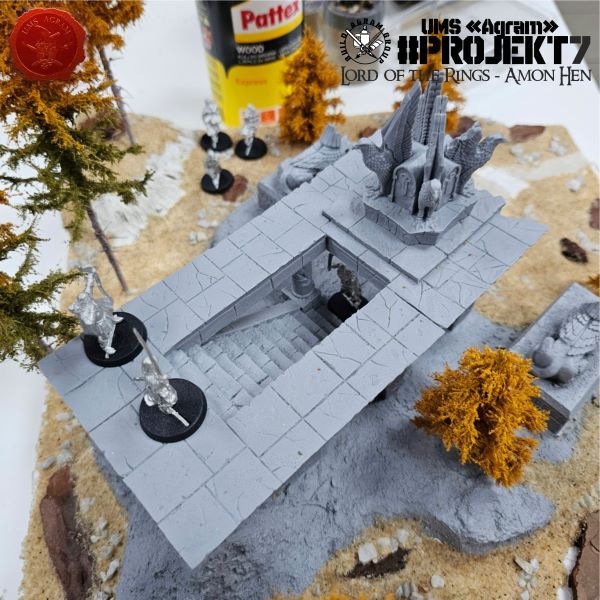
This completed the creation of the stage base. Below is a short gallery of close-ups of the base with figures.
Latest articles
- Agram Group Build #7 – Amon Hen, pt.5 Krunoslav Belinić, 15th October 2026
- Agram Group Build #7 – Amon Hen, pt.4 Marko Paunović, 8th October 2026
- Agram Group Build #7 – Amon Hen, pt.3 Krunoslav Belinić, 1nd October 2026
- Agram Group Build #7 – Amon Hen, pt.2 Marko Paunović, 24th September 2026
- Signs for your plinths Marko Paunović, 24th September 2026




Latest battle-reports
- Kill Team - Blooded vs. Vespid Stingwings 28th February 2025, GW - Warhammer 40.000, and Antoni Pastuović (Imperial Guard)
- 22nd April 2022, GW - Warhammer 40.000, Borna Pleše (Space Marines) and Kristijan Kliska (Tau Empire)
- 17th November 2021, GW - Warhammer 40.000, and Nino Marasović (Space Marines)