
Modular Gaming Board
In the past issues I've been dealing with various forms of terrain for my Malifaux games. I've started with several bigger, feature terrain, like Western Church with a graveyard, Undertakers or Water tower with a fog machine. I've then continued with a train set accompanied by several modules worth of railroad tracks. Finally I ended with three modules of a dried river and a set of smaller gaming pieces (like forests, rough terrain, fences etc). In this issue, I'll be tackling how to build your own modular board, easily and fairly cheaply.
Obviously like with every big project, When making such a board you need to make the blueprints and carefully think everything through. What size will the board be, how many modules, how to connenct the modules, features stretching through a couple of modules - how to make the transitions... Fortunately for me, the basic idea of the board was already in my mind because a lot would be decided and defined by the terrain I've already built. Colours to be used I need not think about as they must be the same as in all the other terrain. Having such a great number of terrain pieces, means that I won't need a lot of features built into my modules. This makes the actual build easier, however deciding what details and features to use and more importantly where to place them, complicated matters. Over the course of the last couple of years I've made quite a number of large terrain pieces that I would like to use in my games. Having details, like large boulders, in wrong places on the board would prevent me from firmly placing larger pieces of terrain on my tabletop. That is something I need to avoid so I will need to take extra care not to get carried away. Let the board look a bit „boring, flat and featureless“.
Planning
Here is the list of needs and wants I've compiled after a couple of nights of planning:
1. easy storage (modules - no big wooden board that's hard to put away) N
1.1. size of the entire board: 90 x 90cm (or as close as possible) N
1.2. board needs to consist of four modules 45 x 45 cm (or as close as possible) N
2. use magnets for fixing the modules N
2.1. connection of the modules - use magnets (diametre 10mm) W/N
2.2. connection of the modules – use plastic pins (diametre 8mm) W/N
2.3. place the magnets/pins in the middle of each board W
3. details W
3.1. dirt paths – only on two or three modules W
3.2. one module without features W
3.3. dirt road – only on one module, as short as possible N
3.4. all of the modules must have at least ¼ of each module without any features N
4. details mustn't continue from one module to the next N
5. features and details as flat as possible (so I can place my terrain on the table easily) N
6. materials to be used – as light as possible N
7. frame – sturdy that won't bend or break easily N
When I compiled the list, already some things were begining to come to light. The need for light materials to be used made the choice easy – only HD Styrofoam could meet the demand on such a large surface or really thin MDF (maximum 5mm thickness). In the end, I went for three modules of HD Styrofoam (as it is less expensive) and one module of MDF (just for the purposes of this article so I can explain how to make it with this material as well). However, the need for sturdy frame and the connection through magnets meant that each module had to have a wooden frame. This in turn meant that the board would be at least 2,5 – 4 cm high. So the volume the board would have when not assembled would be 45 x 45 x 16cm (maximum height). This means that the whole board wouldn't take up too much space which is exactly what I was going for. After a little deliberation, I've decided to go with the magnets as my choice of connection, instead of pins. I'll do the list of pros and cons a little later on in the article. However, I decided to make a mock-up of the pin connection, as well, for the purposes of this article. Next up, was to make a sketch of the entire layout. I made sure I dotted down everything and proceeded to make a list of materials and tools needed.
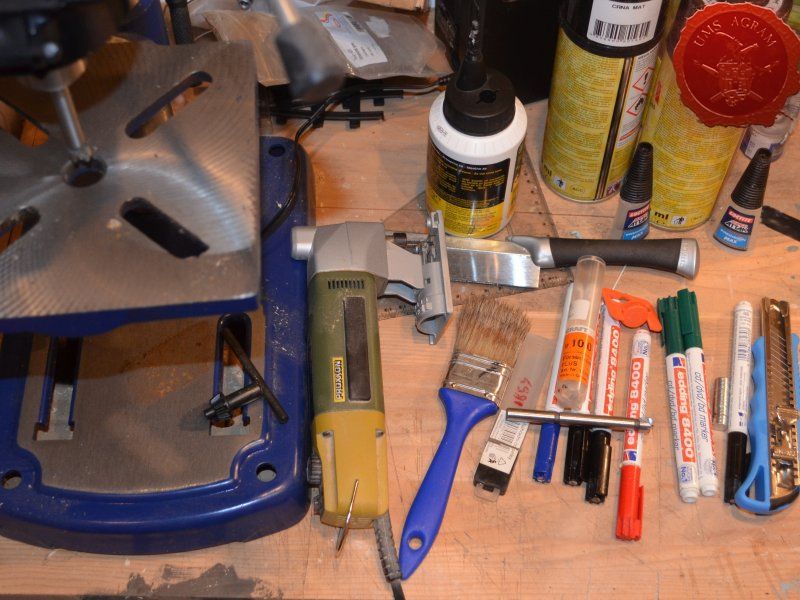
- glues - PVA 1kg, 1x10g Superglue
- paints and spreys
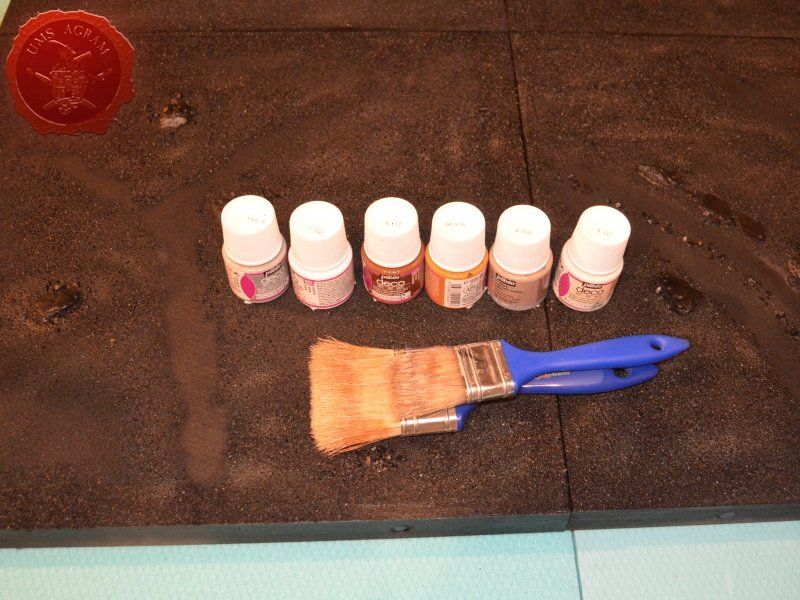
- 6 Pebeo Deco Paints (Black, White, Grey, Brown, Ochre and Ash), one black matt acrylic sprey and one clear matt acrylic sprey
- large brushes No 90, No 40
- airbrush
- brush size 16
- high density sytyrofoam
- 2 boards (1200 x 600 x 20 mm)
- MDF 1 board (50 x 50cm) – just for the purposes of this article!
- 8mm diametre plastic tube – just for the purposes of this article!
- wooden slats
- 8 pieces (30 x 5 x 1000 mm)
- balsa wood 5mm thick (10 x 1000 mm)
- magnets - 32 pieces (diametre 10 mm, thickness 1mm)
- DAS air drying clay (0,5kg)
- plaster (half a cup)
- mould for casting cobbles
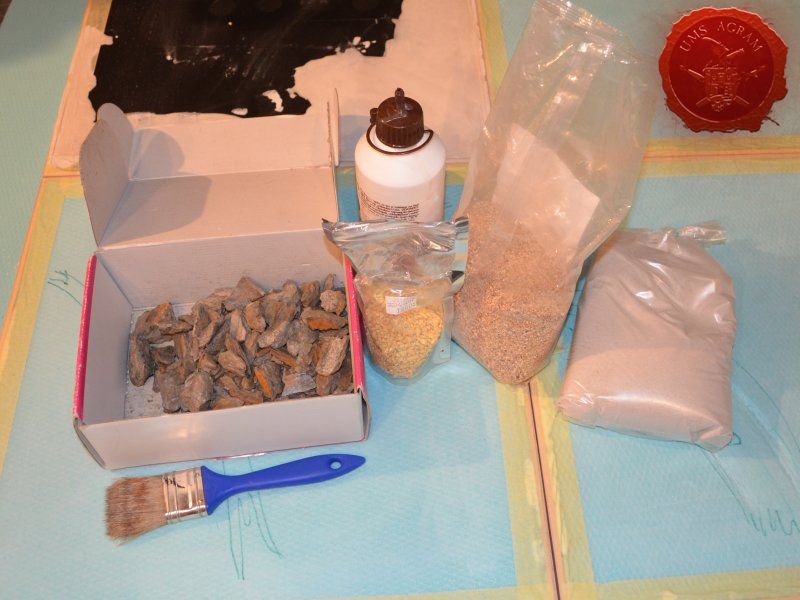
- sand and gravel (4 sizes)
- static grass and scatter (three to four sorts)
- scalpel blade
- jig saw
- disc sander
- modeller's saw
- mill bit (10 mm diametre)
- sanding paper
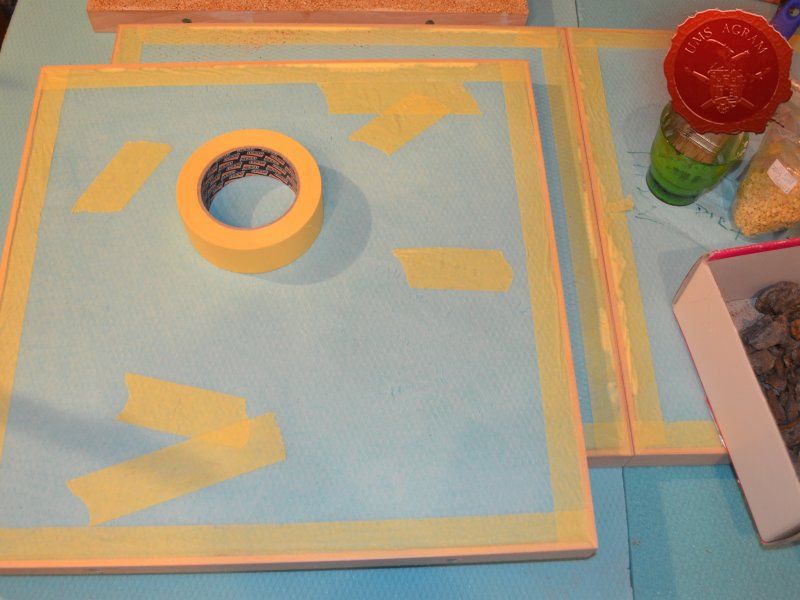
- masking tape

When you make such a list, you can also add where you can buy those items and it'll make your shopping easier and faster. When all summed up, I reckon, my board wouldn't cost more than 30-35USD which is really great as this is even cheaper than normal playing mats and that came as a surprise really.
Actual build
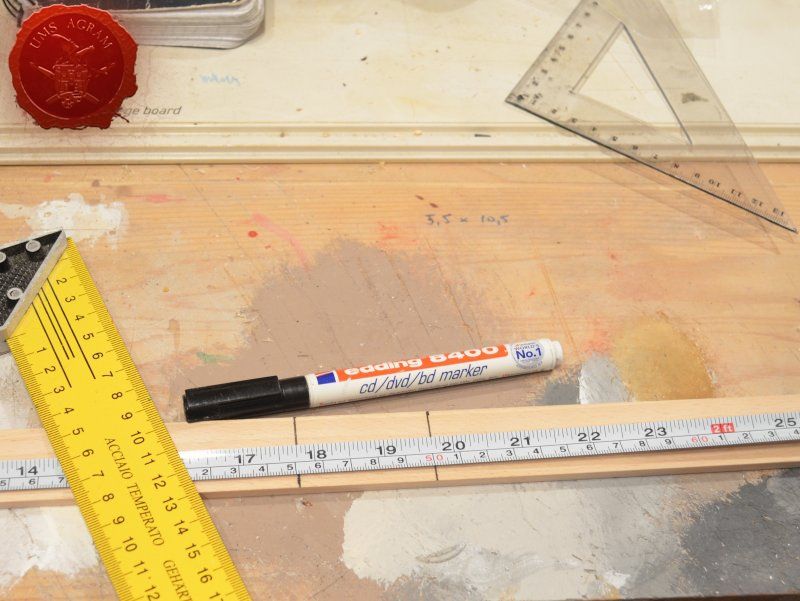
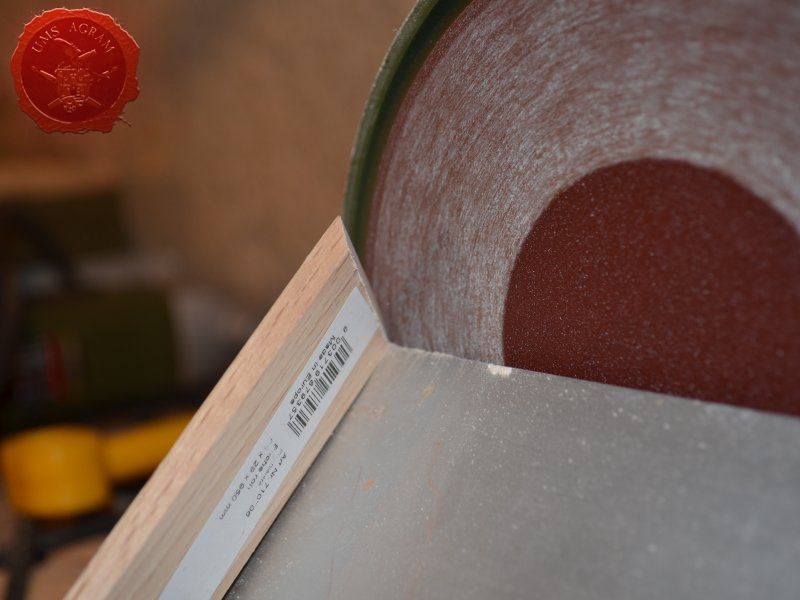
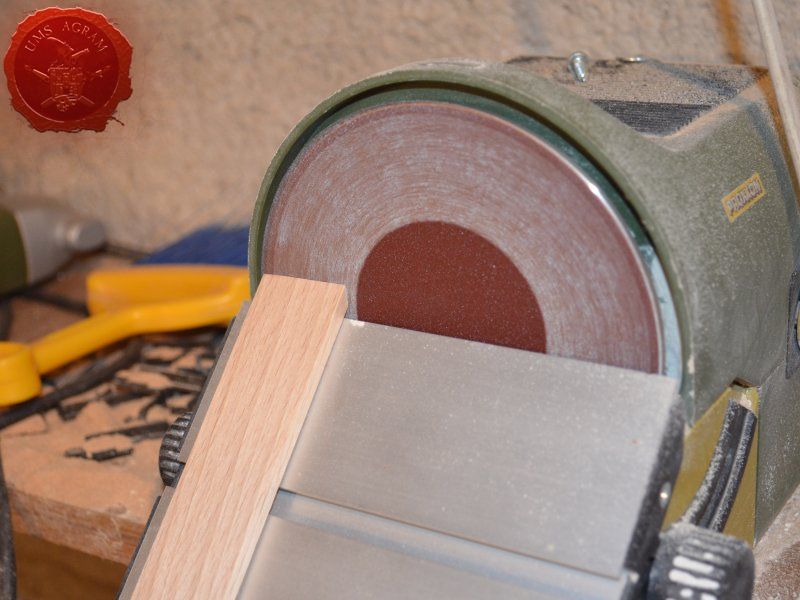
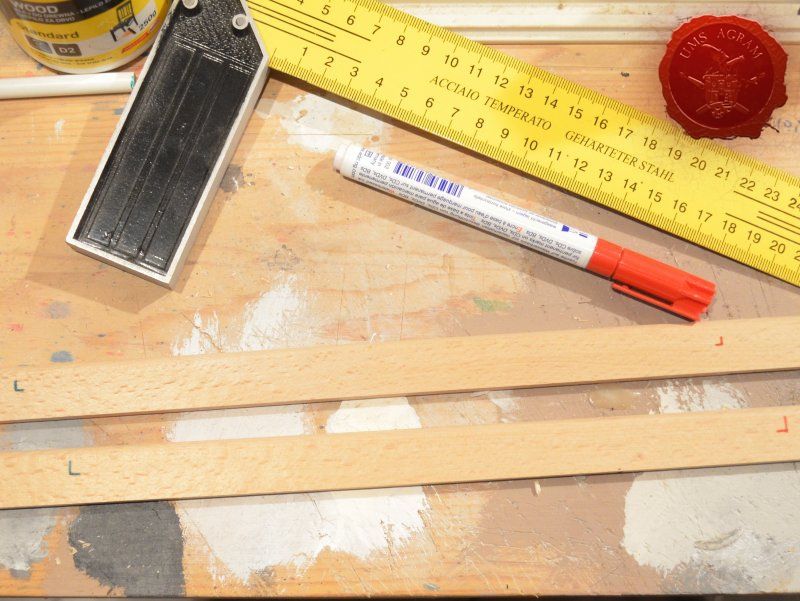
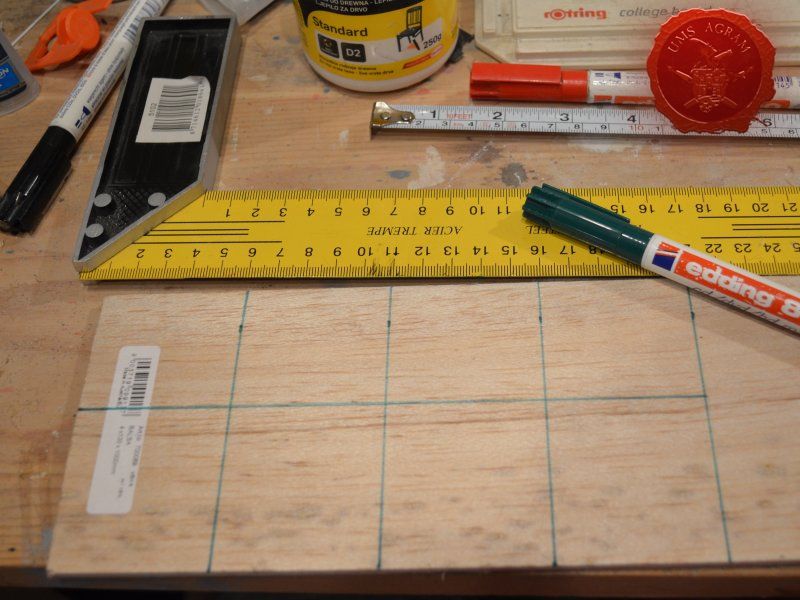
After you purchased everything you need, it's time to start the build. First thing I did when I started was making the wooden frame out of the 8 linden slats 30 x 5 x 1000 mm planks. I cut them 2mm longer than neccessary. Fortunately, the slats being 1000 mm long I could afford it so each slat could be used to make two sides of the frame. They all had leftovers and when finally done, I'd have modules that were exactly 45 x 45 cm. When cutting (with a saw) cut one from one side of the plank and the other from the other side. It will ensure you that you have at least one vertically cut side (factory made). After you make this, you'll have to sand of the extra 2mm of length. In order to have a perfect fit, I used my Proxxon disc sander that has a movable trey which I set up at 45 degrees angle. After both sides of each plank were sanded I checked if I had perfect fits all around.
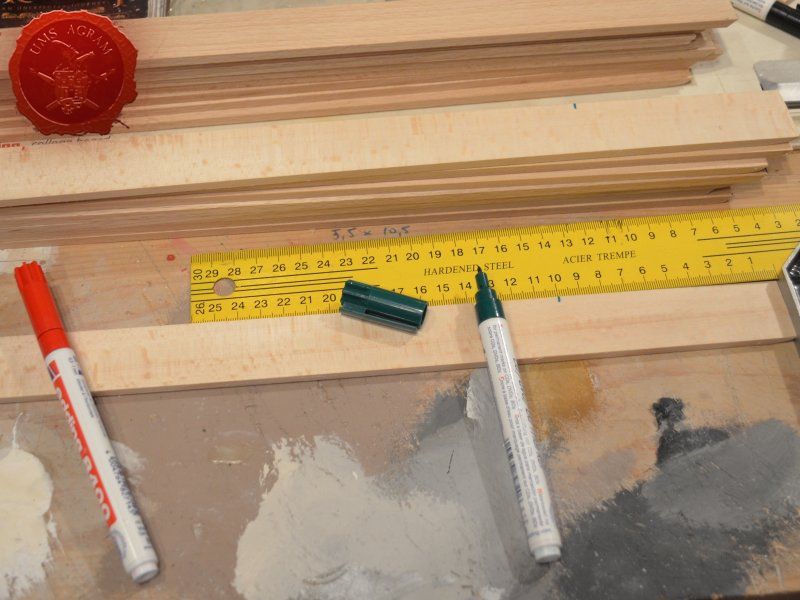
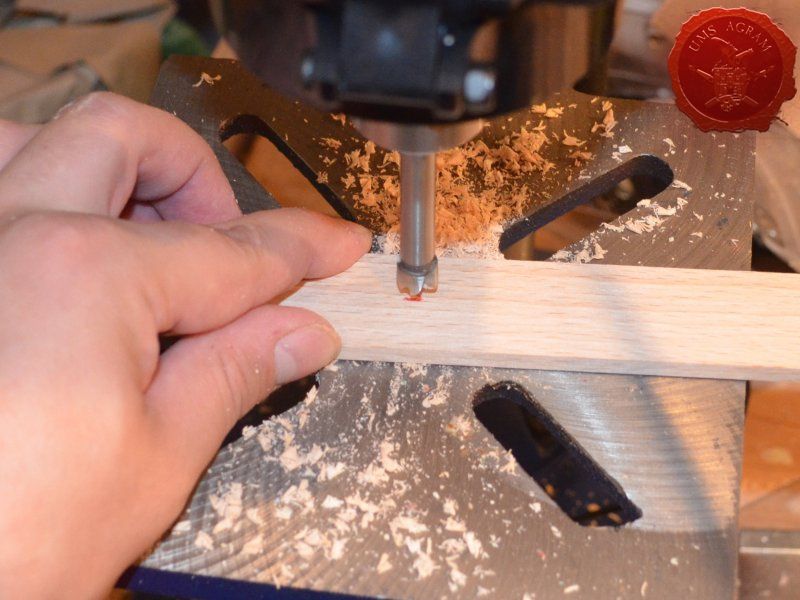
After the wooden frame parts were cut, I proceeded with magnet installment. First of all, I marked one side of all the magnets with green colour and the other with red (note: it doesn't matter which colour you use, obviously, as long as they are sufficiantly different). When I had all my 32 magnets marked on both sides, it was time to mark the wooden frame slats exactly where I would place them. I decided to place them exactly 10 cm from left/right side and exactly 1,5 cm from the top side. Using a marker I jotted down the exact centre so I could aim the vertical drill more easily. I placed the 10 mm diametre mill bit into it and drilled 2 mm deep into the wooden slats. I glued the magnets using a mixture of PVA glue (inside the hole) and superglue (on the magnets).
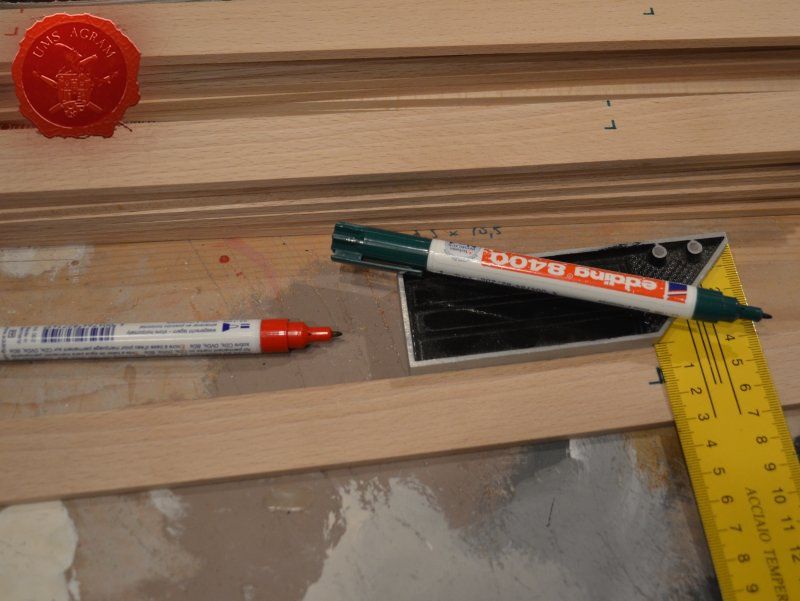
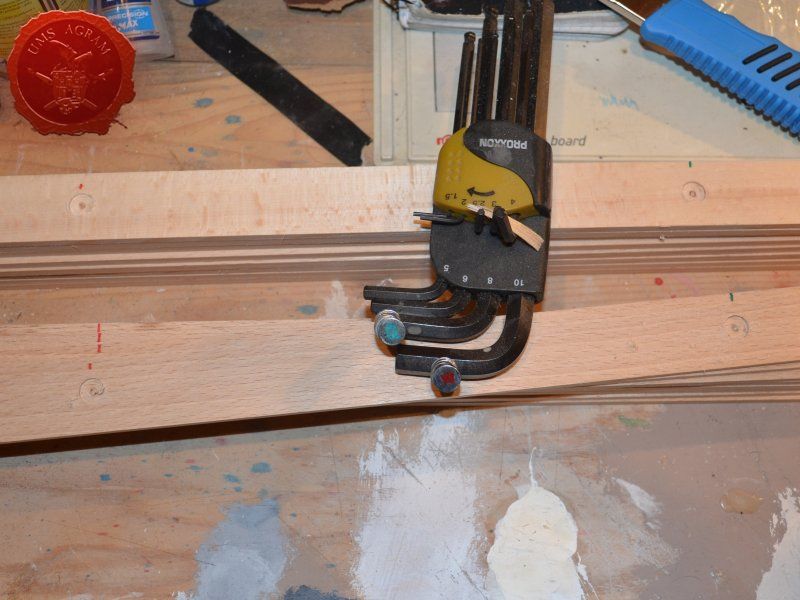
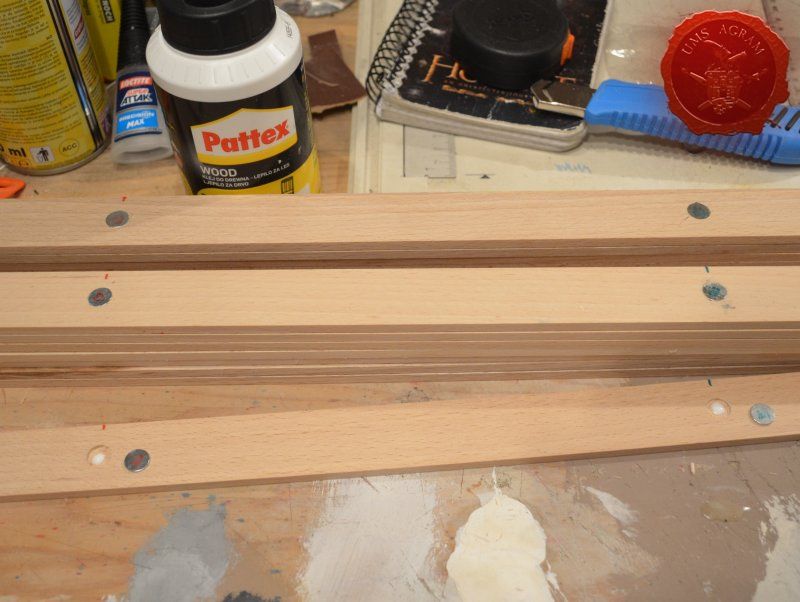

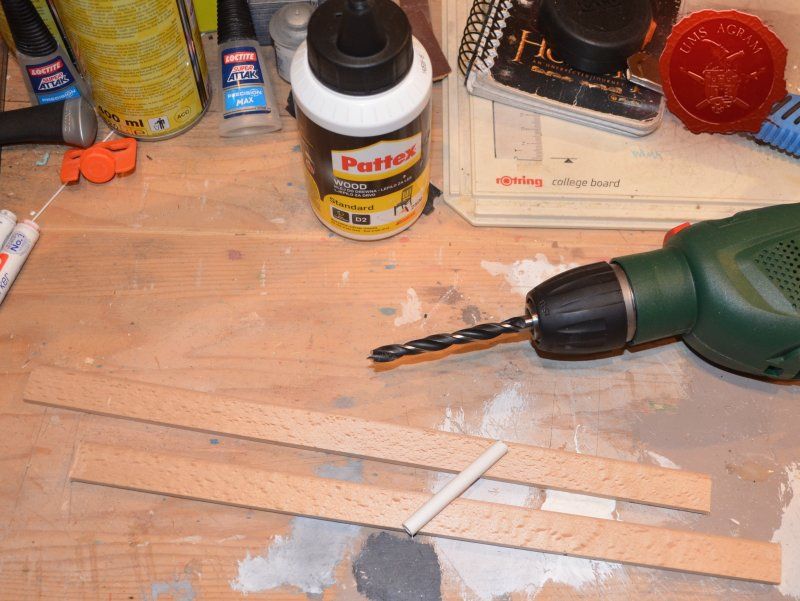
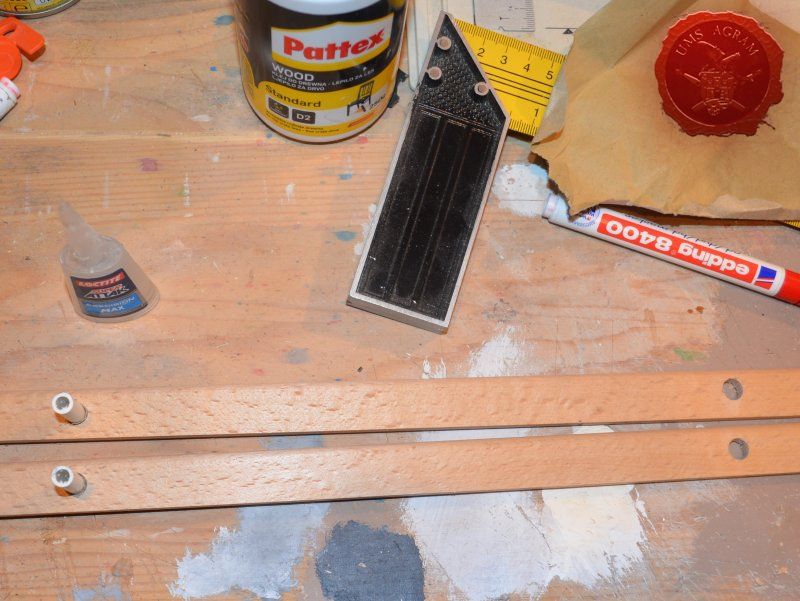
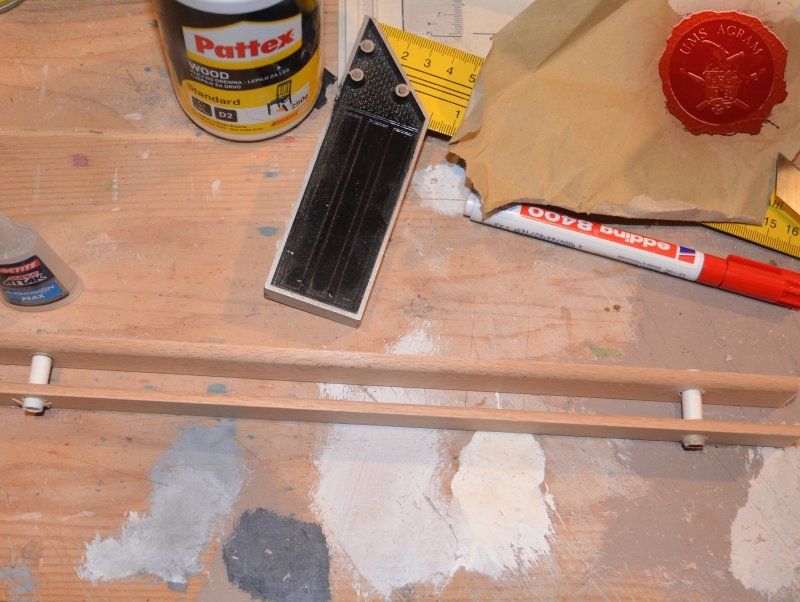
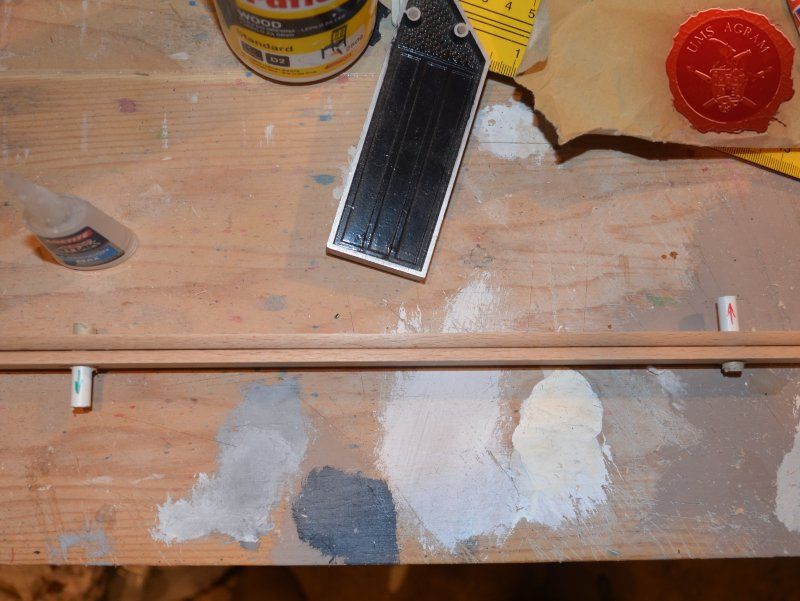
In the design phase I mentioned another way to connect the modules. The preparations for the pin connection are mostly the same. Decide where to place the pins (how far from each side of the module and on which height). Using a drill of appropriate size (8mm in this case), I made the holes straight through the wooden slat. I then proceeded to cut the plastic rod into pins of desired length and placed one pin per side. Like with magnets, I carefully marked each side of the module with separate colour (red and green). One colour would have the pin (be the male jack) and the other would have the hole (be the female jack). I would suggest that your pins protrude at least 2,5cm. If you've done everything right, the pins should align precisely with the holes and you should get a perfect fit. Using the pins will provide a more permanent and rigid connection than the magnet version. However, storing the modules would require more space. Of course, you could always opt not to fix the pins to the modules and store them in a separate bag.
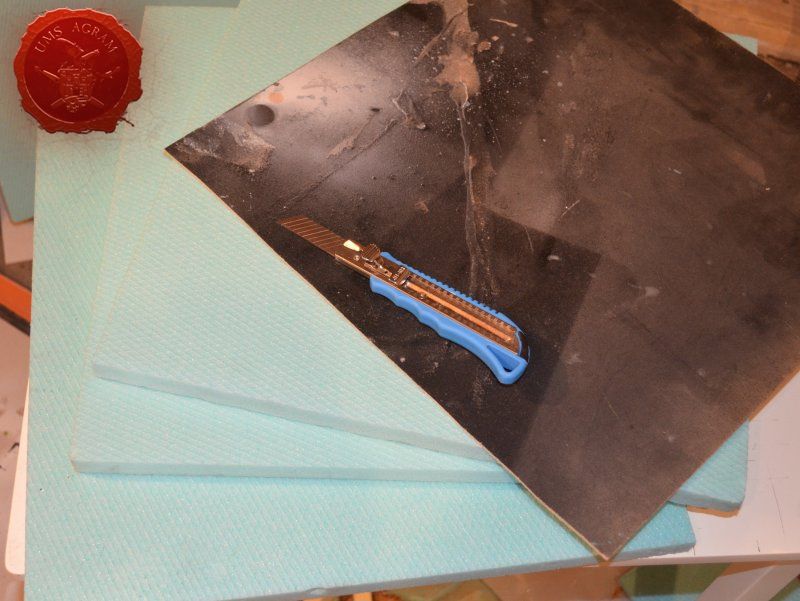
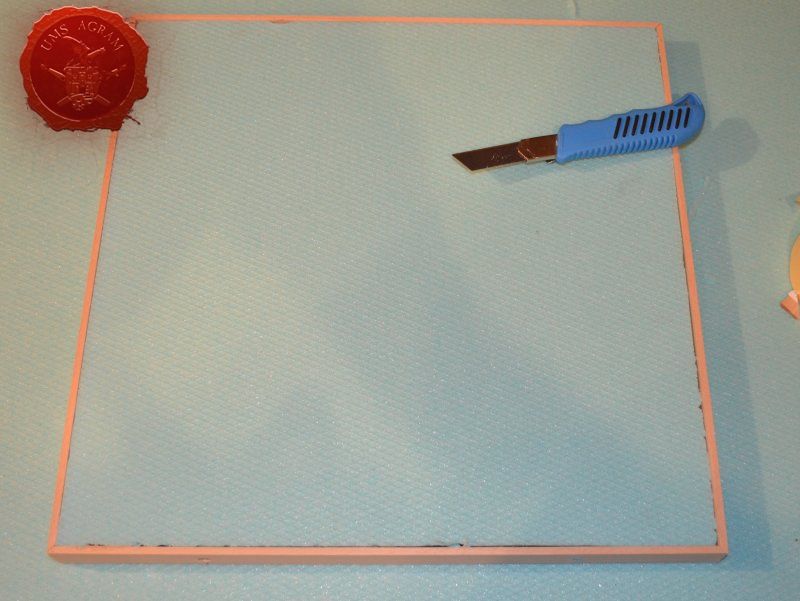
As mentioned above, on three of the modules, I would be using high density styrofoam to make the body of the board so I now had to cut it into four pieces that would go into the four frames of the modules. Since the frames' outside dimensions were exactly 45 x 45 cm and the wooden frame thickness was 5 mm (on each side!), that meant that my styrofoam boards needed to be exactly 44 x 44 cm so using some straight wooden planks (balsa wood) I first drew the outline and then using my scalpel blade I cut the four pieces.
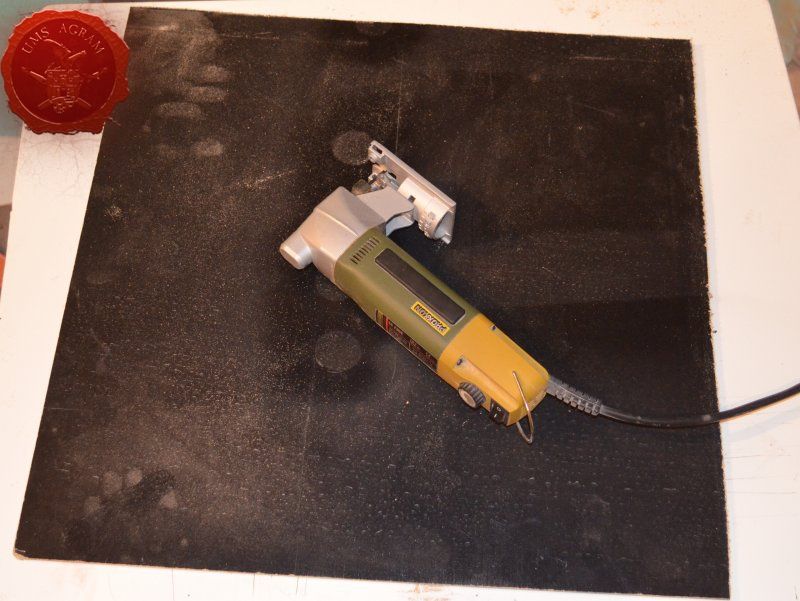
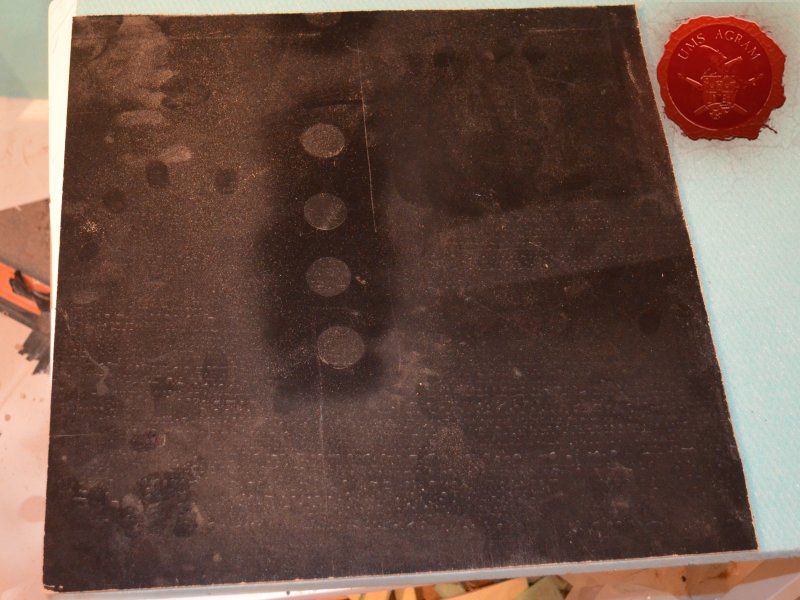
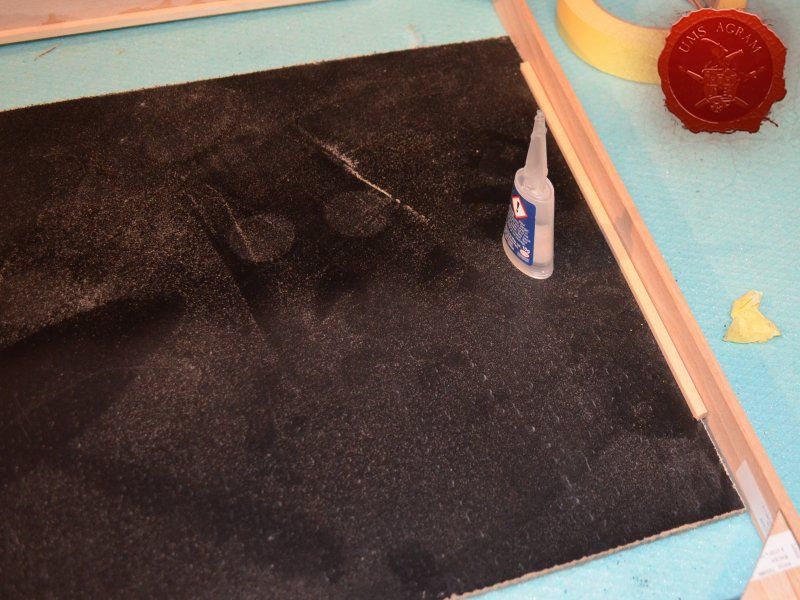
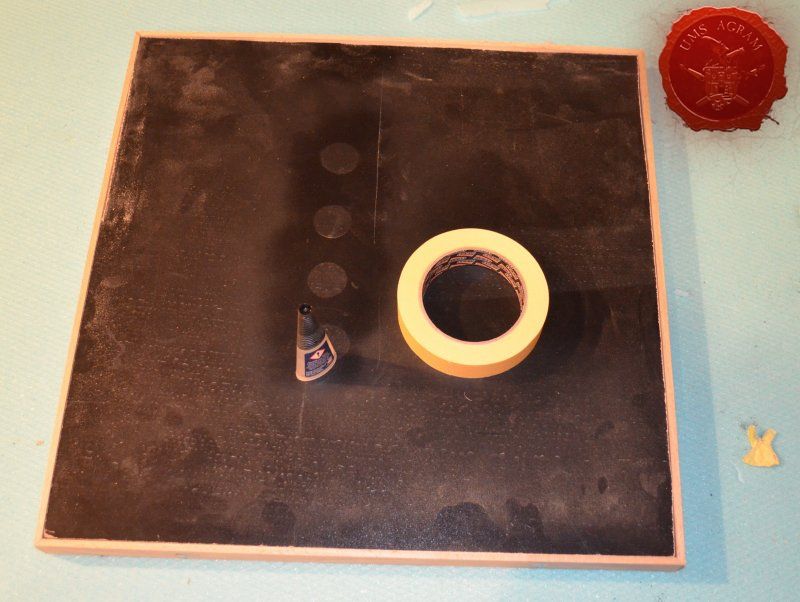
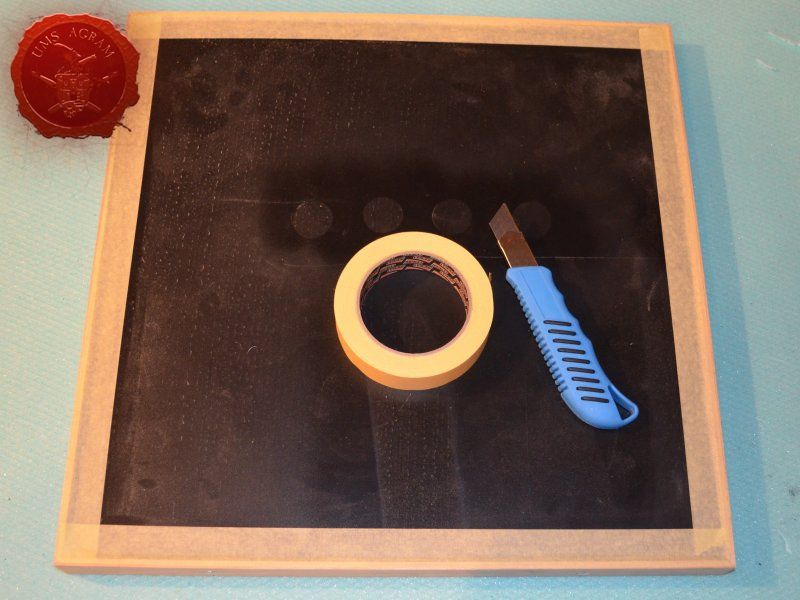
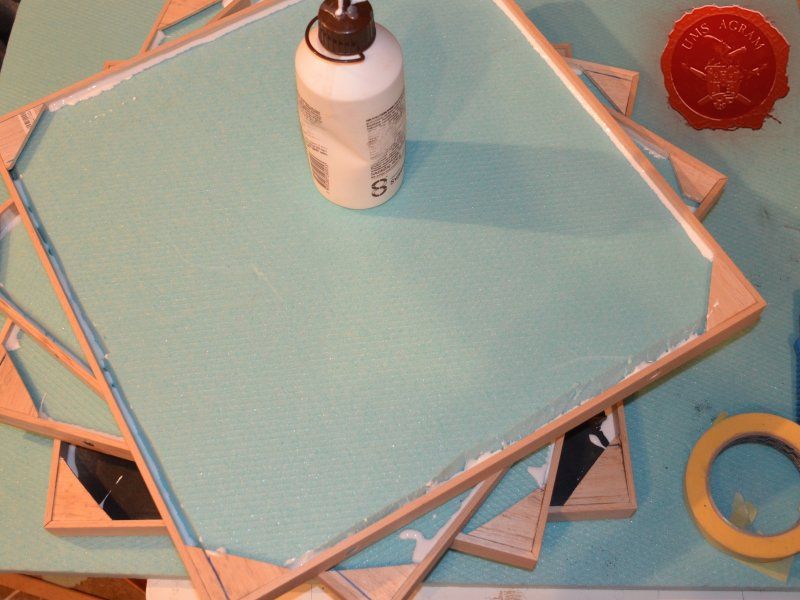
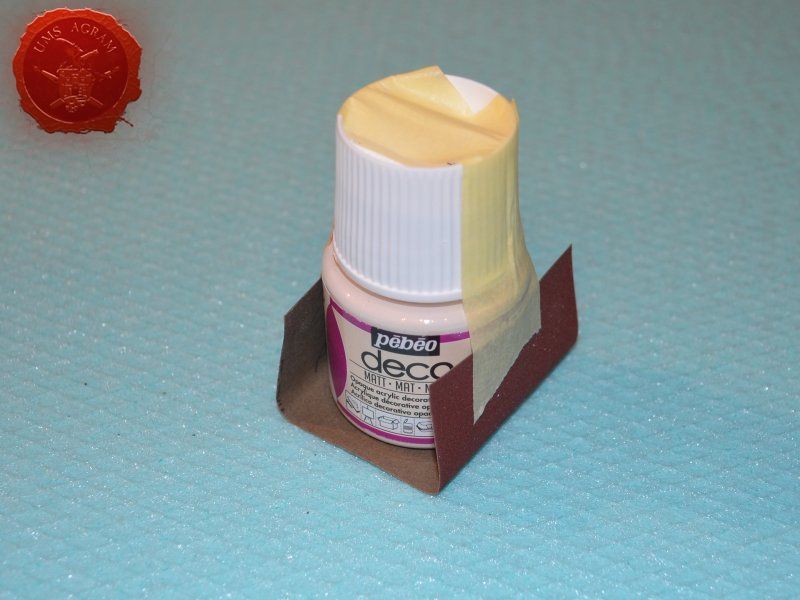
The fourth module would be done out of thin MDF (about 4mm). Using the same method as before, I drew the outline of the module and using my jigsaw I cut it to desired size (44 x 44 cm). Earlier in the article, I mentioned I would list some pros and cons of each method. Obviously, the styrofoam is easier to cut, lighter and due to it's soft properties and relatively high depth provides the builder the opportunity to add some features inside the module. However, the styrofoam usually comes with different (usually diamond shaped) features on it's surfaces. This is because it is used as insulation on houses so the roughness of the surface makes it adhere better to the wall surfaces. I had to remove the texture and I did it using a makeshift tool made from sanding paper, masking tape and a paint bottle. The MDF is obviously a little heavier, more difficult to cut but on the other hand provides better rigidity of the entire module. Also, being thinner than styrofoam, it provides more room on the inside of the module, so your modules can have more texutre and protruding details and you'll still be able to stack the modules on top of each other when placed in storage.
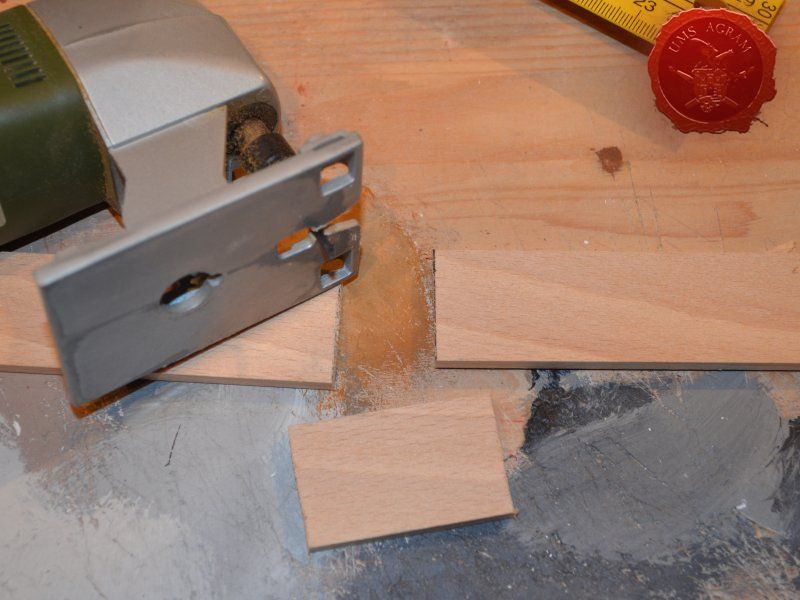
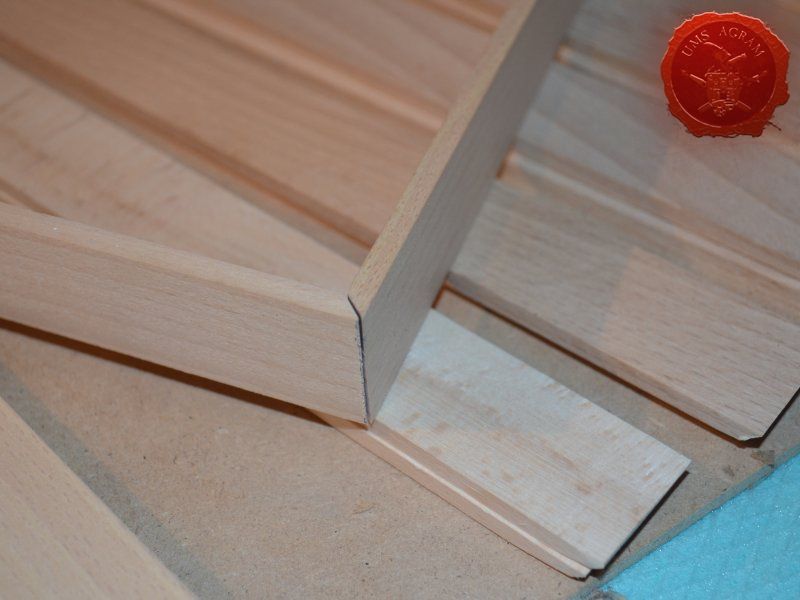
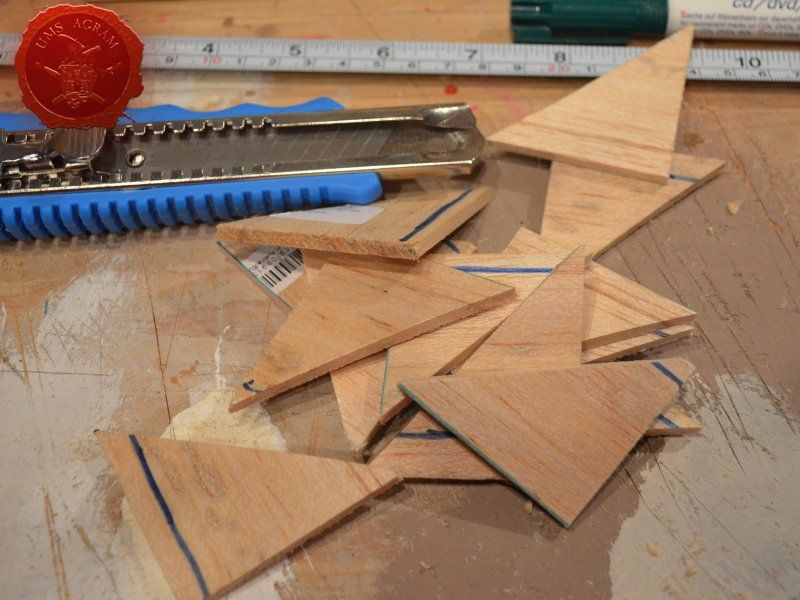
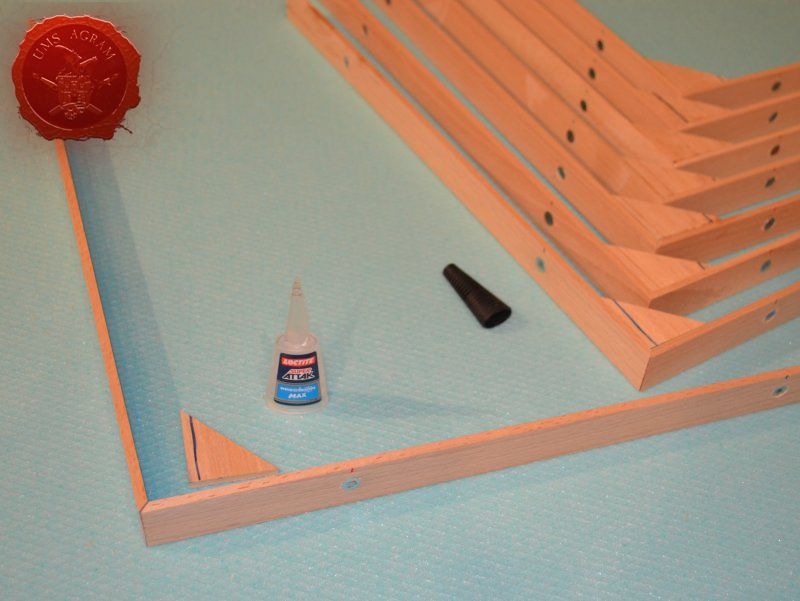
In order to glue the wooden frames at right angle more easily, I made some brackets (of course you can buy them, but it's cheaper this way). From the 5mm thick balsa wood I cut 8 pieces about 5 x 5 cm large. Afterwards using a knife, I cut them diagonally and presto, I had 16 brackets (for each corner of the 4 modules). I glued them using superglue.
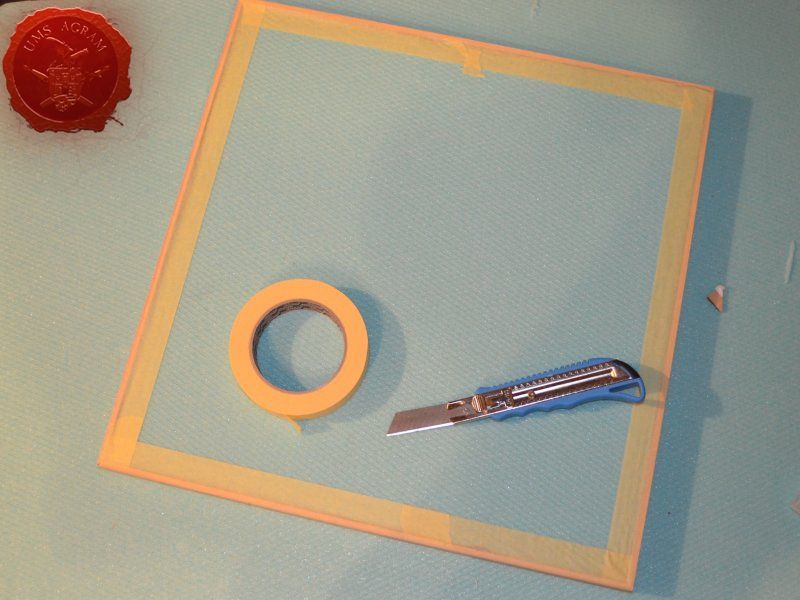
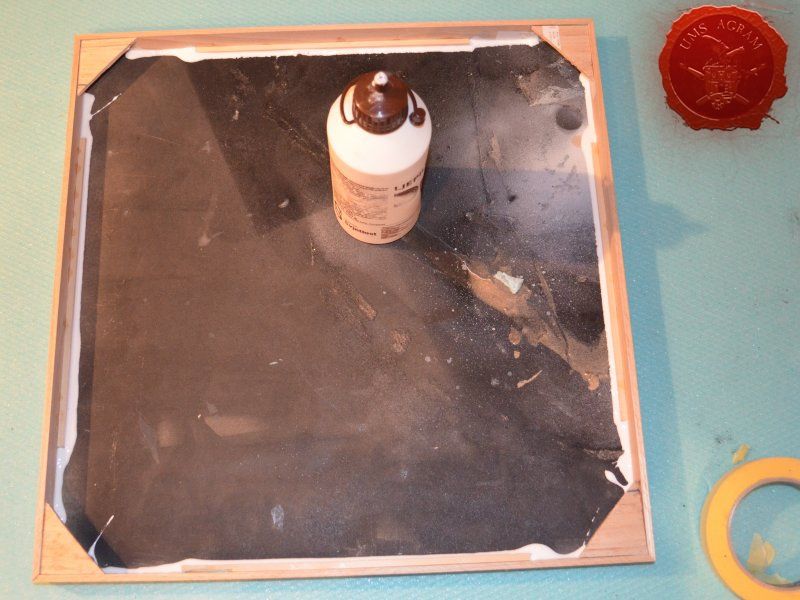
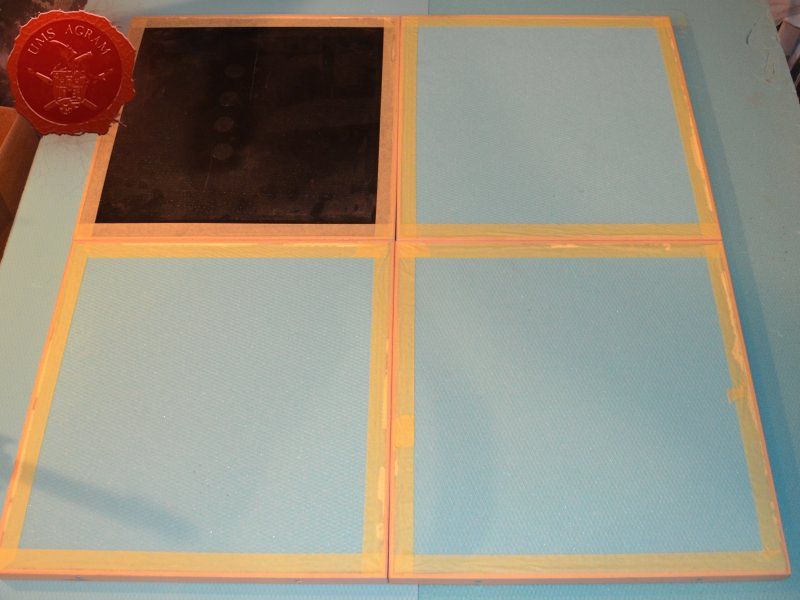
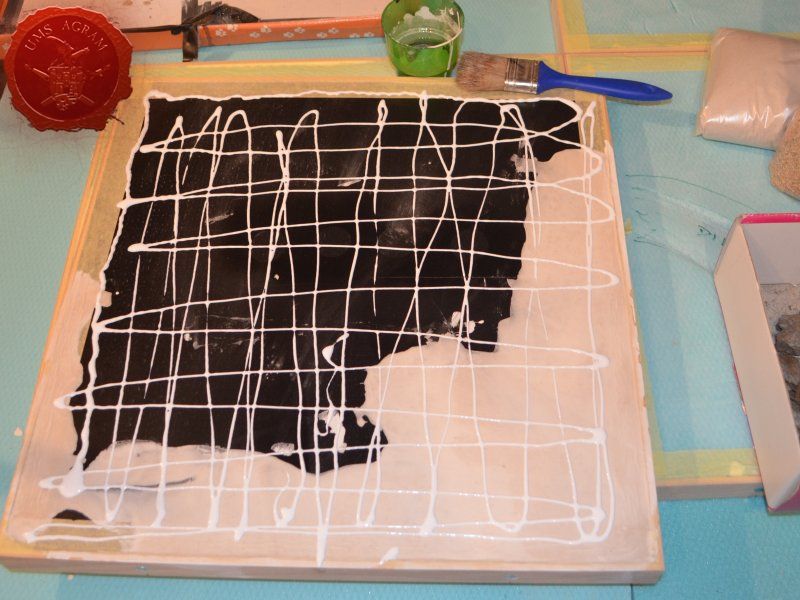
I now had all the pieces I needed to assemble the four modules. I used superglue to instantly bond the wooden frames to eachother and to the brackets. When I acchieved the initial strength of the bond, I added PVA glue to all the joints. When the bonds were dry, I placed my styrofoam boards into each frame. After a bit of tayloring with a scalpel blade I had them all fit snuggly inside the frames. I glued the styrofoam boards to the frames using PVA glue (superglue melts styrofoam) and left it to dry overnight. Before pouring the glue, I added masking tape to all the joints on the top surface to prevent the glue from leaking.


Adding texture
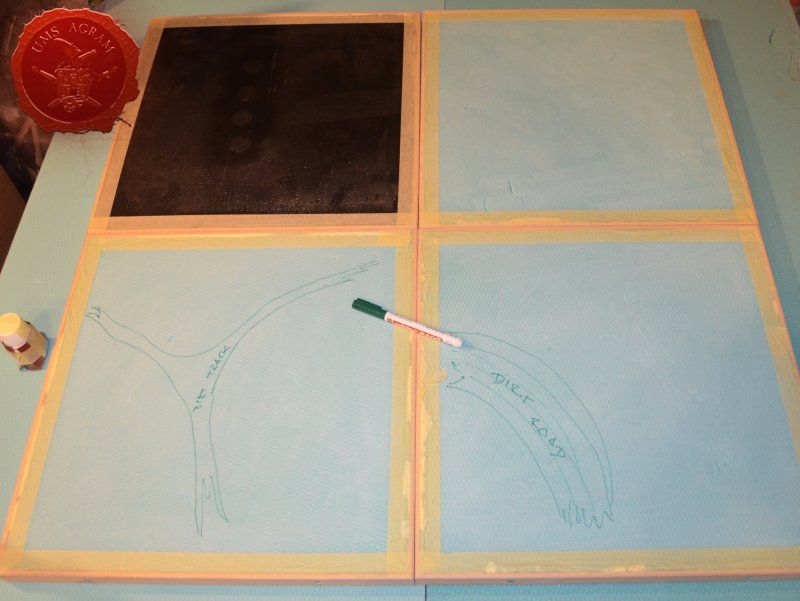
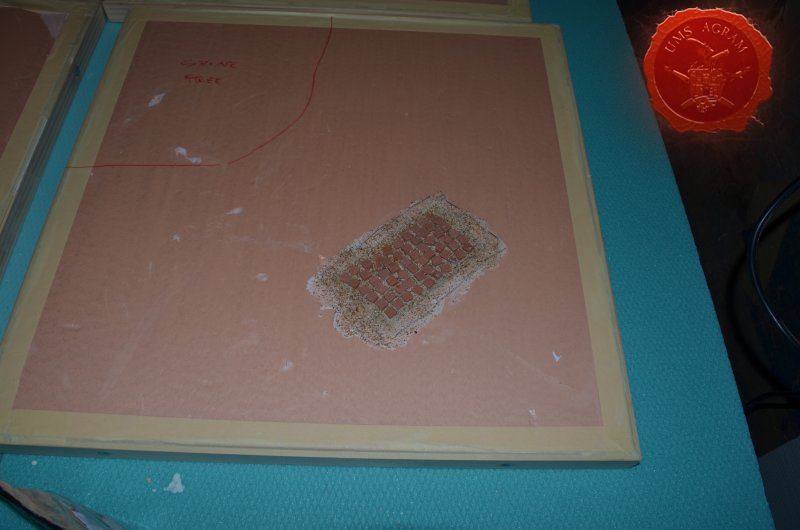
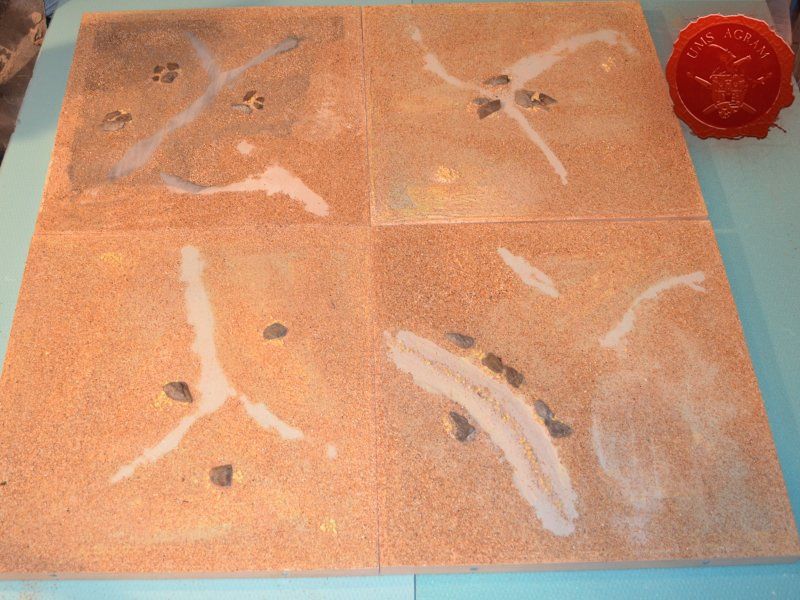
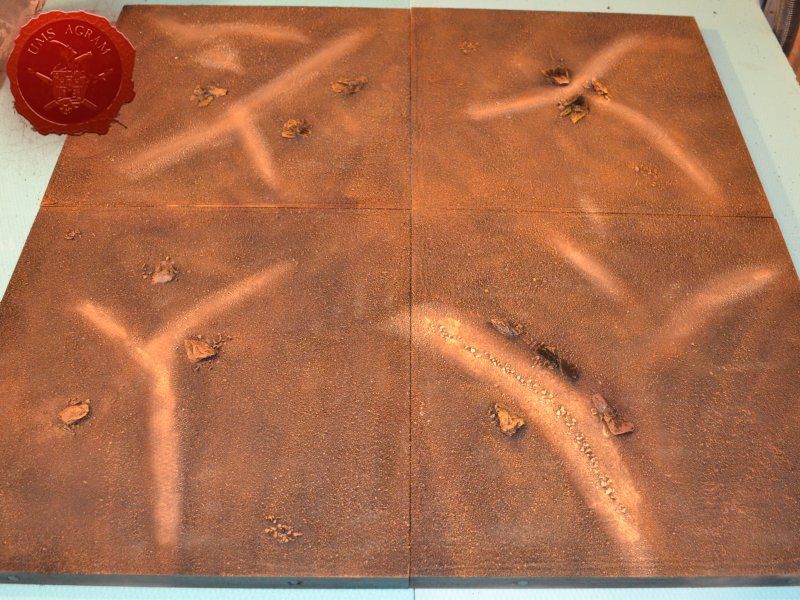
I assembled all the modules to check how they fit. On the module with the MDF base, the base had sunk into the wooden frame and didn't align perfectly. To fix it, I mixed up some plaster with water making sure the mixture was almost fluid-like. When I was satisfied with the consistency, I poured in the plaster and using a long straight slat I leveled the plaster with the wooden frame. Once it was dry, I checked the alignment again and since everything worked out great it was now time to add some scenic features that I decided I'd install. Using my sketch, I carefully copied the design to the board clearly marking the dirt roads, dirt paths and all the clear featureless areas. When I had the design drawn on the board, using some sanding paper taped to a bottle (for a colour I'd be using later) I sanded into the board so the roads would be flat with the ground. I managed to make the profile of the road by just sanding the MDF. If I hadn't succeeded I would opt to use DAS air drying clay. I would shaped some features to the roads and when I satisfied with how they looked, I would smear some PVA glue over the entire surface of the.


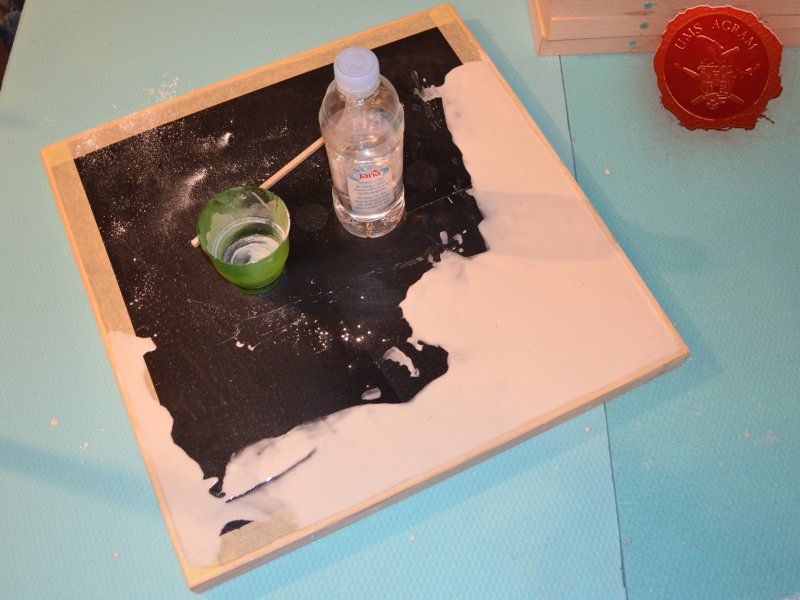
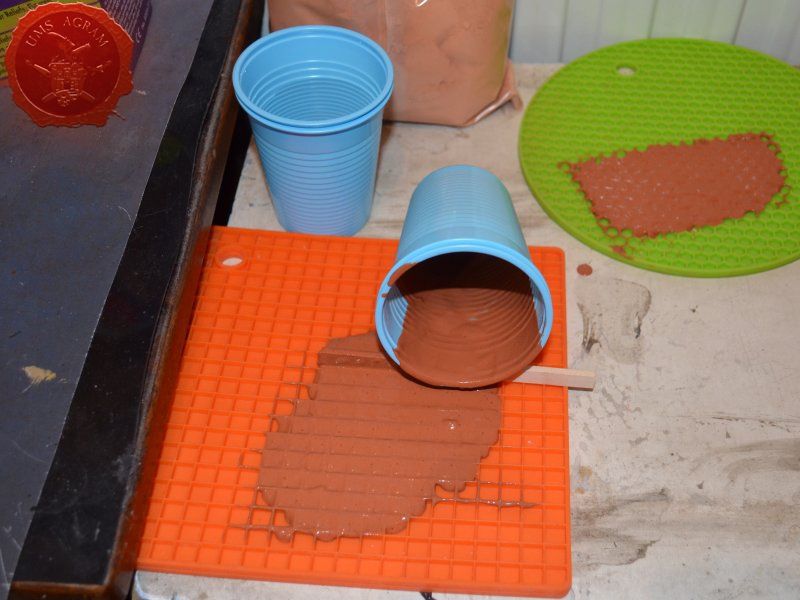
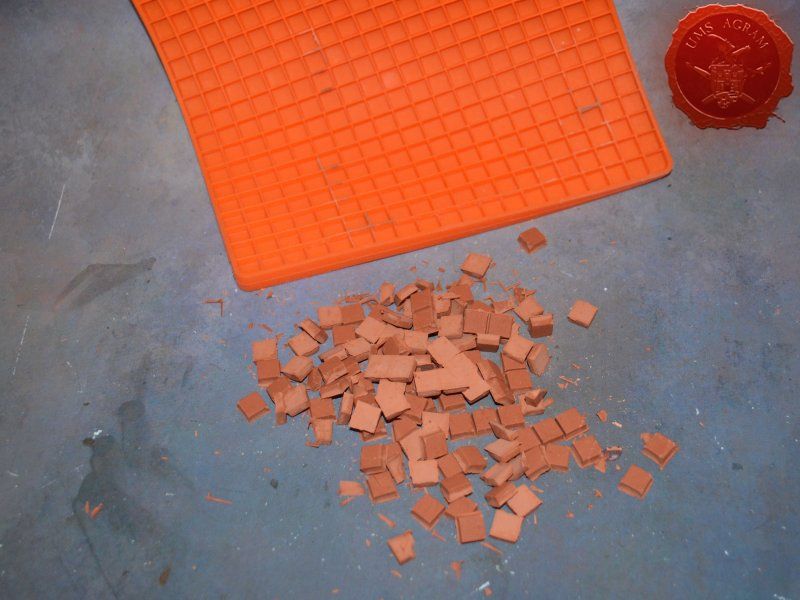
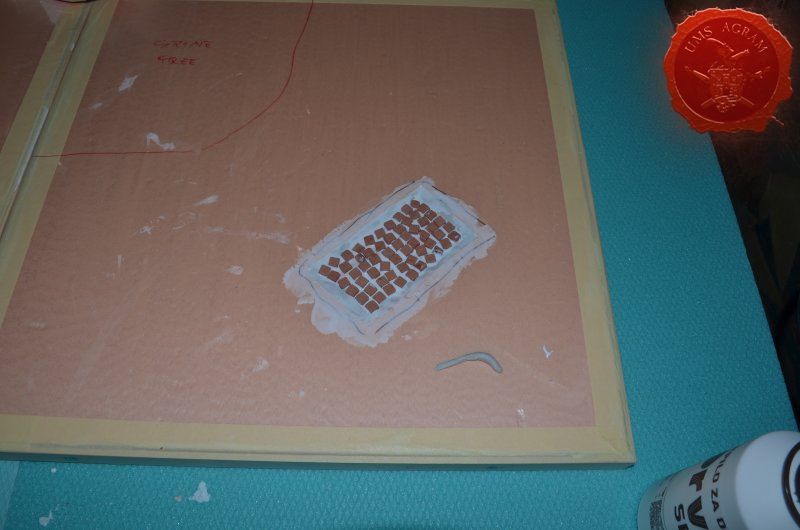
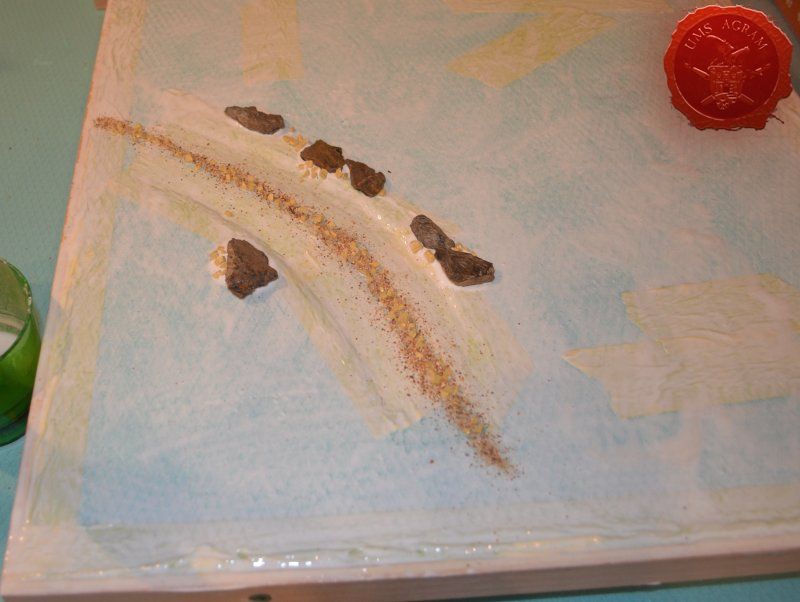
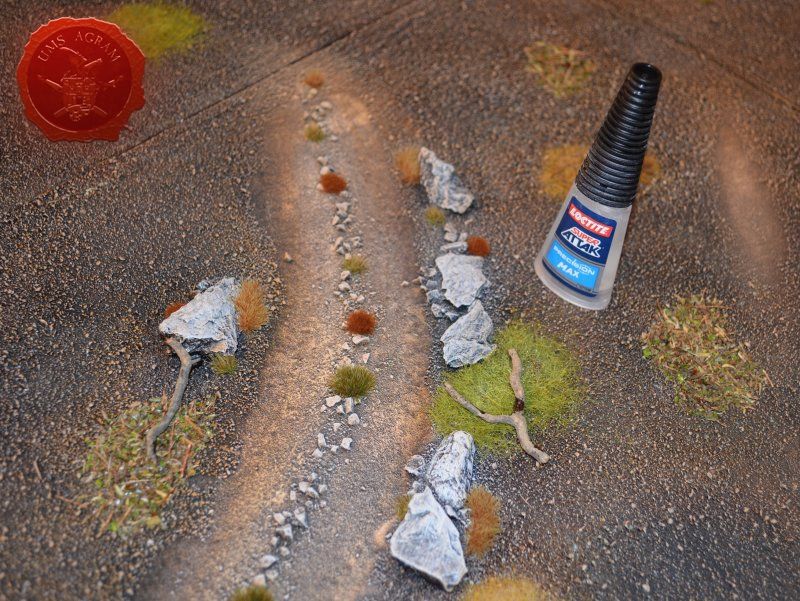
For a long time I debated whether to add some cobbled stone road or area to my board for the purposes of this article. However, in the end I decided against it as it would clash too much with the rest of the scenery. Luckily, on one of my previous projects I did just that so I have a couple of pics to show how it's done. First, using the method described earlier I made a denture in the styrofoam to fit my cobbled stones which I made from a silicone mould I found in a Home depo store (note: it was actually a pot coaster that I used in Wyrd Chronicles no 22). I mixed some plaster with water and I poured it into my mould. Half an hour later I had my cobbles. I placed the cobbles into the appropriate hole and when done, I sprinkled generously some gravel and sand.
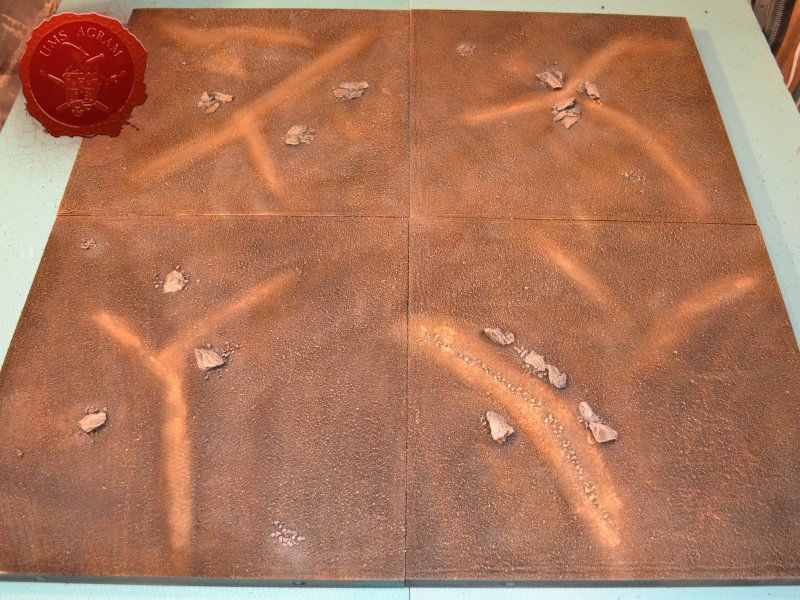
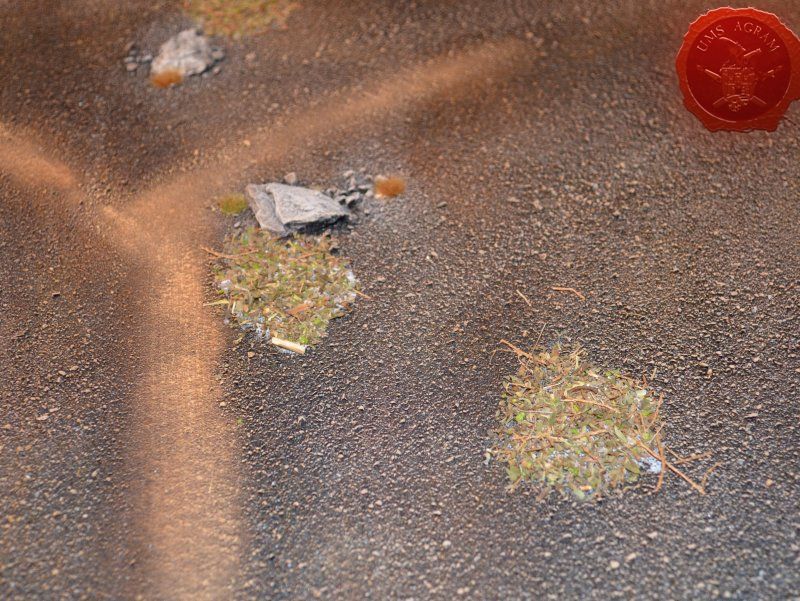
With all the features modelled on the board, I proceeded with adding texture. First I added the big pieces of slate. Then I added the dirt road and/or paths. After I smeared a slightly watered down PVA (just enough so it would spread easily) on all the surfaces, I sprinkled some larger bits of gravel. I added more texture progressively going from larger granulate to smaller. The final granulate size was smallest chinchilla sand. I repeated the process on all the other surfaces, ending in a granulate a tad bigger than chinchilla sand so I could diferentiate between the normal ground and the dirt road.

Painting
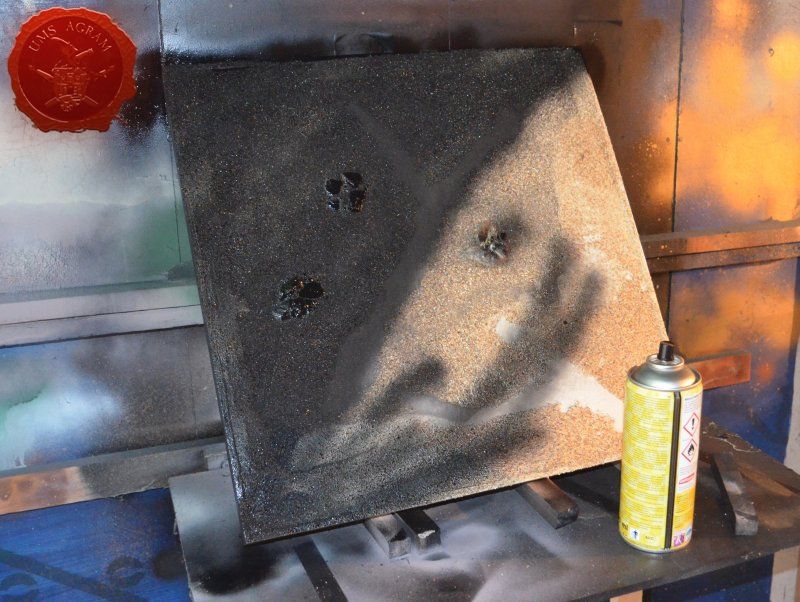
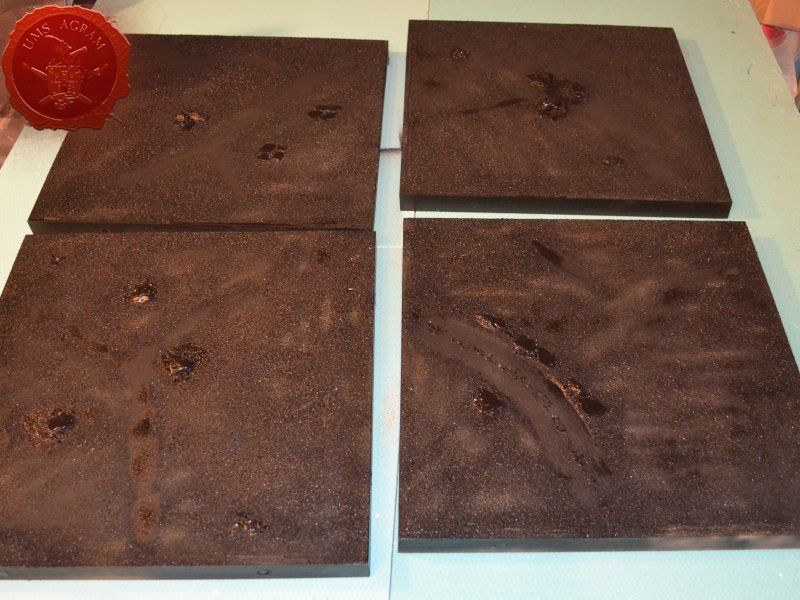
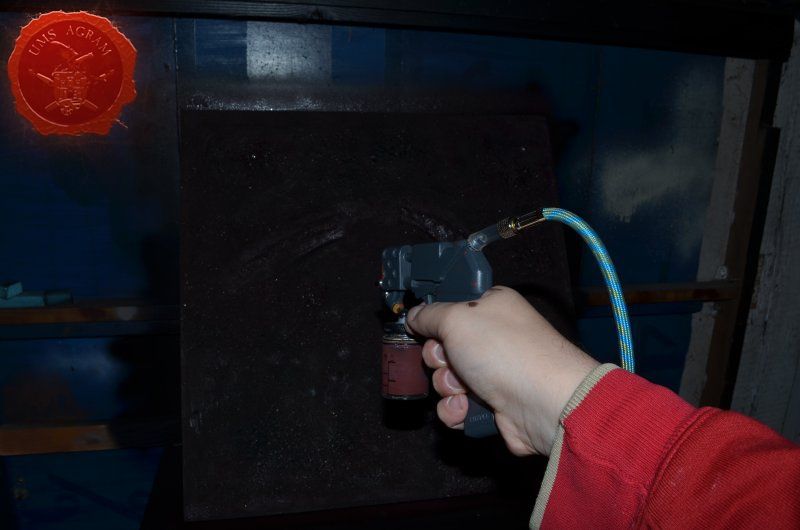
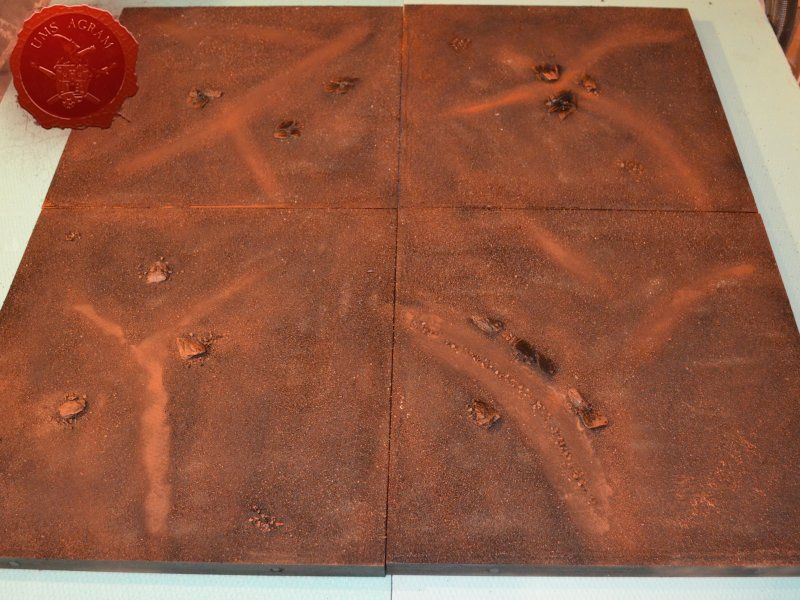
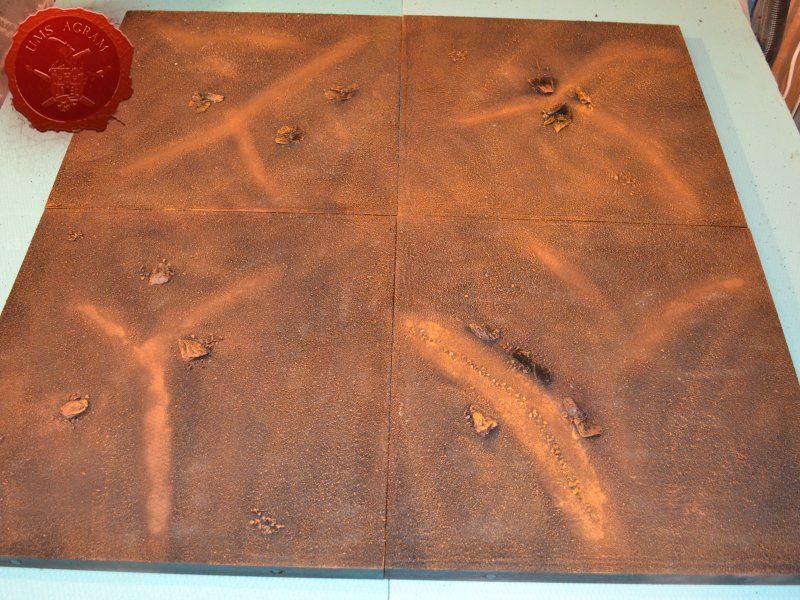
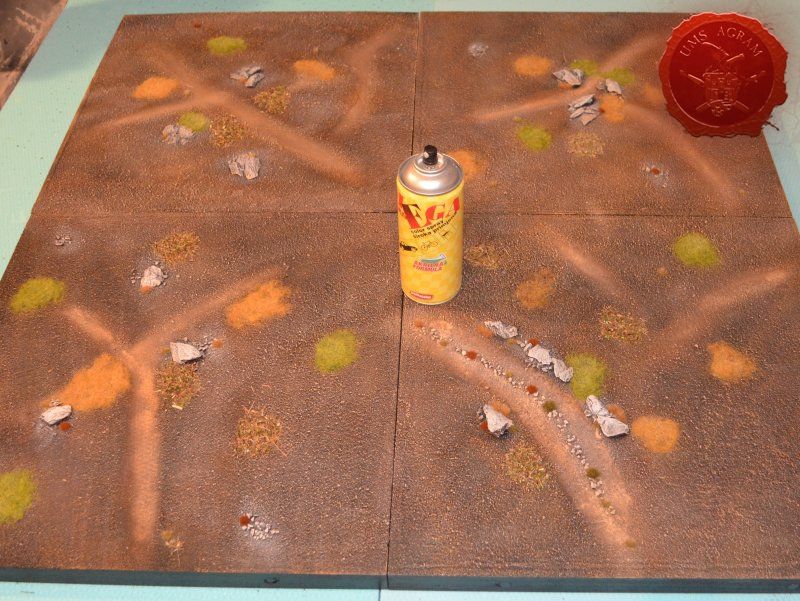
Leaving to dry overnight, I continued the process in the morning with an application of a black undercoat. I used a black matt acrylic sprey. After it was dry, I airbrushed the colouration (using a GW sprey gun because it gives a quite large cover area in a single burst and it's dirt cheap to get). Normal ground was painted with brown while the road was done in several layers ending in a mixture of brown and ochre. The stone bits and areas were airbrushed grey. Final highlights were done with ash and antique white using size 40, 60 and 90 brushes. When the paints were dry, I spreyed everything with a clear matt acrylic sprey.

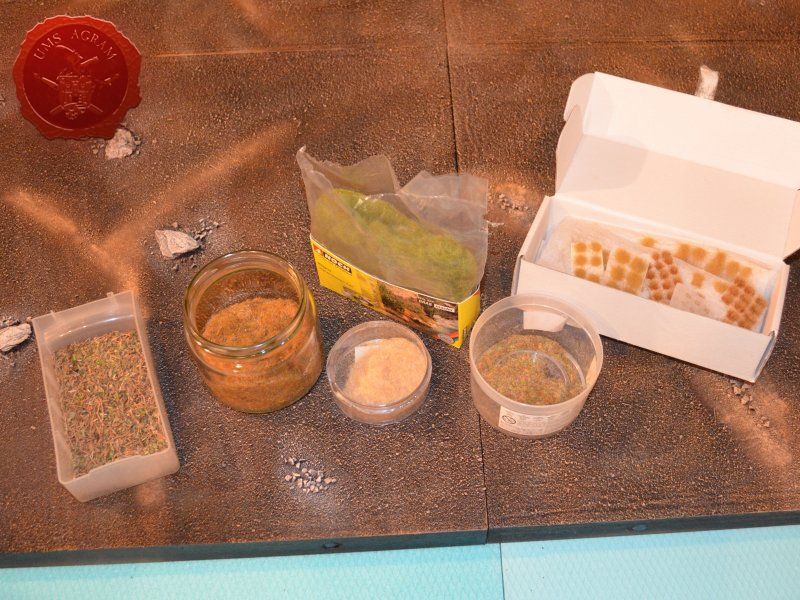
Vegetation
After the painting, as always, I added the vegetation. It was basicly a mixture of one type of scatter and three kinds of static grass – a brownish 3mm long one, a yellowish-brown 5mm long one and some yellowish 7mm tufts. The scatter was made from various stuff like twigs, coloured wooden dust and debree and some artificial thread. I applied them all with PVA glue and left it to dry. When it was all dry, I spreyed everything with clear matt acrylic sprey.
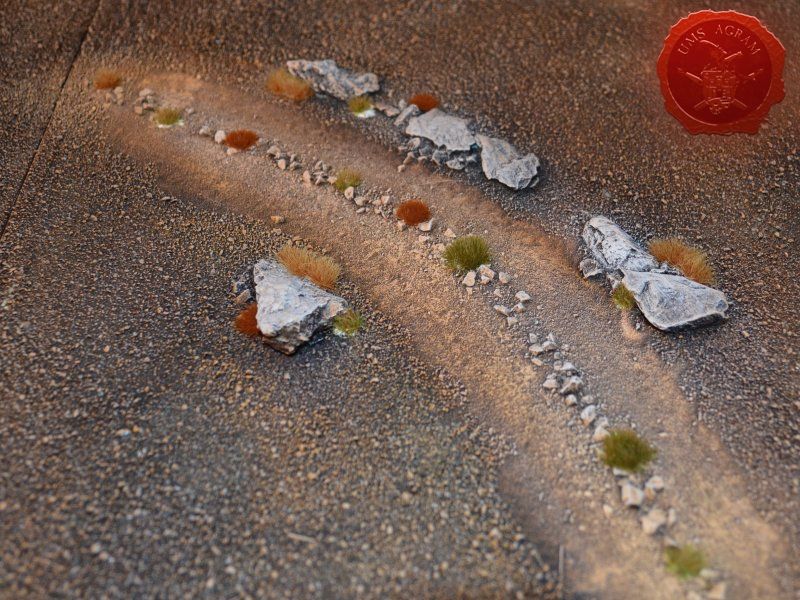
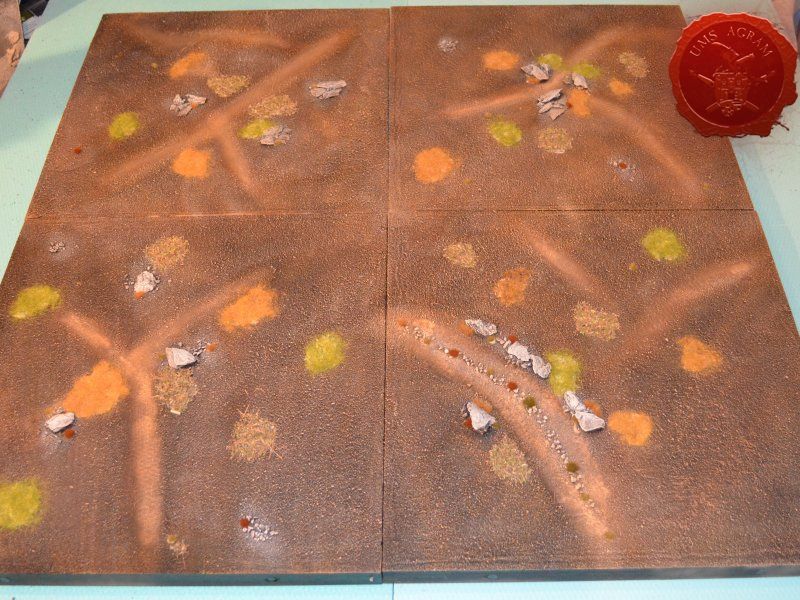
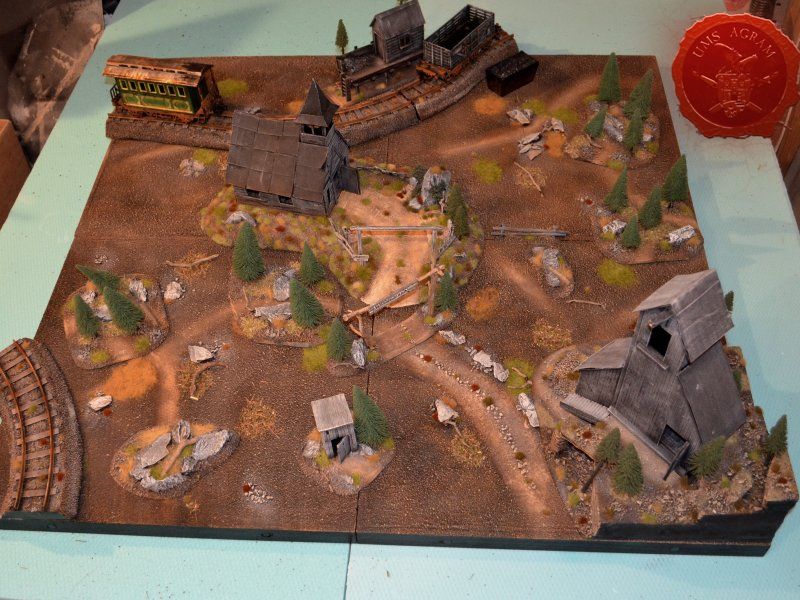
When all was done, I arranged (some of) my scenery on the board and was pretty satisfied with the results.


Latest articles
- We attended: Isle of Wonders 2026 Ili Said, 6th July 2026
- We attended: 13. Trofeo San Giusto 2026. Marko Paunović, 6th July 2026
- We attended: Zagreb Scale Model Show 2026 Mario Grgurev, 6th July 2026
- Making of MUMMY dioramas Sebastian Søgård, 17th June 2026
- Miniature Painting Workshop - 75mm Dwarf Ivan Knezović, 26th May 2026


Latest battle-reports
- Kill Team - Blooded vs. Vespid Stingwings 28th February 2025, GW - Warhammer 40.000, and Antoni Pastuović (Imperial Guard)
- 22nd April 2022, GW - Warhammer 40.000, Borna Pleše (Space Marines) and Kristijan Kliska (Tau Empire)
- 17th November 2021, GW - Warhammer 40.000, and Nino Marasović (Space Marines)