Working with Resin
In this article, Jure describes the process of using resin on your bases.
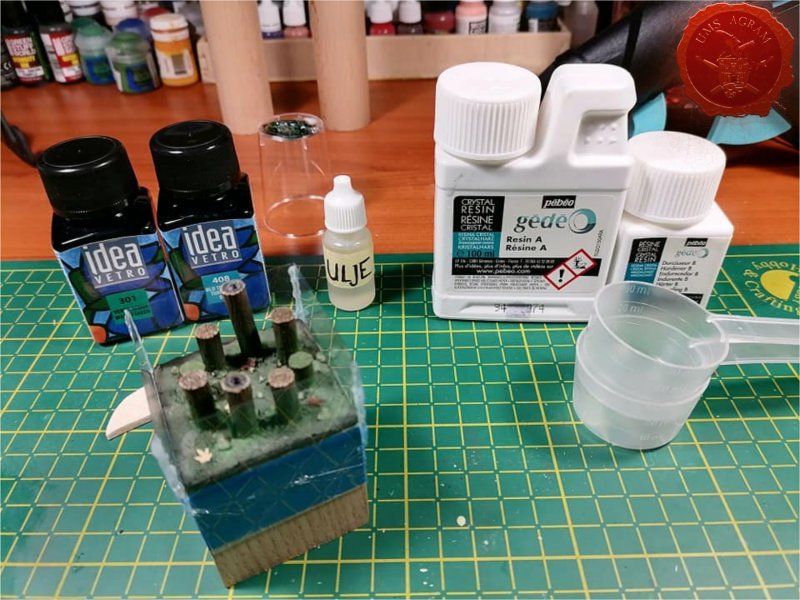
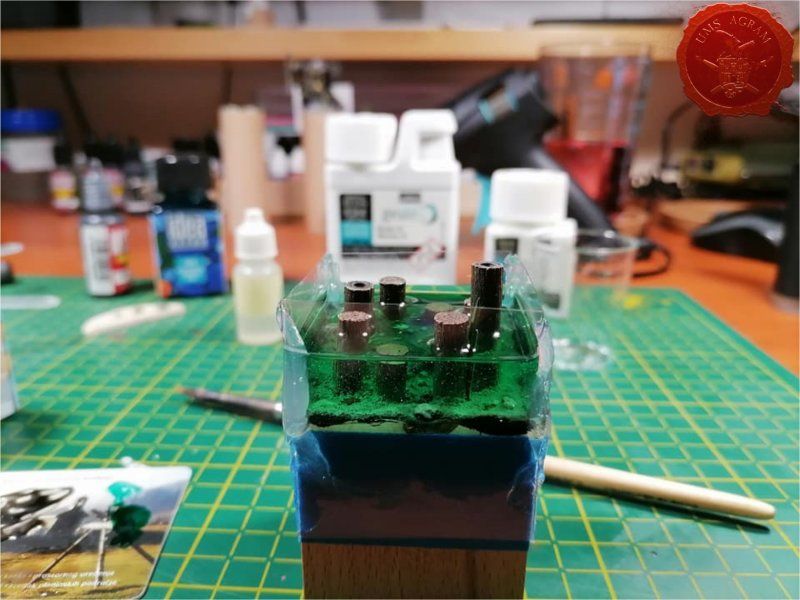
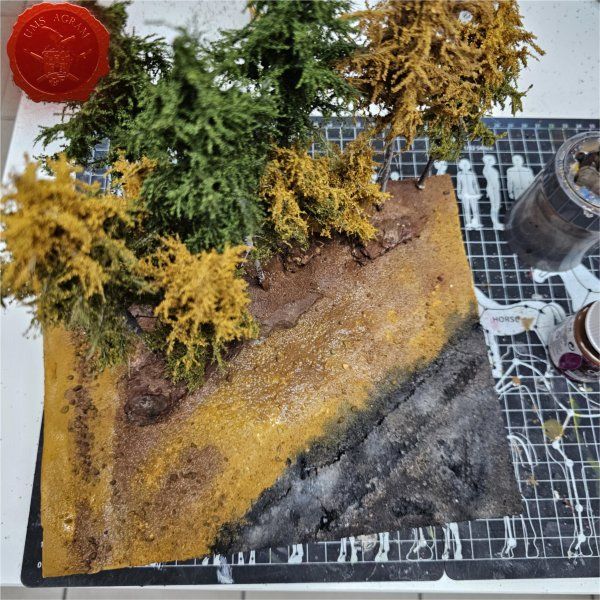
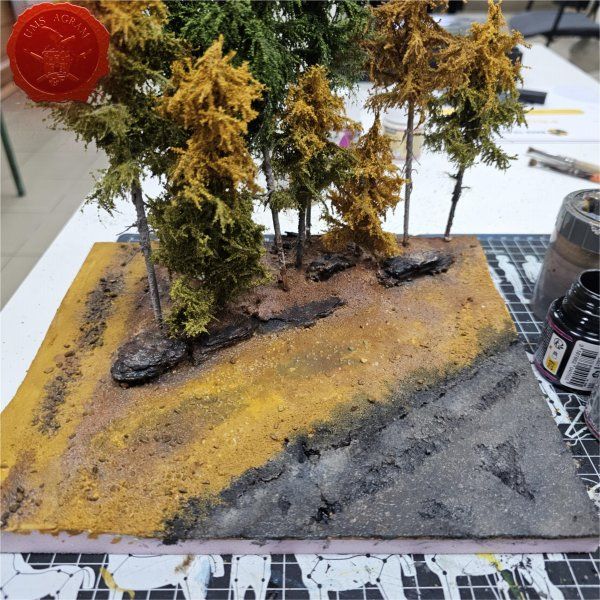
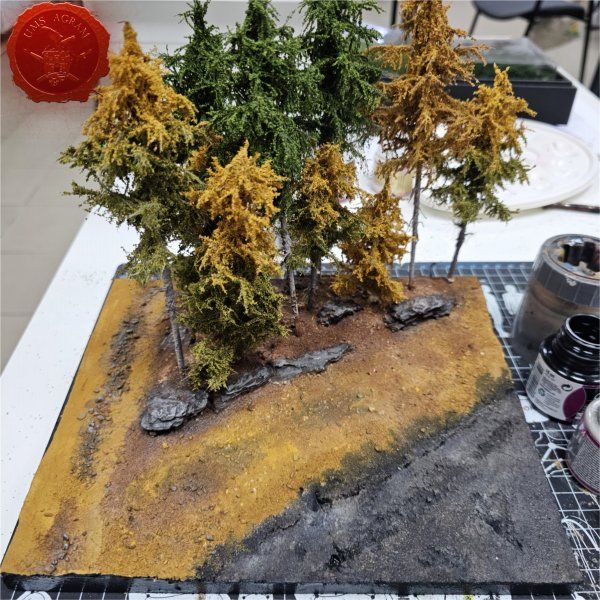
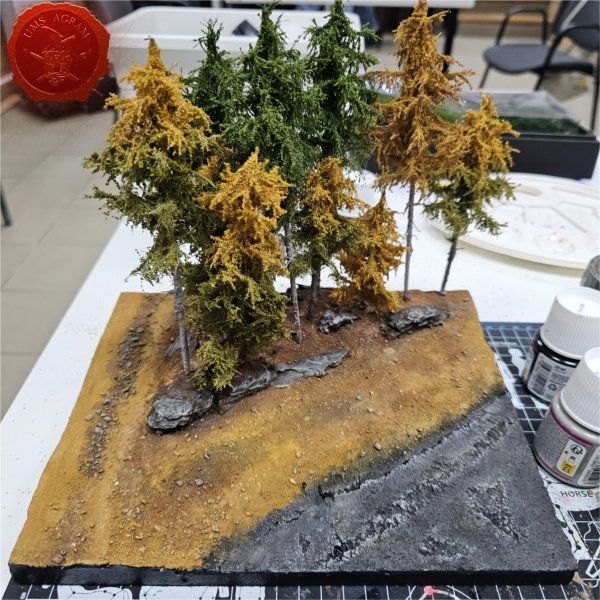
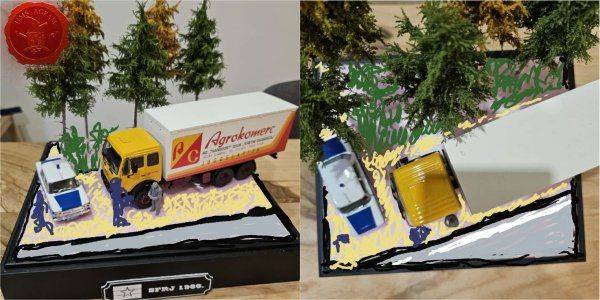
Glue the masking tape first along the edge of the plinth. Superglue the plastic dam the same width as the base on the masking tape. Hot glue gun along the edges of the plastic dams. At one point, it started to leak, but I quickly reacted bringing a hot glue gun to that joint and the further leakage was stopped. Great progress compared to my previous attempt when it leaked in all directions, but again there is room for improvement. It should be easy to take off as the dams are glued to the masking tape, but it is possible that it breaks and sticks to the plinth. Afterwards it'll go to grinding and polishing anyway.
I used a series of grinders finishing with wet grinding 2000 grad. Polishing with some pvc paste. Preliminary tests proved to be satisfactory. I used oil on the side of the dams, so I expect to be able to use 1500 and 2000 immediately.
How to prevent leakage?
My one test was to go through all the edges with UV resin so that everything clogs up and then I pour in the rest. It was ingenious however the problem is if you tint the resin you pour then you can see the difference and you will never be able to get the exact shade afterwards so it will look bad. But if it goes clear then it is a recipe for success.
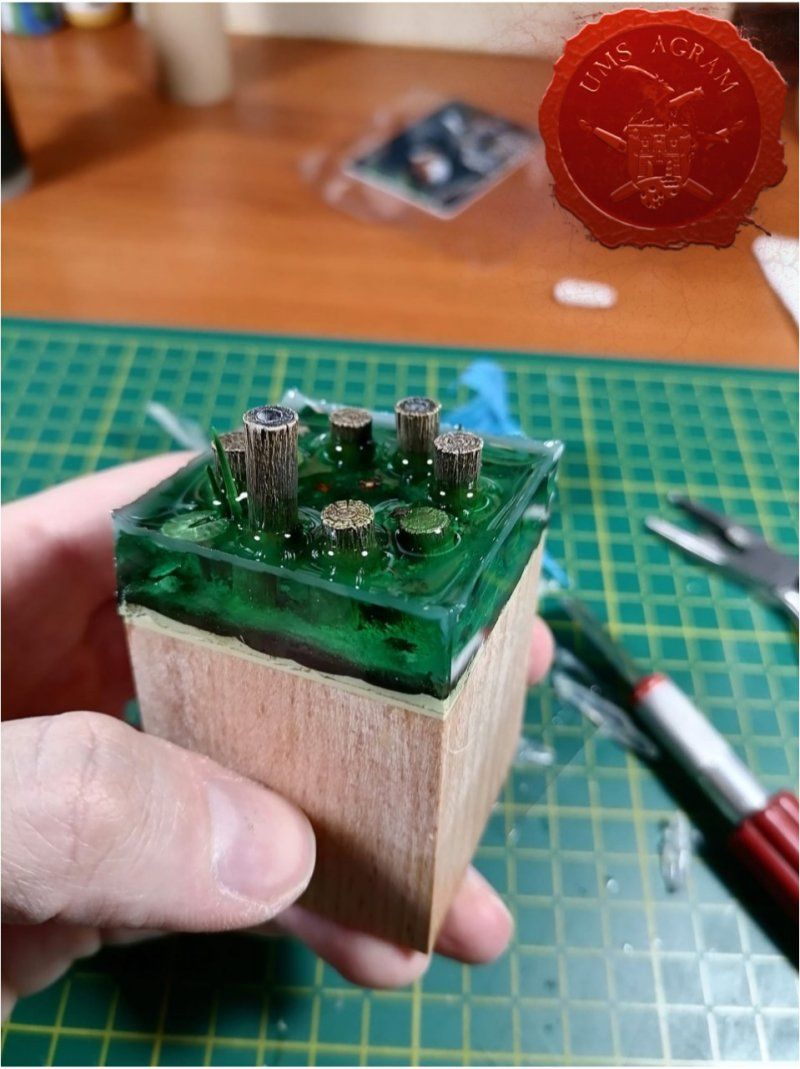
Phase 1. Everything removed. It looks ok. I am bothered by the capillarity and the edges are not completely level with the plinth. They protrude a millimeter outside. I'll scrape off the edge and sand everything.
Phase 2. All sanded and polished. Sides and the top Surface as well. Papers 130, 220, 500, 1000 and wet 1500 and 2000 grain.
The paste proved to be good for more open and flat areas such as the sides. The parts around which it is needed to be careful and weavey don’t quite function as I expected. I will pour a thin layer of UV resin and „fry it“ in place.
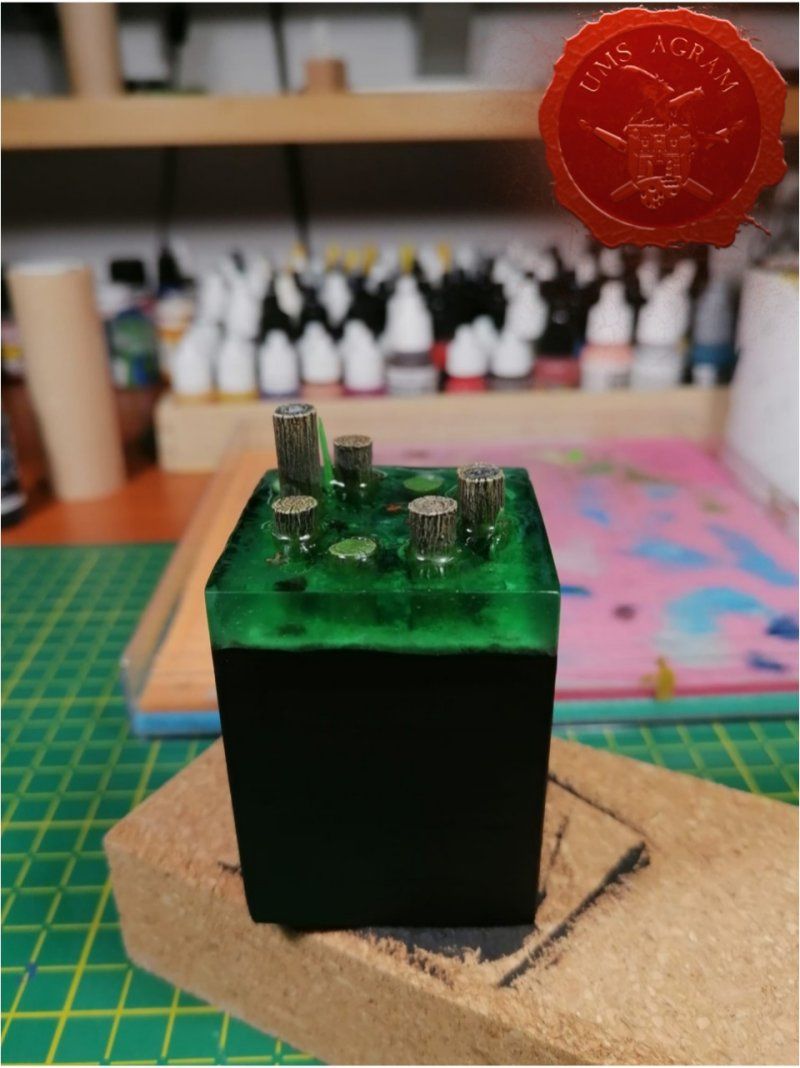
Phase 3. Extra polish work done with my Dremell. Everything is dry and polished – end effect: very good!
Conclusion: need to solve the capillary problem differently. The problem is further exacerbated if some reesin escapes during the process because the capillary trace remains higher in those places. I don't know if something can be smeared beforehand to reduce that effect. I used ordinary oil. It was super easy to take off, but the capillary effect is there.
Wet sanding is too sexy and satisfying process.
Paste for polishing will be good for the sides, but not for the top surface which should not be touched after curing.
I need to get more glass paints so I can mix colours. This green is a bit oversaturated for the model I intend to use.
I tried to paint the resin with acrylic inks, but it got foggy for some reason. I guess the medium in the ink reacts with the chemicals and a cloudy muddy mixture is formed. interesting for further experimentation, but not for the effect that I wanted there.
Latest articles
- SFRJ 1986 v2 Diorama part 5 Marko Paunović, 19th January 2026
- SFRJ 1986 v2 Diorama part 4 Marko Paunović, 19th January 2026
- SFRJ 1986 v2 Diorama part 3 Marko Paunović, 19th January 2026
- SFRJ 1986 v2 Diorama part 2 Marko Paunović, 19th January 2026
- SFRJ 1986 v2 Diorama part 1 Marko Paunović, 19th January 2026
Latest battle-reports
- Kill Team - Blooded vs. Vespid Stingwings 28th February 2025, GW - Warhammer 40.000, and Antoni Pastuović (Imperial Guard)
- 22nd April 2022, GW - Warhammer 40.000, Borna Pleše (Space Marines) and Kristijan Kliska (Tau Empire)
- 17th November 2021, GW - Warhammer 40.000, and Nino Marasović (Space Marines)

