Kitbashing 101
Most people I know don’t use miniatures to play large tabletop strategy games, in fact, skirmish and RPGs with a smaller amount of miniatures are their choice. Since I plan to start playing one such game soon, I realized that I don’t have a suitable miniature and that I will have to resort to the ancient art of kitbashaning to make a model, and I will also enter it in the Agram’s MPC Spring Painting Competition.
In this article, I will show you the steps I took to go from an idea to a complex, currently unpainted miniature.
The miniature I decided to work on is not the typical rank and file soldier we have the opportunity to see in all major table strategy games. The character is conceived as a thief and burglar who will get out of trouble and problems with his skills, tricks and outwitting enemies and problems. For starters, I looked for inspiration in traditional art, and looked for images of some fantastic burglars that could serve as inspiration for the character, poses, and general aesthetics. I found two main motives for posing and character dynamics in the paintings of one of my favorite artists, Brom:
If you like these works, follow him on social media as well.
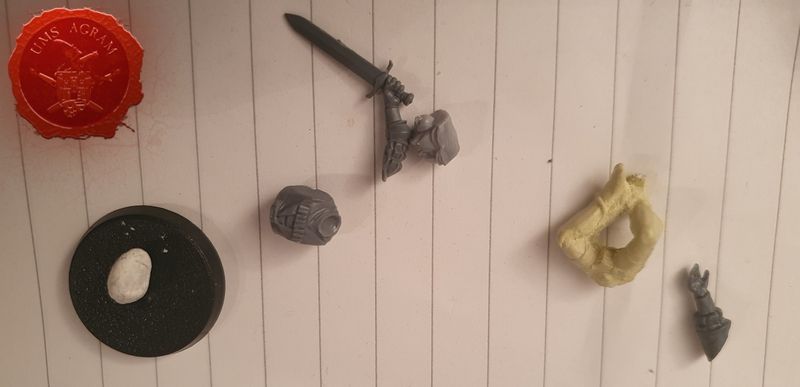
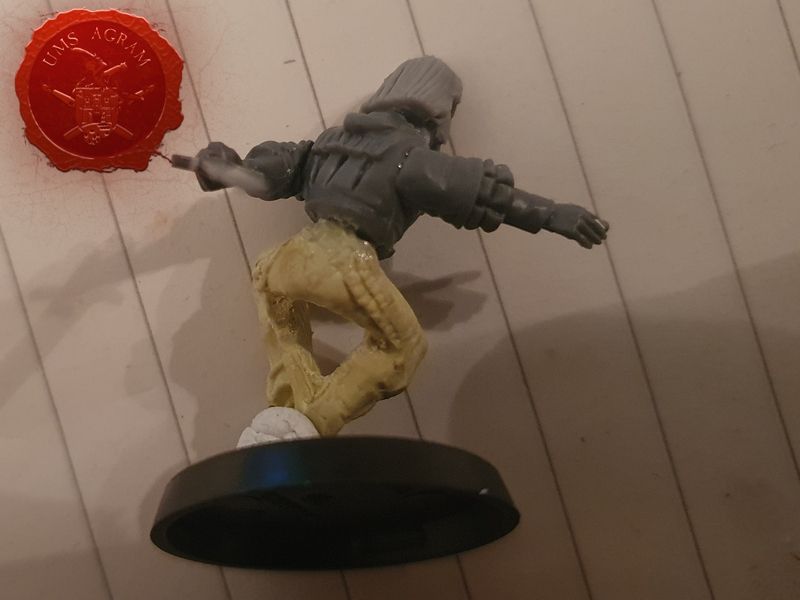
Accordingly, I have found the parts of the miniatures that I will put together that best fit the original concept. I knew the final miniature would be significantly different from the references, so I didn’t worry about the pieces fitting perfectly. Since I don’t know how to levitate a miniature, I knew I had to have contact surfaces where I could attach or glue a miniature. As I was sure I wanted my feet in the air on the miniature, I knew I would have to have some other contact surface, and I chose a hand with which to be able to achieve this.
To test the assembly of the parts and what the finished figure would look like, I used patafix. It will hold the parts together without gluing them together, making it the perfect tool for “sketching” kitbash and conversions. A miniature composed of patafix can give us the opportunity to change some things before we combine two plastic elements in a miniature marriage.
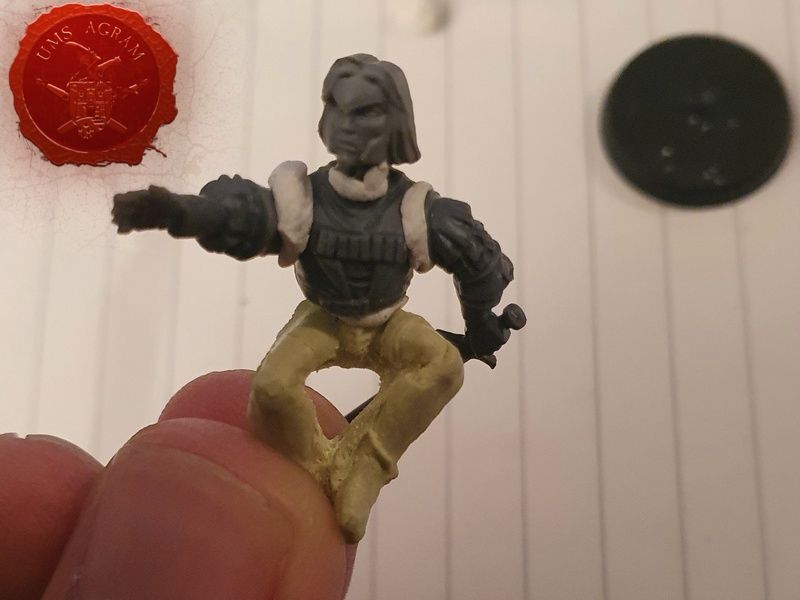
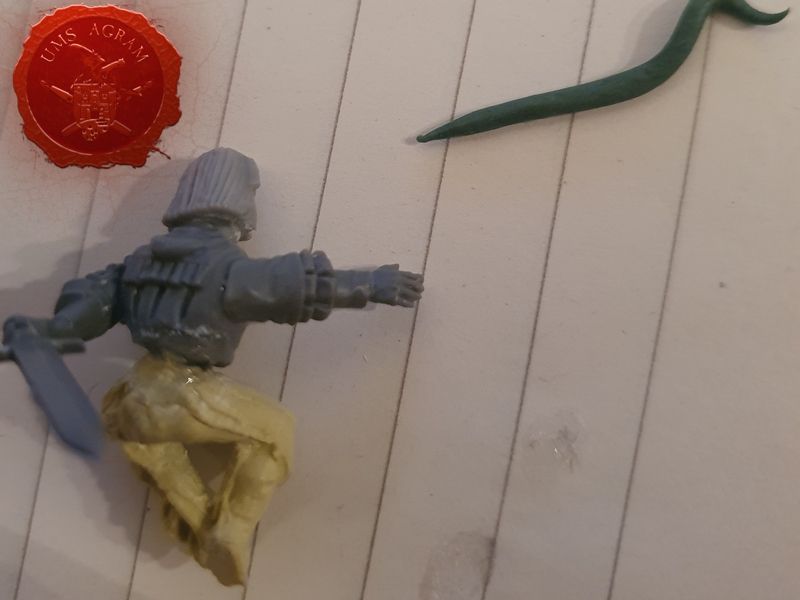
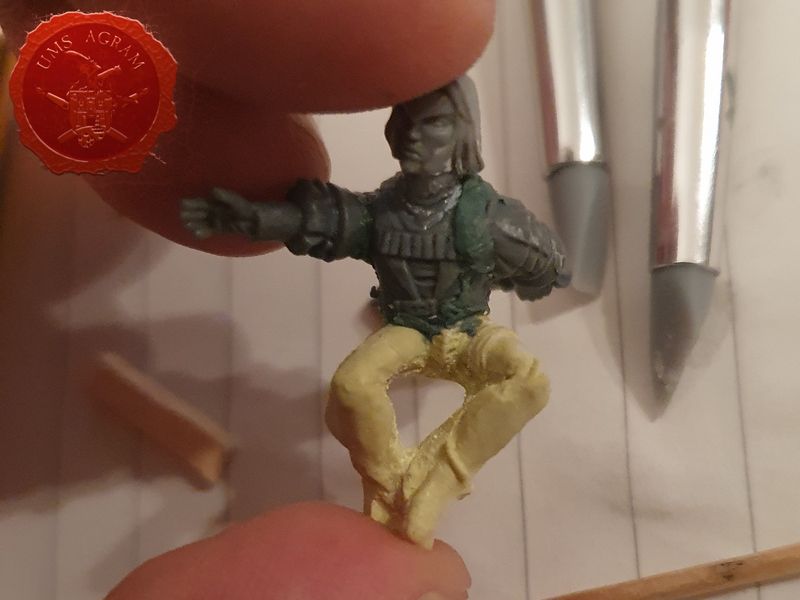
The moment I was happy with the parts and the pose, I was ready to glue them with superglue and merge them into a new miniature. But when you connect several parts of unrelated miniatures, you will usually have holes and gaps, because different miniatures are connected in different ways. For me, the most visible gaps were between the torso and legs, as well as between the torso and arms.
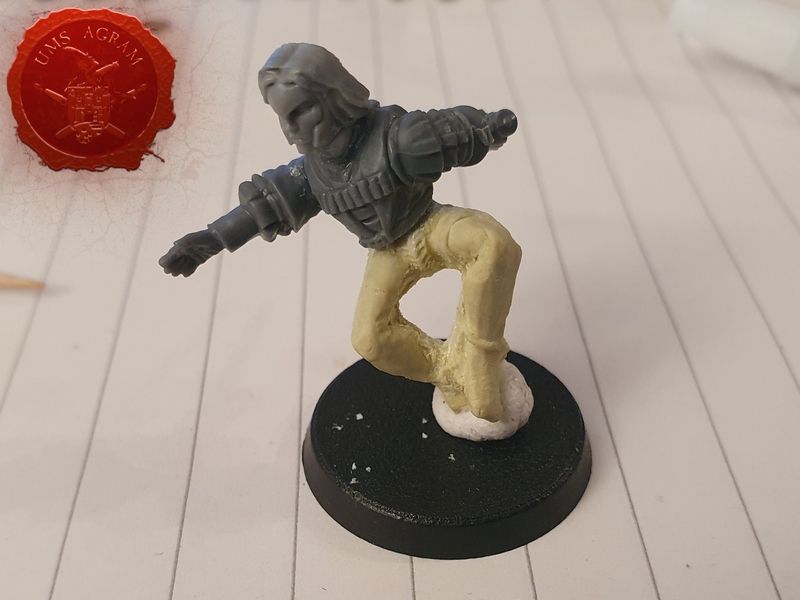
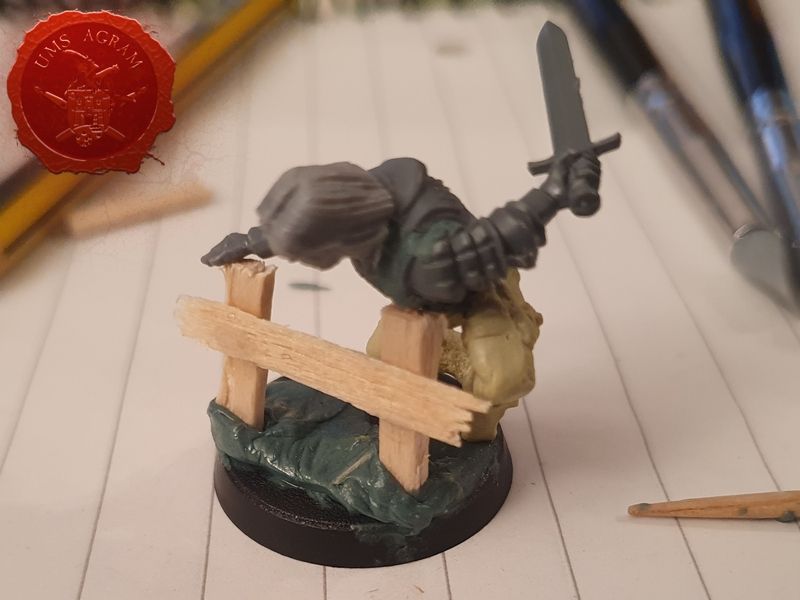
To fill in the gaps, I used greenstuff, a two-component putty that I shaped and smoothed with silicone brushes.
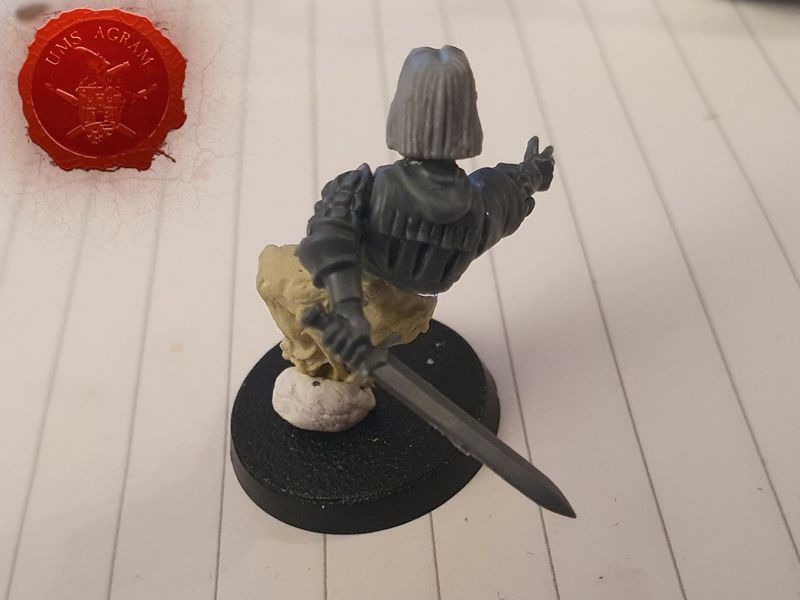
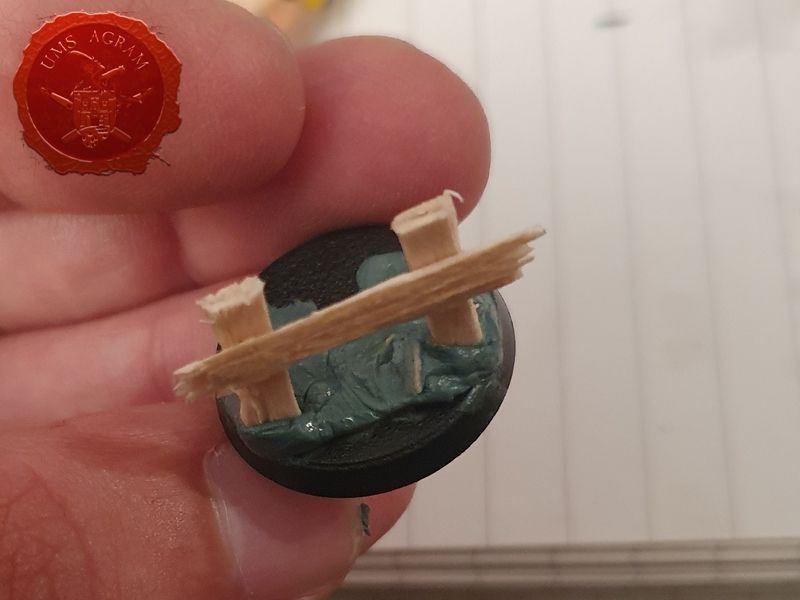
Since I kneaded far more greenstuff than I needed, I decided to use a portion for the base, as well as an ice cream stick that I used to make a fence at the base.
Now, after painting, all I have to do is adjust the miniature to visually jump over the fence.
Latest articles
- SFRJ 1986 v2 Diorama part 5 Marko Paunović, 19th January 2026
- SFRJ 1986 v2 Diorama part 4 Marko Paunović, 19th January 2026
- SFRJ 1986 v2 Diorama part 3 Marko Paunović, 19th January 2026
- SFRJ 1986 v2 Diorama part 2 Marko Paunović, 19th January 2026
- SFRJ 1986 v2 Diorama part 1 Marko Paunović, 19th January 2026
Latest battle-reports
- Kill Team - Blooded vs. Vespid Stingwings 28th February 2025, GW - Warhammer 40.000, and Antoni Pastuović (Imperial Guard)
- 22nd April 2022, GW - Warhammer 40.000, Borna Pleše (Space Marines) and Kristijan Kliska (Tau Empire)
- 17th November 2021, GW - Warhammer 40.000, and Nino Marasović (Space Marines)


