Star Wars Container
Half a year ago I tested how I could quickly and easily make some interesting details for Star Wars dioramas or terrains. One of the common elements in all SW world locations (settlements, ships, wrecks) are cube transport containers. I made the first prototype from thicker paper and tried to "harden" it with Plasticator. More about it at the link.
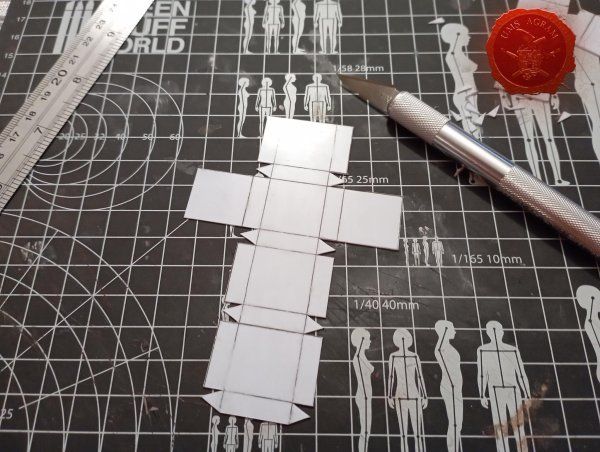
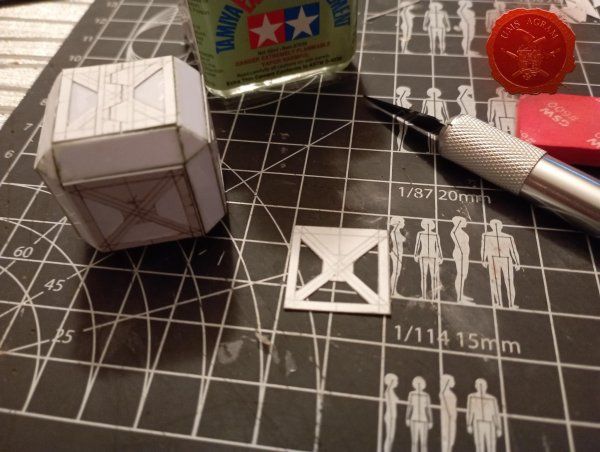
Now I decided to use the same technique, but on a different material. I used Plasticard 1 mm thick and drew a cube container grid on it. I carefully cut the net with the help of a ruler and a scalpel. Since the mesh has "cutting lines" and "folding lines", I was very careful which ones I cut. For plastic card of that thickness, it is enough to cut two or three times with a scalpel with light pressure, carefully so that the blade does not "dance" on the surface of the material.
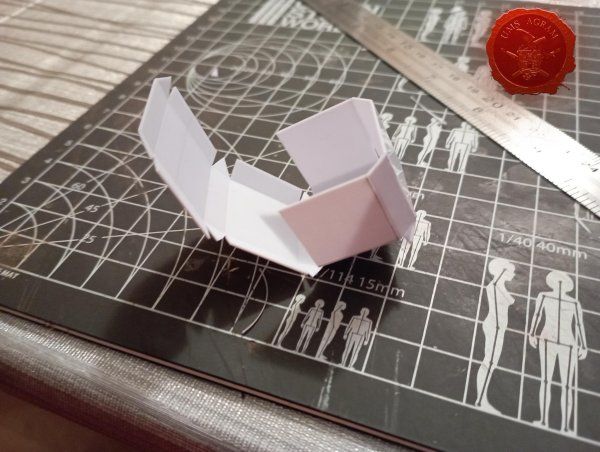
Then with just one stroke of the scalpel, being careful not to cut through the entire material, I scored the "fold lines". I carefully folded all the surfaces of the container with my fingers. I was careful not to exceed an angle of 30-45 degrees when bending, so that the material would not break at the notch. I glued the edges of the plastic card with super glue.
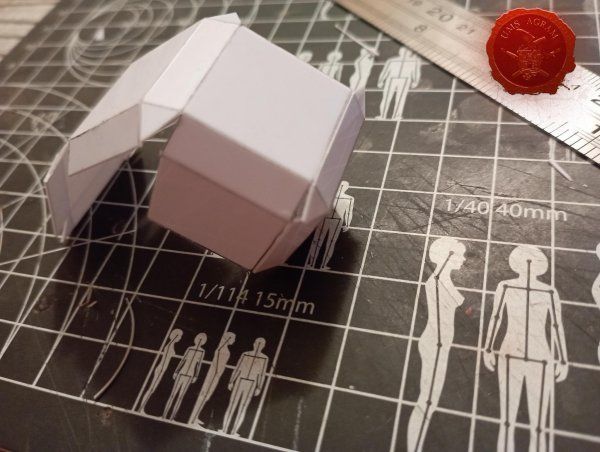
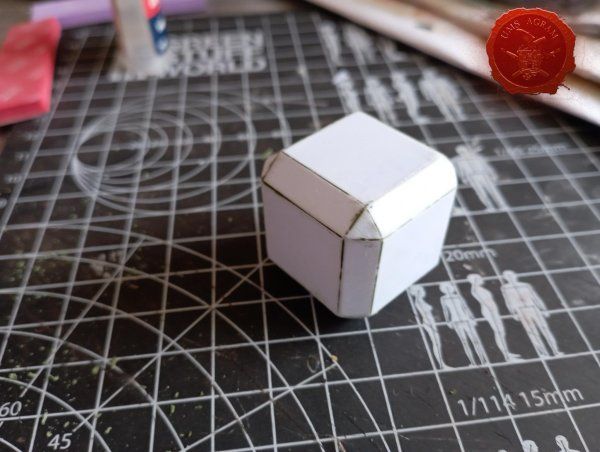
Due to the thickness and stiffness of the material, gluing is simpler than on a paper model, you just have to worry about matching the edges. I additionally processed the triangular corners with a scalpel, beveled the edges for better fitting into the cavities between the surfaces. I glued the triangles with glue for plastic, because it provides the possibility of additional adjustment and filling in unevenness.
I covered all the glued joints with GSW's Green Putty in a tube to strengthen them in their final form, to cover up the roughness of the cut and to give the weld textures to the joints. After the filler dried, I removed the excess putty with sanding sponges and leveled the surfaces.
On 0.5 mm plastic card I drew and cut out the texture details of the container cells such as reinforcements and doors. Then I glued them with plastic glue to the large areas of the container.
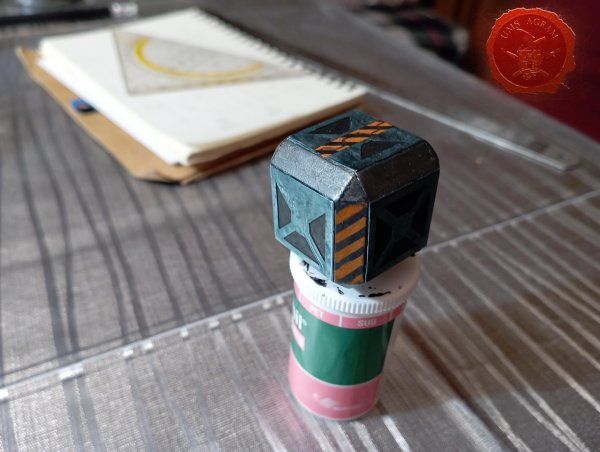
Finally, I once again sanded the surfaces and edges of the container with sanding sponges, and then painting followed. I opted for gray-blue metallic shades, matte black inner surfaces and orange stripes for areas that should not be blocked to access the container.
It remains to add details, highlights and weathering depending on the environment where the container will be placed.
As an idea for further development, there remains the creation of a variant with open container doors or damage from which the dangerous contents of the container come out or are monitored.
Latest articles
- SFRJ 1986 v2 Diorama part 5 Marko Paunović, 19th January 2026
- SFRJ 1986 v2 Diorama part 4 Marko Paunović, 19th January 2026
- SFRJ 1986 v2 Diorama part 3 Marko Paunović, 19th January 2026
- SFRJ 1986 v2 Diorama part 2 Marko Paunović, 19th January 2026
- SFRJ 1986 v2 Diorama part 1 Marko Paunović, 19th January 2026
Latest battle-reports
- Kill Team - Blooded vs. Vespid Stingwings 28th February 2025, GW - Warhammer 40.000, and Antoni Pastuović (Imperial Guard)
- 22nd April 2022, GW - Warhammer 40.000, Borna Pleše (Space Marines) and Kristijan Kliska (Tau Empire)
- 17th November 2021, GW - Warhammer 40.000, and Nino Marasović (Space Marines)

