Exhibition of Miniatures and Tabletop Scenery Agram 2024

Marko Paunović, 14th March 2024

Click for enlarged picture

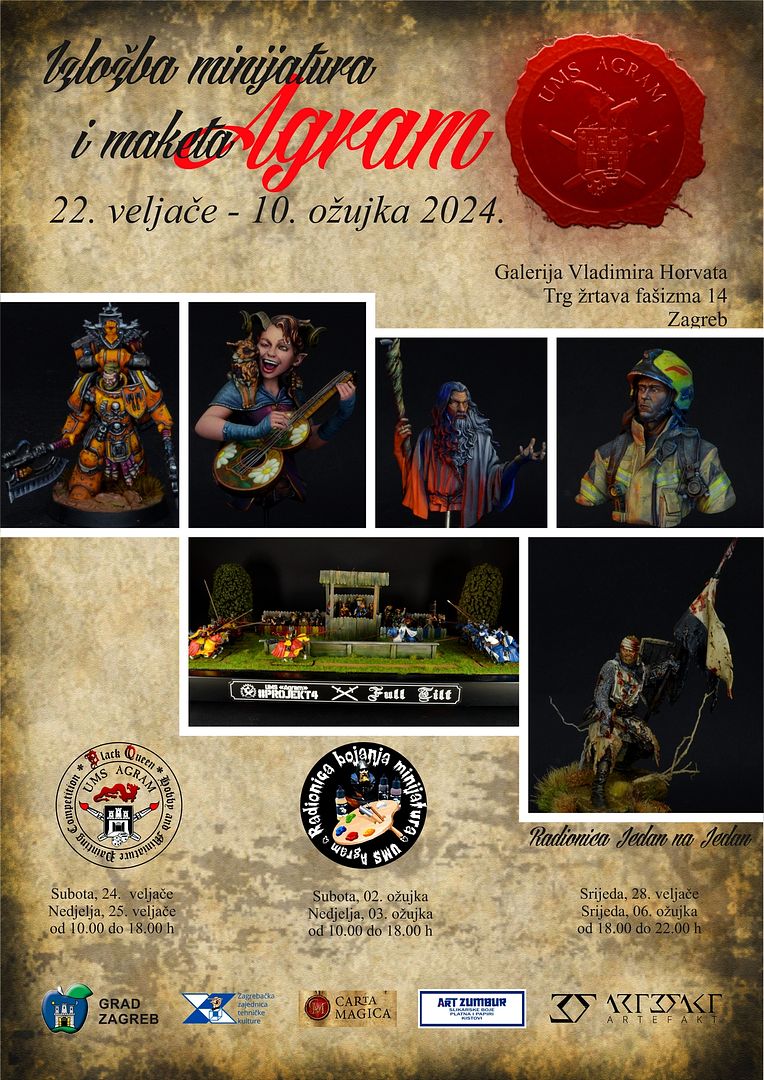
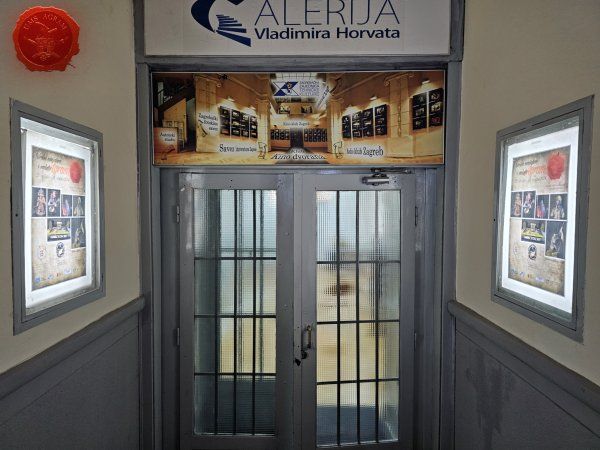
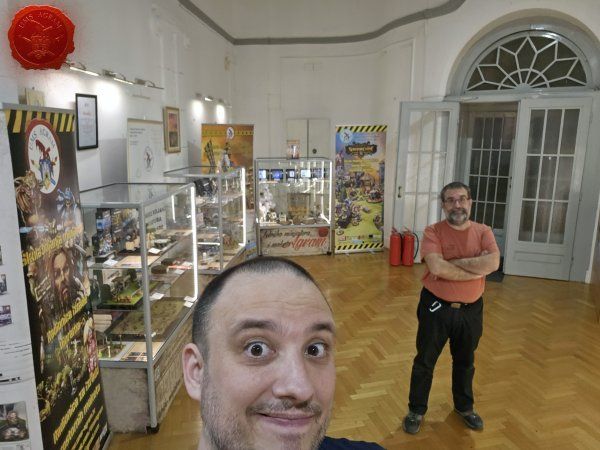
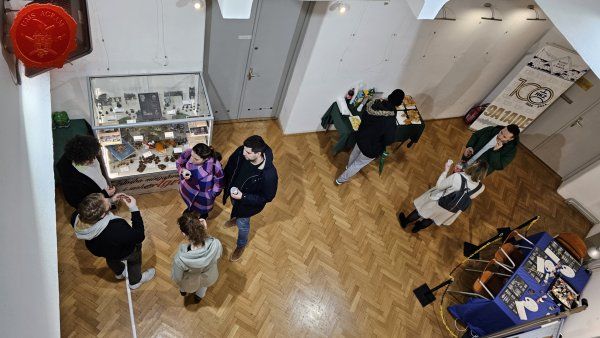
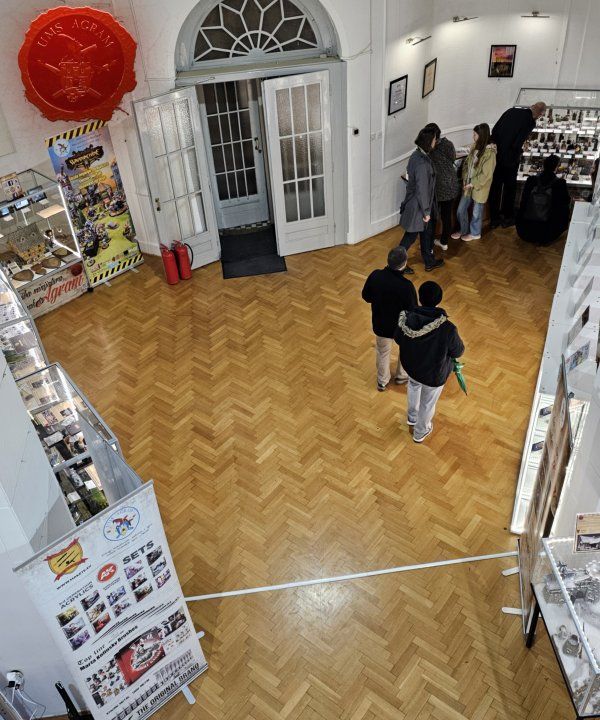
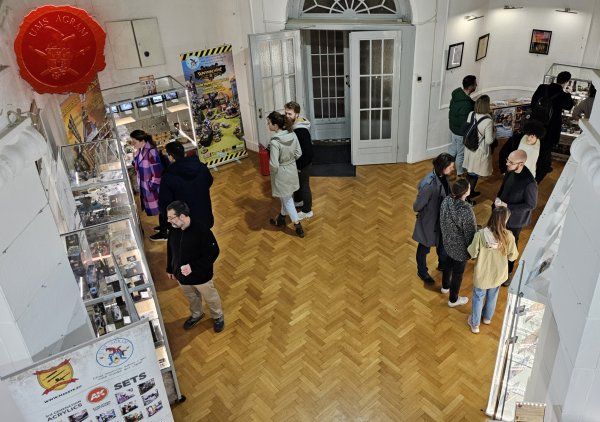
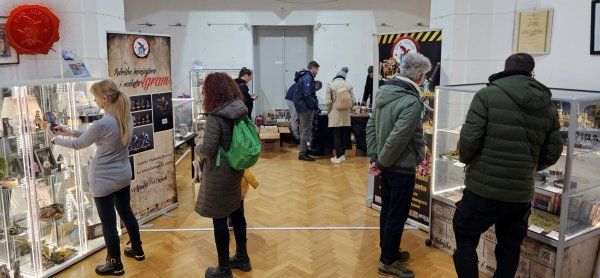
The exhibition of miniatures and tabletop scenery "Agram 2024" was held this year from 22.2. until 10.03. 2024. The installation of the exhibition was held on Wednesday, February 21. in the afternoon and was attended by a large number of members and friends of the Association who exhibited their works.

Click for enlarged picture

Click for enlarged picture

Click for enlarged picture

Click for enlarged picture

Click for enlarged picture

Click for enlarged picture

Click for enlarged picture

Click for enlarged picture

Click for enlarged picture

Click for enlarged picture

Click for enlarged picture

Click for enlarged picture

Click for enlarged picture

Click for enlarged picture

Click for enlarged picture

Click for enlarged picture

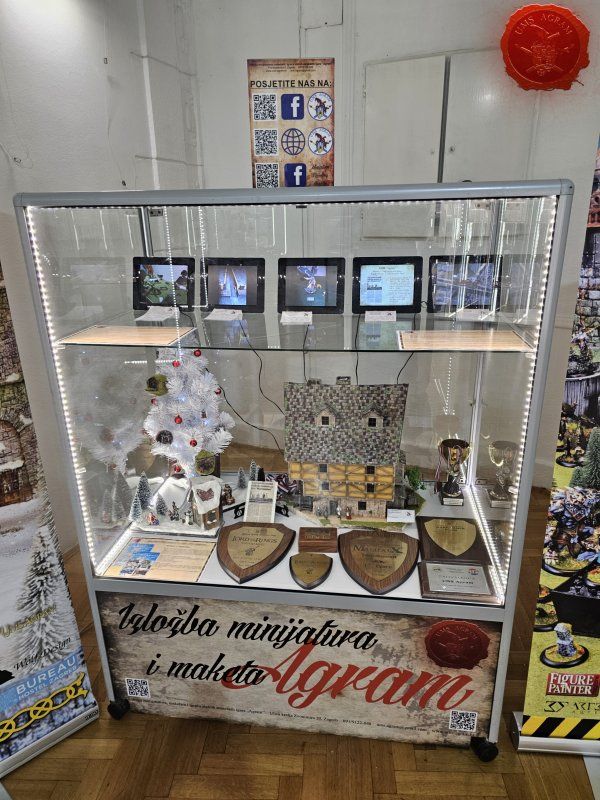
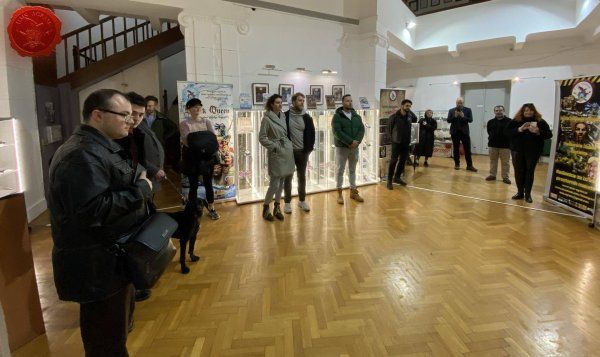
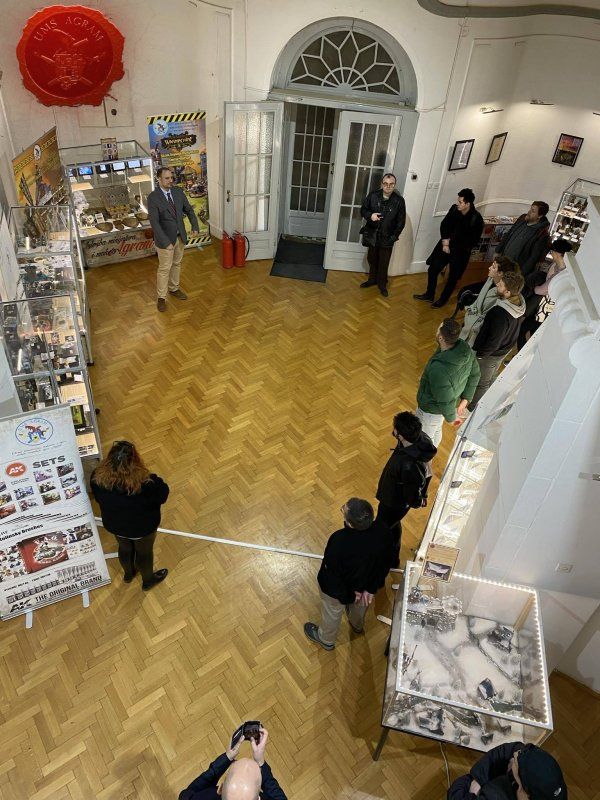
The opening of the Exhibition took place on Thursday, February 22, 2024. starting at 18:00. The exhibition was organized on the occasion of our twenty-first birthday.

Click for enlarged picture

Click for enlarged picture

Click for enlarged picture

Click for enlarged picture

Click for enlarged picture

Click for enlarged picture

Click for enlarged picture

Click for enlarged picture

Click for enlarged picture

Click for enlarged picture

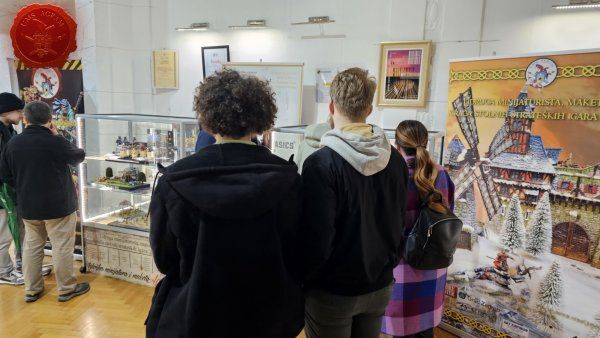
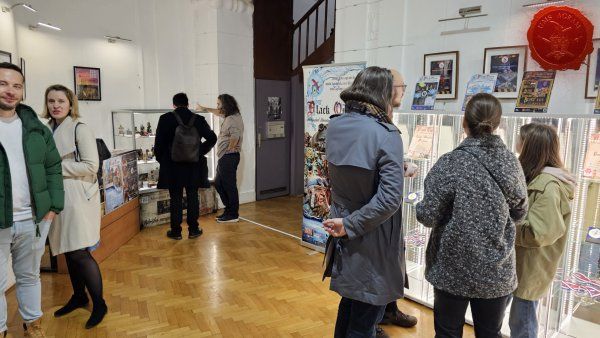
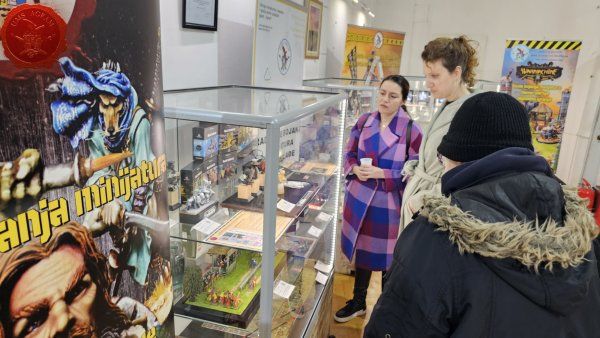
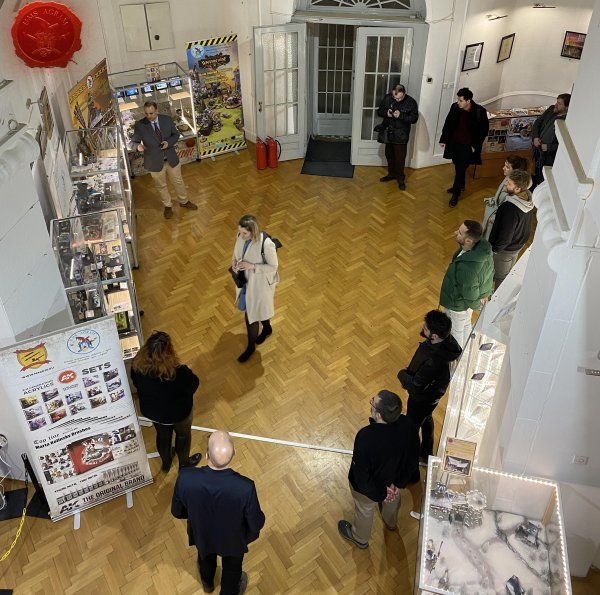
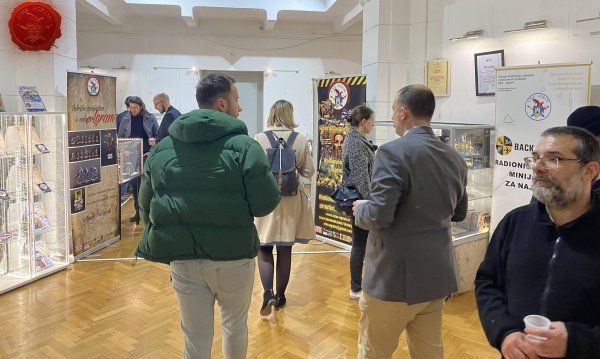
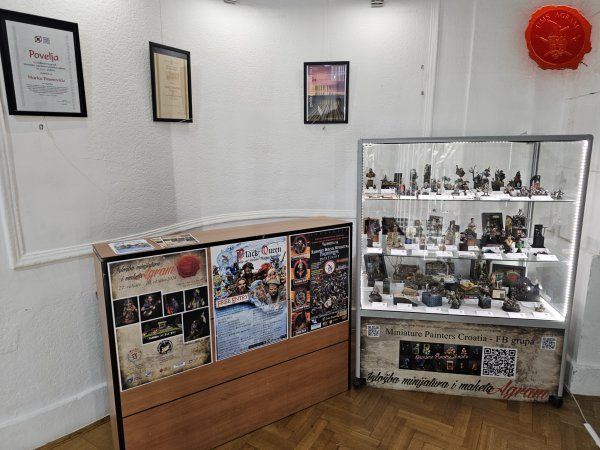
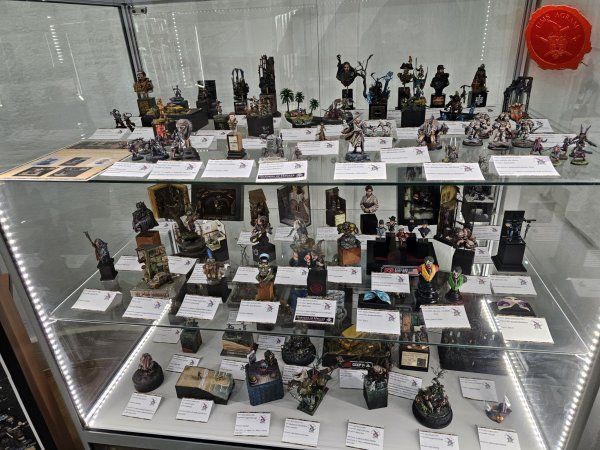
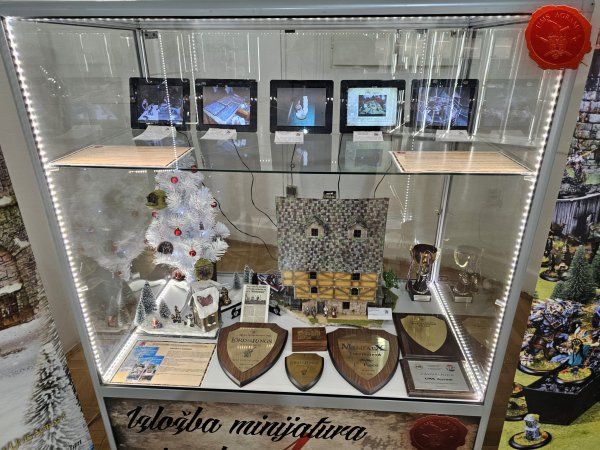
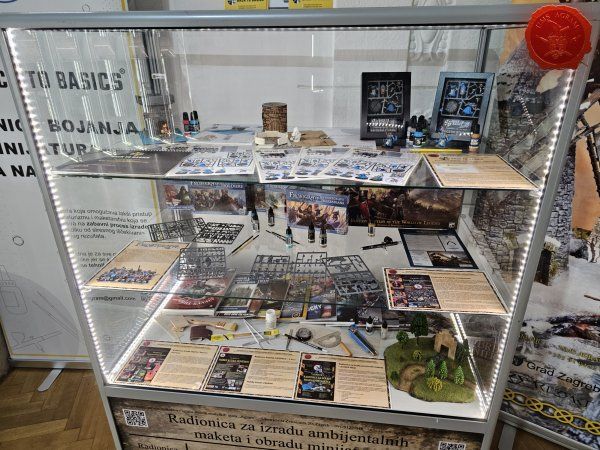
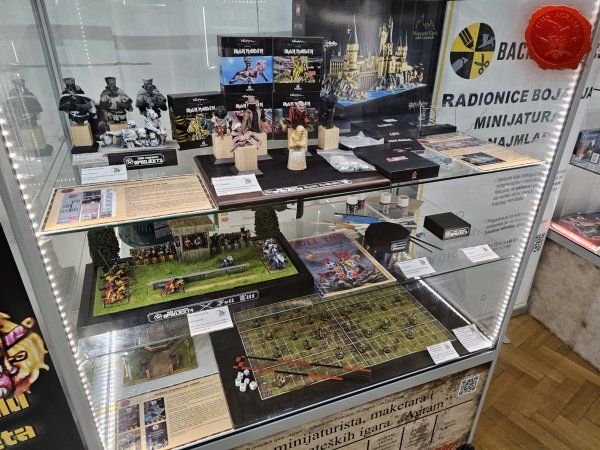
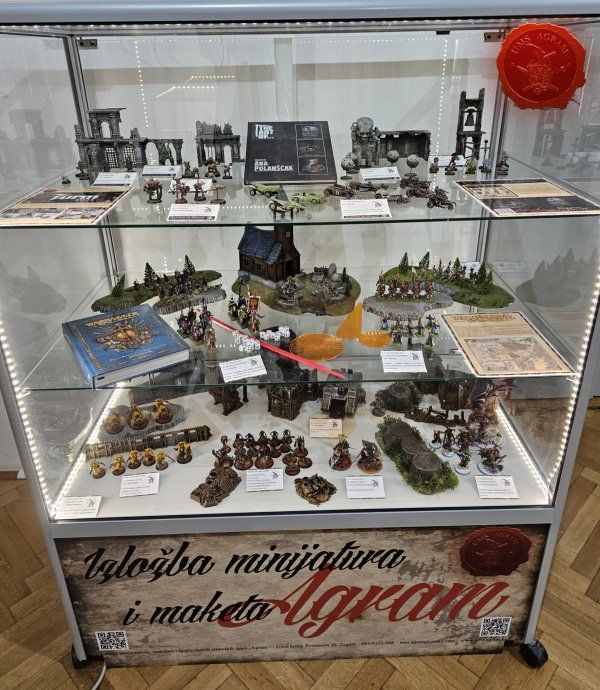
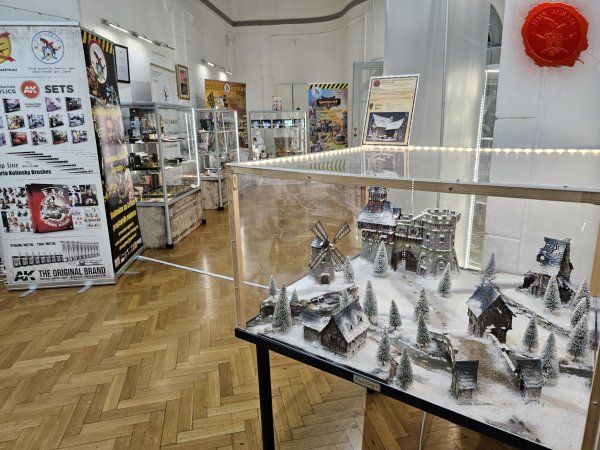
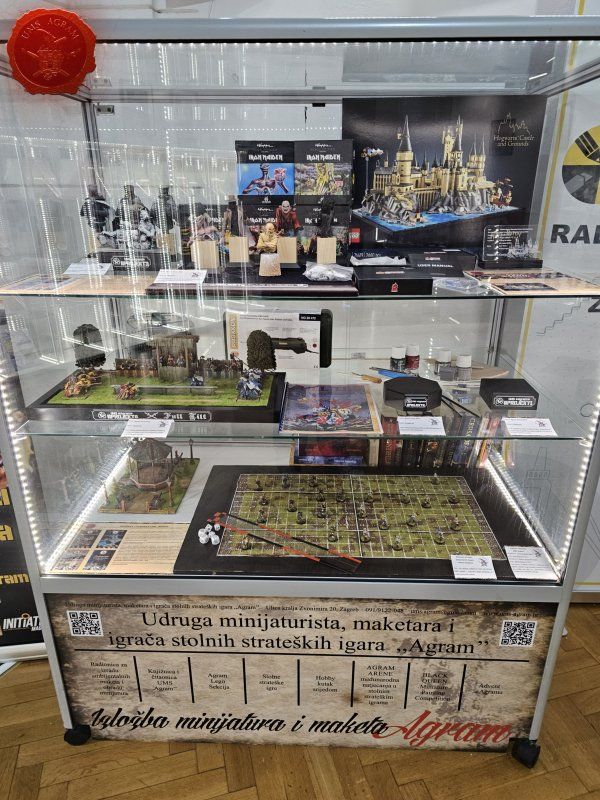
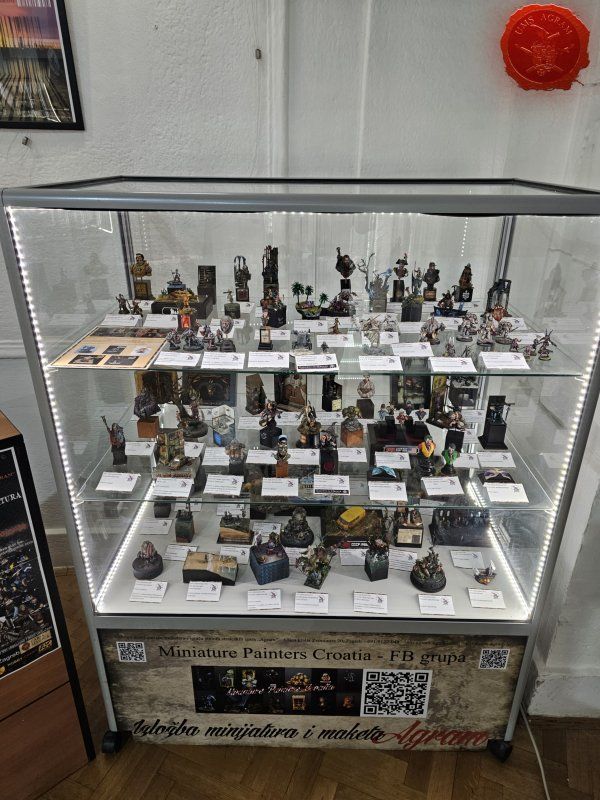
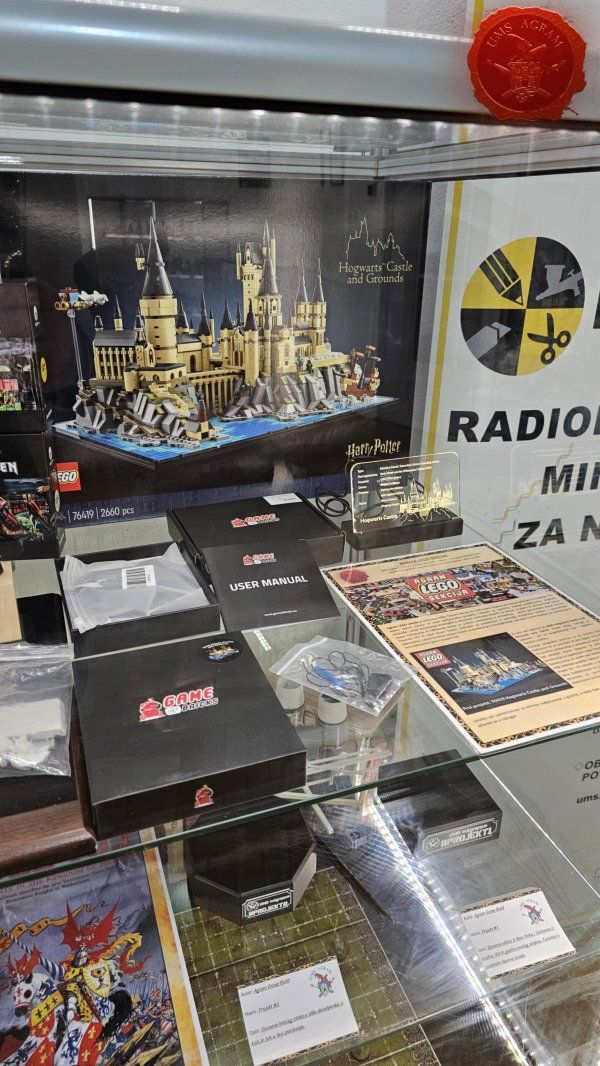
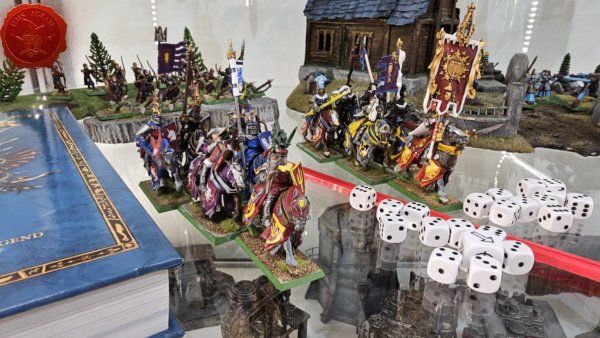
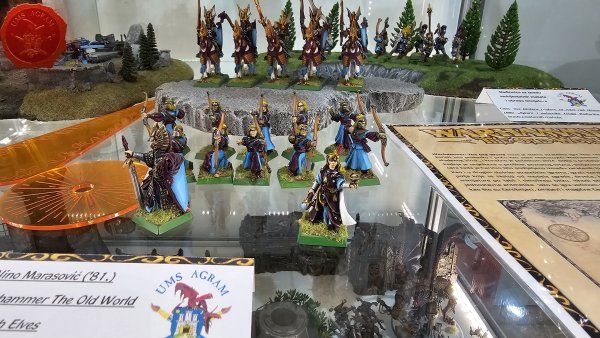
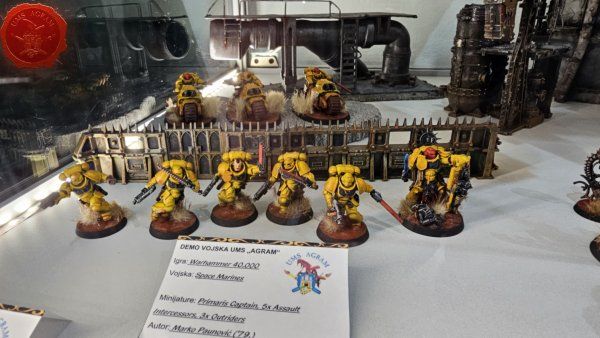
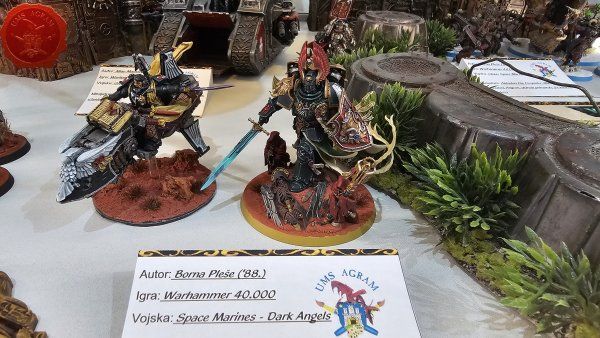
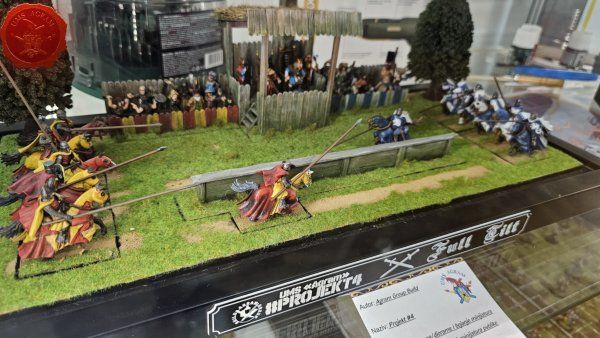
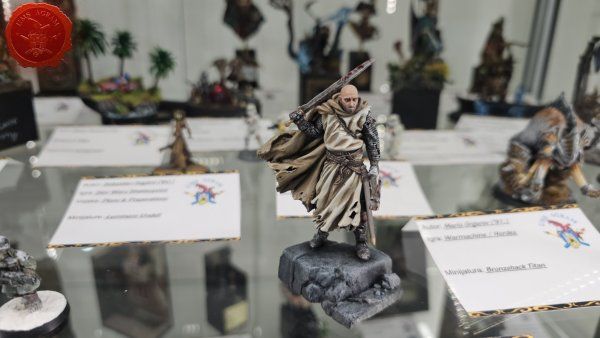
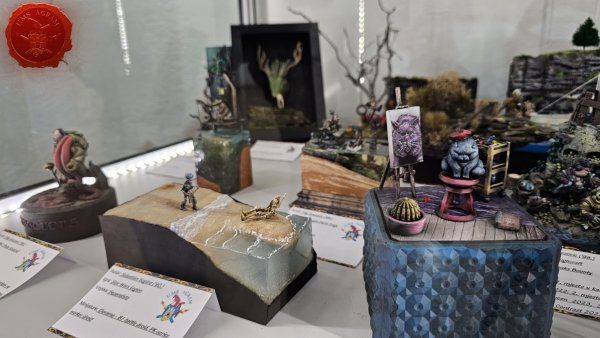
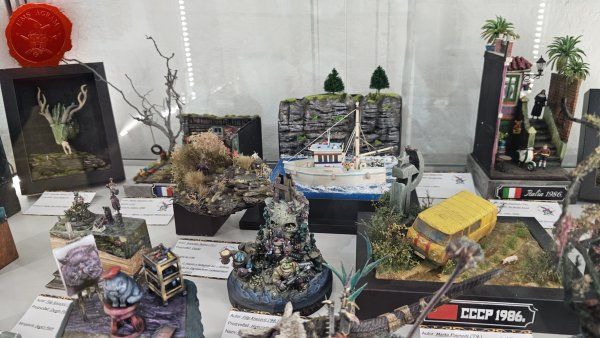
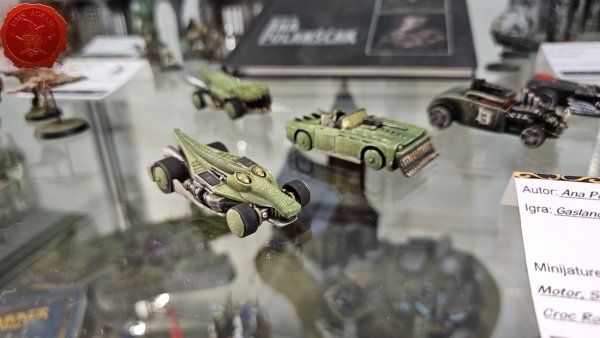
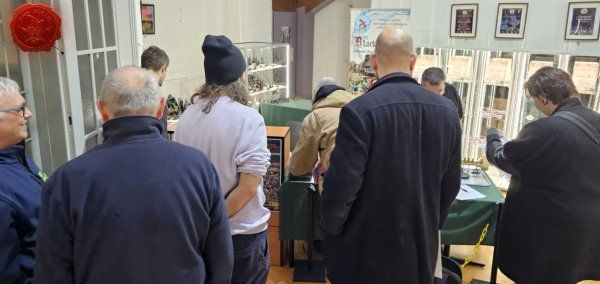
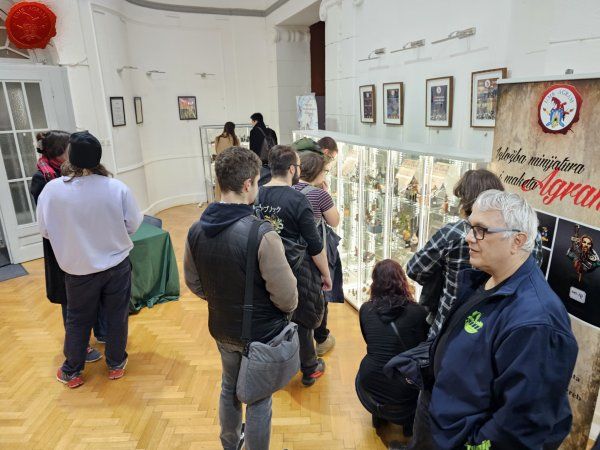
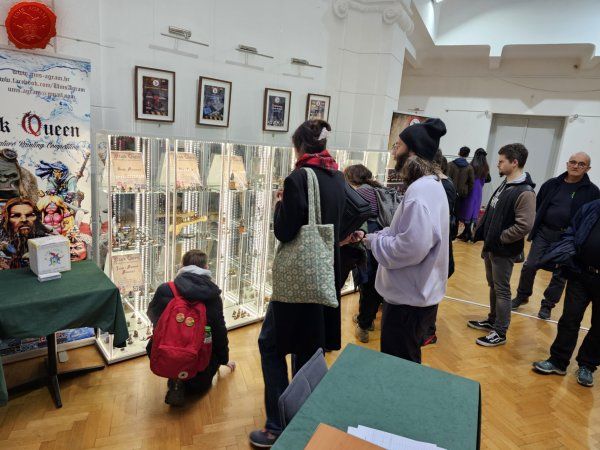
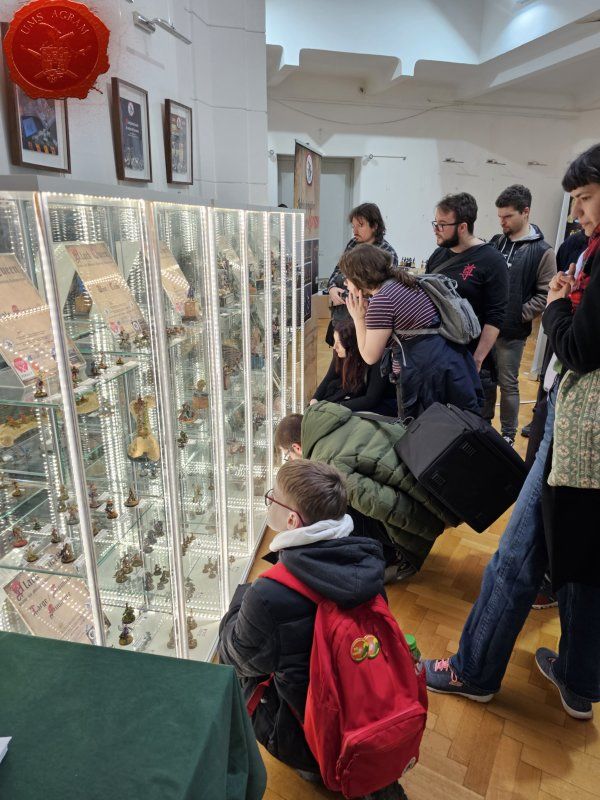
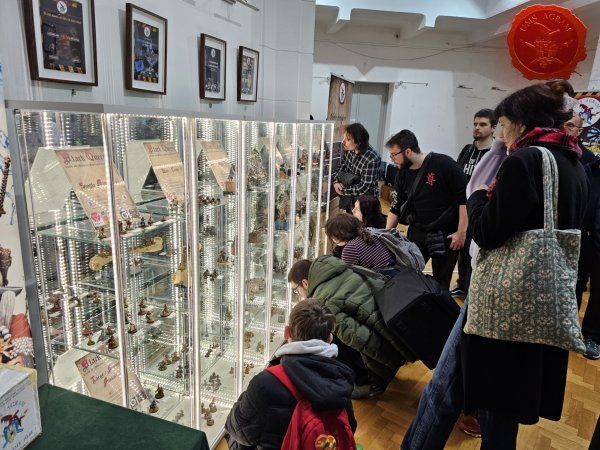
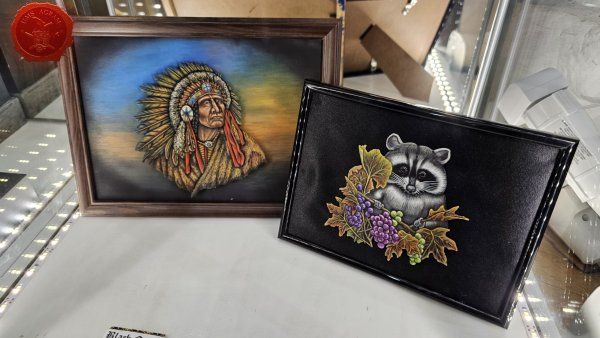
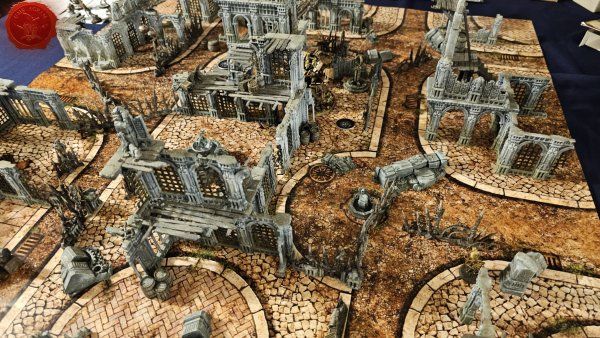
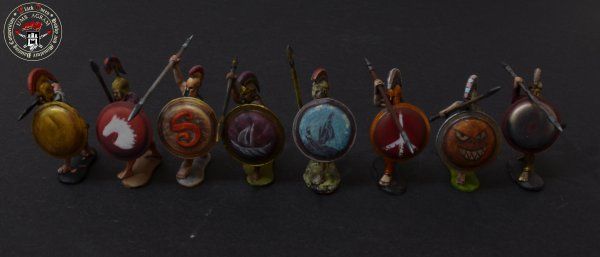
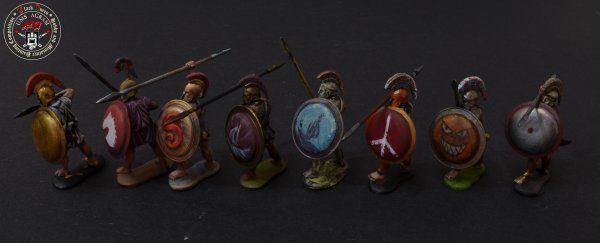
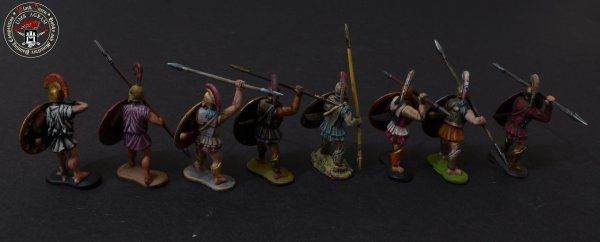
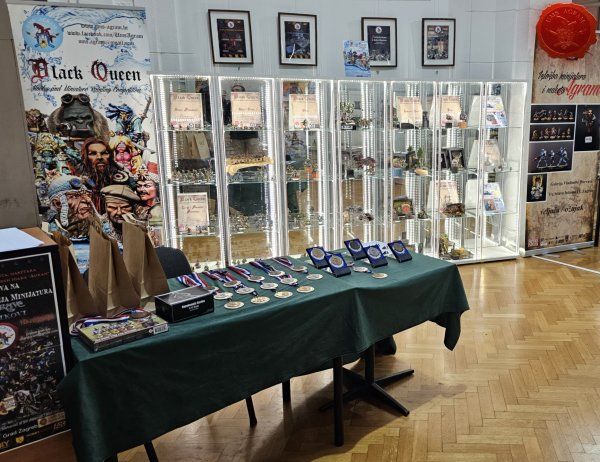
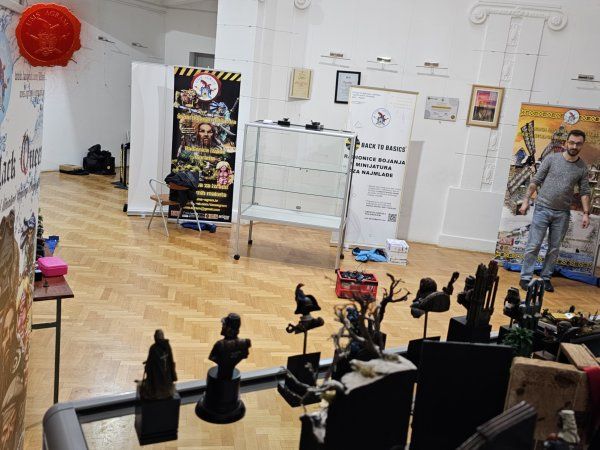
As always, the Exhibition presented a cross-section of the work of the Association, its members, participants of its courses and workshops, and members of the FB group Miniature Painters Croatia. In a large number of showcases, there are numerous miniatures for tabletop strategy games, board games, and an entire showcase is dedicated to award-winning exhibits from previous miniature competitions. Several showcases were dedicated to projects that the Association has been implementing for 21 years, such as the UMS “Agram“ Library and Reading Room, the Workshop for Making Spatial Models and the Miniature Painting Workshop.

Click for enlarged picture

Click for enlarged picture

Click for enlarged picture

Click for enlarged picture

Click for enlarged picture

Click for enlarged picture

Click for enlarged picture

Click for enlarged picture

Click for enlarged picture

Click for enlarged picture

Click for enlarged picture

Click for enlarged picture

Click for enlarged picture

Click for enlarged picture

Click for enlarged picture

Click for enlarged picture

Click for enlarged picture

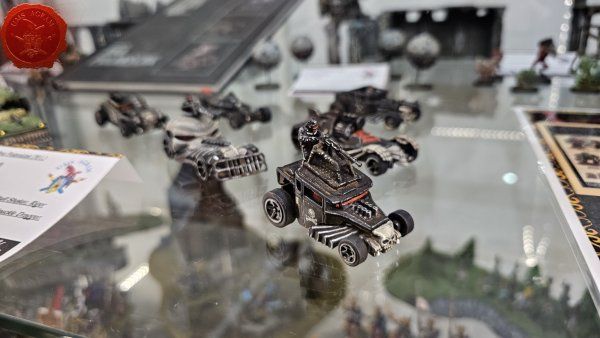
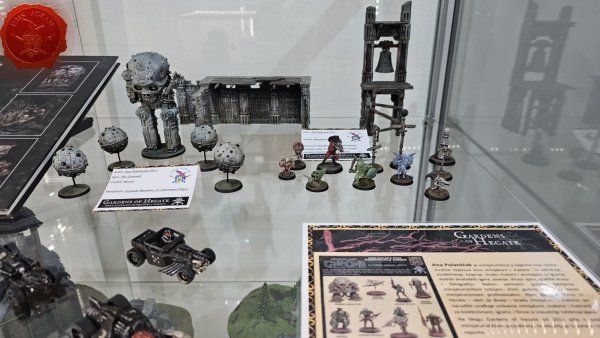
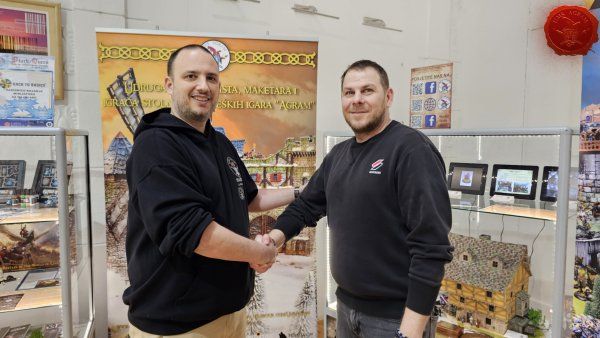
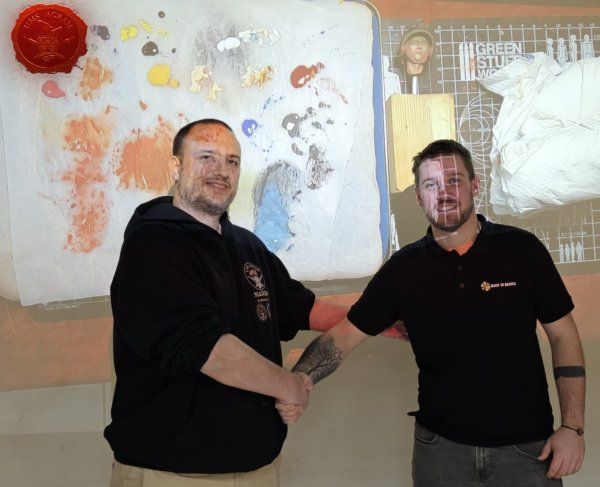
This year we hosted a special exhibitor Gardens of Hecate. A craft from Zagreb that makes and paints miniatures and terrain for tabletop strategy games.

Click for enlarged picture

Click for enlarged picture

Click for enlarged picture

Click for enlarged picture

Click for enlarged picture

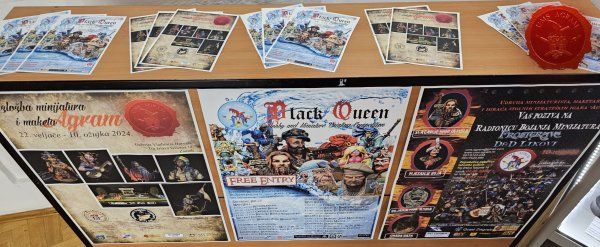
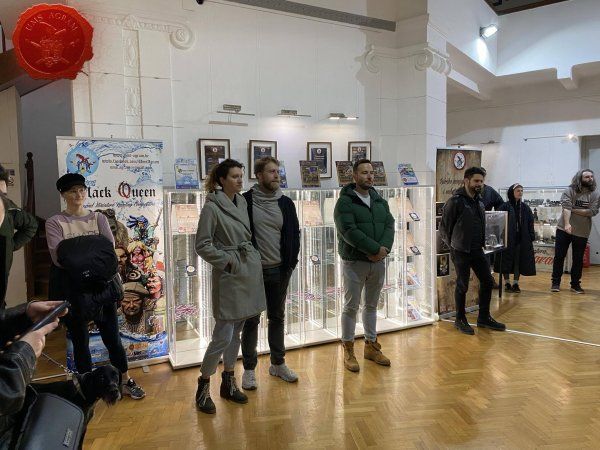
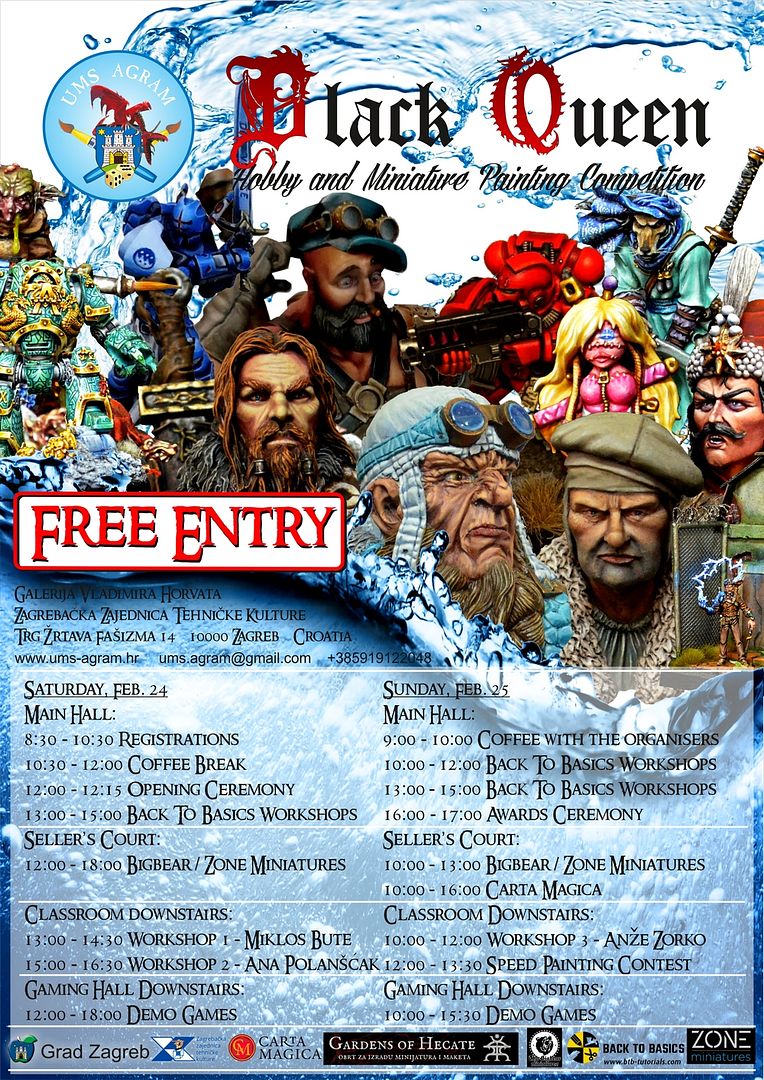
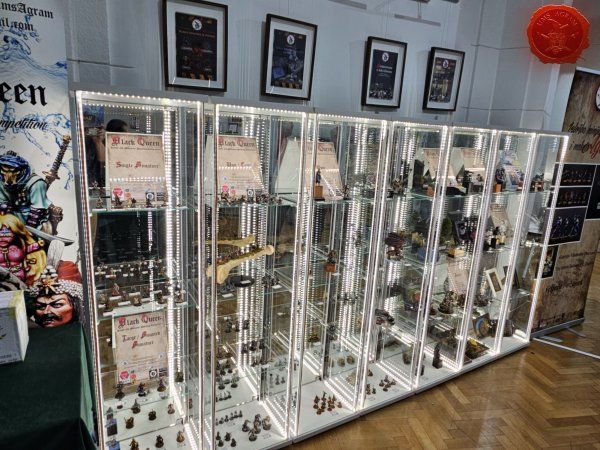
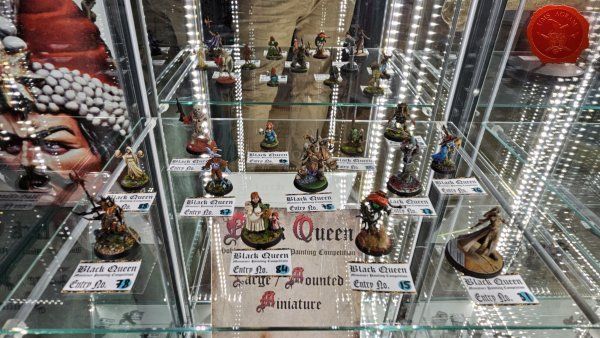
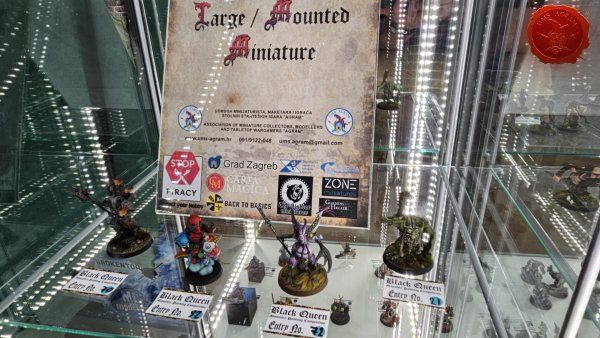
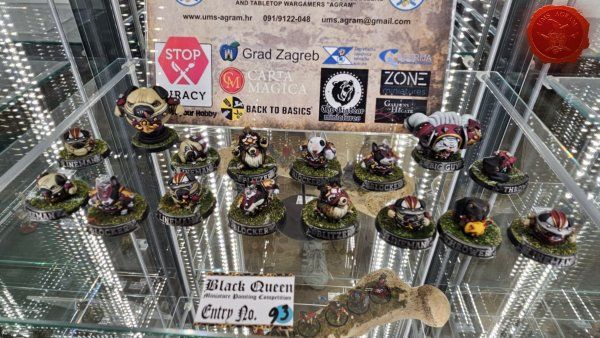
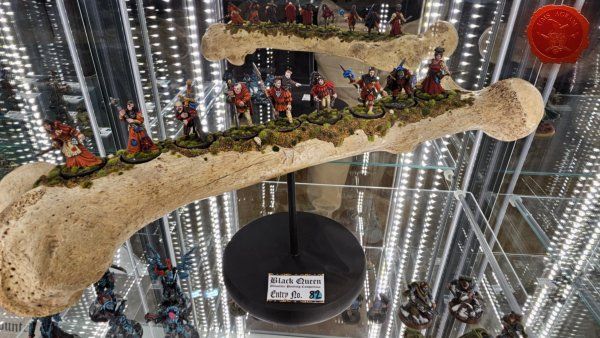
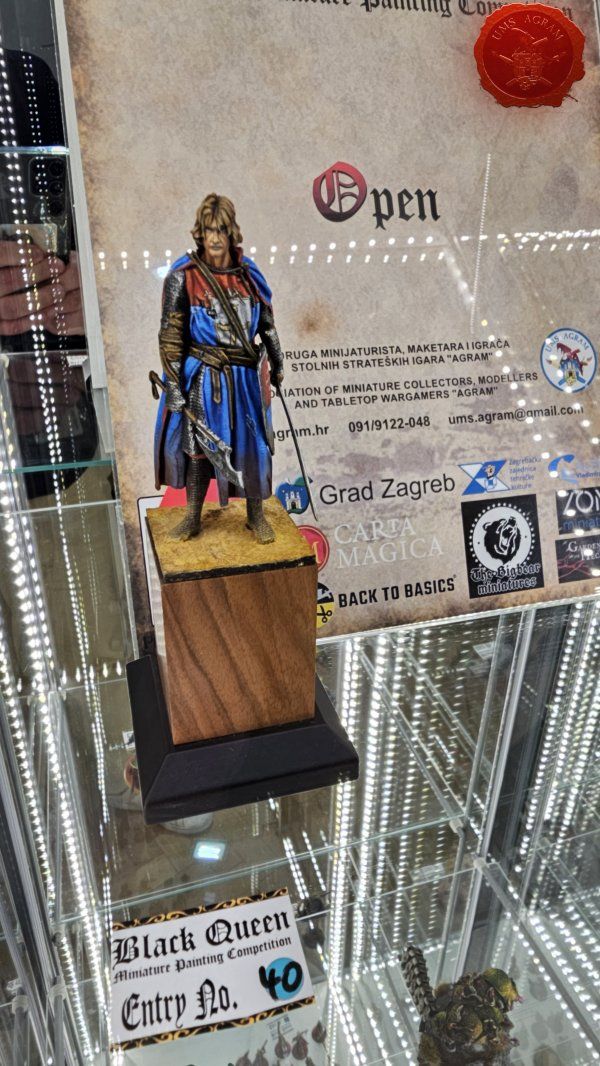
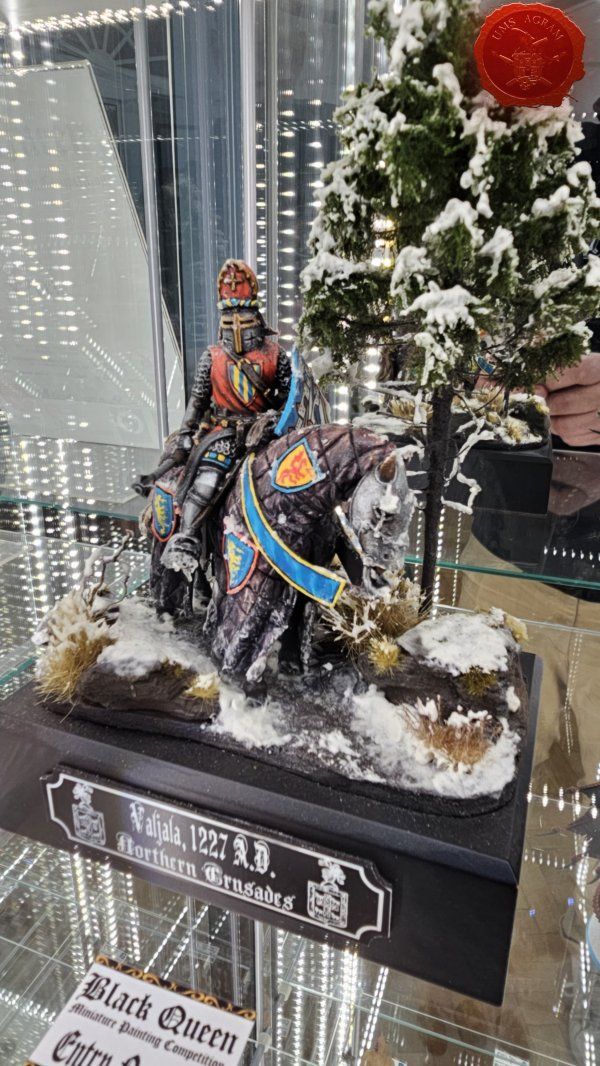
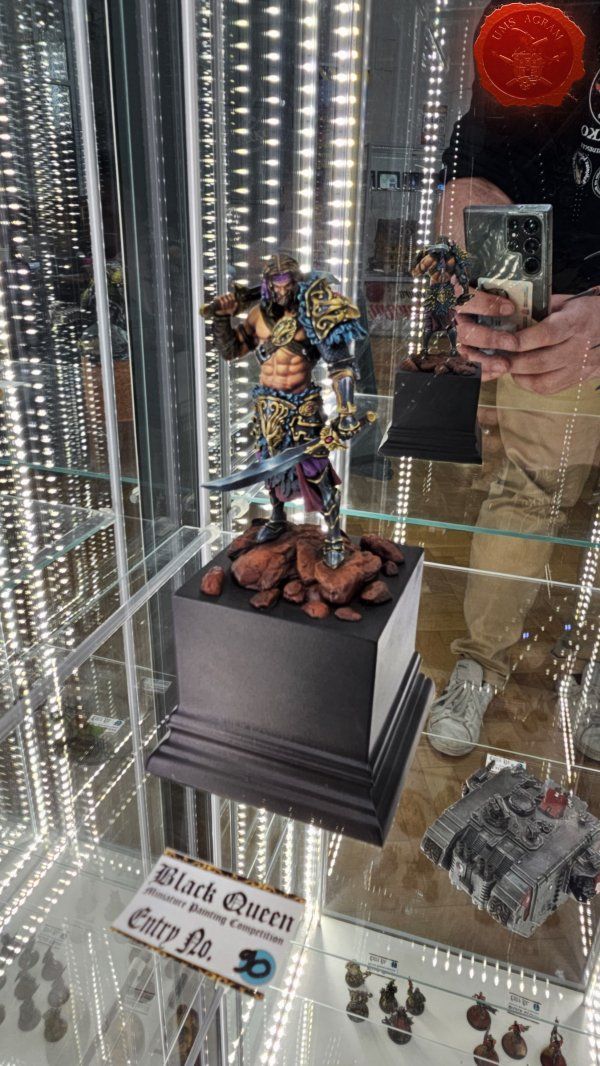
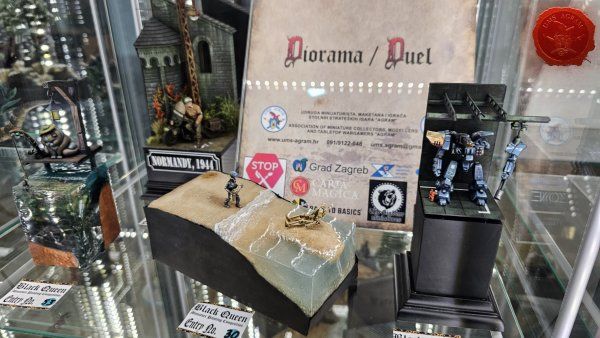
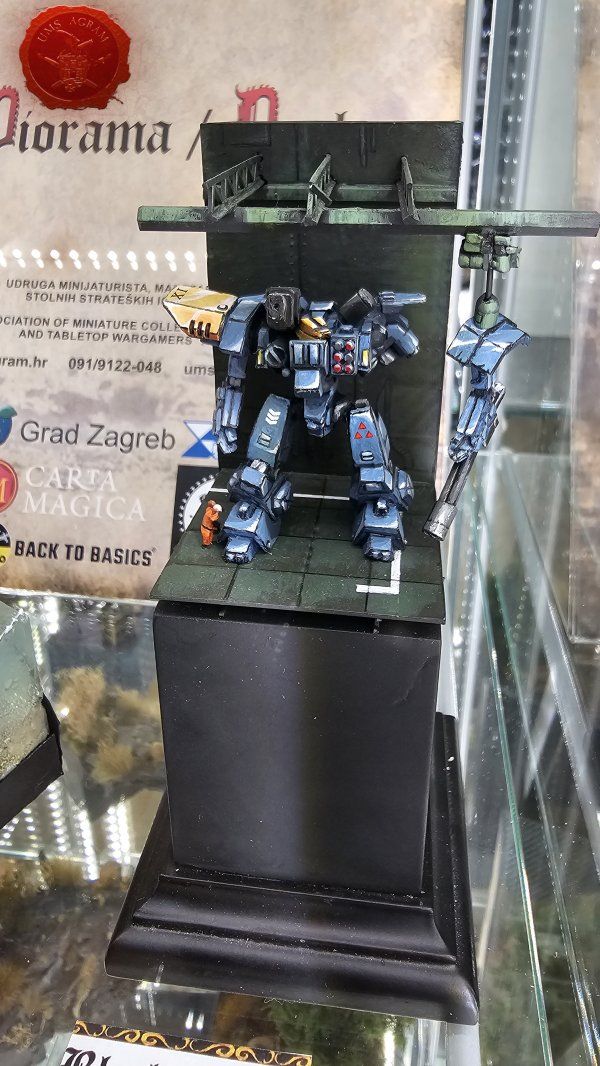
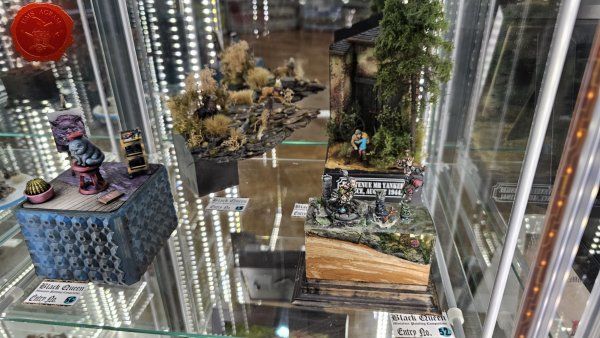
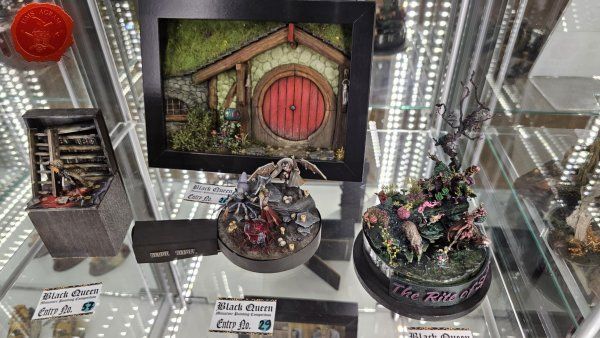
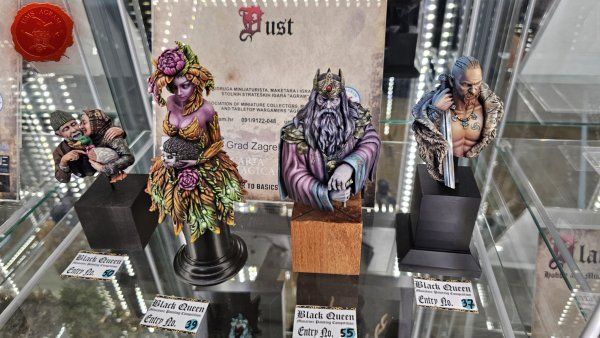
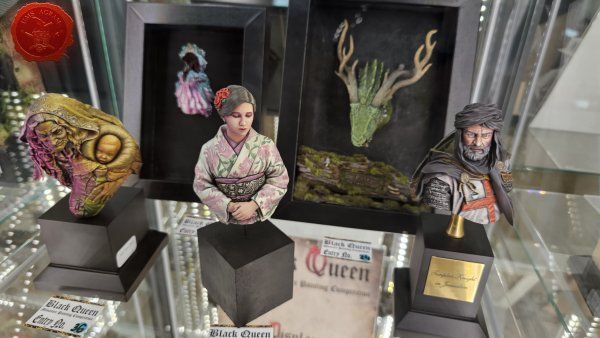
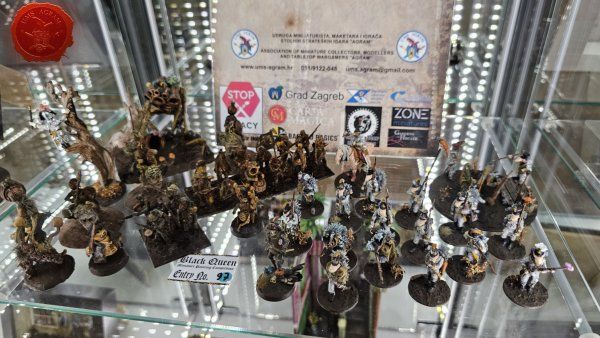
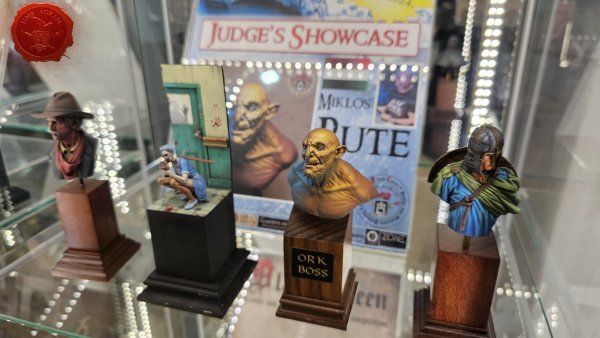
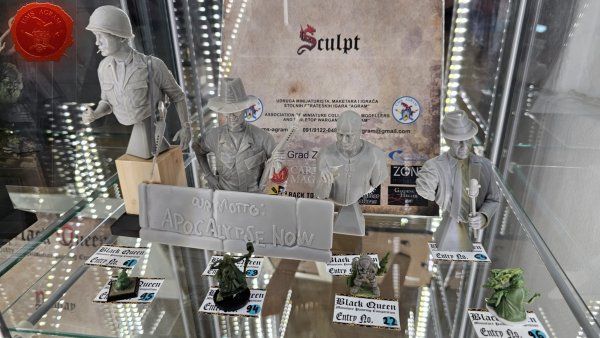
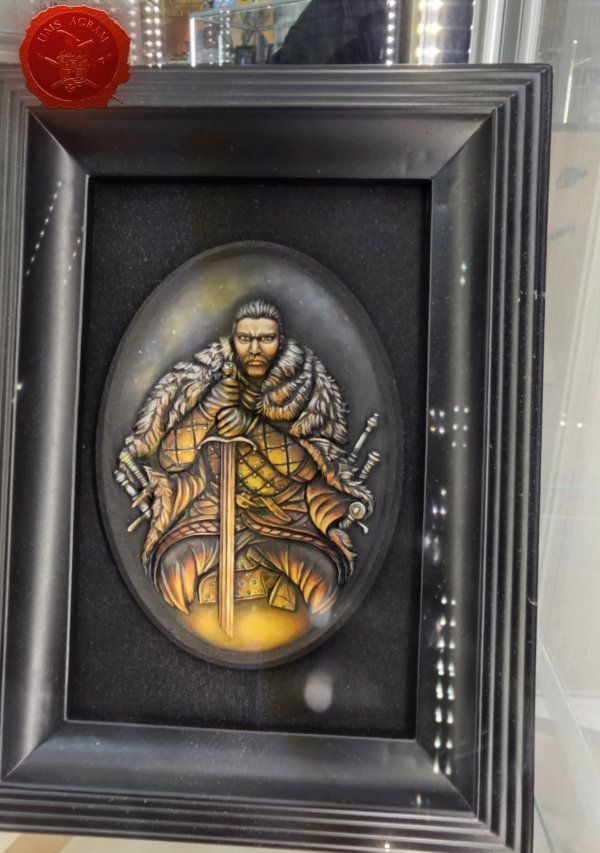
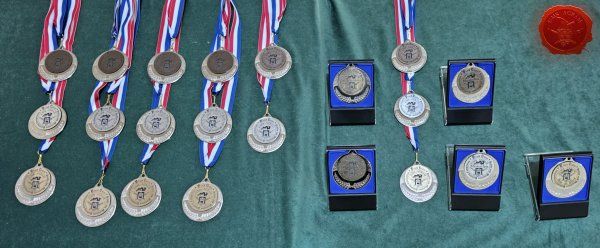
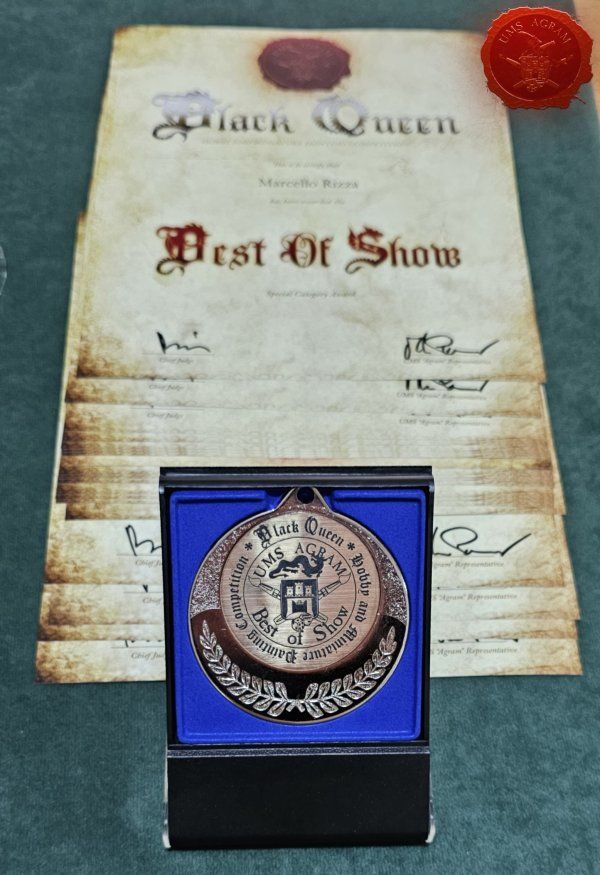
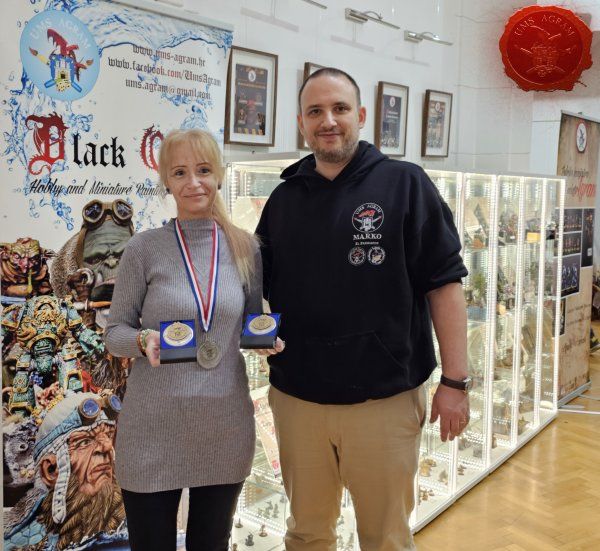
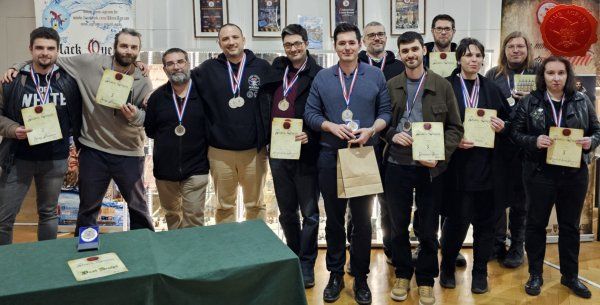
During the first weekend of the Exhibition, February 24-25, we held the 18th annual Black Queen Hobby and Miniature Painting Competition!

Click for enlarged picture

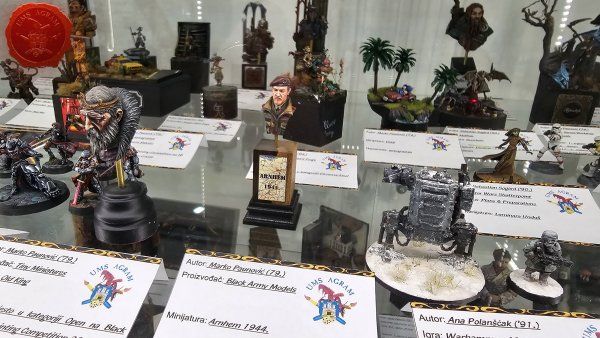
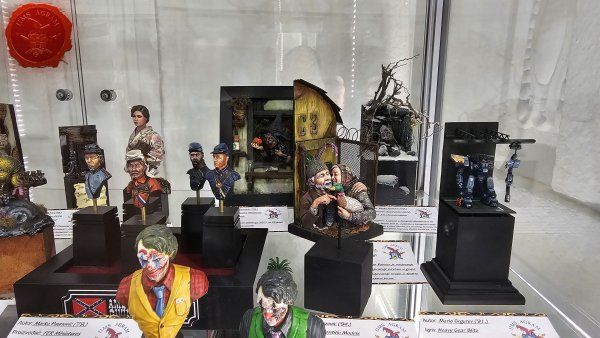
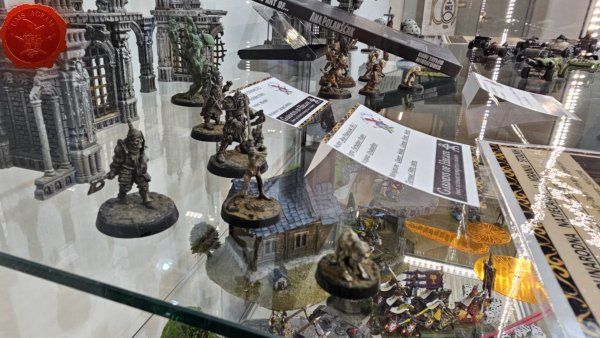
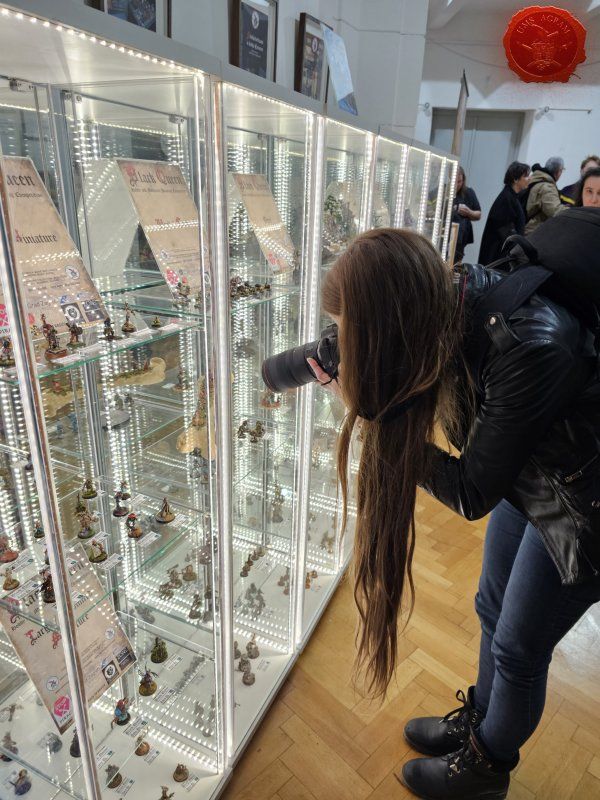
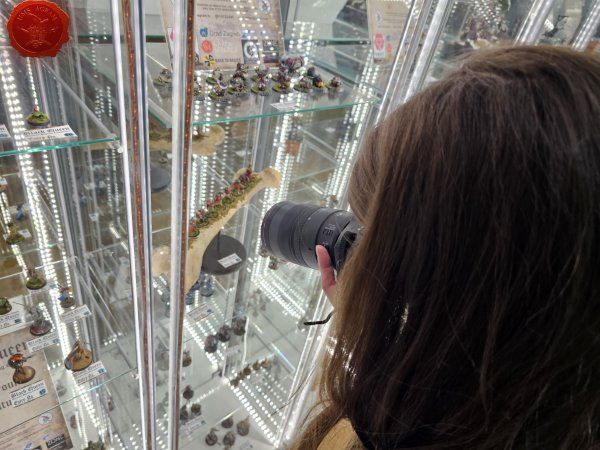
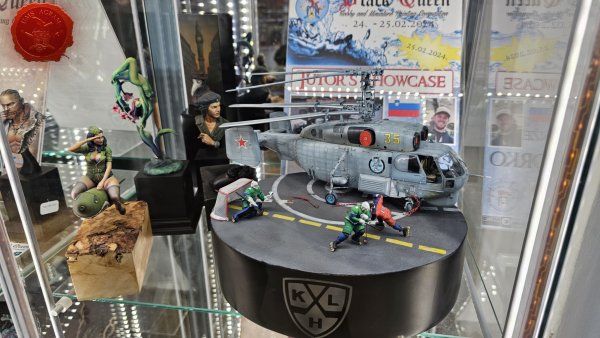
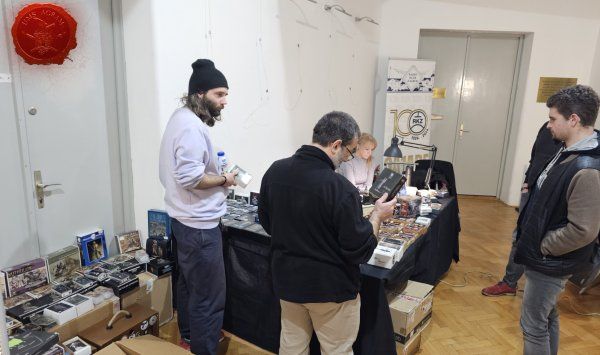
As contestants arrived and registered for the competition, our dedicated staff photographed all the exhibits before sorting them into categories and carefully placing them in glass cases.

Click for enlarged picture

Click for enlarged picture

Click for enlarged picture

Click for enlarged picture

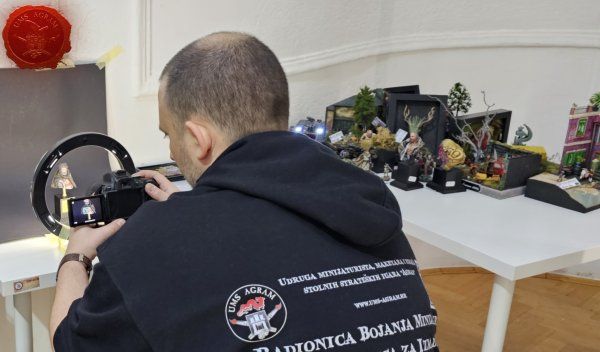
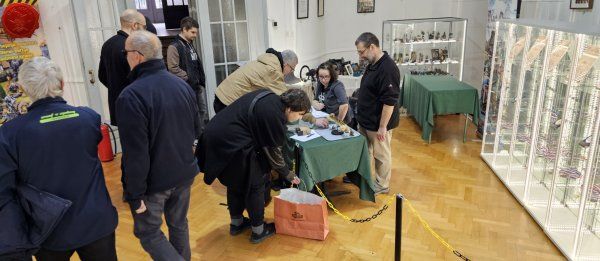
At noon, all the showcases were full and the competition could officially begin.
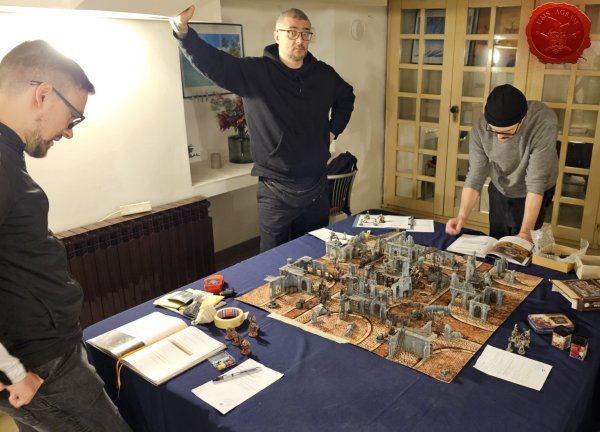
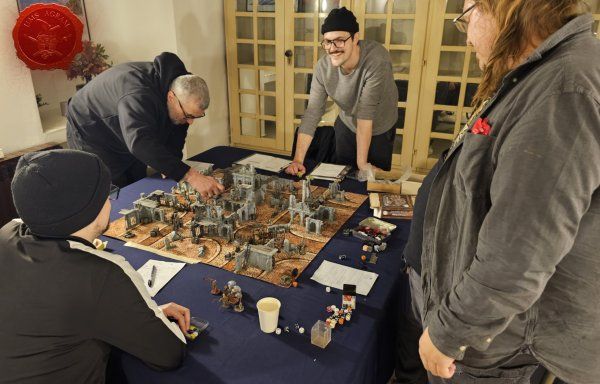
Click for enlarged picture

Click for enlarged picture

Click for enlarged picture

Click for enlarged picture

Click for enlarged picture

Click for enlarged picture

Click for enlarged picture

Click for enlarged picture

Click for enlarged picture

Click for enlarged picture

Click for enlarged picture

Click for enlarged picture

Click for enlarged picture

Click for enlarged picture

Click for enlarged picture

Click for enlarged picture

Click for enlarged picture

Click for enlarged picture

Click for enlarged picture

Click for enlarged picture

Click for enlarged picture

Click for enlarged picture

Click for enlarged picture

Click for enlarged picture

Click for enlarged picture

Click for enlarged picture

Click for enlarged picture

Click for enlarged picture

WARGAMING DEMOS

Click for enlarged picture

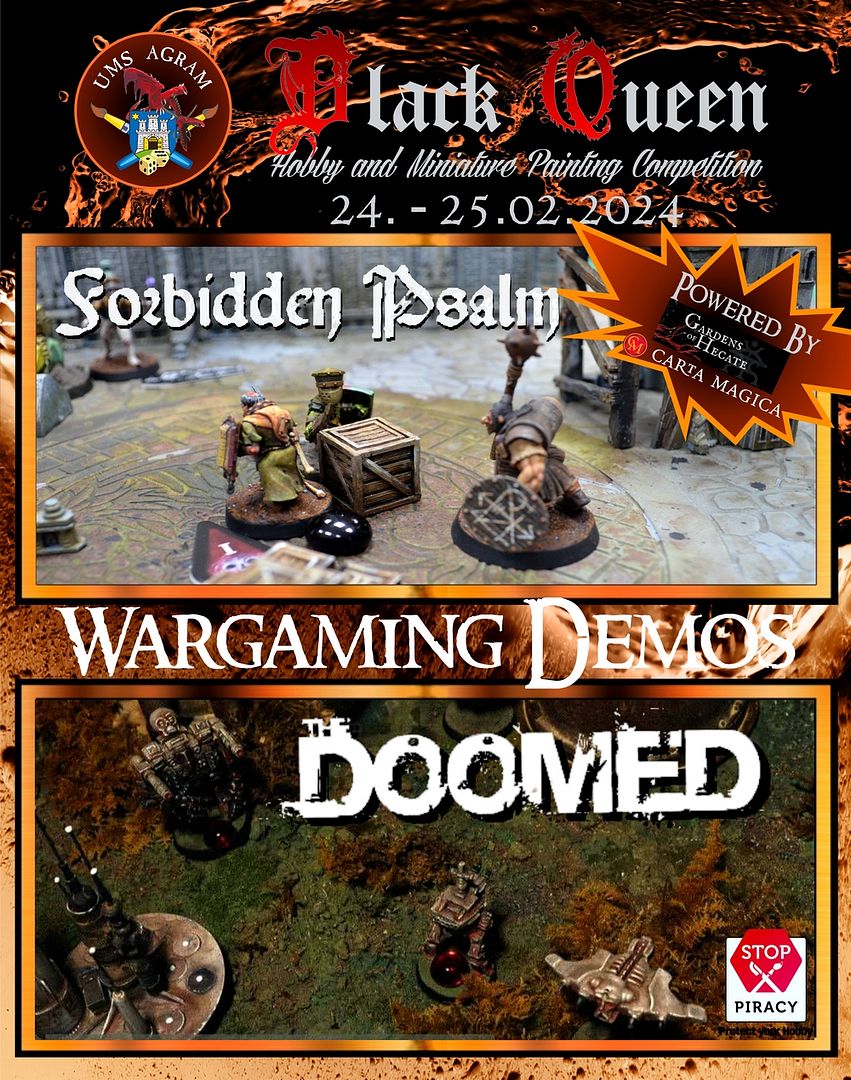
This year, for the first time, we organized demonstrations of the board strategy games Forbidden Psalm and The Doomed. During both days, a handful of games were played on beautiful courts!
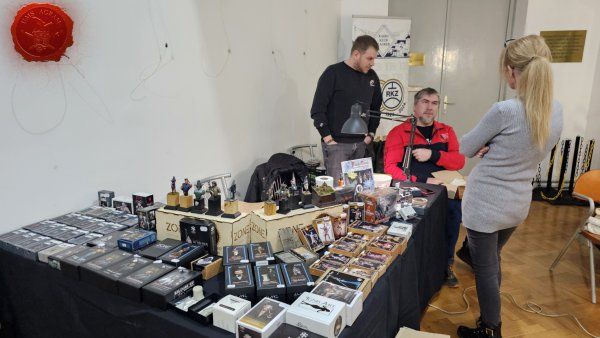
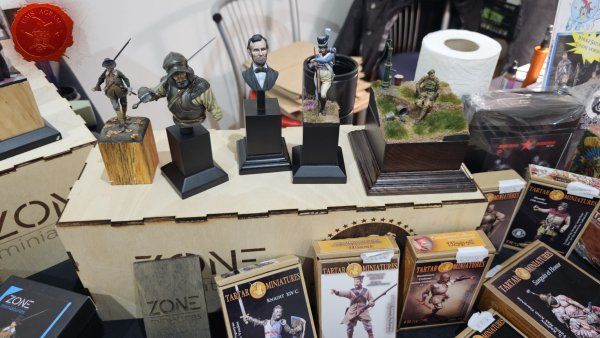
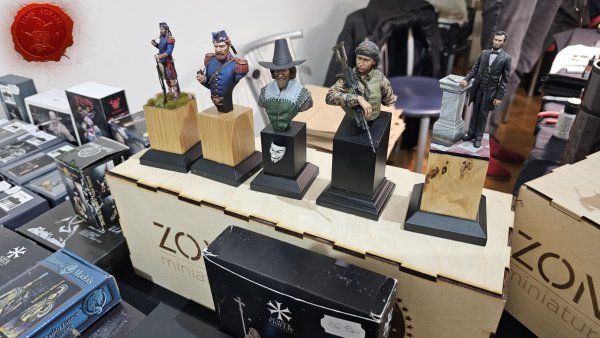
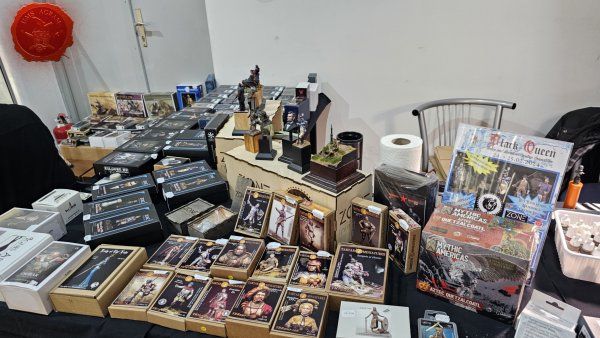
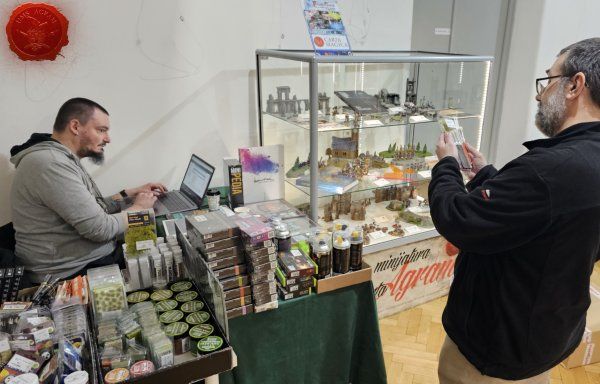
Click for enlarged picture

Click for enlarged picture

Click for enlarged picture

Click for enlarged picture

SELLER'S COURT

Click for enlarged picture

Click for enlarged picture

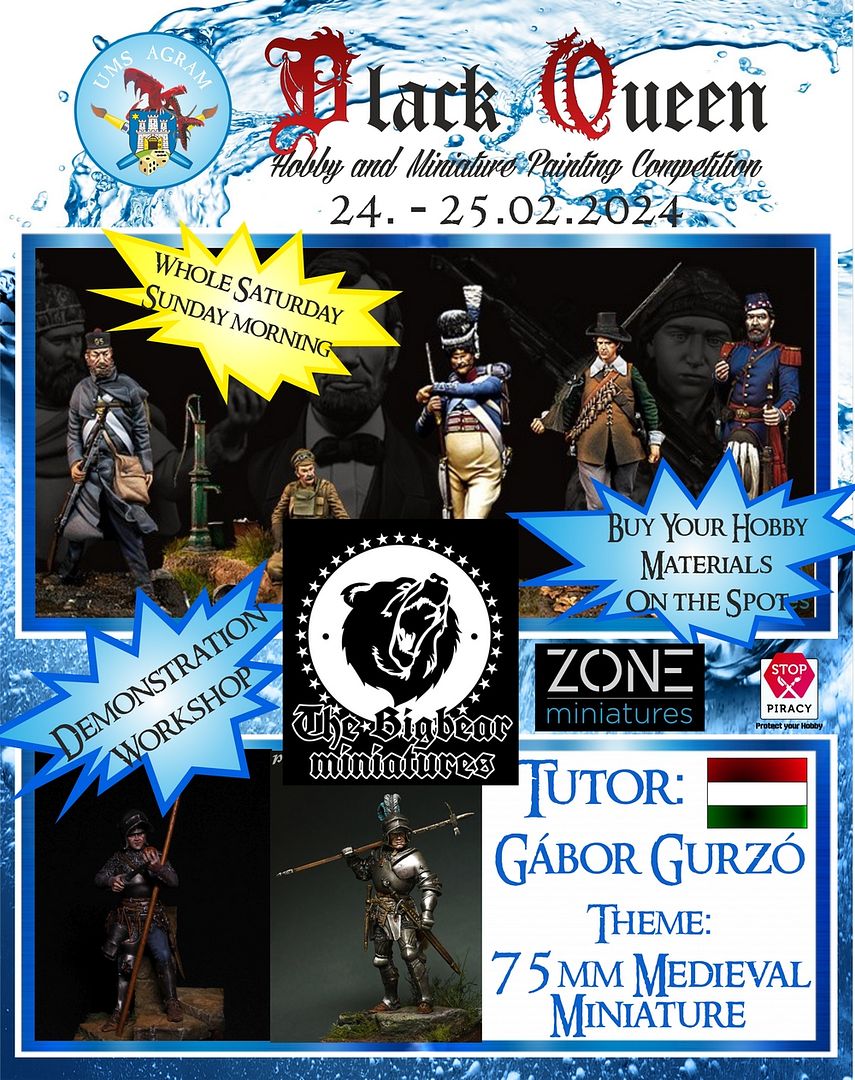
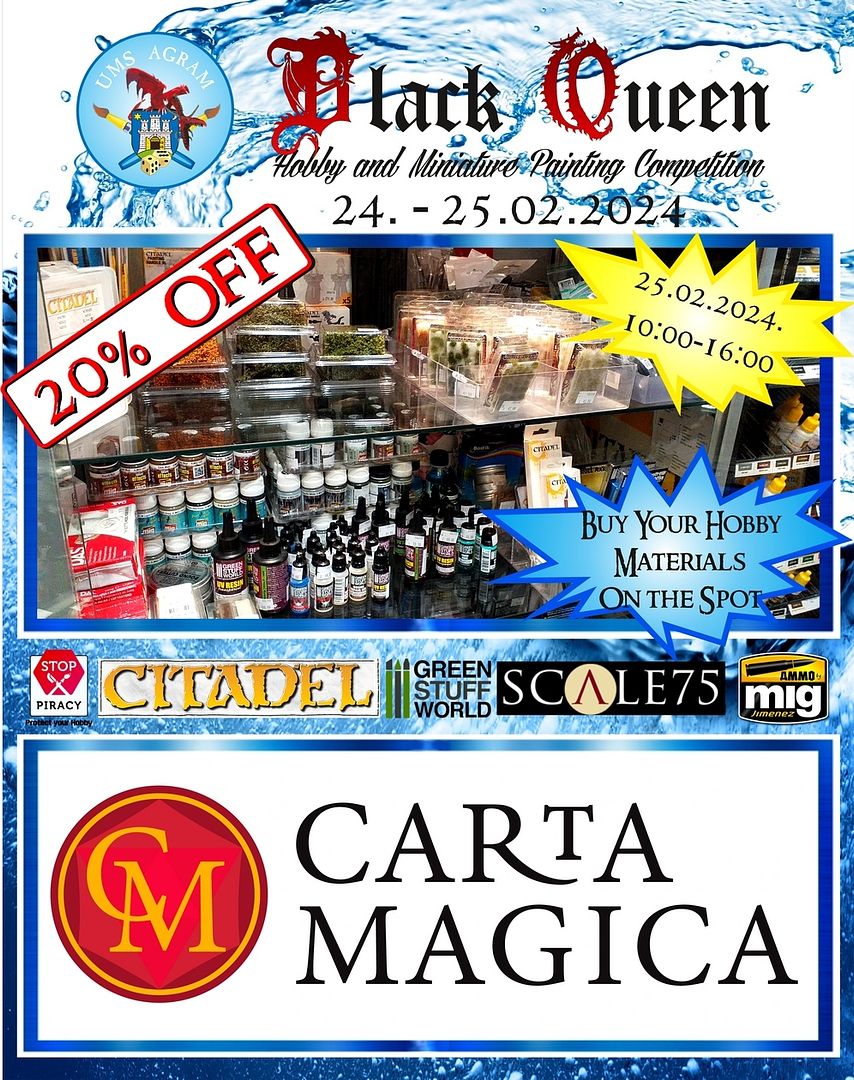
During the weekend we hosted our sponsors with their sales stands: The Bigbear Miniatures, The Zone Miniatures and Carta Magica.

Click for enlarged picture

Click for enlarged picture

Click for enlarged picture

Click for enlarged picture

Click for enlarged picture

Click for enlarged picture

Click for enlarged picture

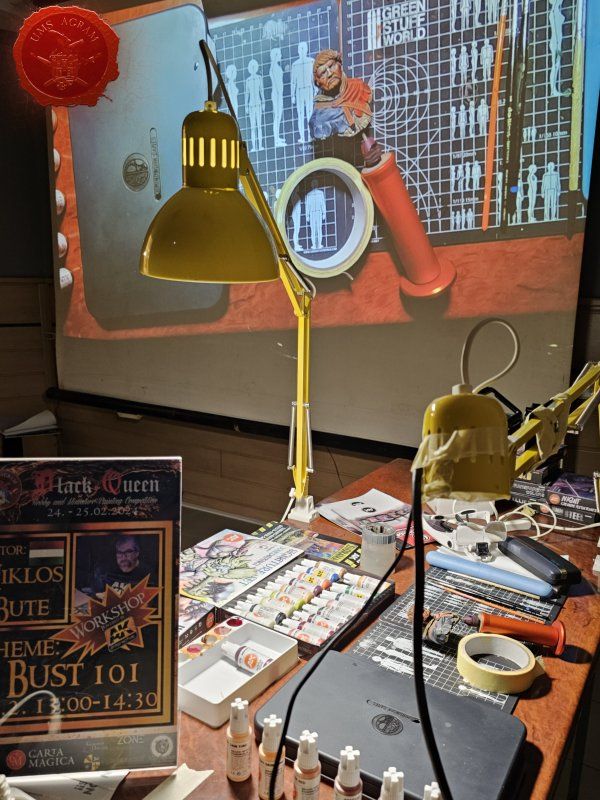
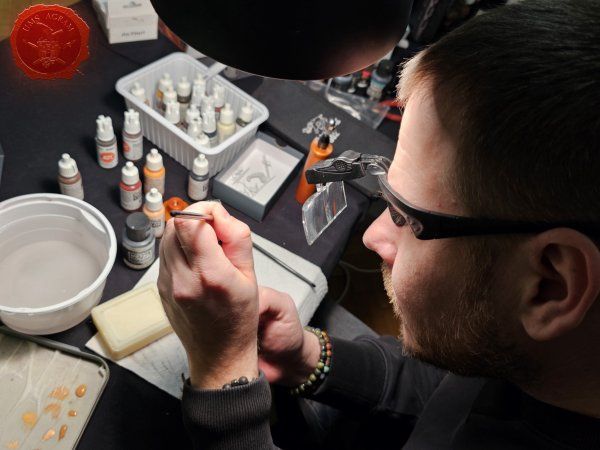
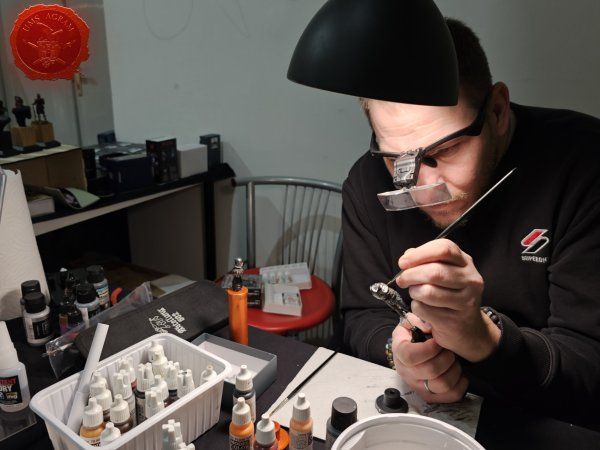
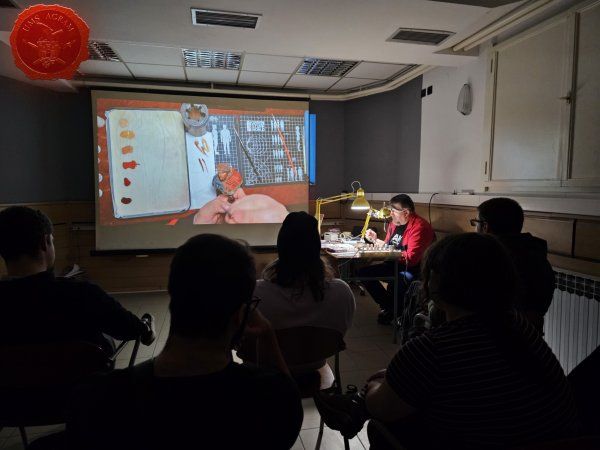
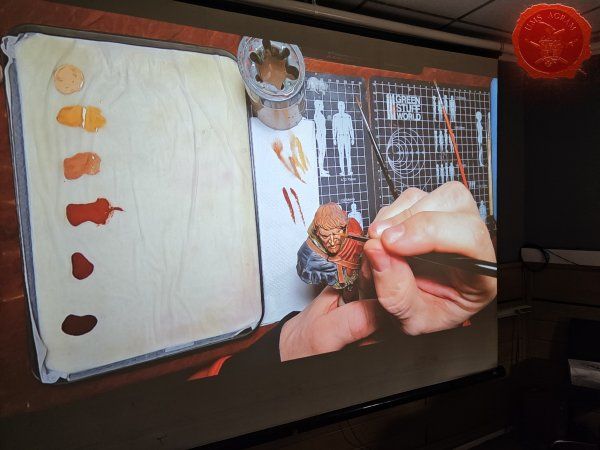
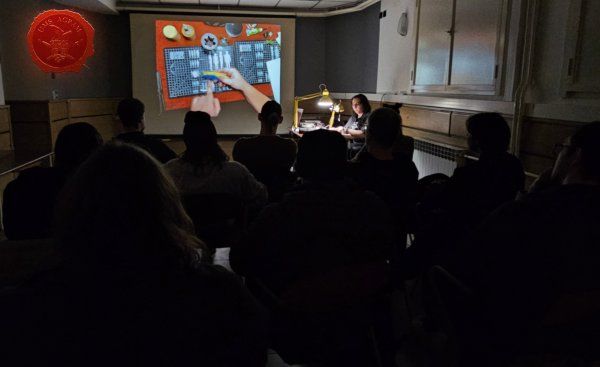
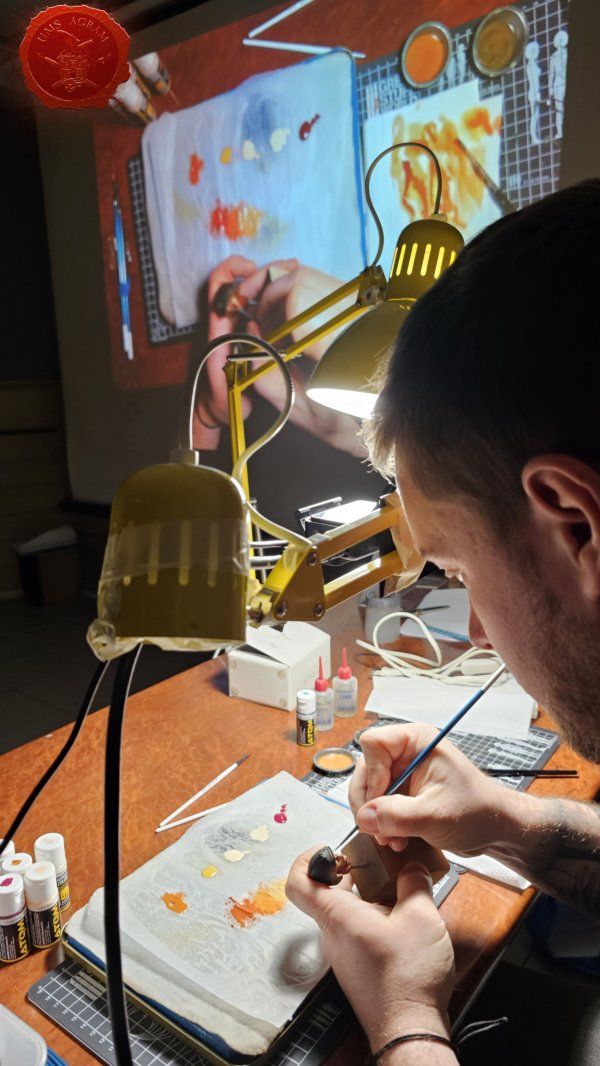
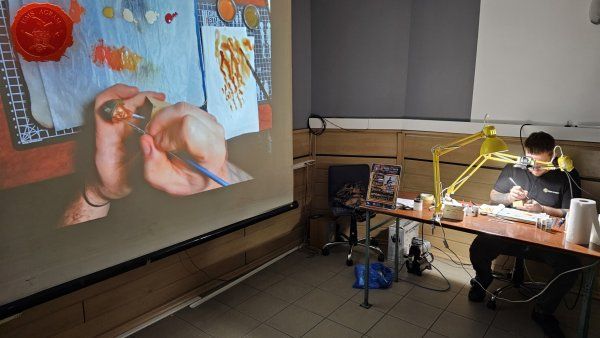
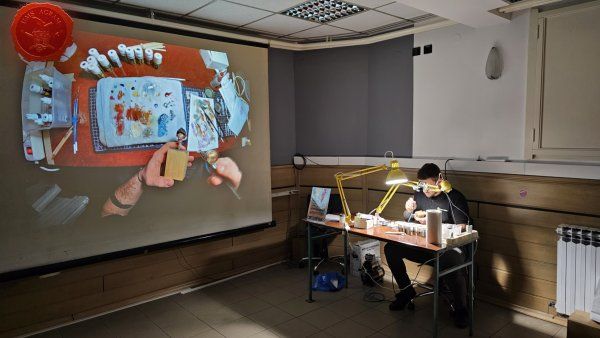
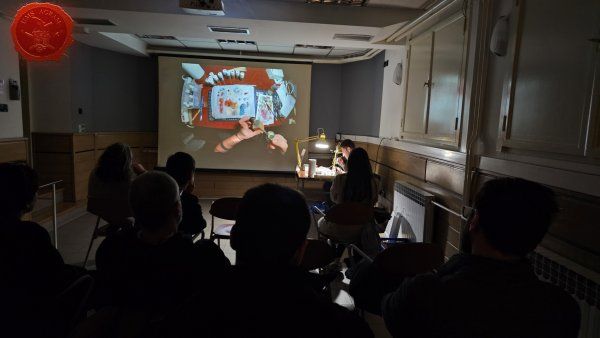
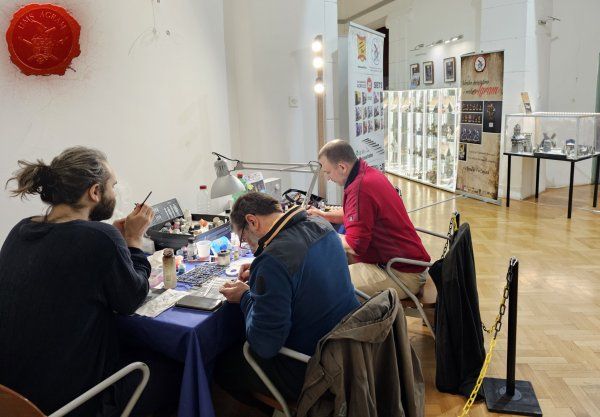
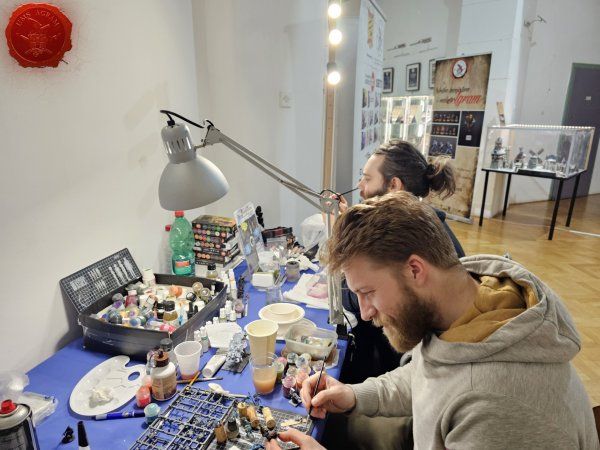
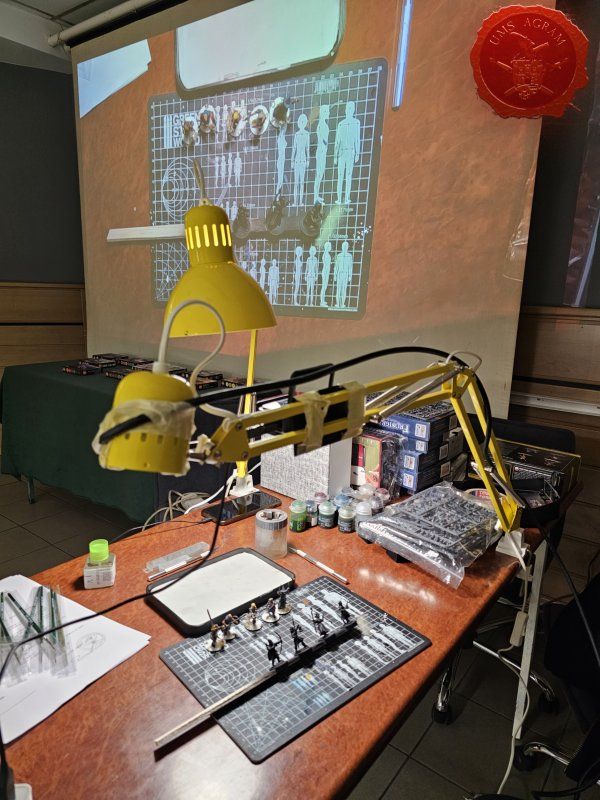
DEMO PAINTING WORKSHOPS

Click for enlarged picture

Click for enlarged picture

Click for enlarged picture

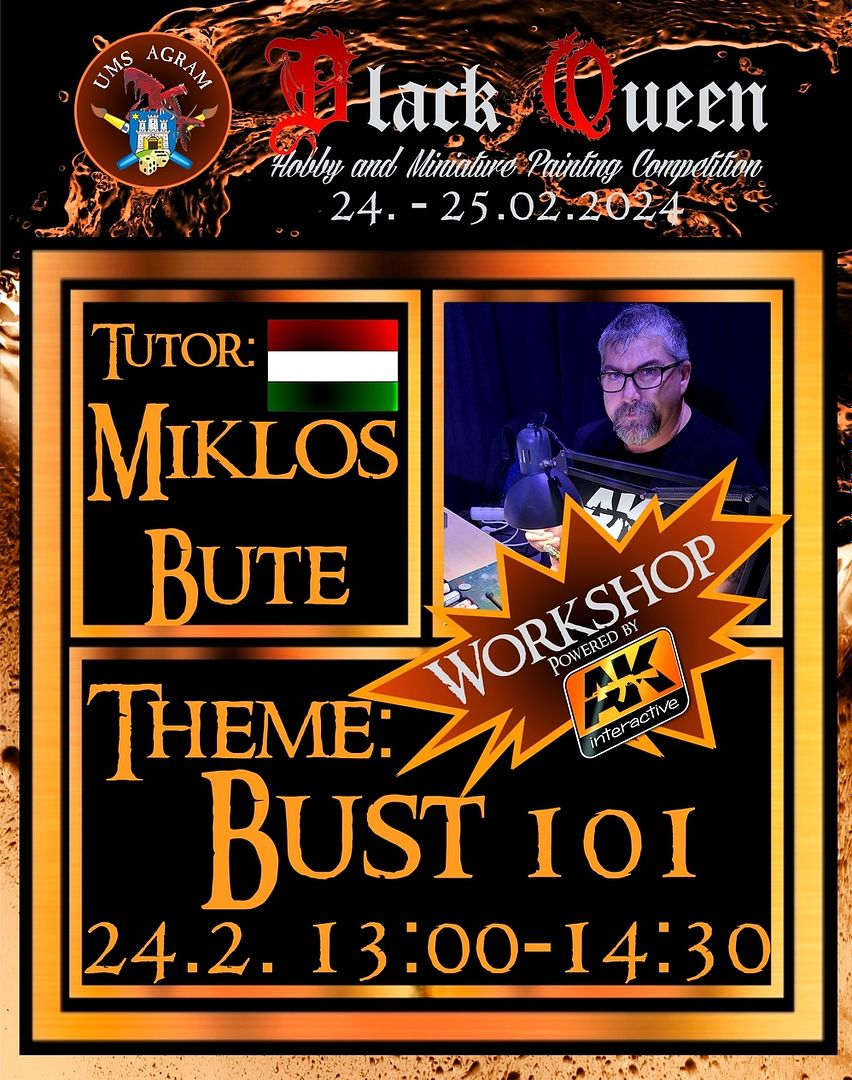
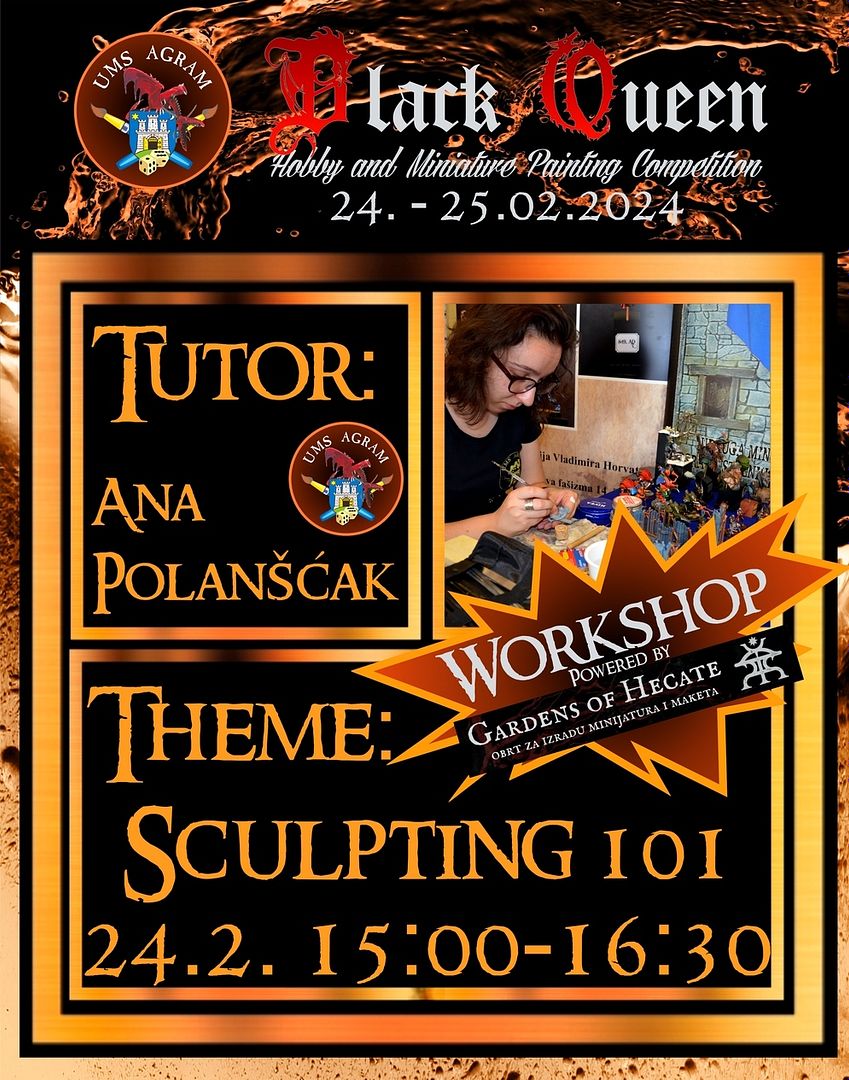
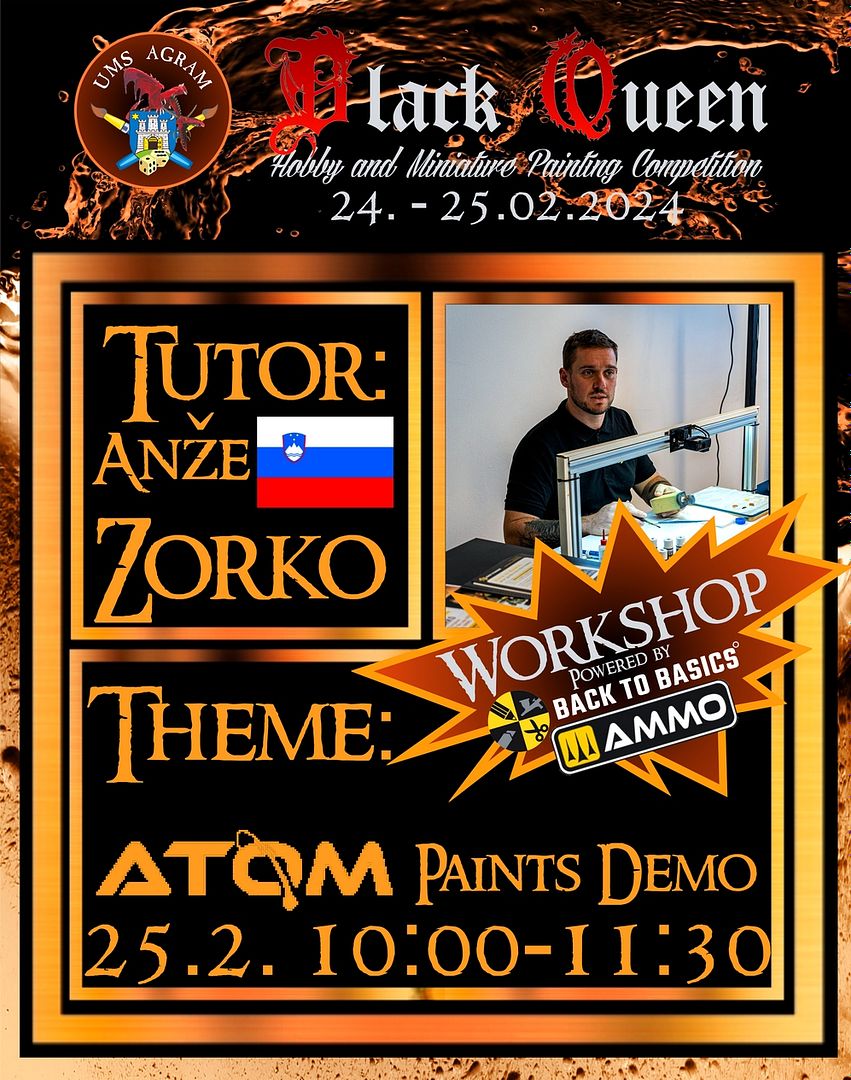
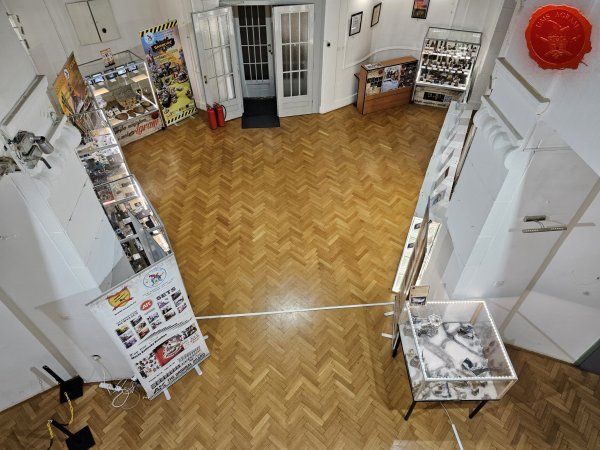
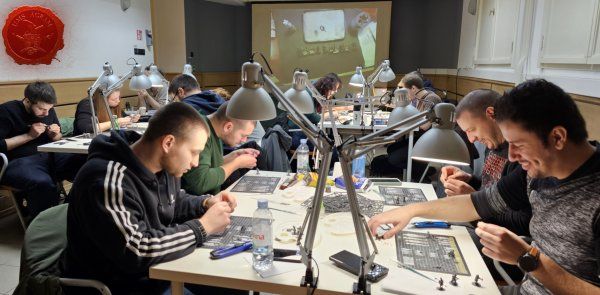
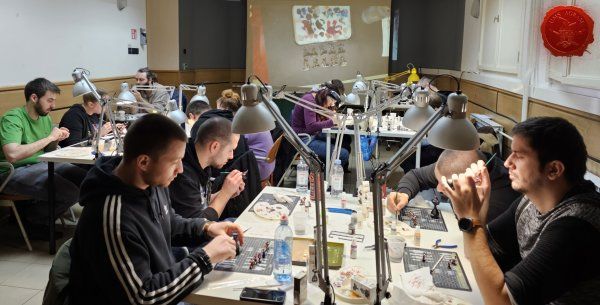
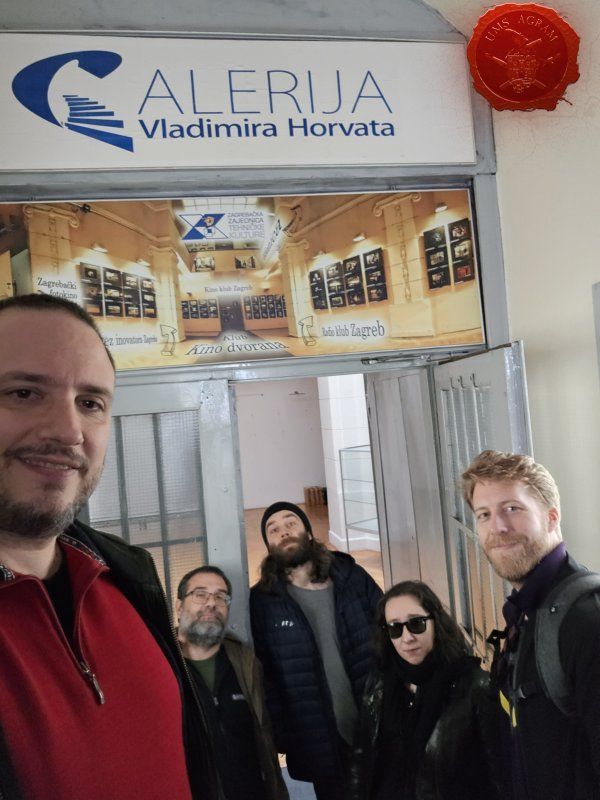
The space of Vladimir Horvat's gallery makes it possible to hold workshops during the weekend. Therefore, we organized three sample workshops during the weekend. This year, the workshops were held in the cinema hall. The lecturer's work was recorded with a camera and projected on the projection screen in the hall.

Click for enlarged picture

Click for enlarged picture

Click for enlarged picture

Click for enlarged picture

Click for enlarged picture

Click for enlarged picture

Click for enlarged picture

Click for enlarged picture

Click for enlarged picture

Click for enlarged picture

Click for enlarged picture

Click for enlarged picture

Click for enlarged picture

Click for enlarged picture

Click for enlarged picture

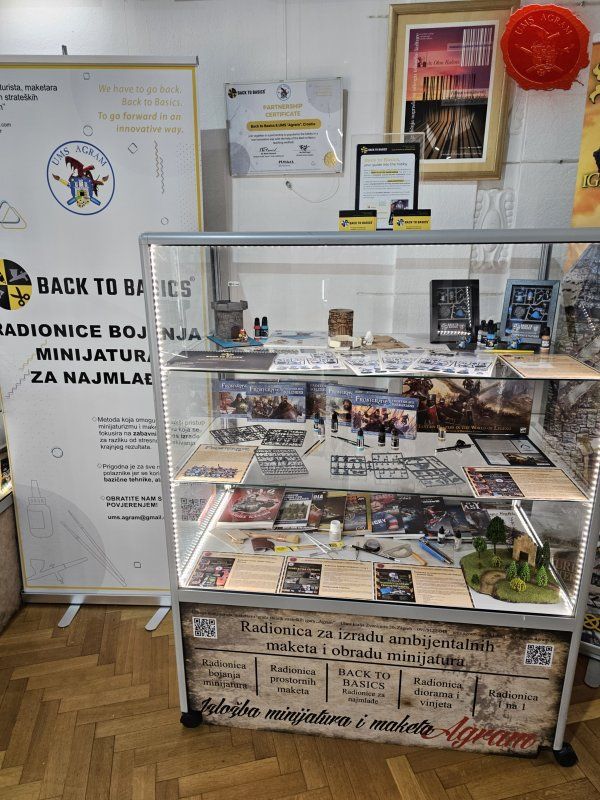
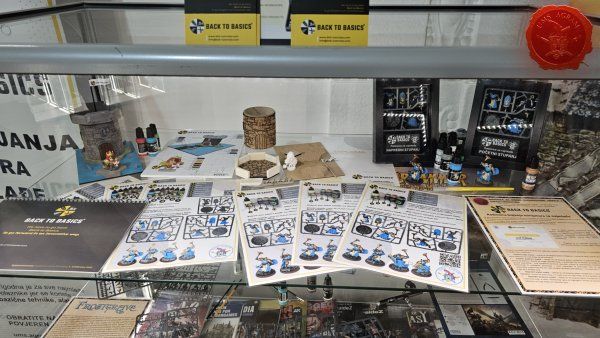
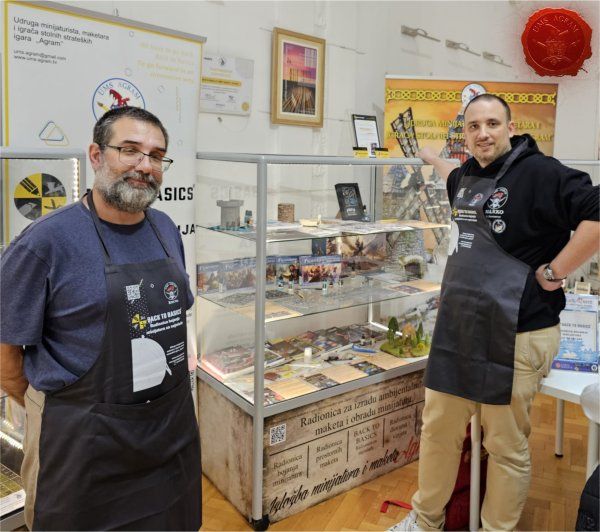
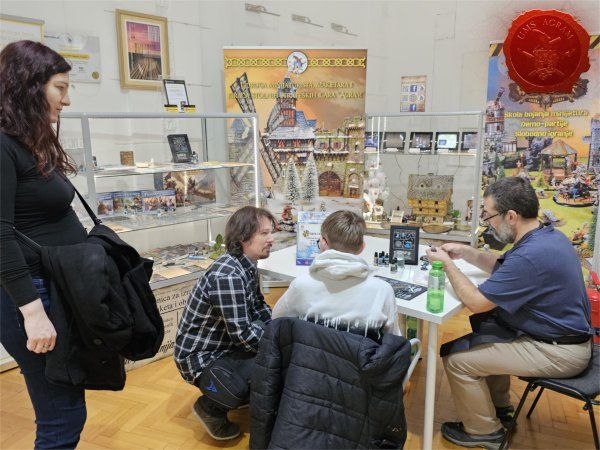
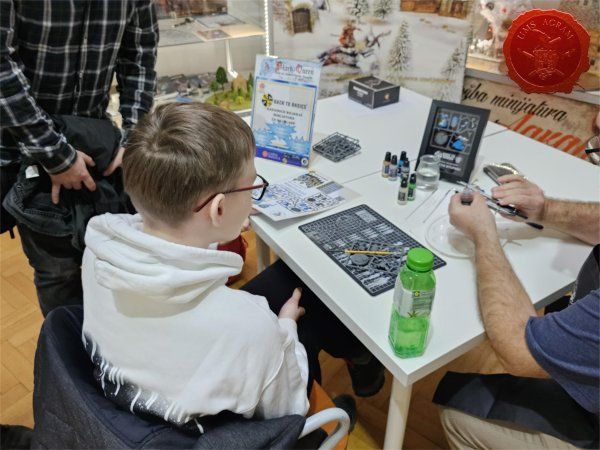
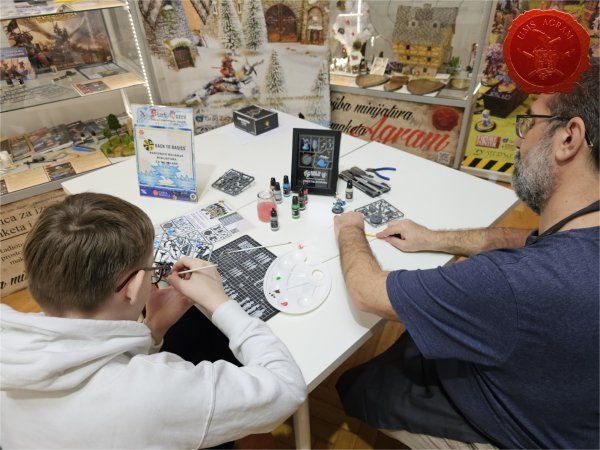
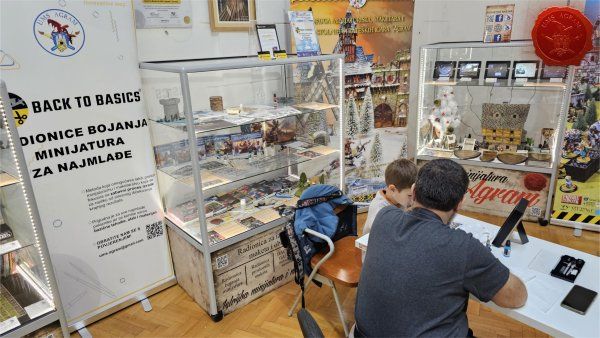
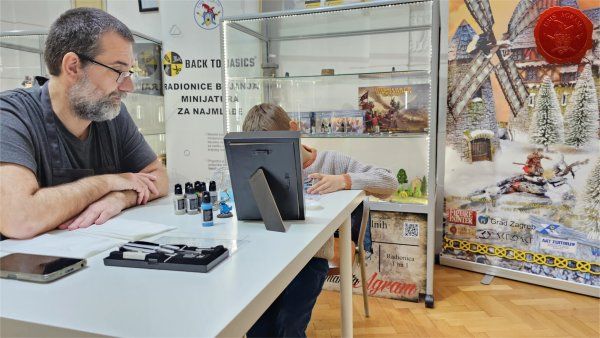
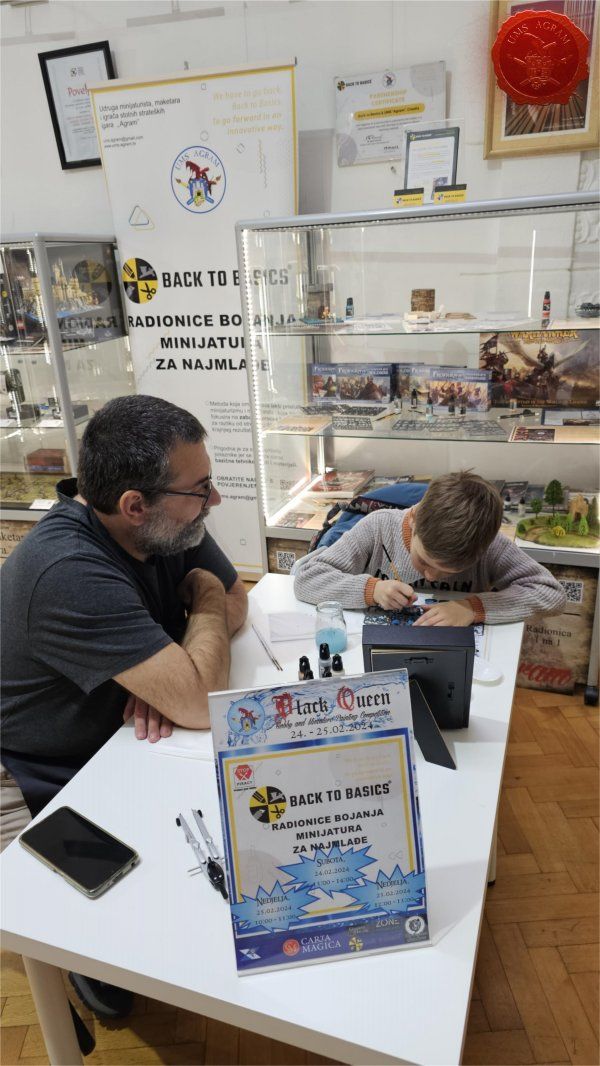
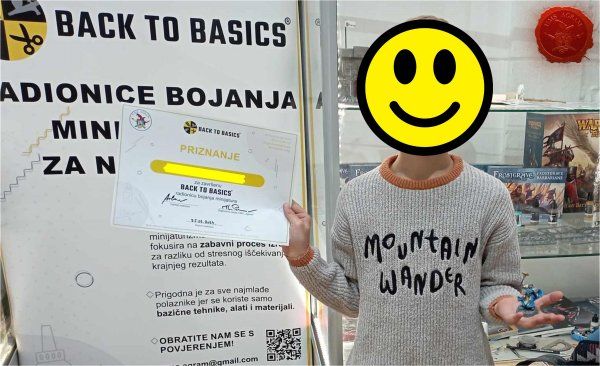
BACK TO BASICS WORKSHOPS FOR THE YOUNGEST

Click for enlarged picture

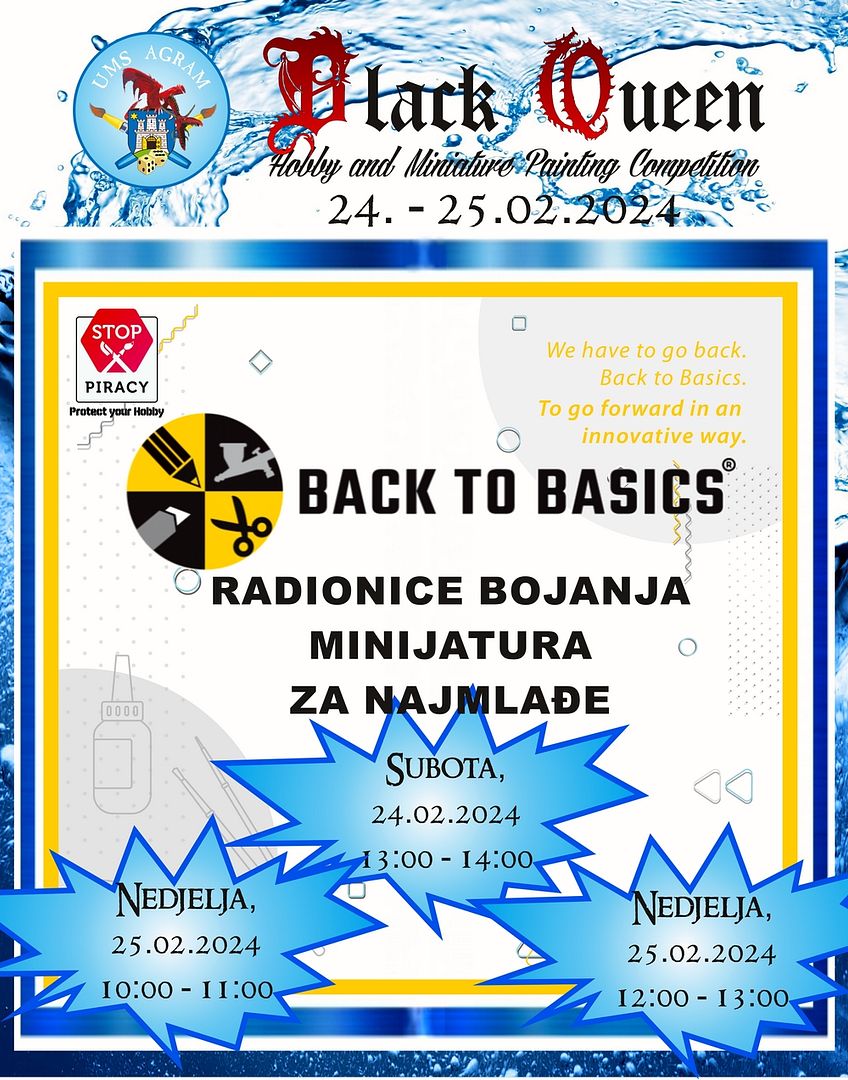
Throughout the weekend, we held our new workshops for the youngest, in which our youngest participants painted their first miniatures.

Click for enlarged picture

Click for enlarged picture

Click for enlarged picture

Click for enlarged picture

Click for enlarged picture

Click for enlarged picture

Click for enlarged picture

Click for enlarged picture

Click for enlarged picture

Click for enlarged picture

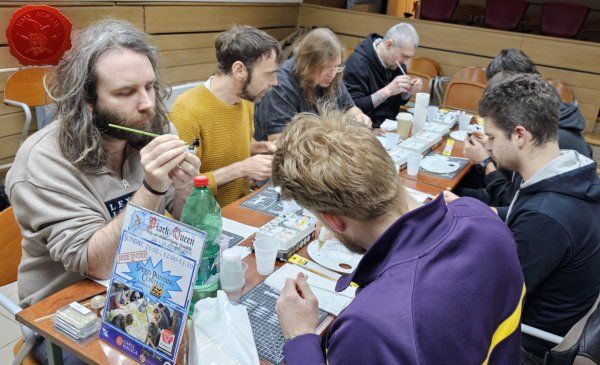
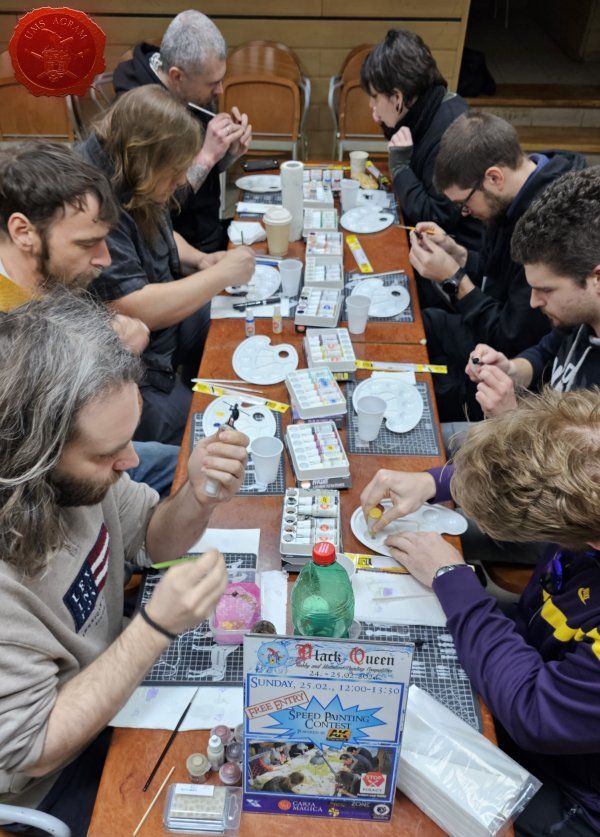
SPEED PAINTING CONTEST

Click for enlarged picture

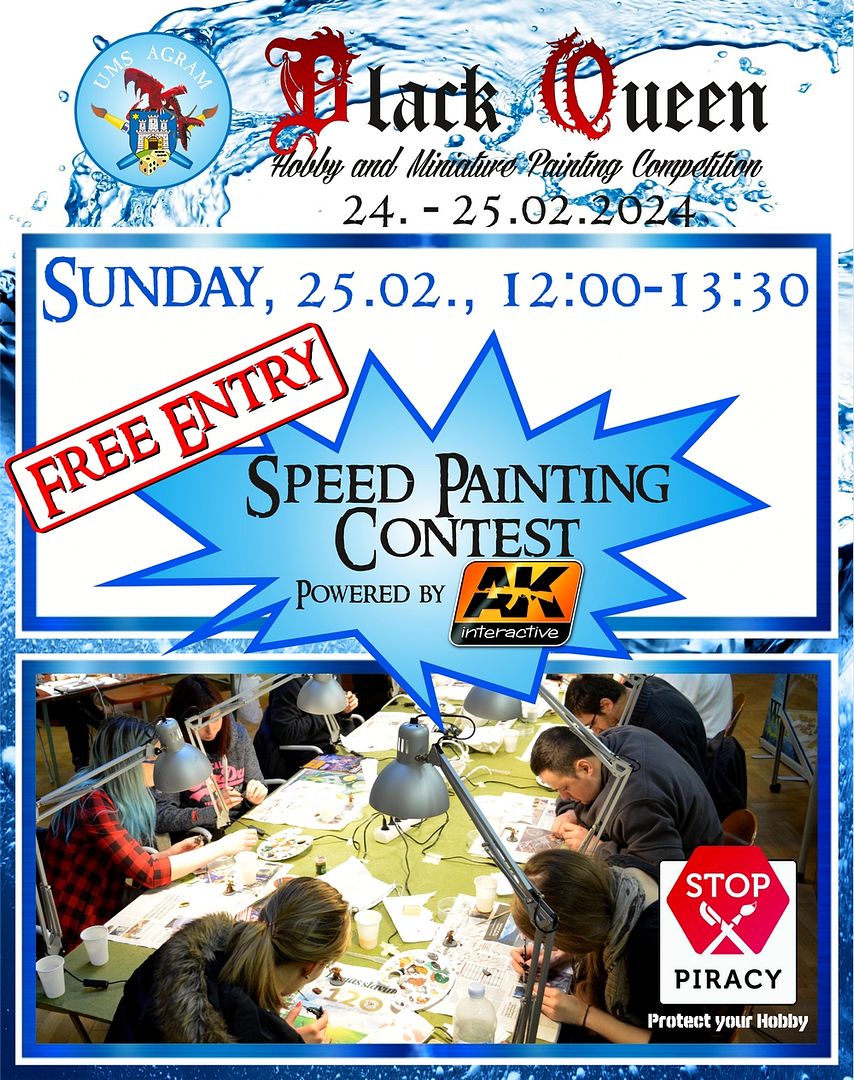
On Sunday afternoon, a competition in quick coloring of miniatures was held. Participants had 90 minutes to color one miniature. Thanks to ourš sponsor Hobby Chest, who provided us with a large donation of coloring materials from AK Interactive, we organized a quick miniature coloring contest according to the following rules:

- contestants have 90 minutes to color the miniature

- all contestants paint the same (same type) miniature

- we provided colors from AK Interactive

- we provided brushes from AK Interactive.

Click for enlarged picture

Click for enlarged picture

Click for enlarged picture

Click for enlarged picture

Click for enlarged picture

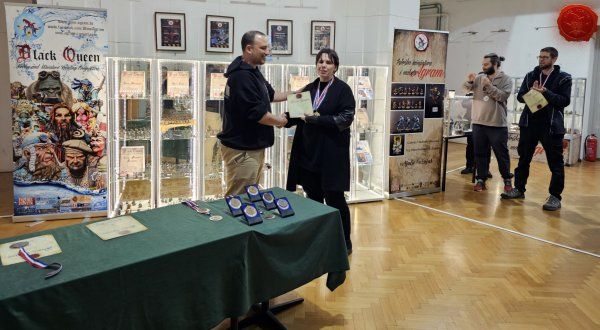
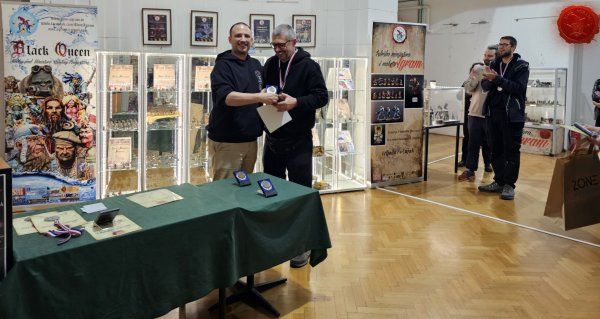
With that, we came to the very end of this wonderful weekend and all that remained was the distribution of prizes and awards to the winners.

Click for enlarged picture

Click for enlarged picture

Click for enlarged picture

Click for enlarged picture

Click for enlarged picture

Click for enlarged picture

Click for enlarged picture

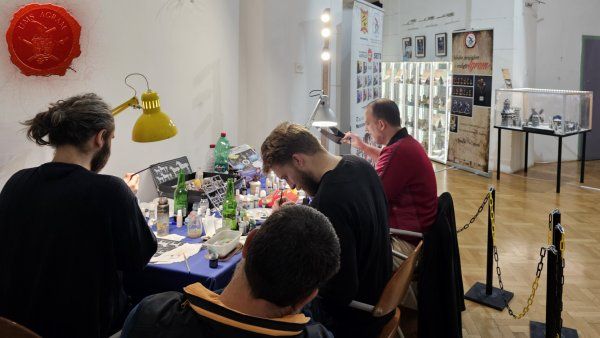
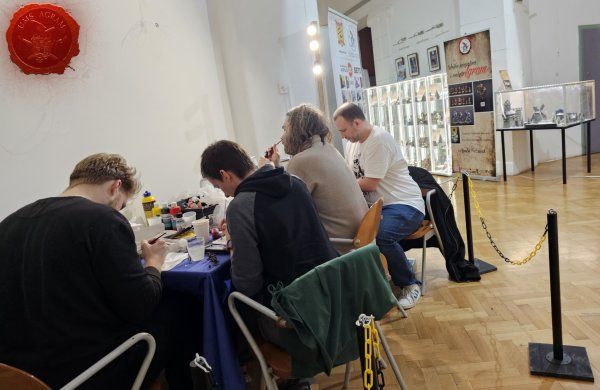
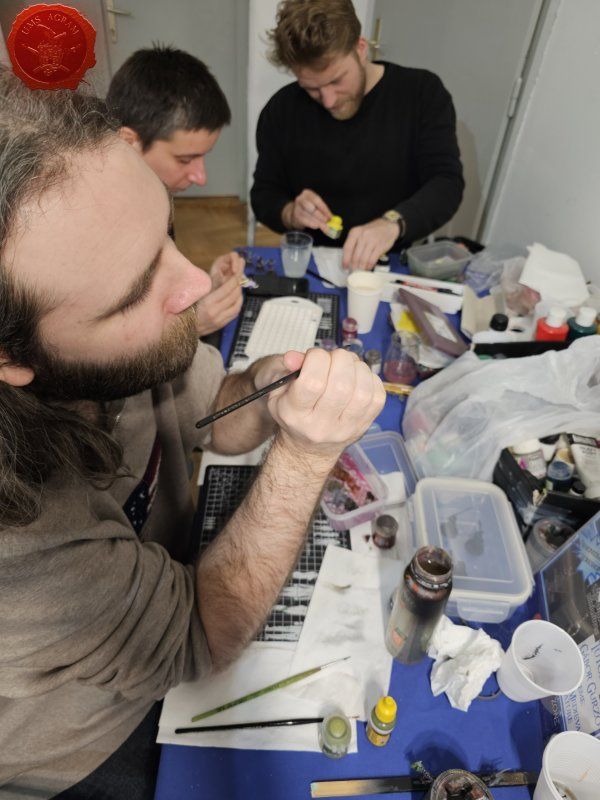
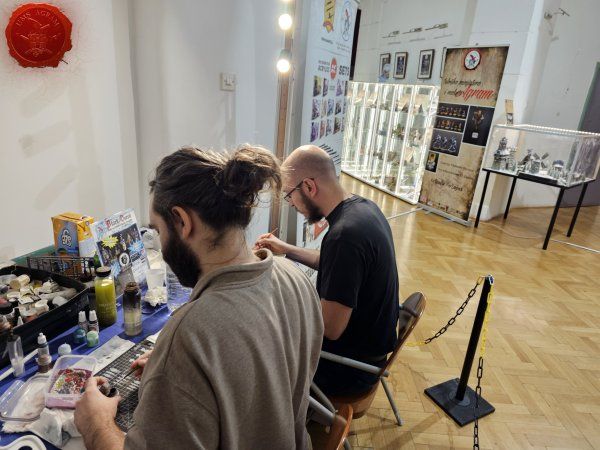
During the next two weeks, our volunteers held miniature painting workshops on weekdays from 16:00 to 20:00. Miniature coloring workstations were set up where our visitors could color the miniatures we prepared (or their own if they brought them) using our materials and tools.

Click for enlarged picture

Click for enlarged picture

Click for enlarged picture

Click for enlarged picture

Click for enlarged picture

Click for enlarged picture

Click for enlarged picture

Click for enlarged picture

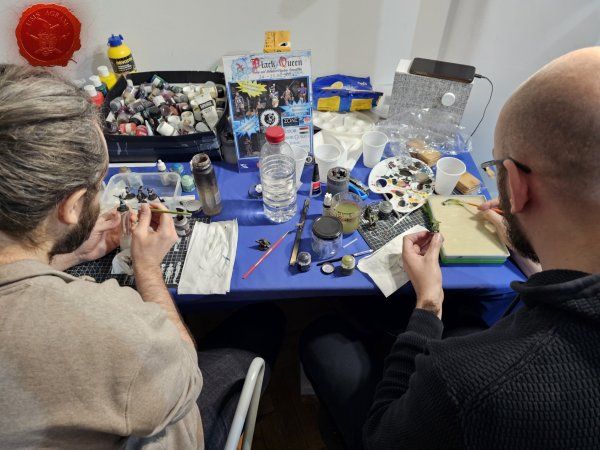
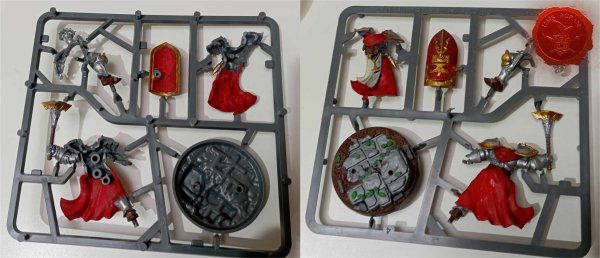
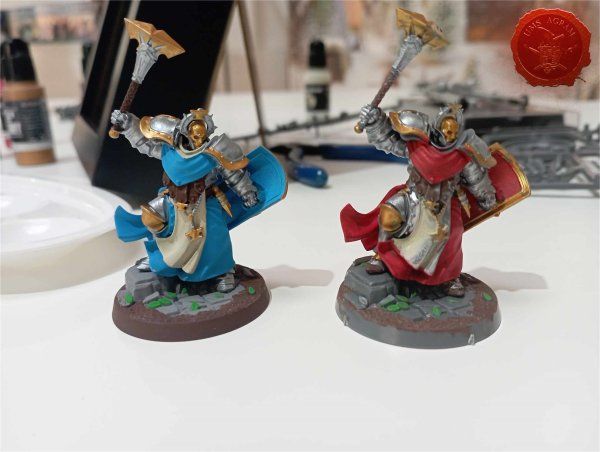
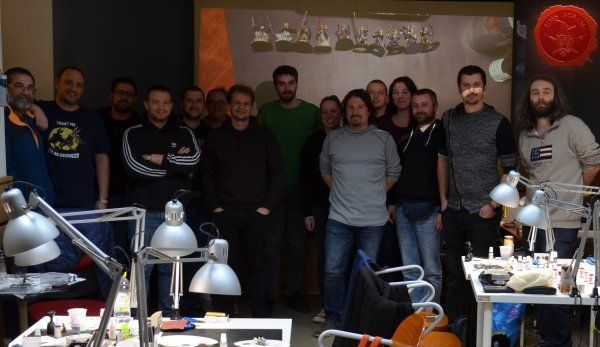
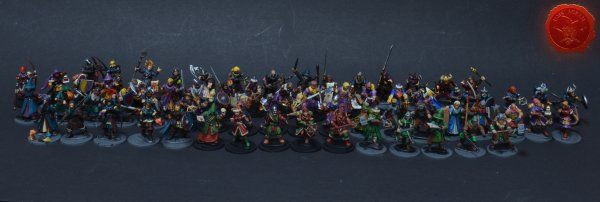
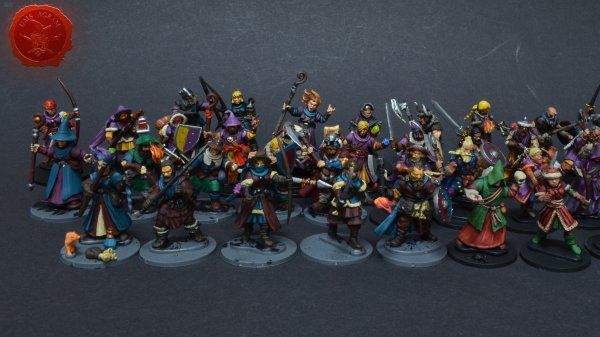
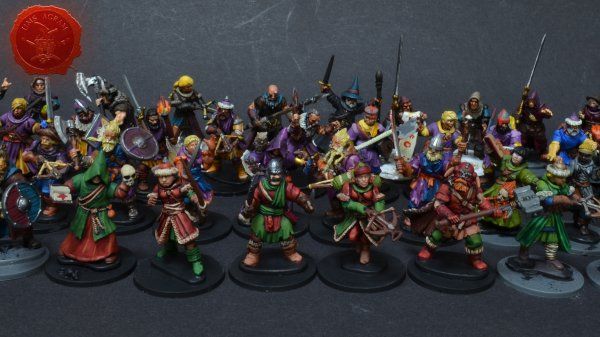
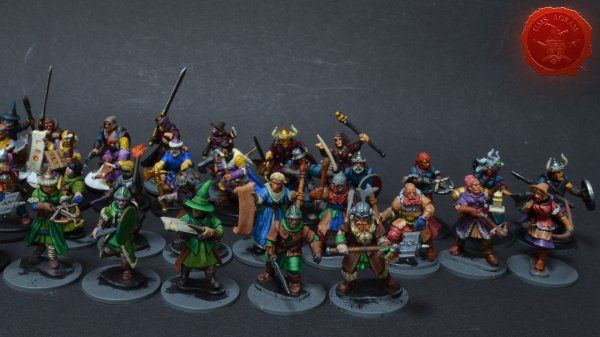
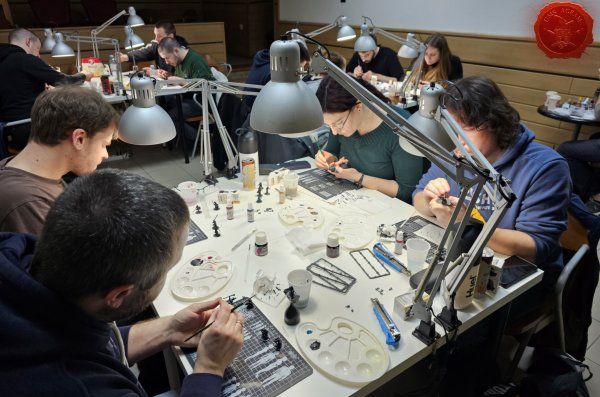
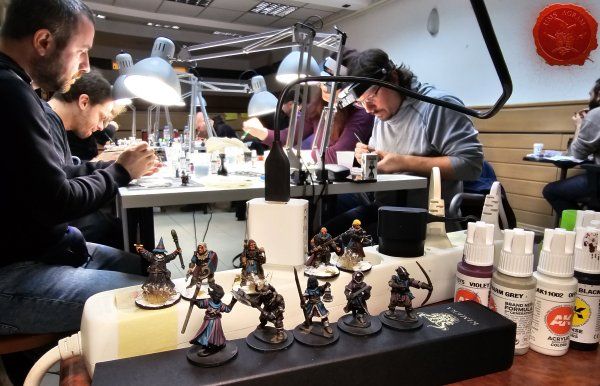
During the second weekend of the Exhibition, March 2-3, we organized a MINIATURE PAINTING WORKSHOP – Frostgrave.

Click for enlarged picture

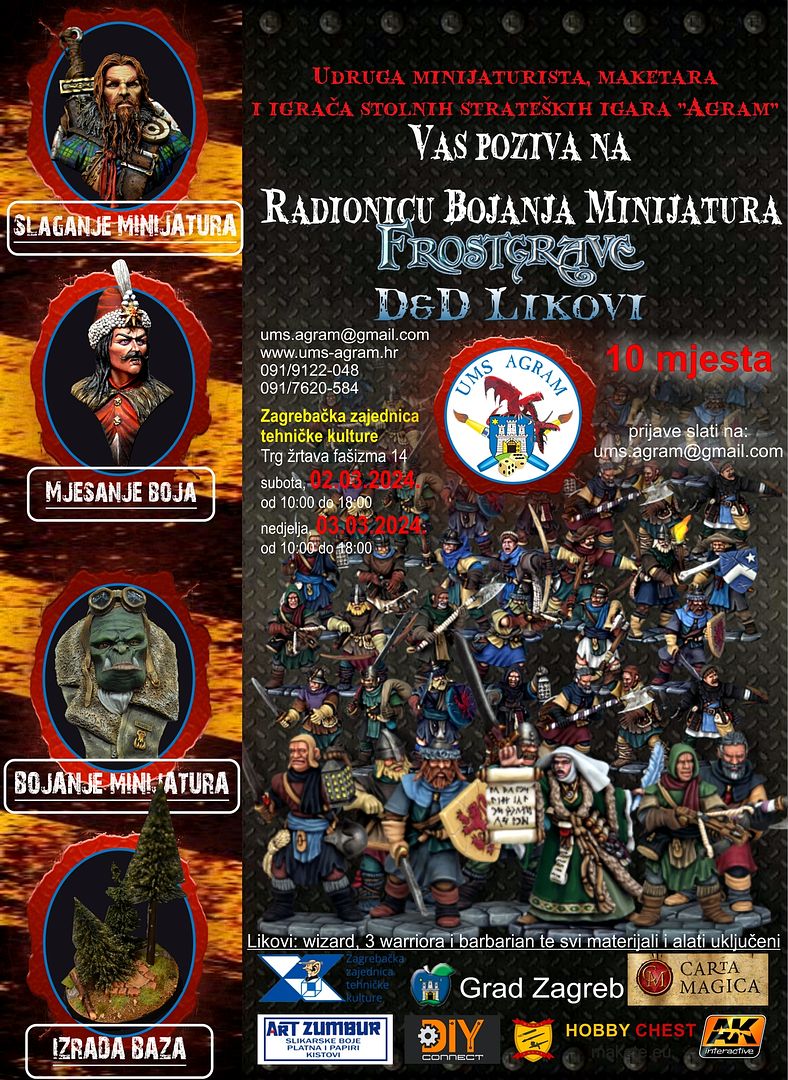
The workshop will be held over two days (the whole weekend) and participants will color five different figures for the Frostgrave game, which can also be used for your DND sessions. The focus of these lectures will be coloring several miniatures at once, but the knowledge from the workshop is equally applicable to coloring armies for boardgames and a collection of figures for pen&paper rpgs. Each participant will receive 1 wizard (male/female), 3 warriors (2 male and 1 female or 2 female and 1 male) and 1 male barbarian. The workshop will present colors and accessories, preparation of figures, several techniques for coloring miniatures from basic to more advanced, and techniques and tricks for quickly and efficiently coloring large quantities of figures at once. As part of the workshop, water-based acrylic paints will be used. The lectures will be adapted so that the presenters will devote equal time to all participants and will be able to adapt to all categories of miniaturists (from beginners to slightly advanced).

Click for enlarged picture

Click for enlarged picture

Click for enlarged picture

Click for enlarged picture

Click for enlarged picture

Click for enlarged picture

Click for enlarged picture

Click for enlarged picture

Click for enlarged picture

Click for enlarged picture

Click for enlarged picture

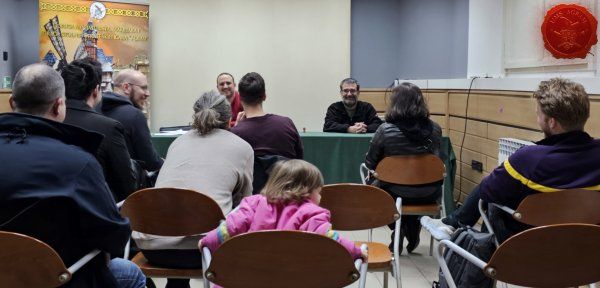
On Wednesday 06.03.2024. the annual session of the Assembly was held, where we determined the guidelines for work in 2024.

Click for enlarged picture

Click for enlarged picture

Click for enlarged picture

On Sunday, March 10, 2024 the exhibition was over, our exhibits were safely stored, and the Gallery was cleaned.

Click for enlarged picture

Click for enlarged picture

Click for enlarged picture

Latest articles

  • AGRAM LEGO SECTION - Orient Express
              array(2) {
      ["Article"]=>
      array(10) {
        ["id"]=>
        string(3) "443"
        ["member_id"]=>
        string(3) "100"
        ["title_eng"]=>
        string(35) "AGRAM LEGO SECTION - Orient Express"
        ["title_hrv"]=>
        string(72) "AGRAM LEGO SEKCIJA - Orient Express prvo predavanje i početak izgradnje"
        ["mask_eng"]=>
        string(35) "agram_lego_section_-_orient_express"
        ["mask_hrv"]=>
        string(71) "agram_lego_sekcija_-_orient_express_prvo_predavanje_i_pocetak_izgradnje"
        ["content_eng"]=>
        string(1437) "

    Click for enlarged picture

    Click for enlarged picture

    Click for enlarged picture

    Click for enlarged picture

    " ["content_hrv"]=> string(2980) "

    U srijedu 16.4. u sklopu naše Agram Lego Sekcije započelismo sa serijom predavanja paralelno sa izradom LEGO makete vlaka Orient Express!

    Prvo predavanje u ovoj seriji je počelo u 18:00 i trajalo je otprilike 45 minuta u kojem nas je naš Mario upoznao sa pojavljivanjem vlaka u pop-kulturi.

    Click for enlarged picture

    Ulaz na predavanja je besplatan i otvoren za sve te prijave nisu potrebne.

    Click for enlarged picture

    Click for enlarged picture

    Izrada makete je rezervirana za članove Agram Lego Sekcije. Ukoliko se želite uključiti u sljedeće projekte, javite se za više informacija na ums.agram@gmail.com .

    Click for enlarged picture

    " ["created"]=> string(19) "2025-04-18 09:51:34" ["modified"]=> string(19) "2025-04-18 09:51:34" } ["Member"]=> array(10) { ["id"]=> string(3) "100" ["group_id"]=> string(1) "2" ["first_name"]=> string(5) "Mario" ["last_name"]=> string(7) "Grgurev" ["first_name_mask"]=> string(5) "mario" ["last_name_mask"]=> string(7) "grgurev" ["username"]=> string(9) "lepimario" ["password"]=> string(40) "11e0b1ecc2c467637dfa513774d2426f3b925264" ["born"]=> string(19) "2003-01-21 09:02:00" ["created"]=> string(19) "2022-01-21 09:02:32" } }
    Mario Grgurev, 18th April 2025
  • March to Hren28 week 2-3
              array(2) {
      ["Article"]=>
      array(10) {
        ["id"]=>
        string(3) "442"
        ["member_id"]=>
        string(2) "35"
        ["title_eng"]=>
        string(25) "March to Hren28 week 2-3 "
        ["title_hrv"]=>
        string(26) "March to Hren28 tjedan 2-3"
        ["mask_eng"]=>
        string(24) "march_to_hren28_week_2-3"
        ["mask_hrv"]=>
        string(26) "march_to_hren28_tjedan_2-3"
        ["content_eng"]=>
        string(6115) "

    Our team is preparing to perform at the Turnip28 tournament called H.R.E.N.28 in Slovenia in July. Ana, Mario, Domagoj, Seb and Antoni assemble their armies and paint, and we follow them on their way!

    Click for enlarged picture

    ANA: "Continuation of last week's Fodder unit. I basecoated the shoes and hats in black and some details in red and washed them with a brown wash.

    Click for enlarged picture

    After that, I started adding additional shading and the first highlights on the uniform.“

    Click for enlarged picture

    Click for enlarged picture

    ANTONI: "I named the army (cult) for Turnip28 Feast of Charybdis. The entire army is based on crabs. And it will consist of 1 Toff, 2 Toadies, a cannon and a unit on "horses" of three pieces and 12 Napoleonic British soldiers who will form the gunlines.

    Click for enlarged picture

    In addition to those figures, there will also be this Scuttler that I worked on this week. It's a cool unit because it doesn't deploy in deployment, but comes out of the mud in the first turn and gets some crazy charges"

    Click for enlarged picture

    Click for enlarged picture

    Click for enlarged picture

    MARIO: "My army/cult is based on elephants/birds and it's called March of the Proboscis. The story behind the cult is that the main elephant eats everything it comes across and the rest of the army follows and camps behind it and vultures on the remains of its victims. I started with elephant conversions.

    Click for enlarged picture

    ... and then I continued to convert the other figures. In fact, the army will be made up of an elephant (Probiscis) with a figure lying in a deckchair stretched between two trees on the elephant's back. Next to him there will be 6 x brutes (men-at-arms), then 3 x Bastards (knights on horses) and 12 x Fodder (Austrian Napoleonics) whose heads and torsos I will change..."

    Click for enlarged picture

    SEB: "My cult, called Knights of Shellwood, as you can probably gather, will be based on shells, but also snails. There will be a lot of conversions, more or less swapping heads on Napoleonic warriors, with shells instead of heads.

    Click for enlarged picture

    The army will consist of a Toff (leader), 2 snail knights, 4 cheffs and 1 unit of 6 Brutes. Today I started work on the second snail knight which will actually be a cannon.“

    Click for enlarged picture

    " ["content_hrv"]=> string(6108) "

    Naša ekipa se sprema za nastup na Turnip28 turniru pod nazivom H.R.E.N.28 u Sloveniji u srpnju. Ana, Mario, Domagoj, Seb i Antoni slažu svoje vojske i farbaju, a mi ih pratimo na njihovom putu!

    Click for enlarged picture

    ANA: „Nastavak na unitu Foddera od prošlog tjedna. Basecoatala sam cipele i šešire u crno i neke detalje u crveno te ih powashala smeđim washem.

    Click for enlarged picture

    Nakon toga sam se bacila na dodatan shading i prve highlighte na uniformi.“

    Click for enlarged picture

    Click for enlarged picture

    ANTONI: „Vojsku (kult) za Turnip28 sam nazvao Feast of Charybdis. Cijela vojska je bazirana na rakovima. I sastojat će se od 1 Toffa, 2 Toadiesa, topa i jedinice na „konjima“ od tri komada te 12 napoleonskih britanskih vojnika koji će tvoriti gunline.

    Click for enlarged picture

    Pored tih figura, bit će i ovaj Scuttler na kojem sam radio ovaj tjedan. Fora je jedinica jer se ne postavlja u deploymentu već izlazi u prvom krugu iz mulja i dobiju neki ludi charge.“

    Click for enlarged picture

    Click for enlarged picture

    Click for enlarged picture

    MARIO: „Moja vojska/kult je bazirana na slonovima/pticama i zove se March of the Proboscis. Priča iza kulta je da glavni slon ždere sve na što naleti, a ostatak vojske ga prati i kampira iza njega te se lešinari na ostacima njegovih žrtava. Krenuo sam s konverzijama slona.

    Click for enlarged picture

    ... a onda sam nastavio konvertirati ostale figure. Zapravo vojsku će sačinjavati slon (Probiscis) sa likom koji će ležati u ležaljki razapetoj između dva drva na slonovim leđima. Pored njega bit će tu 6 x brutes (men-at-armsi), zatim 3x Bastards (vitezovi na konjima) te 12x Fodder (austrijski napoleonci kojima ću mijenjati glave i torzoe…“

    Click for enlarged picture

    SEB: „Moj kult, pod nazivom Knights of Shellwood, kao što mu i i me kaže bit će baziran na školjkama, ali i puževima. Bit će podosta konverzija, manje-više zamijene glava na napoleonskim ratnicima kojima ću umjesto glava postaviti školjke.

    Click for enlarged picture

    Vojska će se sastojati od Toffa (vođa), 2 snail knighta, 4 cheffa i 1 jedinice Brutesa od 6 komada. Danas sam počeo rad na drugom snail knightu koji će zapravo biti top.“

    Click for enlarged picture

    " ["created"]=> string(19) "2025-04-17 16:21:00" ["modified"]=> string(19) "2025-04-17 16:21:00" } ["Member"]=> array(10) { ["id"]=> string(2) "35" ["group_id"]=> string(1) "1" ["first_name"]=> string(5) "Marko" ["last_name"]=> string(9) "Paunović" ["first_name_mask"]=> string(5) "marko" ["last_name_mask"]=> string(8) "paunovic" ["username"]=> string(5) "marko" ["password"]=> string(40) "3bd37b326d19d1880d3b93a4b32e8fb3a90fa122" ["born"]=> string(19) "2033-03-07 20:35:00" ["created"]=> string(19) "2009-06-02 20:37:03" } }
    Marko Paunović, 17th April 2025
  • CSSR 1986 Diorama part 7
              array(2) {
      ["Article"]=>
      array(10) {
        ["id"]=>
        string(3) "441"
        ["member_id"]=>
        string(2) "35"
        ["title_eng"]=>
        string(24) "CSSR 1986 Diorama part 7"
        ["title_hrv"]=>
        string(28) "Diorama ČSSR 1986 – dio 7"
        ["mask_eng"]=>
        string(24) "cssr_1986_diorama_part_7"
        ["mask_hrv"]=>
        string(23) "diorama_cssr_1986_dio_7"
        ["content_eng"]=>
        string(3995) "

    In this series of articles, we will follow my work on a new diorama, another in the 1986 series. This time, we take you behind the Iron Curtain to Czechoslovakia.

    Click for enlarged picture

    Next are the final details, which are not necessarily connected to each other, nor were they done in the chronological order in which these articles are published. They simply were not connected to the rest of the story in the articles, so they all deserve their own mish-mash article. First, preparing the substation for painting by spraying the interior black. So that it will be dark inside through the openings in the doors and windows. Once the substation is fixed to the base, this will be impossible to do.

    Click for enlarged picture

    From the clear plastic that I also used to make the fence, I cut out the shape of the window for the substation.

    Click for enlarged picture

    In the box with the bits I also found a barrel in good scale so I assembled that too.

    Click for enlarged picture

    Finally, there was corrosion on the door. First, I thinned the holes in the gate panels using a drill.

    Click for enlarged picture

    Then I added hinges to the door and gate. I made them out of paper clips.

    Click for enlarged picture

    I also added a lamp above the entrance to the substation. Given the thin rod it hangs from, I drilled a hole in the substation wall and pinned the lamp that way.

    Click for enlarged picture

    This concludes the work on this diorama. Now it's time for painting and vegetation.

    Click for enlarged picture

    " ["content_hrv"]=> string(3977) "

    U ovoj seriji članaka pratit ćemo moj rad na novoj diorami, još jednoj u nizu serijala 1986. Ovoga puta, vodimo vas iza željezne zavjese u Čehoslovačku.

    Click for enlarged picture

    Na redu su završni detalji, koji nisu nužno povezani jedni sa drugima, niti su odrađeni u vremenskom slijedu kako izlaze ovi članci. Jednostavno, nisu bili povezani sa ostatkom priče po člancima pa su svi skupa zaslužili svoj miš-maš članak. Prvo, priprema trafostanice za bojanje na način da je unutrašnjost posprejana u crno. Tako da kroz otvore na vratima i prozorima unutra bude mrak. Jednom kad se fiksira trafostanica na bazu, to će biti nemoguće napraviti.

    Click for enlarged picture

    Od prozirne plastike od koje sam napravio i ogradu, izrezao sam oblik prozora za trafostanicu.

    Click for enlarged picture

    U kutiji sa bitsima našao sam i bačvu u dobrom mjerilu pa sam i nju sastavio.

    Click for enlarged picture

    Za kraj je ostala korozija na vratima. Prvo sam rupe u pločama na kapiji stanjio koristeći bušilicu.

    Click for enlarged picture

    Onda sam dodao i šarke na vrata i kapiju. Njih sam napravio od spajalice.

    Click for enlarged picture

    Dodao sam i lampu iznad ulaza u trafostanicu. S obzirom na tanku šipku o kojoj visi, izbušio sam rupu u zidu trafostanice te na taj način pinirao lampu.

    Click for enlarged picture

    Time završava rad na ovoj diorami. Sad je na redu bojanje i vegetacija.

    Click for enlarged picture

    " ["created"]=> string(19) "2025-04-10 15:35:08" ["modified"]=> string(19) "2025-04-10 15:35:08" } ["Member"]=> array(10) { ["id"]=> string(2) "35" ["group_id"]=> string(1) "1" ["first_name"]=> string(5) "Marko" ["last_name"]=> string(9) "Paunović" ["first_name_mask"]=> string(5) "marko" ["last_name_mask"]=> string(8) "paunovic" ["username"]=> string(5) "marko" ["password"]=> string(40) "3bd37b326d19d1880d3b93a4b32e8fb3a90fa122" ["born"]=> string(19) "2033-03-07 20:35:00" ["created"]=> string(19) "2009-06-02 20:37:03" } }
    Marko Paunović, 10th April 2025
  • CSSR 1986 Diorama part 6
              array(2) {
      ["Article"]=>
      array(10) {
        ["id"]=>
        string(3) "440"
        ["member_id"]=>
        string(2) "35"
        ["title_eng"]=>
        string(24) "CSSR 1986 Diorama part 6"
        ["title_hrv"]=>
        string(28) "Diorama ČSSR 1986 – dio 6"
        ["mask_eng"]=>
        string(24) "cssr_1986_diorama_part_6"
        ["mask_hrv"]=>
        string(23) "diorama_cssr_1986_dio_6"
        ["content_eng"]=>
        string(5028) "

    In this series of articles, we will follow my work on a new diorama, another in the 1986 series. This time, we take you behind the Iron Curtain to Czechoslovakia.

    Click for enlarged picture

    We are slowly coming to the end of this diorama. Apart from a few more small things, the main job that remains is to make the concrete parts. First, we will make the concrete slabs for the pedestrians. To do this, the simplest method is to cast them from plaster. So first, let's make a mold.

    Click for enlarged picture

    I made a mold of thin strips (2 x 2 mm cross-section) on plastic foil. I made a grid for the panels. This way, the panels will all be the same thickness and shape.

    Click for enlarged picture

    I then poured some sand into the mold – to simulate the pebbles in the composite concrete slab.

    Click for enlarged picture

    Then I mixed the plaster with water until I had a pasty mixture and then poured it into the mold.

    Click for enlarged picture

    Using the rest of the batten, I leveled the boards inside the mold.

    Click for enlarged picture

    While the plaster was drying in the mold, I added a little water to the remaining mixture and used a paintbrush to paint over the concrete parts of the diorama. The sidewalk and the concrete part of the fence.

    Click for enlarged picture

    In the meantime, the plaster in the mold had dried and I was able to remove it. The more flexible the foil, the easier the job will be. .

    Click for enlarged picture

    We checked again to make sure everything fit and when we were sure everything went according to plan, we could glue the parts together.

    Click for enlarged picture

    We coat the base with PVA glue (do not thin it too much) and place the concrete slabs in their place, making sure to leave some space between the slabs for texture and later vegetation.

    Click for enlarged picture

    All that's left is to add some details to the diorama base and this process is complete.

    " ["content_hrv"]=> string(5030) "

    U ovoj seriji članaka pratit ćemo moj rad na novoj diorami, još jednoj u nizu serijala 1986. Ovoga puta, vodimo vas iza željezne zavjese u Čehoslovačku.

    Click for enlarged picture

    Polagano dolazimo prema kraju izrade ove diorame. Osim par još sitnica, glavni posao koji je ostao je izrada betonskih dijelova. Prvo ćemo napraviti betonske ploče za pješake. Da bismo to napravili, najjednostavnija metoda jest lijevanje iz gipsa. Stoga prvo idemo napraviti kalup.

    Click for enlarged picture

    Na plastičnoj foliji sam izradio kalup od tankih letvica (2 x 2 mm poprečnog presjeka). Napravio sam raster za ploče. Na taj način, ploče će sve biti jednake debljine i jednakih oblika.

    Click for enlarged picture

    U kalup sam zatim nasipao malo pijeska – kako bi simulirao kamenčiće u kompozitnoj betonskoj ploči.

    Click for enlarged picture

    Zatim sam zamiješao gips sa vodom dok nisam dobio pastastu smjesu te ju potom ulio u kalup.

    Click for enlarged picture

    Koristeći ostatak letvice, izravnao sam ploče unutar kalupa.

    Click for enlarged picture

    Dok se gips sušio u kalupu, dodao sam malo vode u preostalu smjesu i kistom prešao preko betonskih dijelova diorame. Pločnik te betonski dio ograde.

    Click for enlarged picture

    U međuvremenu se osušio gips u kalupu te sam ga mogao izvaditi. Što je folija fleksibilnija, posao će biti lakši. .

    Click for enlarged picture

    Opet smo napravili provjeru da li sve paše i kad smo se uvjerili da je sve prošlo po planu, možemo zalijepiti dijelove.

    Click for enlarged picture

    Premažemo podlogu PVA ljepilom (nemojte razrijeđivati previse) te postavimo betonske ploče na njihovo mjesto pri čemu pazimo da ostane malo mjesta između ploča za teksturu i kasnije vegetaciju.

    Click for enlarged picture

    Još je ostalo samo dodati nešto detalja na bazu diorame i ovaj proces je gotov.

    " ["created"]=> string(19) "2025-04-10 15:09:45" ["modified"]=> string(19) "2025-04-10 15:09:45" } ["Member"]=> array(10) { ["id"]=> string(2) "35" ["group_id"]=> string(1) "1" ["first_name"]=> string(5) "Marko" ["last_name"]=> string(9) "Paunović" ["first_name_mask"]=> string(5) "marko" ["last_name_mask"]=> string(8) "paunovic" ["username"]=> string(5) "marko" ["password"]=> string(40) "3bd37b326d19d1880d3b93a4b32e8fb3a90fa122" ["born"]=> string(19) "2033-03-07 20:35:00" ["created"]=> string(19) "2009-06-02 20:37:03" } }
    Marko Paunović, 10th April 2025
  • CSSR 1986 Diorama part 5
              array(2) {
      ["Article"]=>
      array(10) {
        ["id"]=>
        string(3) "439"
        ["member_id"]=>
        string(2) "35"
        ["title_eng"]=>
        string(24) "CSSR 1986 Diorama part 5"
        ["title_hrv"]=>
        string(28) "Diorama ČSSR 1986 – dio 5"
        ["mask_eng"]=>
        string(24) "cssr_1986_diorama_part_5"
        ["mask_hrv"]=>
        string(23) "diorama_cssr_1986_dio_5"
        ["content_eng"]=>
        string(5113) "

    In this series of articles, we will follow my work on a new diorama, another in the 1986 series. This time, we take you behind the Iron Curtain to Czechoslovakia.

    Click for enlarged picture

    After the gate, it's time to tackle the rest of the fence. First, we'll make a post that will hold the closed part of the gate on one side and the open pedestrian door on the other. We'll make the shape of the post (and the rest of the fence) from linden slats with a cross section of 5 x 5 mm.

    Click for enlarged picture

    To fix this part of the fence properly, I decided to pin the batten to the base. I drilled a hole with a drill and put a staple in it. I glued it with superglue, and the fence post with PVA glue to the base. (NOTE: be careful not to use superglue on Styrofoam or Styrodur, as the glue will eat through it.)

    Click for enlarged picture

    Once the post was glued, I added both doors also with superglue.

    Click for enlarged picture

    For the second part of the fence, I decided to make part concrete and part steel. The concrete base, like the post, will be made of slats with a cross section of 5 x 5 mm.

    Click for enlarged picture

    I drilled holes in the fence posts at the same heights so that we could thread thicker plastic rods (2 mm) through them.

    Click for enlarged picture

    Then I glued the wooden parts together and threaded the horizontal bars through them. This made the structure very sturdy.

    Click for enlarged picture

    I then started making the cross bars in the fence from the thinner bar (1.5 mm). I glued everything together with superglue (although we could have done these with plastic glue as well).

    Click for enlarged picture

    The next step was to glue the fence to the base. I did this using PVA glue.

    Click for enlarged picture

    Finally, I added the second part of the gate and glued it together with superglue.

    Click for enlarged picture

    This concludes the construction of the fence and gate. Next time we will tackle the plaster and the construction of the concrete slabs.

    " ["content_hrv"]=> string(5074) "

    U ovoj seriji članaka pratit ćemo moj rad na novoj diorami, još jednoj u nizu serijala 1986. Ovoga puta, vodimo vas iza željezne zavjese u Čehoslovačku.

    Click for enlarged picture

    Nakon kapije, vrijeme je da se bacimo na ostatak ograde. Prvo ćemo napraviti stup koji će držati zatvoreni dio kapije s jedne i otvorena vrata za pješake s druge strane. Oblik stupa (i ostatka ograde) ćemo izraditi od lipovih letvica 5 x 5 mm poprečnog presjeka.

    Click for enlarged picture

    Da bismo dobro fiksirali taj dio ograde, odlučio sam pinirati letvicu u bazu. Izbušio sam bušilicom rupu i u nju stavio spajalicu. Zaljepio sam ju superljepilom, a stup ograde PVA ljepilom na bazu. (NAPOMENA: pazite da superljepilom ne idete po stiroporu ili stiroduru jer će ga to ljepilo nagristi.)

    Click for enlarged picture

    Kad se stup zaljepio, dodao sam oba vrata također superljepilom.

    Click for enlarged picture

    Za drugi dio ograde sam odlučio da bude dio betonski, a dio čelični. Betonsku bazu ćemo kao i sa stupom napraviti od letvica 5 x 5 mm poprečnog presjeka. .

    Click for enlarged picture

    Stupove na ogradi sam bušilicom probušio na istim visinama kako bismo kroz njih mogli provući deblje plastične šipke (2 mm).

    Click for enlarged picture

    Potom sam zalijepio drvene dijelove i kroz njih provukao horizontalne šipke. To je učinilo konstrukciju jako čvrstom.

    Click for enlarged picture

    Od tanje šipke (1,5 mm) sam onda počeo raditi poprečne šipke u ogradi. Lijepio sam sve superljepilom (iako bismo ove mogli i sa ljepilom za plastiku).

    Click for enlarged picture

    Sljedeći korak bio je ljepljenje ograde za bazu. To sam učinio pomoću PVA ljepila.

    Click for enlarged picture

    Za kraj, dodao sam i drugi dio kapije i zalijepio ga supreljepilom.

    Click for enlarged picture

    Time završava izrada ograde i kapije. Sljedeći put bacamo se na gips i izradu betonskih ploča.

    " ["created"]=> string(19) "2025-04-10 14:45:00" ["modified"]=> string(19) "2025-04-10 14:45:00" } ["Member"]=> array(10) { ["id"]=> string(2) "35" ["group_id"]=> string(1) "1" ["first_name"]=> string(5) "Marko" ["last_name"]=> string(9) "Paunović" ["first_name_mask"]=> string(5) "marko" ["last_name_mask"]=> string(8) "paunovic" ["username"]=> string(5) "marko" ["password"]=> string(40) "3bd37b326d19d1880d3b93a4b32e8fb3a90fa122" ["born"]=> string(19) "2033-03-07 20:35:00" ["created"]=> string(19) "2009-06-02 20:37:03" } }
    Marko Paunović, 10th April 2025

All articles

Latest battle-reports

All battle-reports