Exhibition of Miniatures and Tabletop Scenery Agram 2021

Marko Paunović, 18th March 2021

Click for enlarged picture

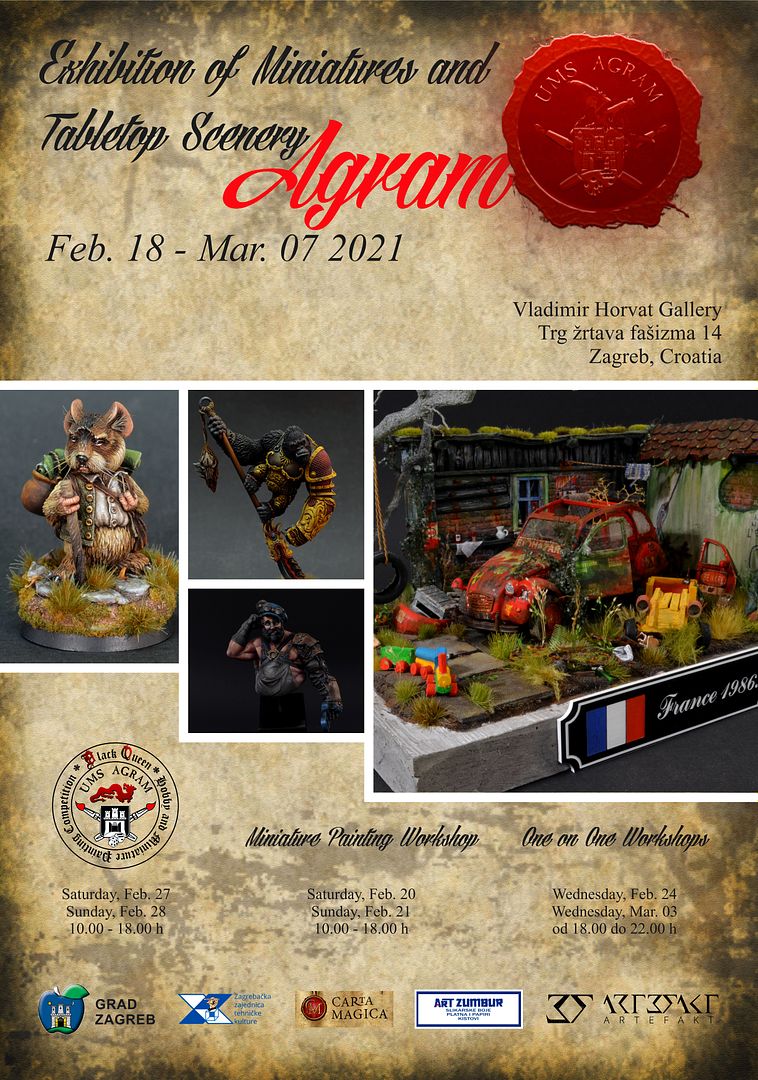
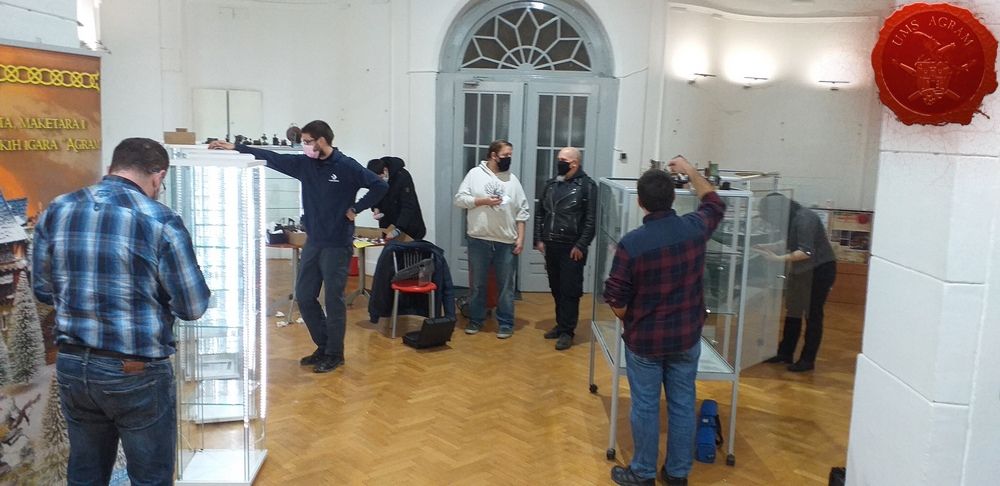
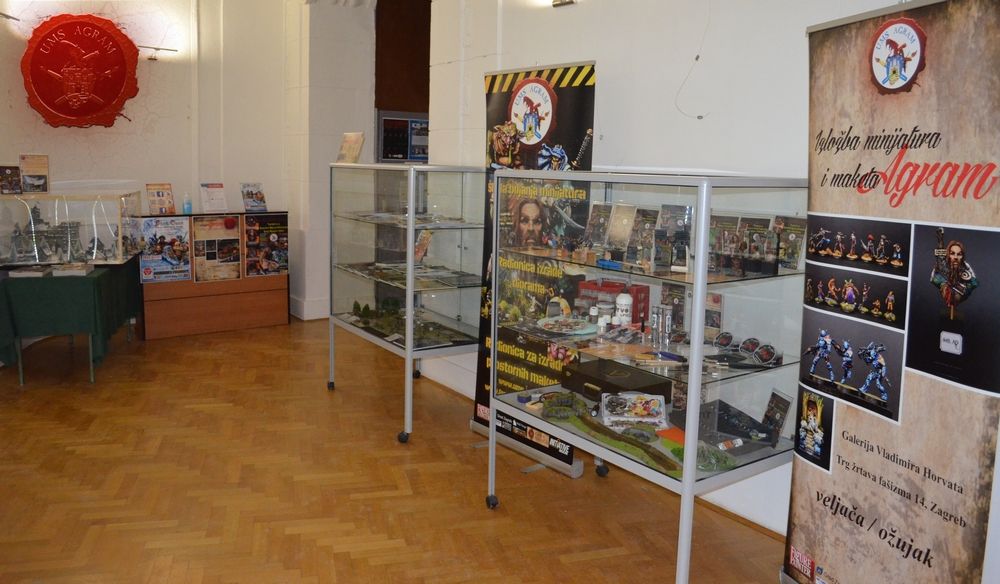
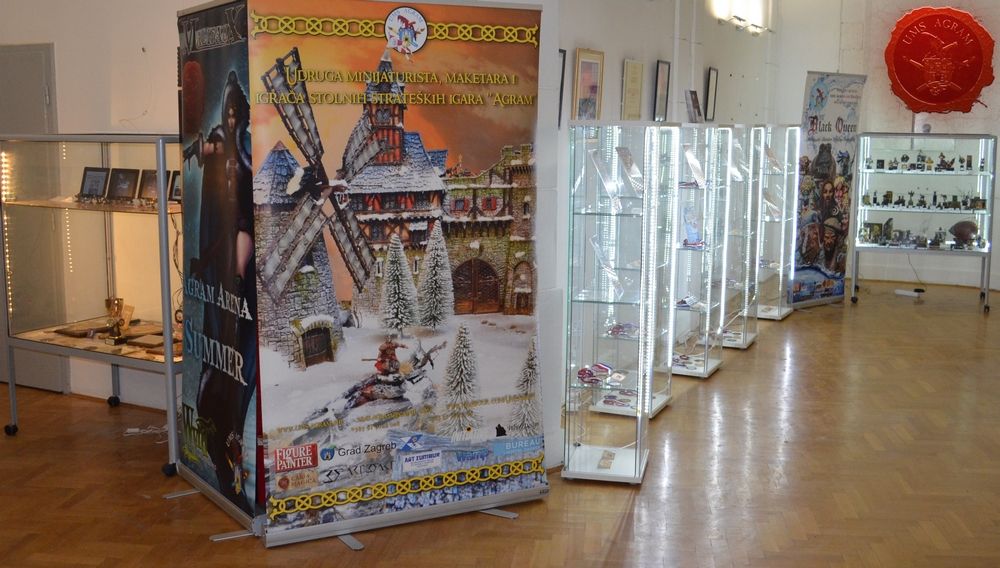
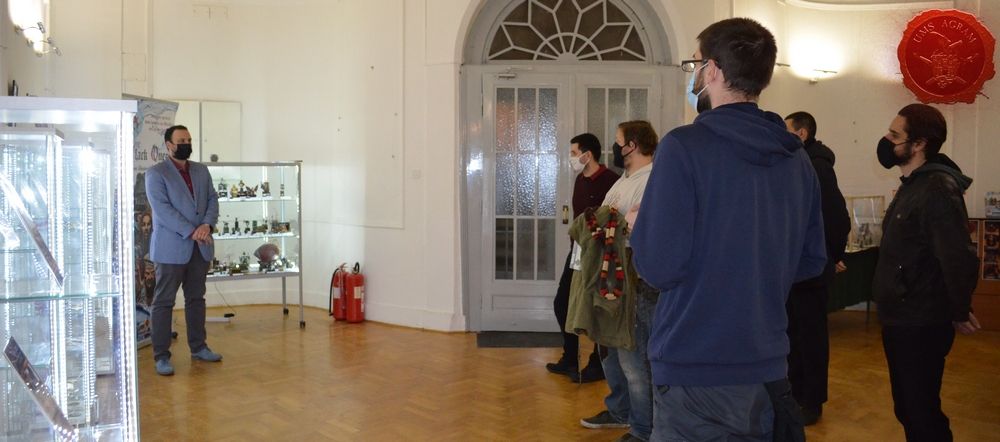
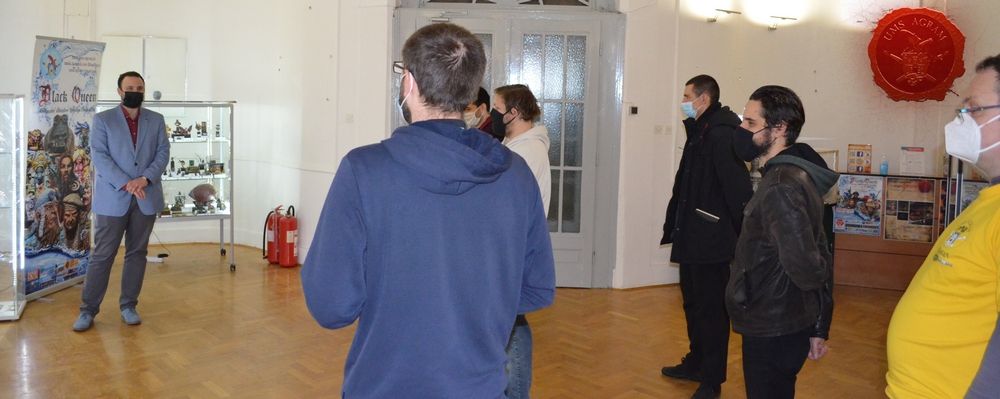
Our annual Exhibition of Miniatures and Tabletop Scenery Agram 2021 took place this year from 18.02.-07.03.2021. The setup was done on Wednesday 17.02.2021. in the afternoon. Many club members as well as some friends of the club and members of the local FB group Miniature Painters Croatia came by to help, provided their miniatures and helped with the setting up of the whole event.

Click for enlarged picture

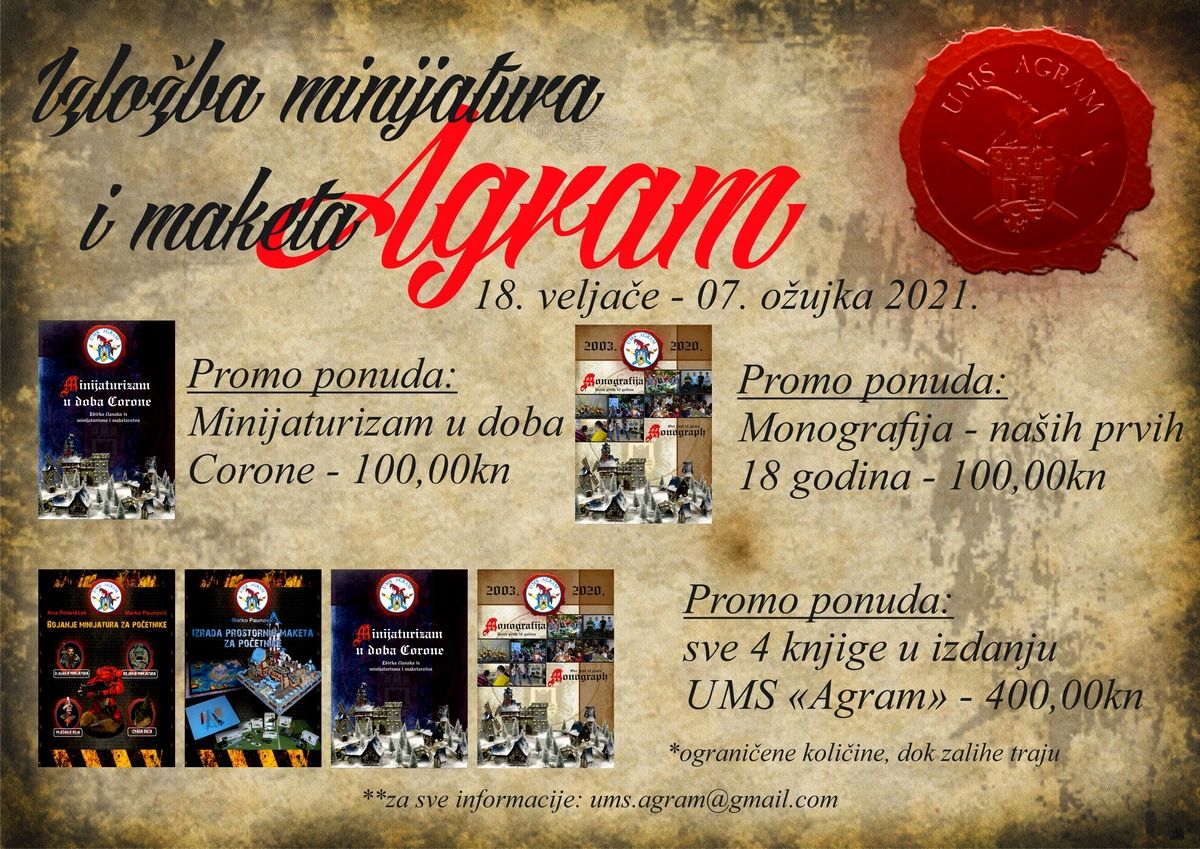
We held the grand opening on Thursday, 18.2.2021 starting at 18:00. The Exhibition was organised for our 18th birthday, and during the opening we also held the unveiling of our newest books:

- Miniaturism in the Age of Corona (Collection of Articles about Miniaturism and Modelling), Authors: Marko Paunović, Ana Polanšćak, Goran Krunić, Jure Cukar, Matija Koružnjak, Dalibor Čavić i Krunoslav Belinić

- MONOGRAPH: Our First 18 Years, Authors: Marko Paunović, Ana Polanšćak i Goran Krunić

During the entire Exhibition (up to Mar 7) people were able to get the books at a promotional price and financially help the club.

Click for enlarged picture

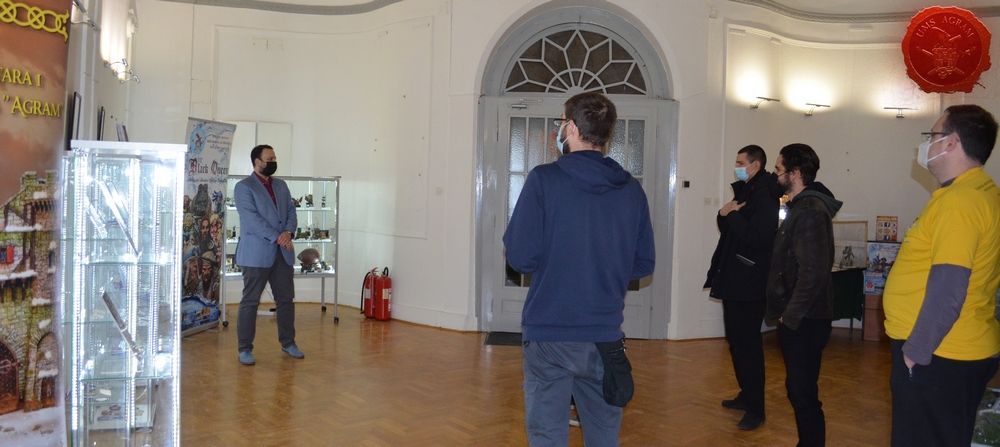
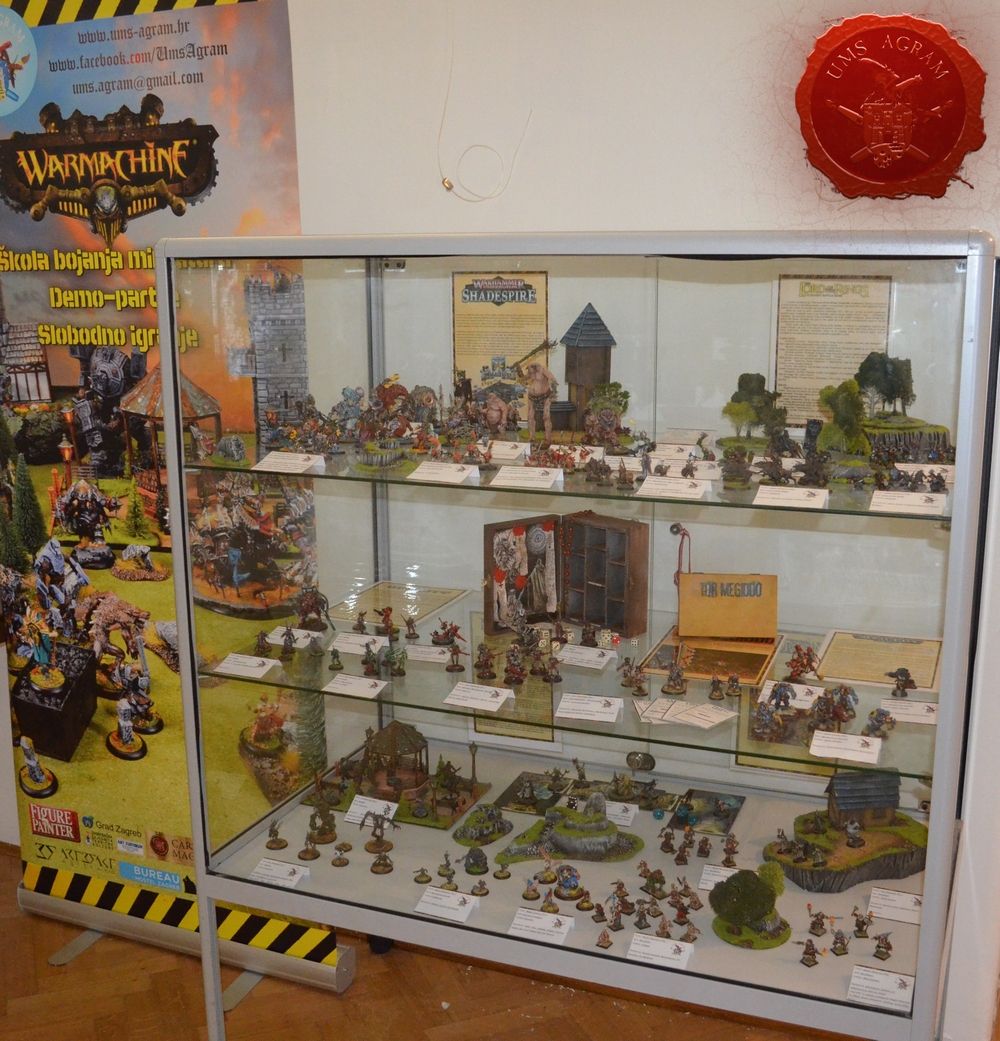
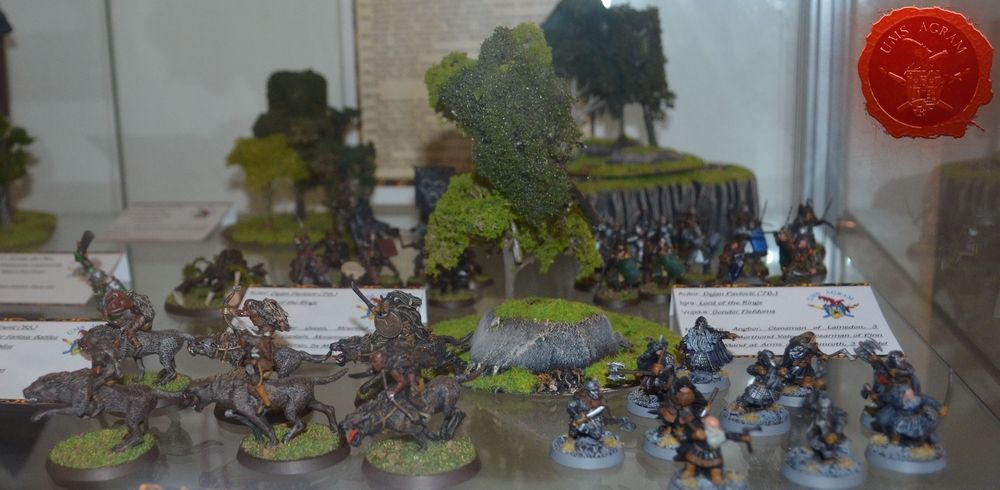
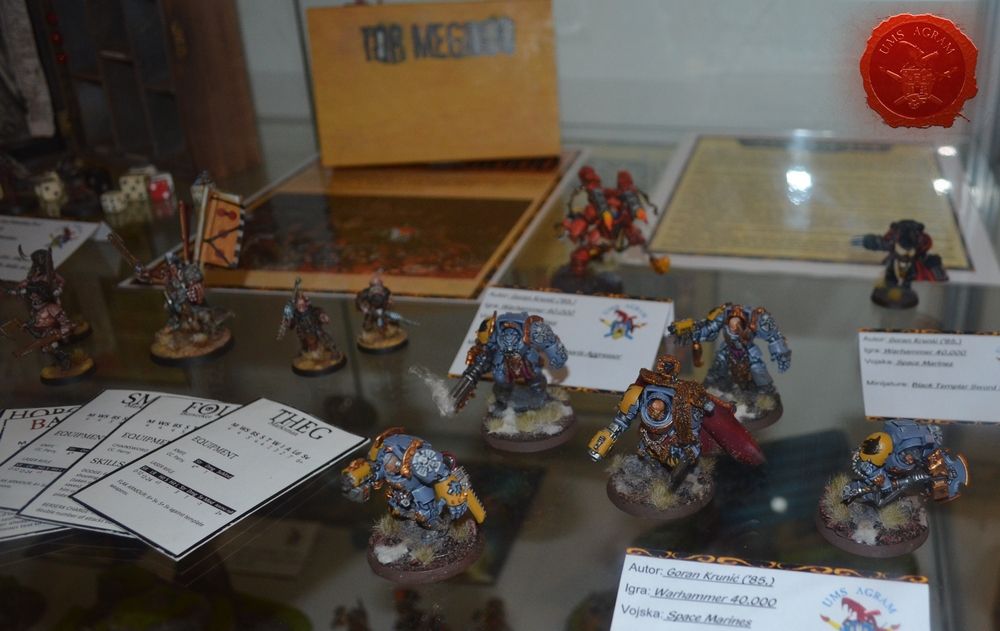
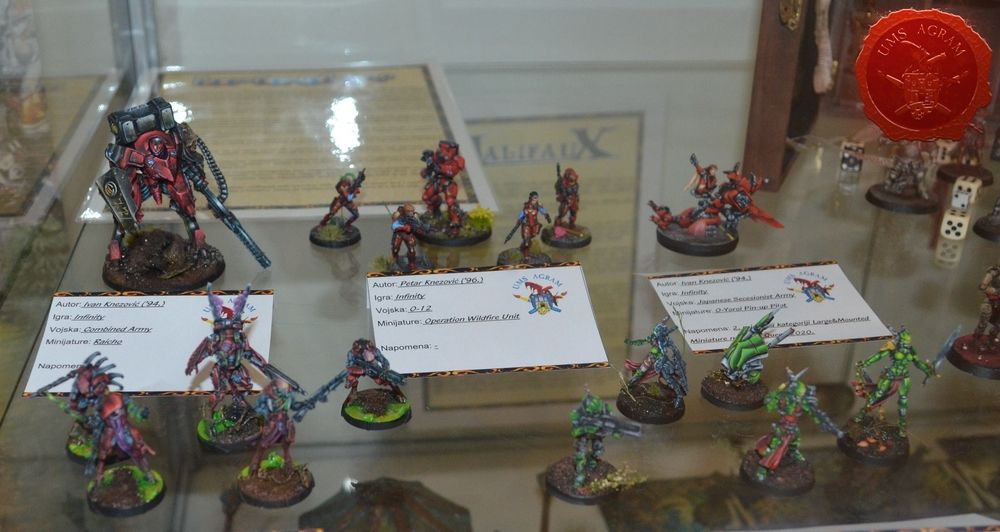
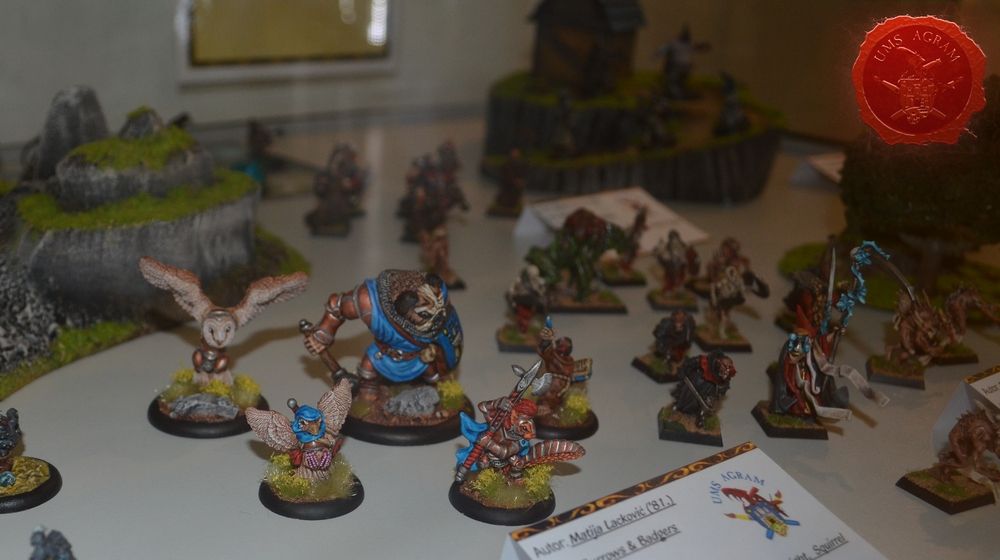
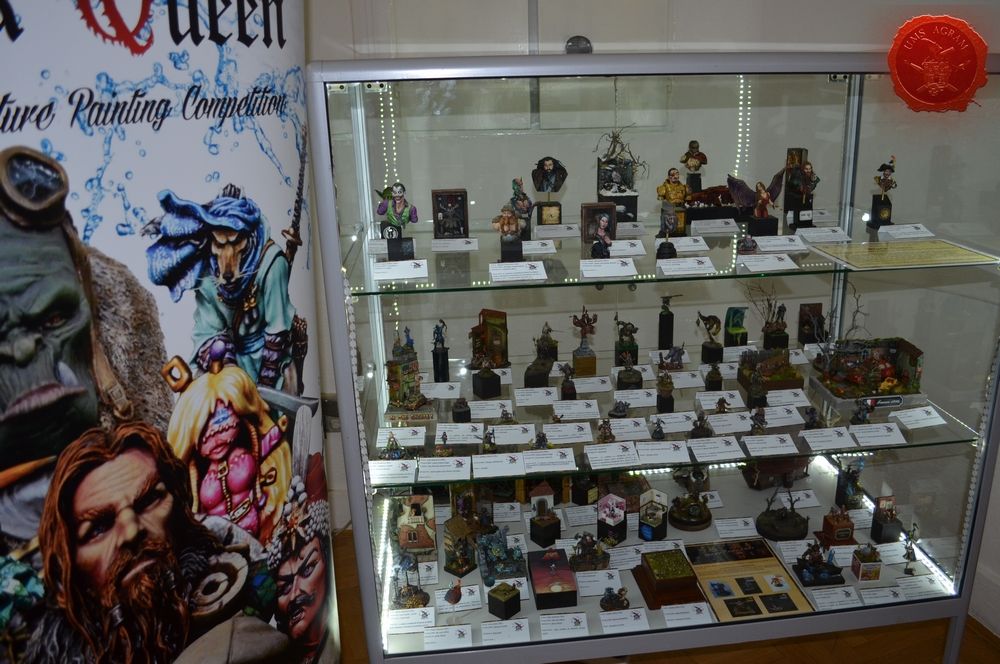
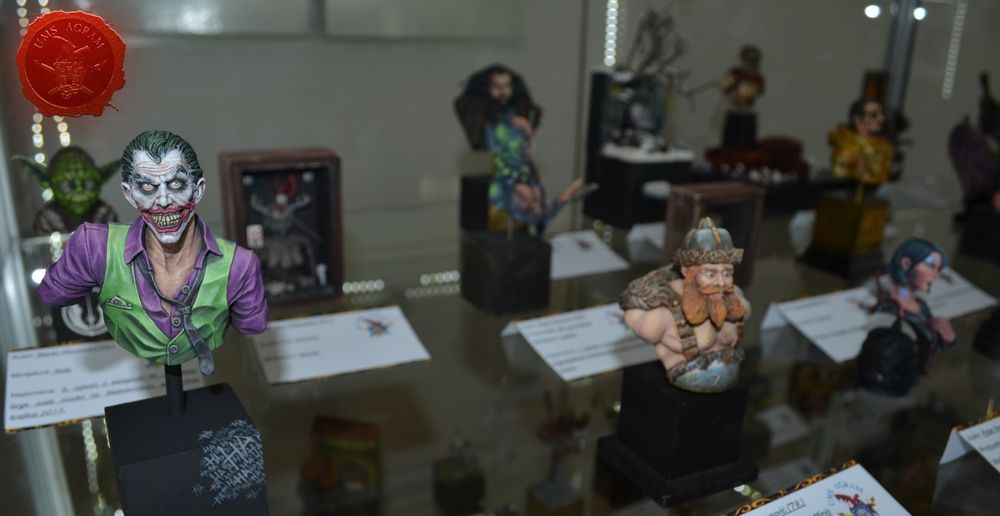
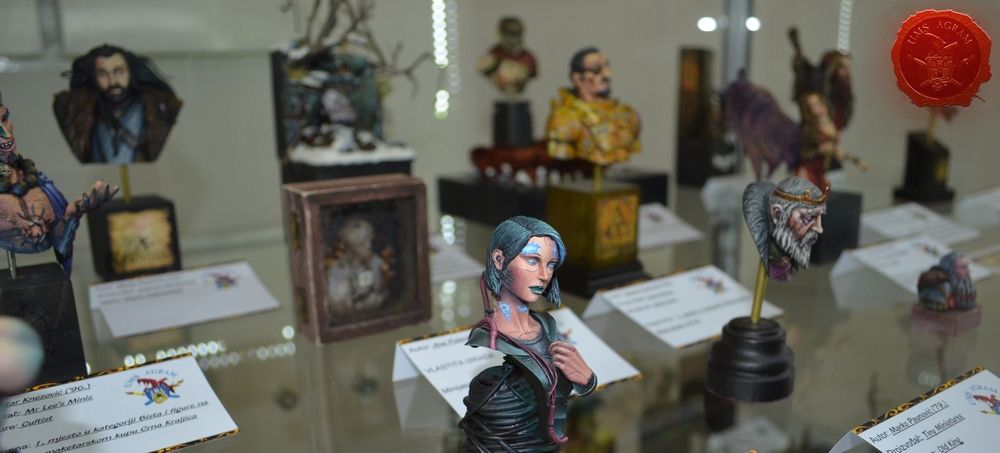
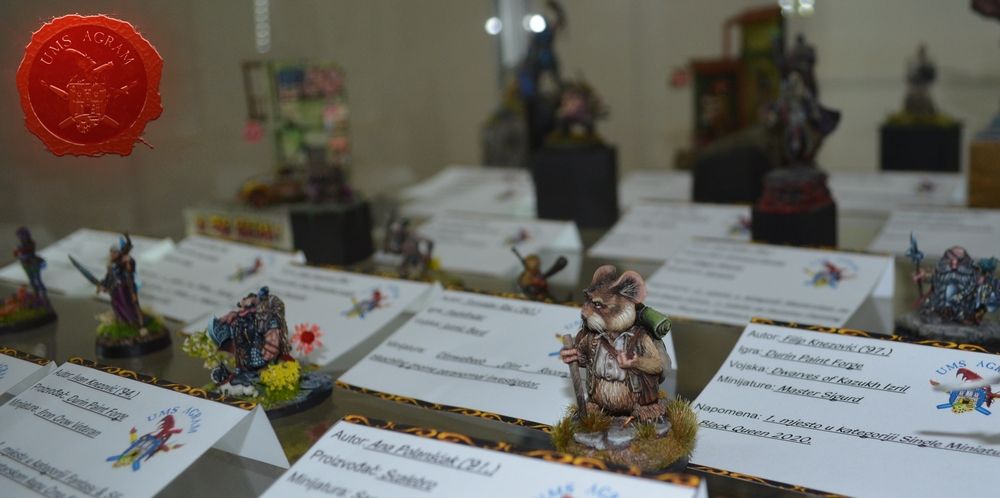
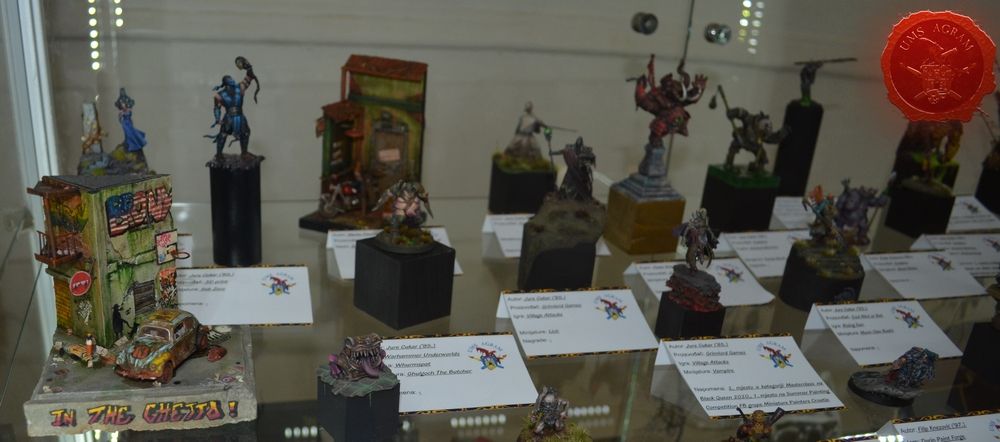
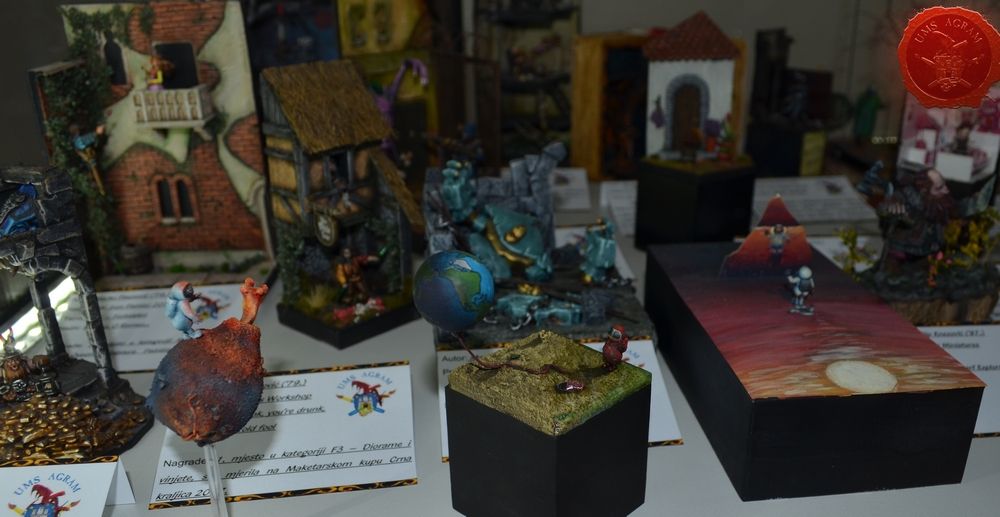
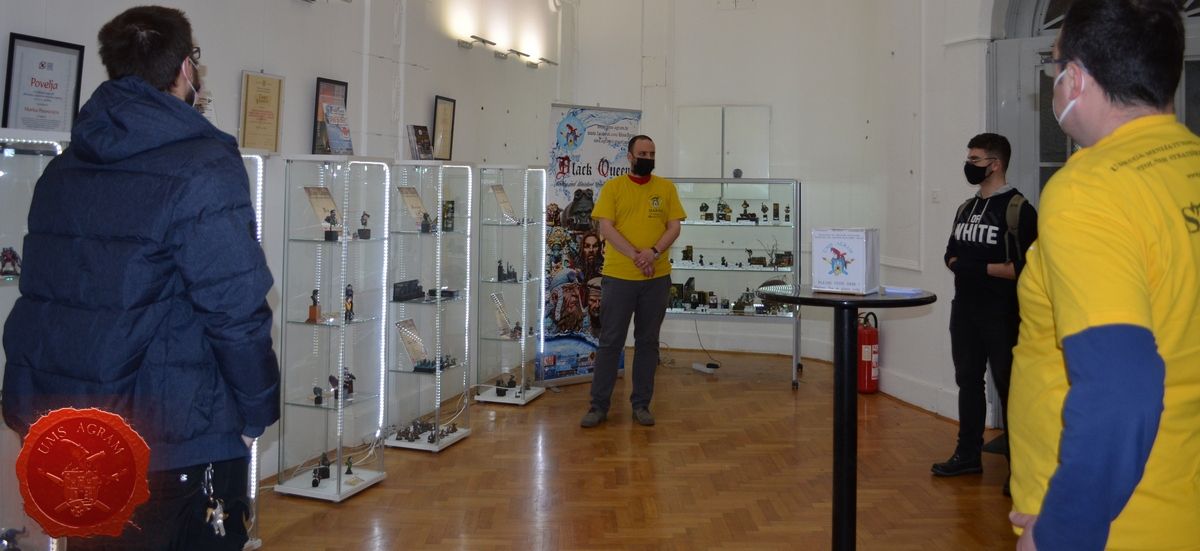
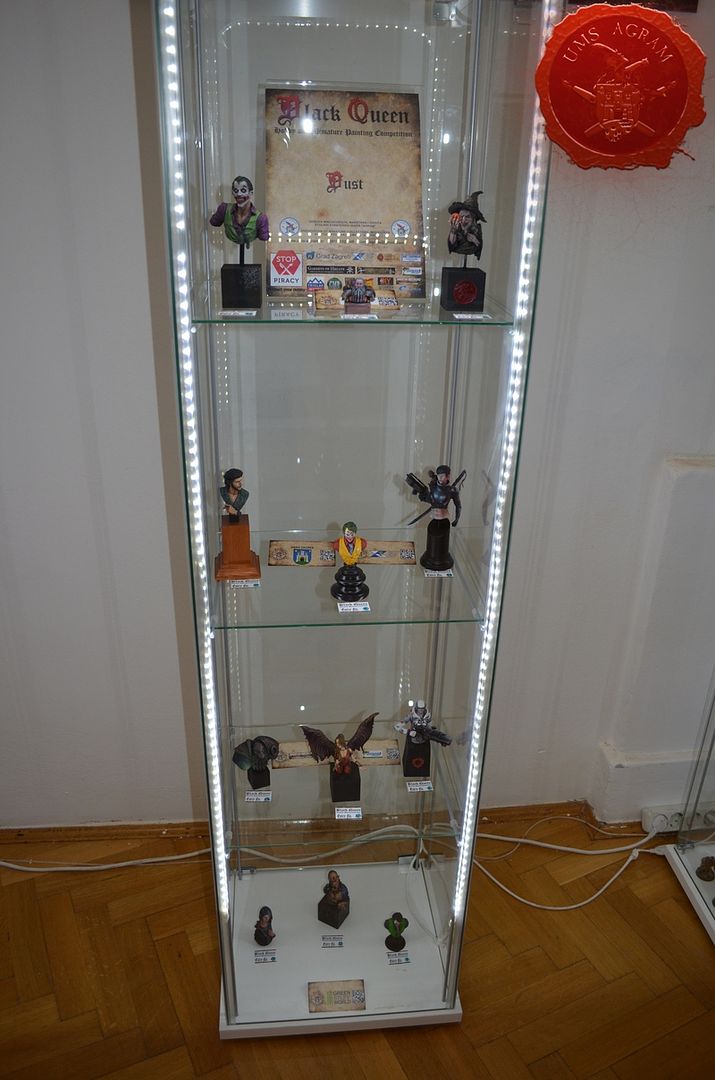
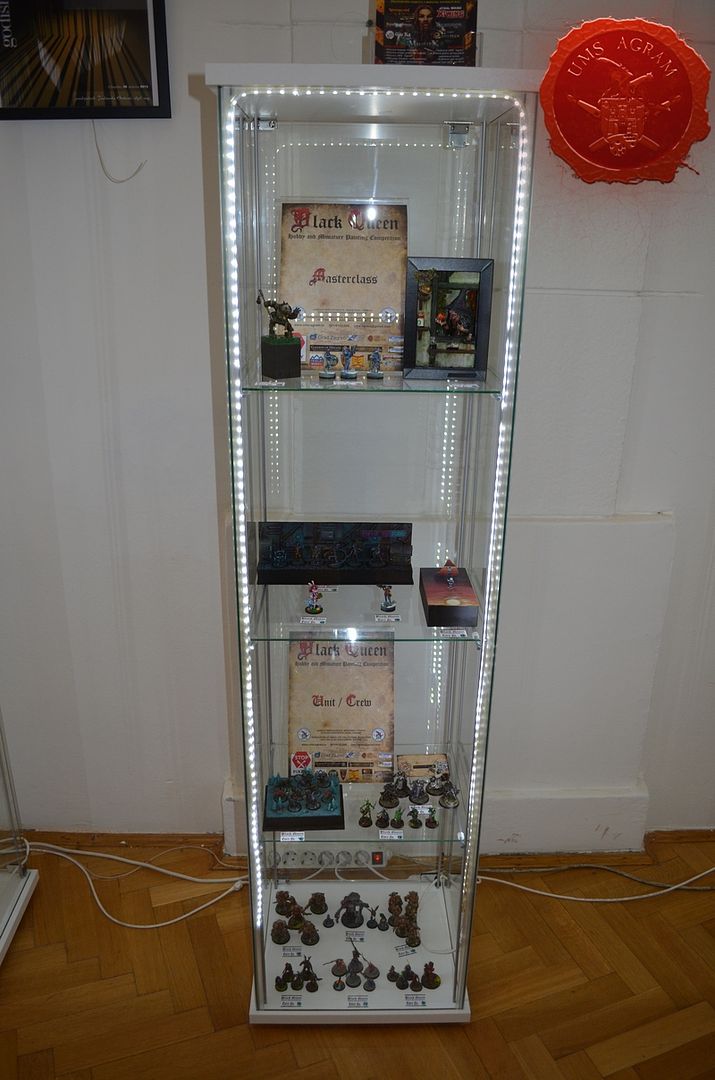
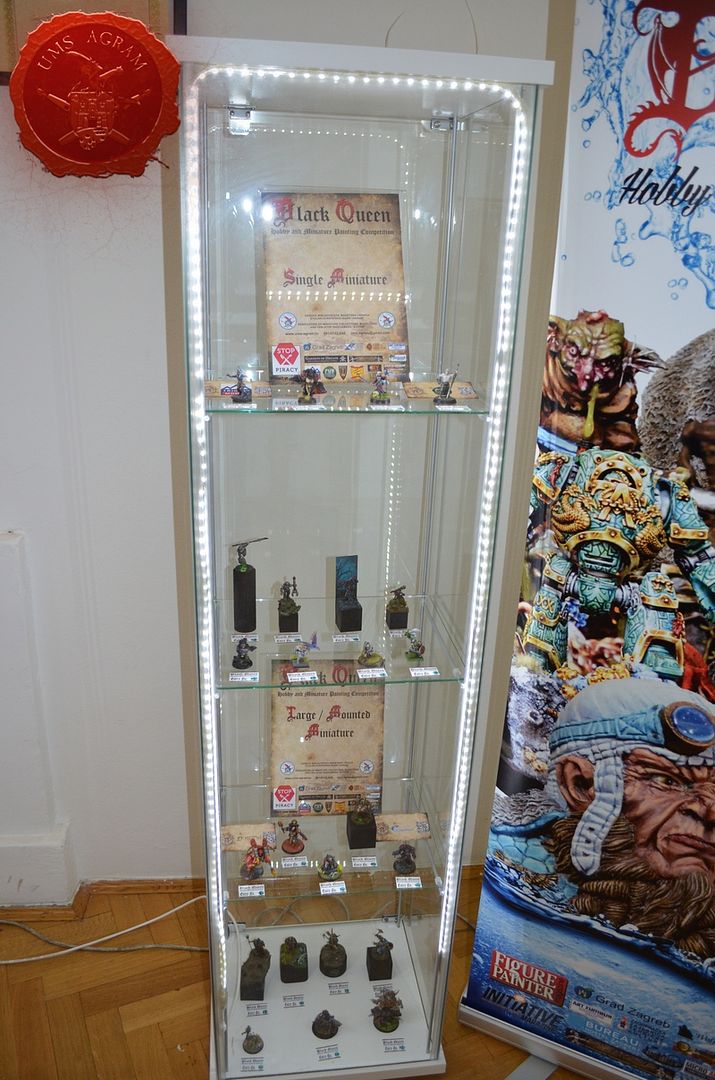
As always, the exhibition showed a cross-section of the work of the Association, its members, participants in its courses and workshops and members of the FB group Miniature Painters Croatia. In a large number of showcases, there were numerous miniatures for tabletop wargames, board games, and an entire showcase was dedicated to award-winning exhibits from previous miniaturist competitions. Several showcases were dedicated to the projects that the Association has been implementing for 18 years, such as the Library of UMS "Agram", the Terrain Workshop and the Miniature Painting Workshop.

Click for enlarged picture

Click for enlarged picture

Click for enlarged picture

Click for enlarged picture

Click for enlarged picture

Click for enlarged picture

Click for enlarged picture

Click for enlarged picture

Click for enlarged picture

Click for enlarged picture

Click for enlarged picture

Click for enlarged picture

Click for enlarged picture

Click for enlarged picture

Click for enlarged picture

Click for enlarged picture

Click for enlarged picture

Click for enlarged picture

Click for enlarged picture

Click for enlarged picture

Click for enlarged picture

Click for enlarged picture

Click for enlarged picture

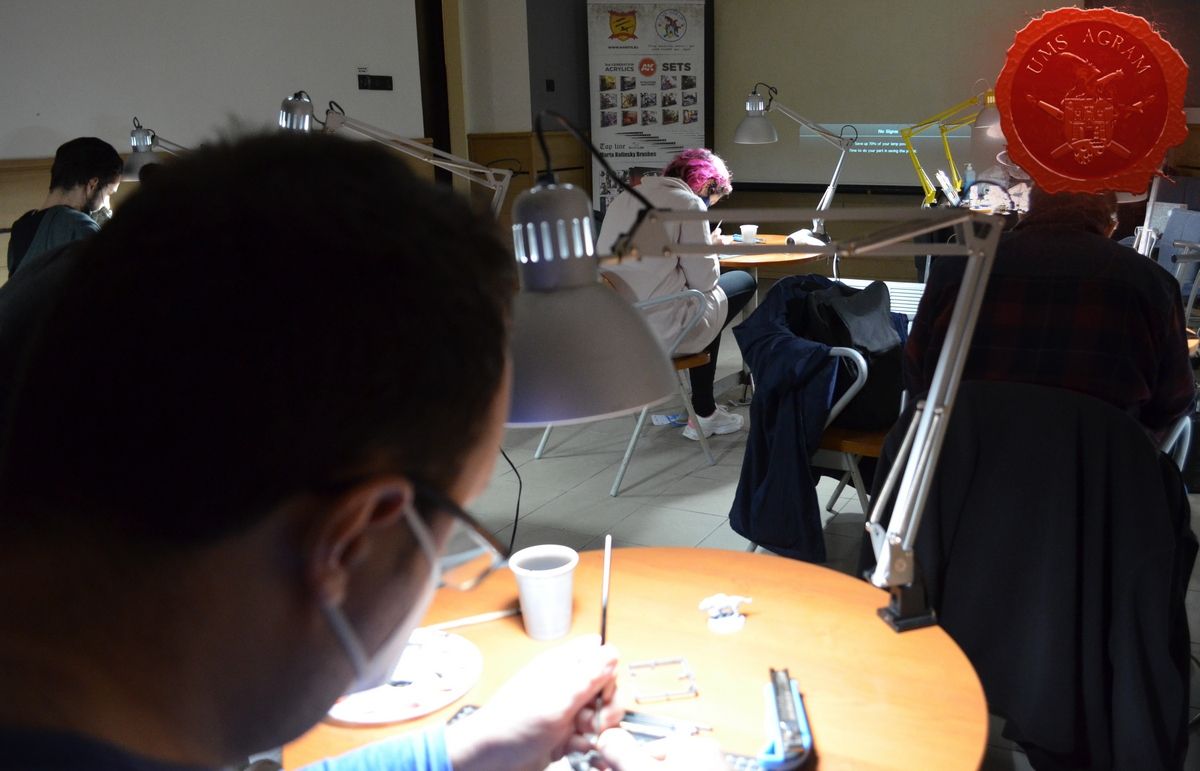
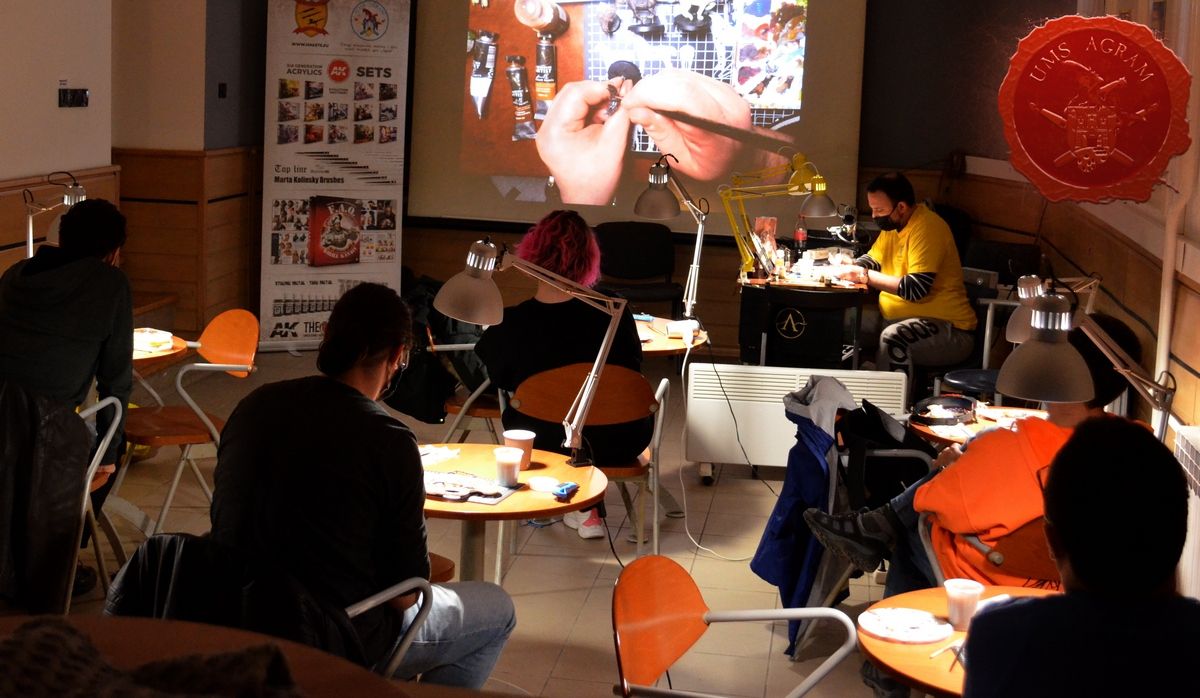
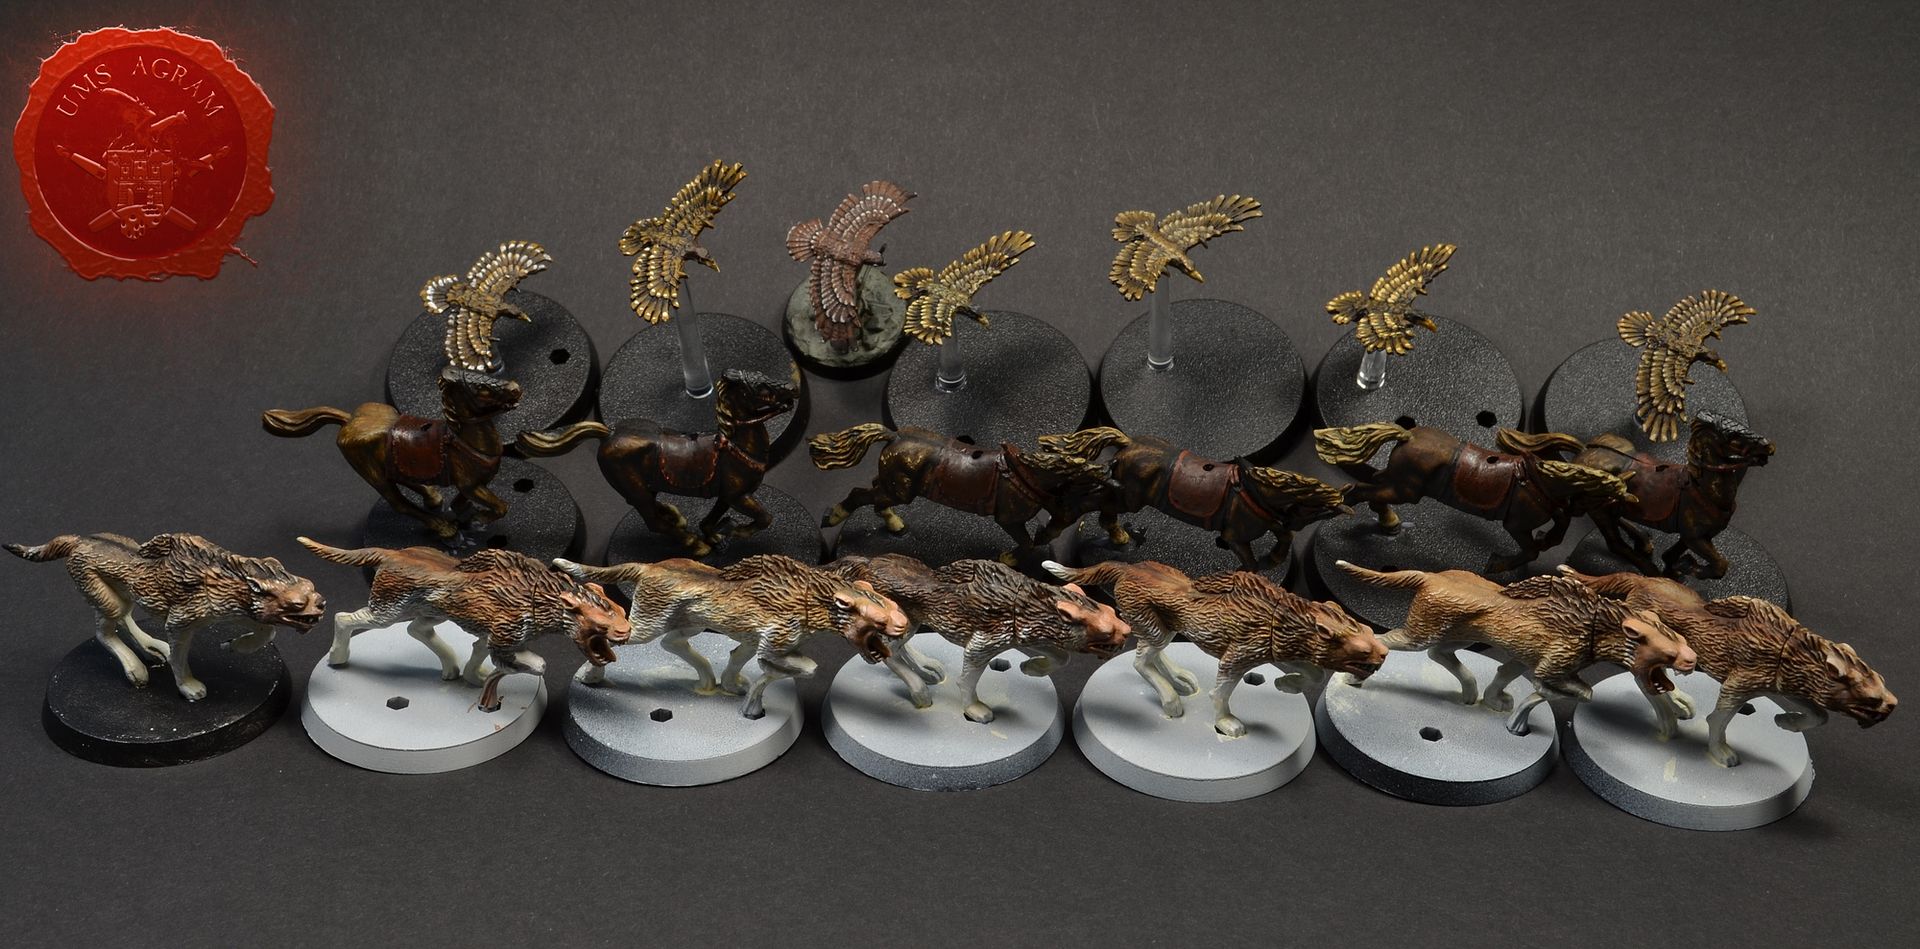
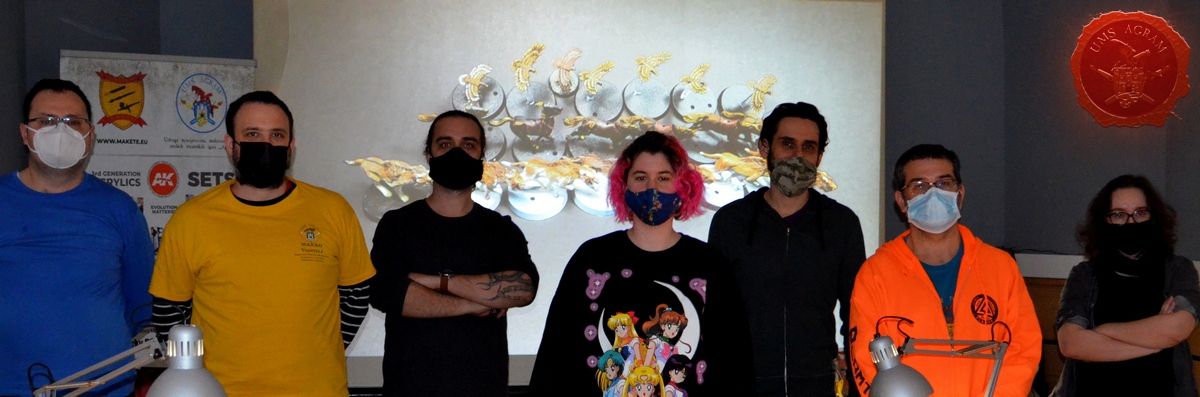
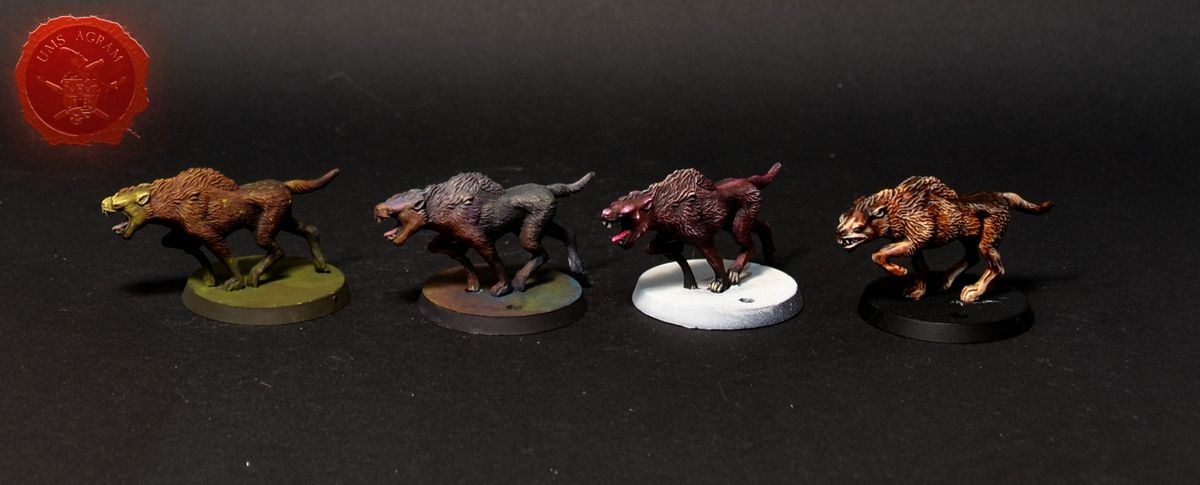
During the first weekend of the Exhibition, on 20.-21.2., we organised a MINIATURE PAINTING WORKSHOP – Horses, Wargs and Birds.

Click for enlarged picture

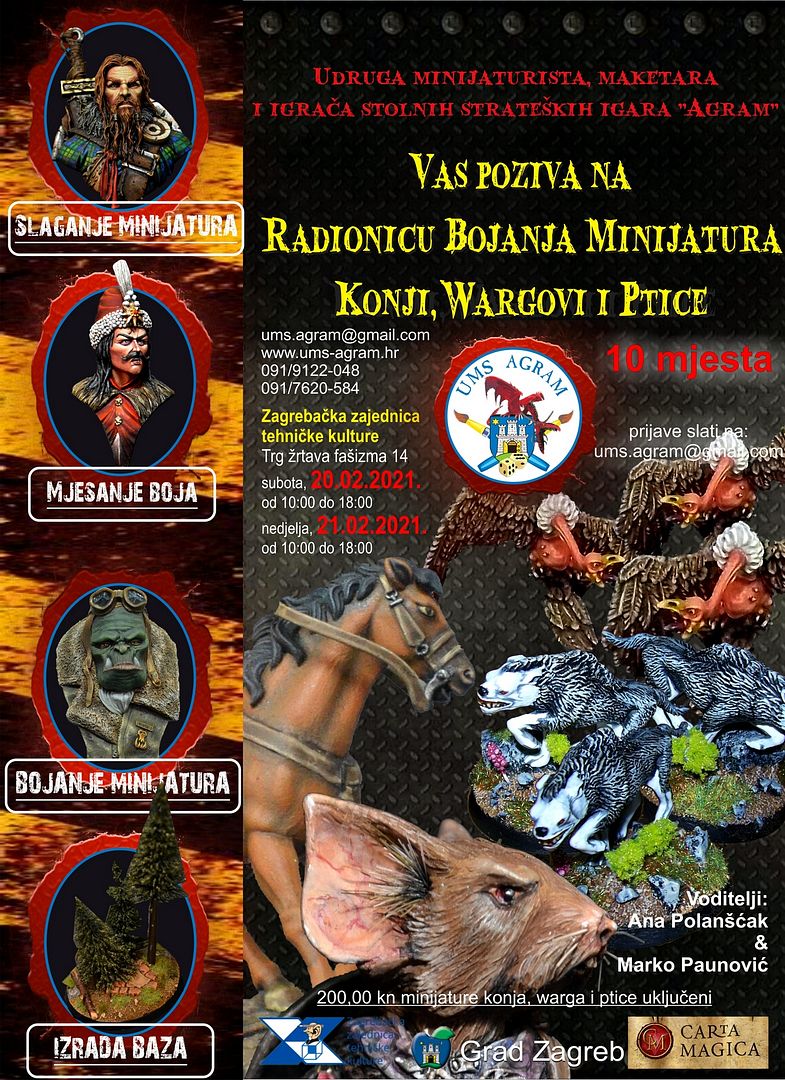
The weekend workshop covered the basics of painting three kinds of animals. The main focus of the workshop was painting of the fur textrue, long and short animal hair as well as feathers. For this, the tutors chose some appropriate miniatures of horses, wargs and birds for the attendees to paint with acrylic paints. The lectures were addapted so the tutors could spend equal ammount of time on each participant and therefore could addapt to all categories of miniature painters (beginer or advanced).

Click for enlarged picture

Click for enlarged picture

Click for enlarged picture

Click for enlarged picture

Click for enlarged picture

Click for enlarged picture

Click for enlarged picture

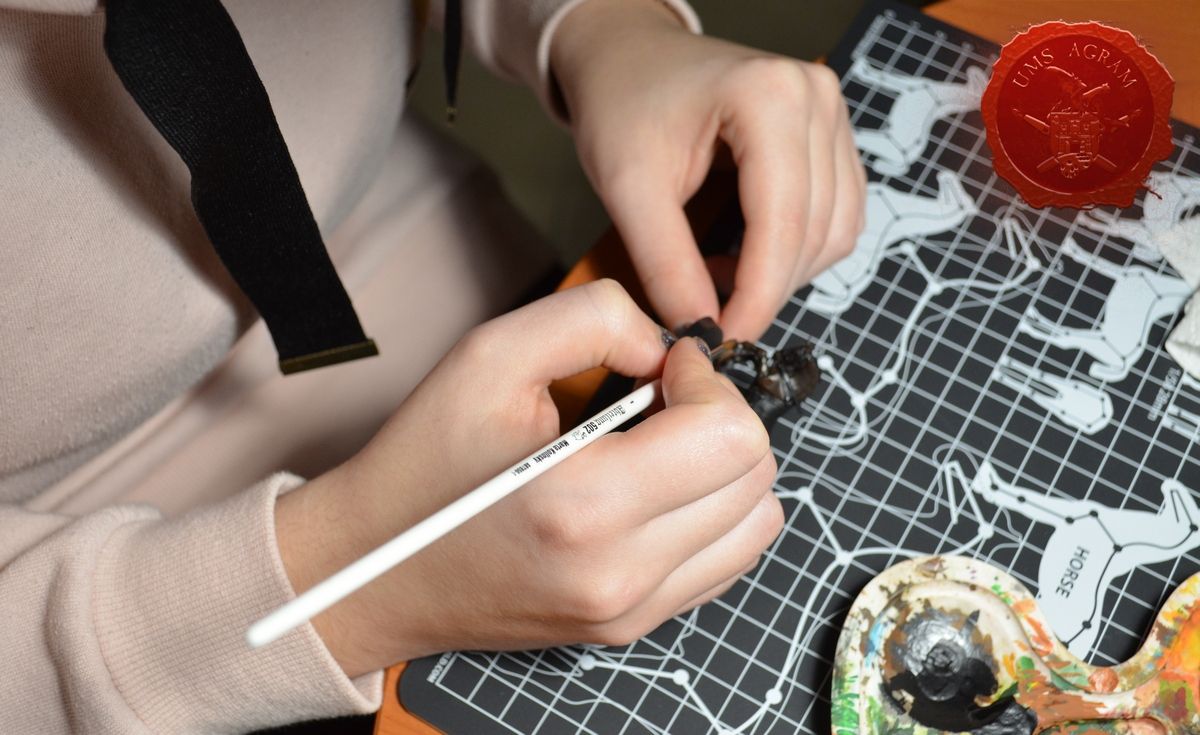
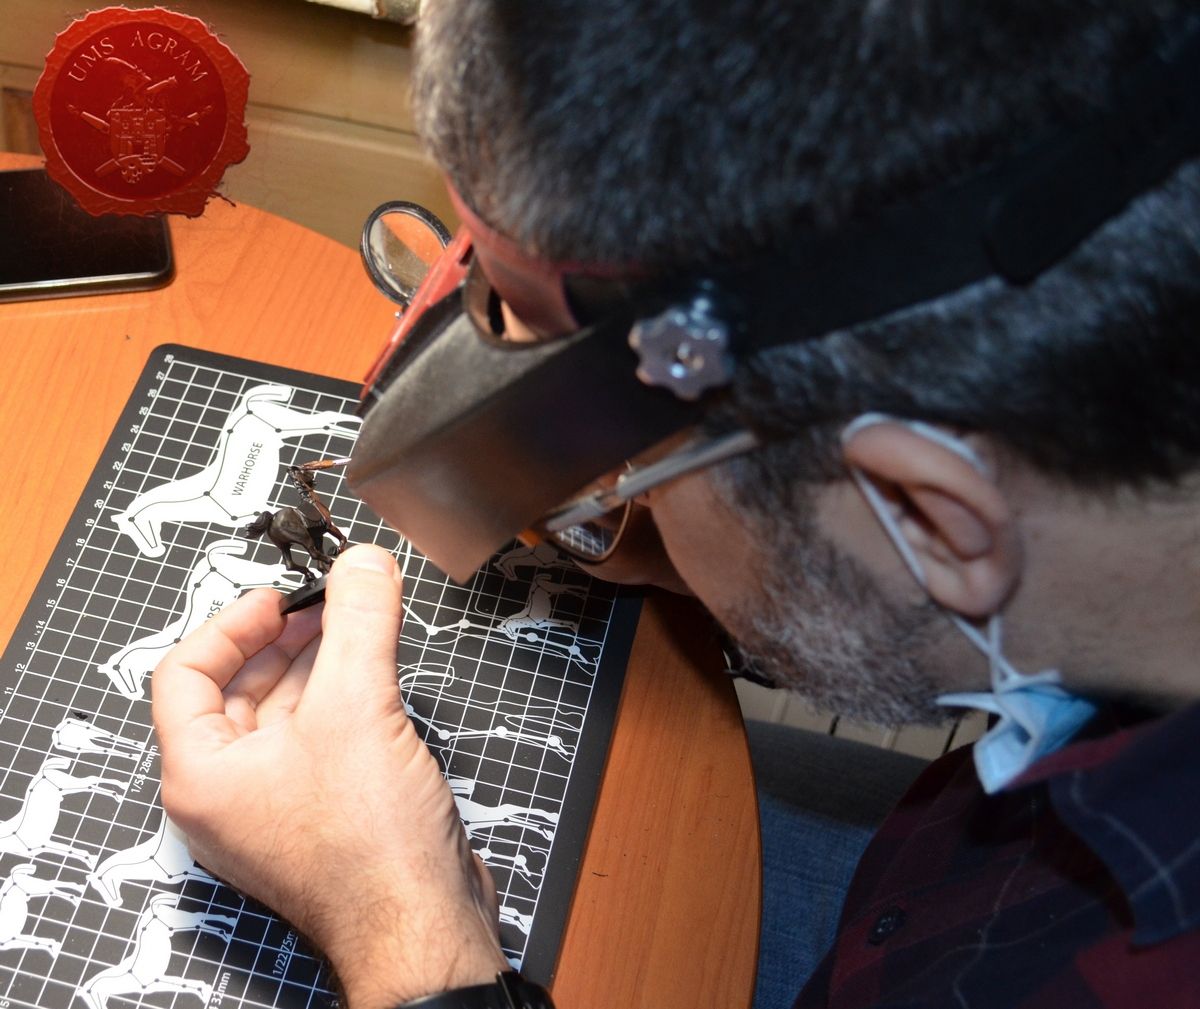
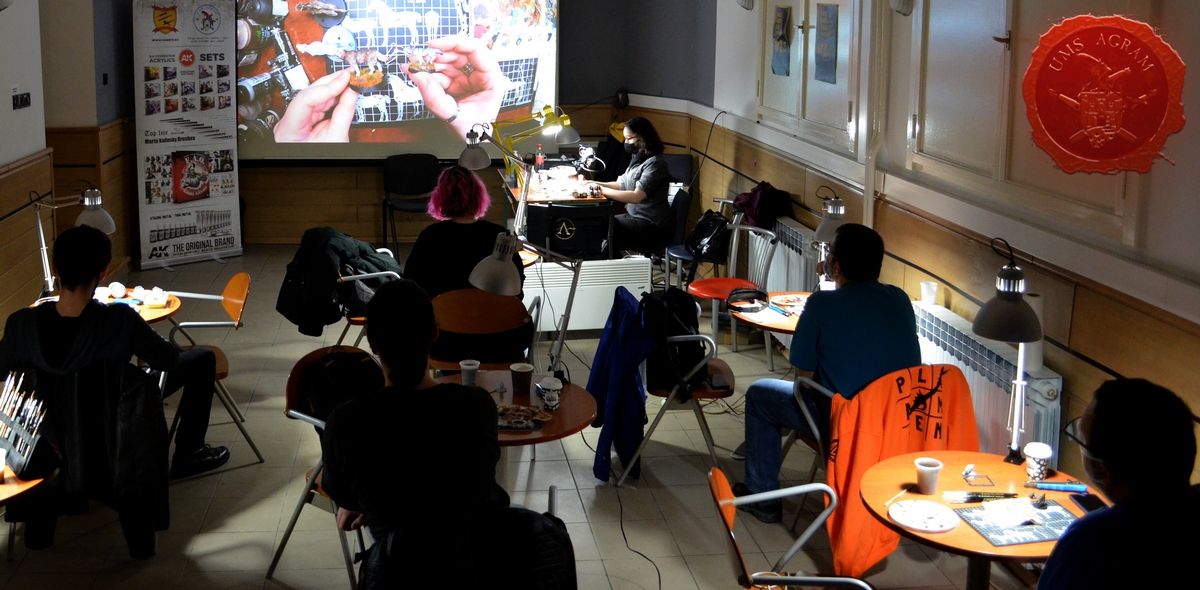
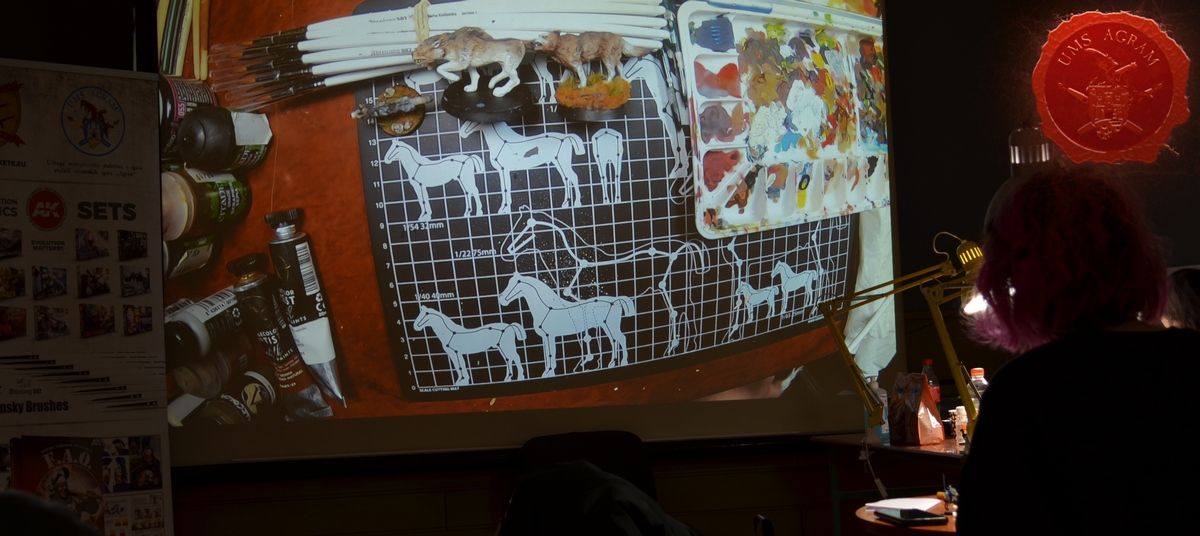
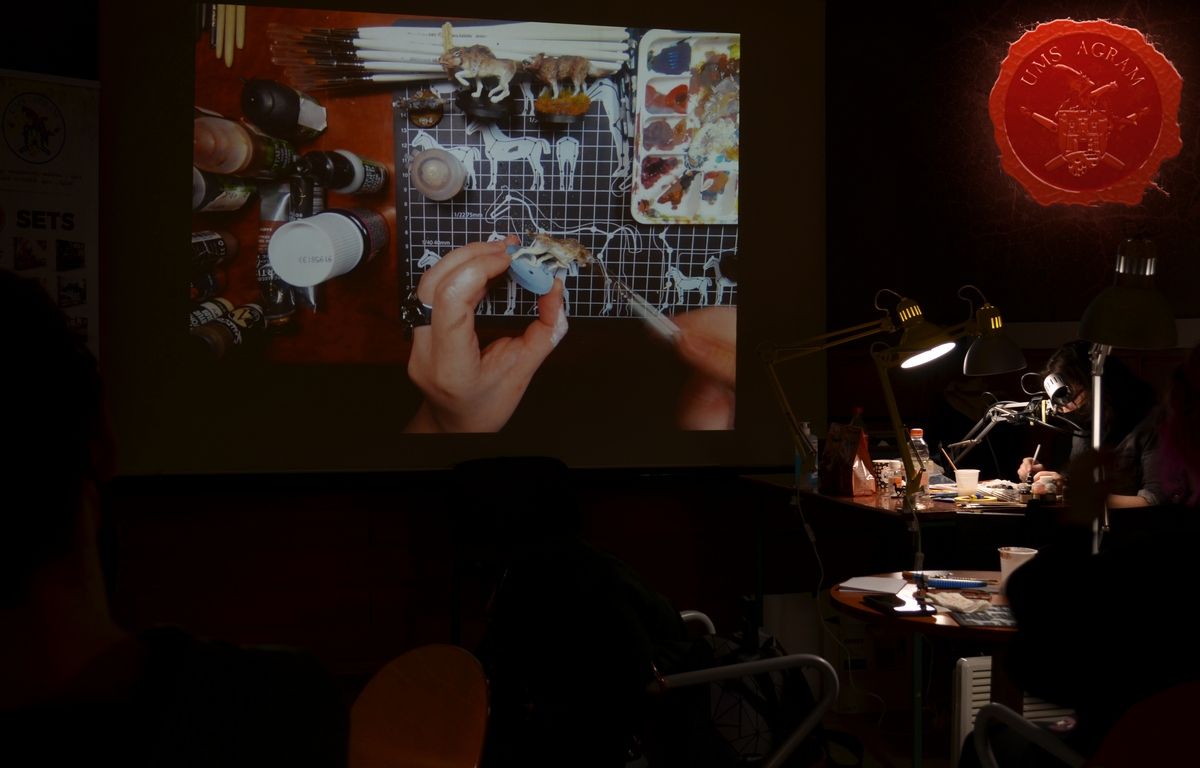
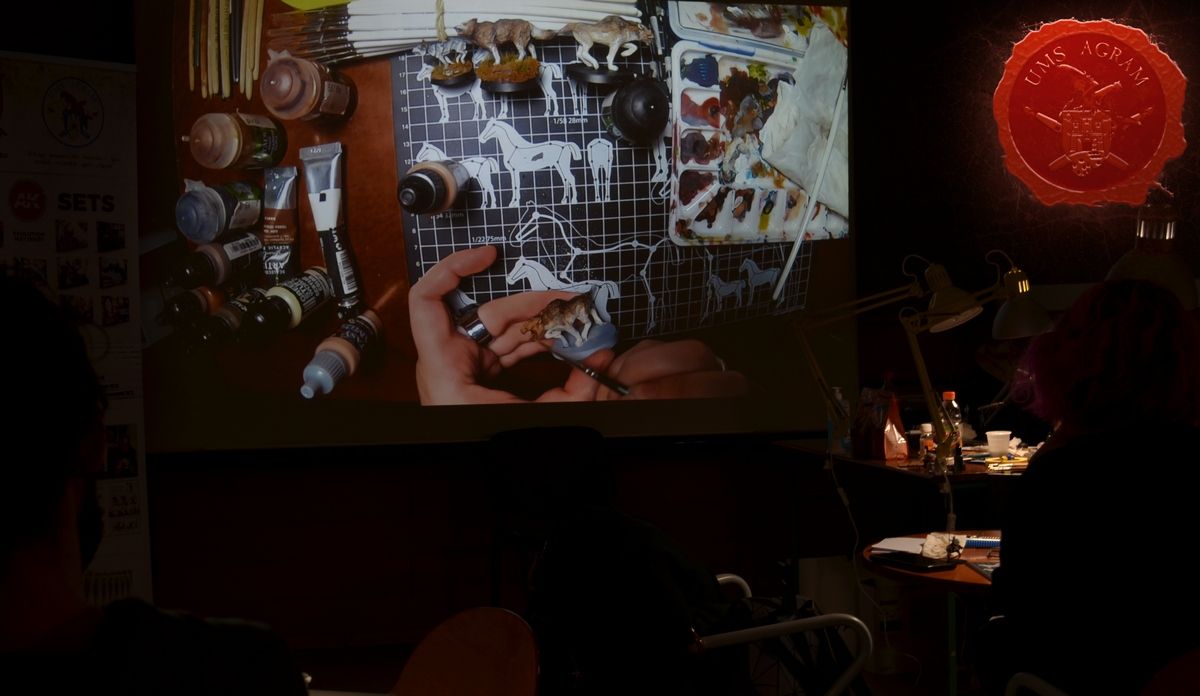
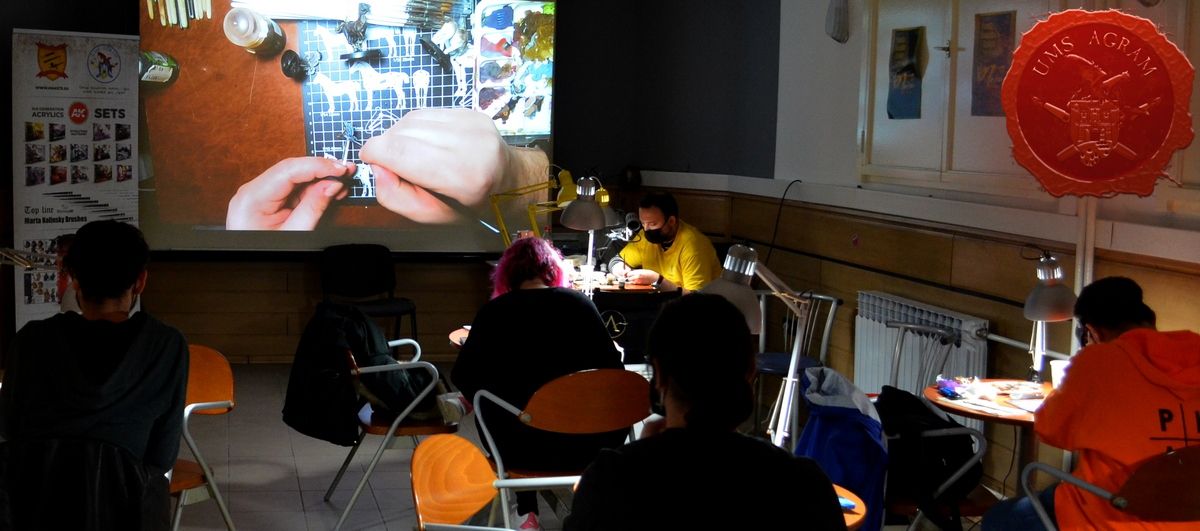
First the tutor sitting behind his desk explained and demonstrated each step of the painting on his example. His work was transmitted over a camera and a digital projector onto a screen in the cinema hall. The pupils watched and listened to the tutor but could also stop him/her and ask questions. Then, the pupils paint their own miniatures copying what they have learned while the tutors walk among them and check their progress. The following themes were covered:

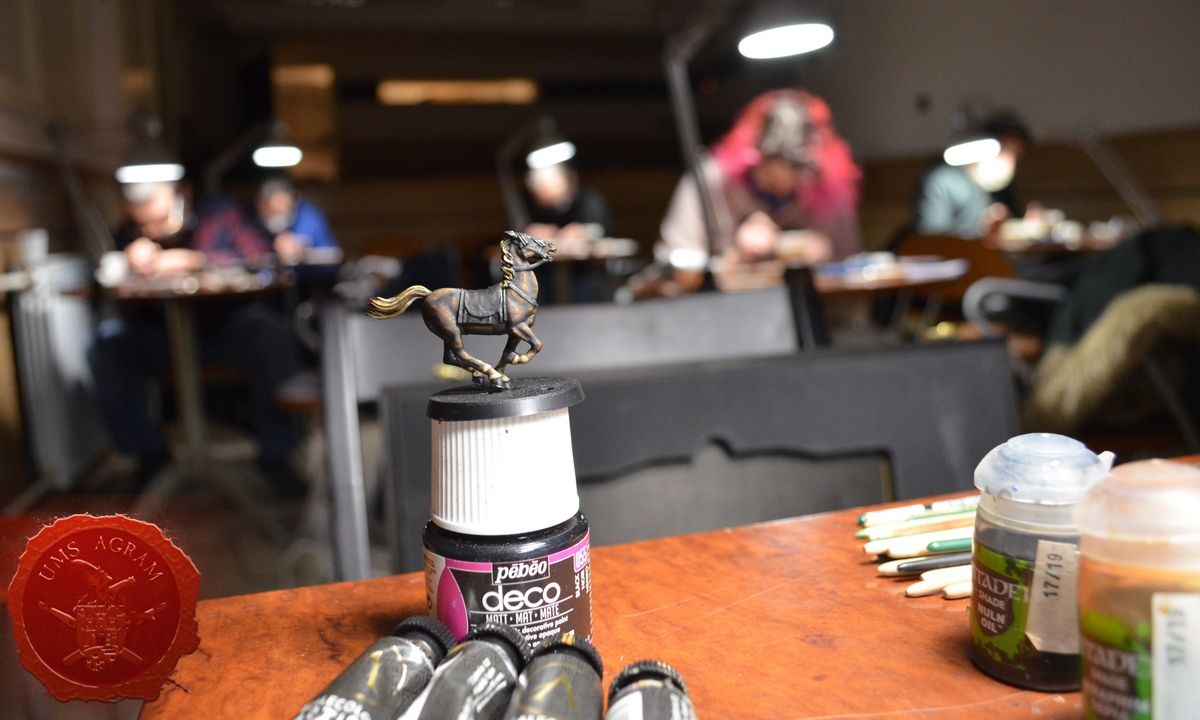
1. Horses – short hair and long hair

2. Wargovi – fur and snout

3. Birds – feathers, beak and claws

The club provided all with the necessary equipment, paints, tools, brushes, lighting, glue as well as a set of paints.

Click for enlarged picture

Click for enlarged picture

Click for enlarged picture

Click for enlarged picture

Click for enlarged picture

Click for enlarged picture

Due to the pandemic, the following epidemiologic measures were enforced:

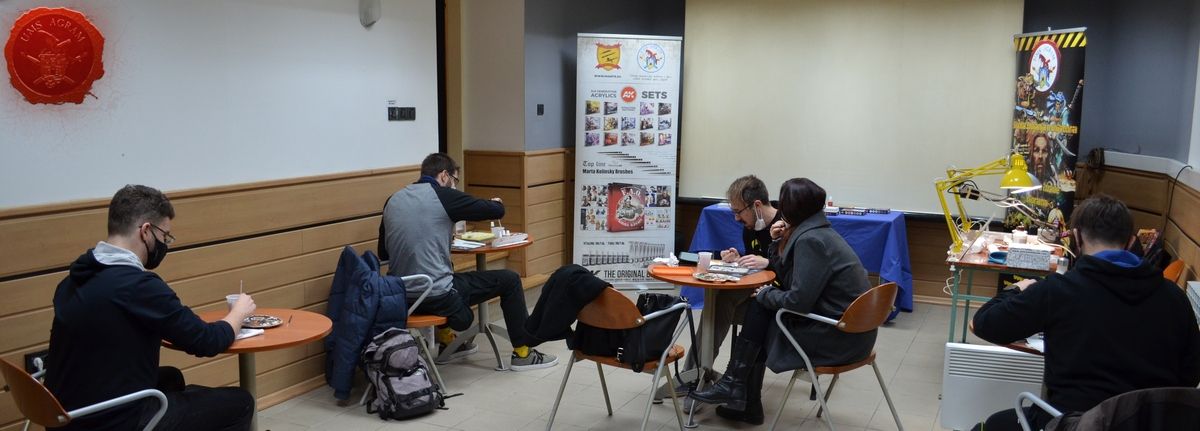
Correct wearing of masks was obligatory. The Disinfectant was at hand for all to use freely. Camera nad projection screen was used to ensure the social distancing while lecturing and separate tables for all the participants moved 2m apart to ensure the social distancing while the pupils paint.

Click for enlarged picture

Click for enlarged picture

During the weekend of 27.-28.02. as a part of the Exhibition, we held our 15th annual Black Queen Hobby and Miniature Painting Competition!

Click for enlarged picture

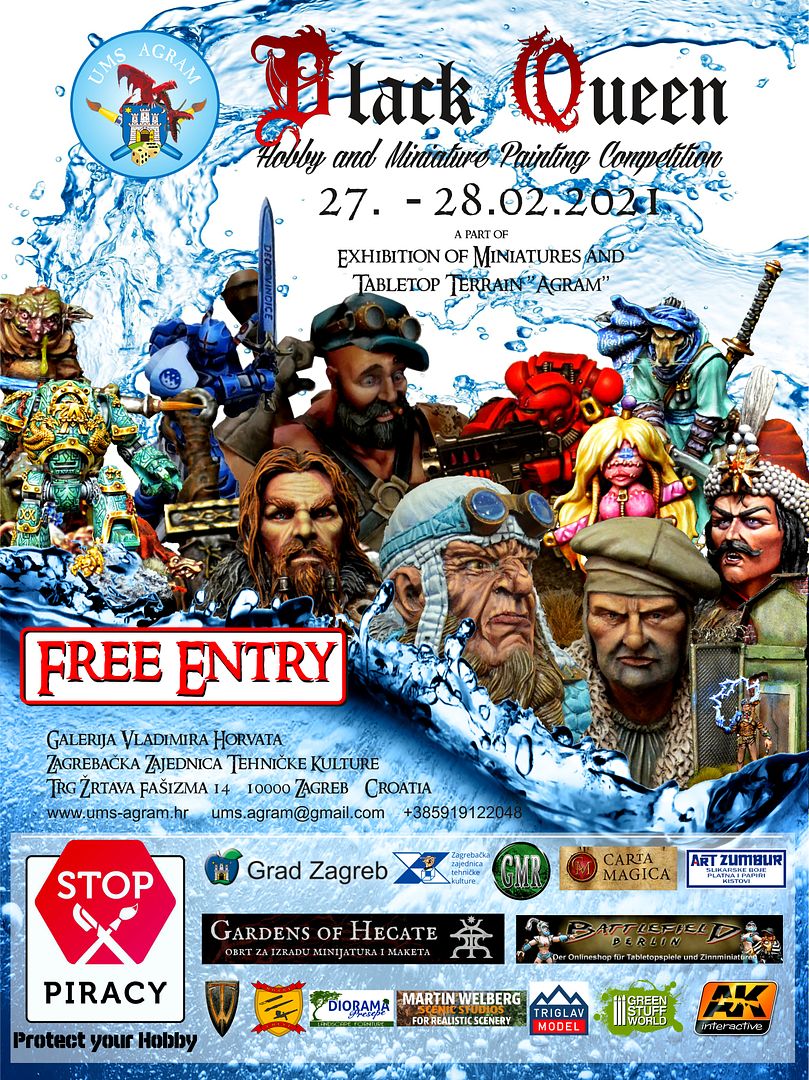
In 2021 due to the Covid-19 epidemic, we had some changes in the format of the Black Queen Hobby and Miniature Painting Competition. For the first time, the contestants had to pre-register for the event via e-mail. They then received the exact time when to register at the event (from 8:30 until 11:00). This was to limit the number of people at the venue at the same time.

Here is a quick run down through categories at this year's event:
1. Single Miniature (any 28-35mm single miniature)
2. Mounted and Large Miniature (mounted or large miniatures in 28-35mm scale)
3. Unit / Squad (unit of 5+ minis (28-35mm), or exceptionally 3+ minis (trolls, ogres etc))
4. Masterclass (our most prestigious category, anything goes as long as it's a single entry. Previous Masterclass winners can not compete in the first three categories.)
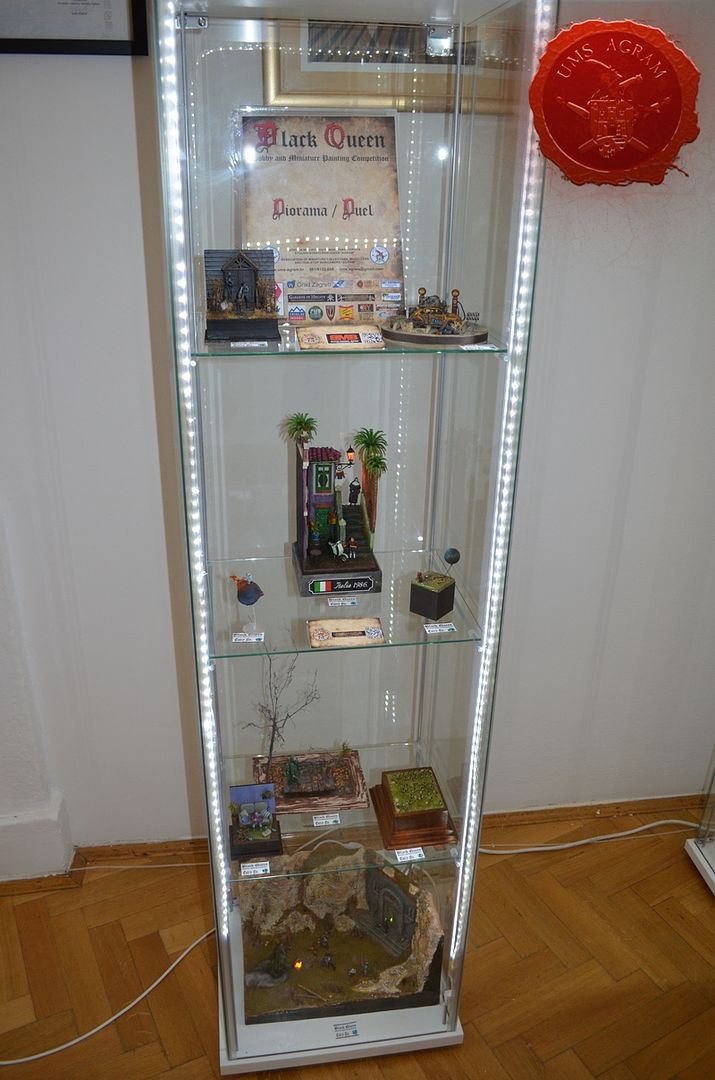
5. Diorama / Duel (self explanatory, two or more minis locked in combat or in any other interaction on a single base (no limit to the size of the base, if you can bring it, we'll display it!))
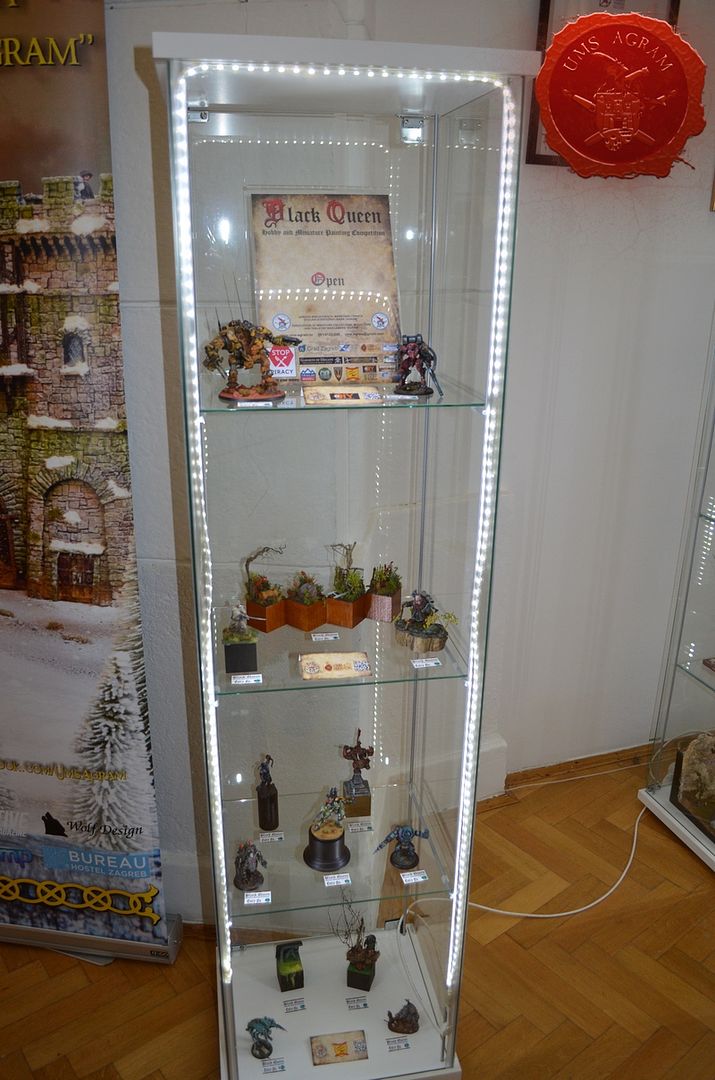
6. Open (anything that isn't covered in the categories above – primarily reserved for dragons, monsters, warmachines, but also scenery etc)
7. Bust (busts of any size can go in here)
8. Junior (under 18. The Junior entries will be assigned in the categories above as applicable and will compete with the rest of the entries. However, best three Junior entries in the whole competition will be awarded in Junior category.)
9. BEST OF SHOW (this is a new category which will be sponsored by UMS „Agram“. All of the entries will be judged by our own Ana Polanšćak and the best entry will be awarded a special prize!)

Click for enlarged picture

Click for enlarged picture

Click for enlarged picture

Click for enlarged picture

Click for enlarged picture

Click for enlarged picture

Painting Workshops

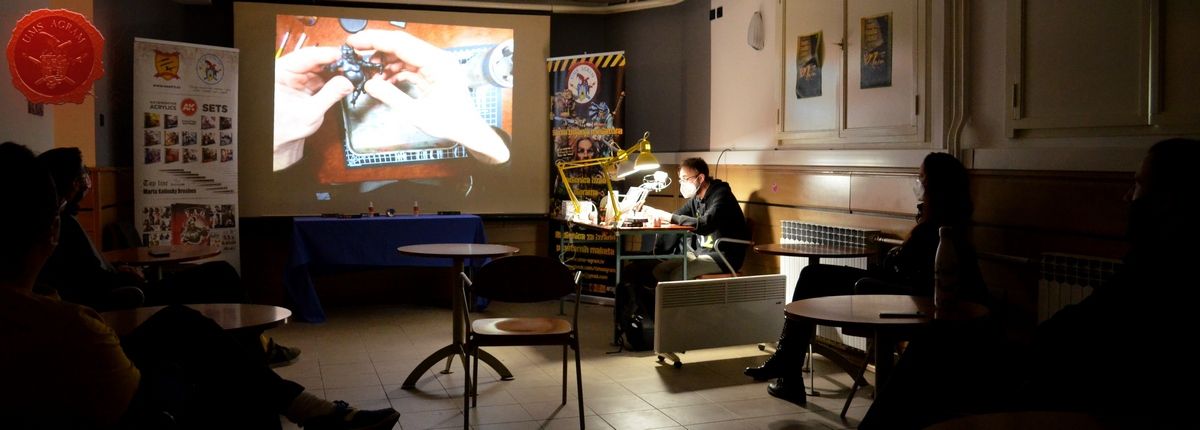
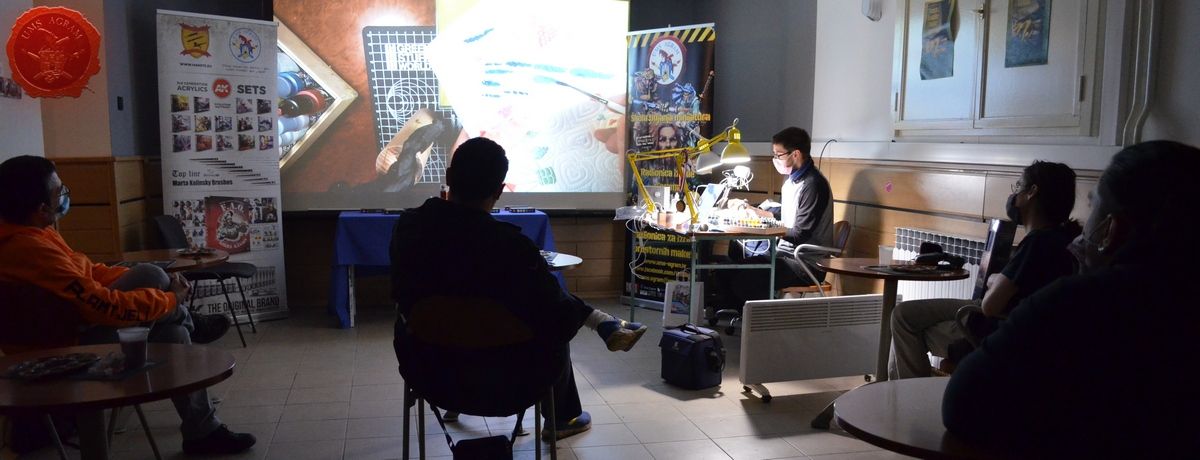
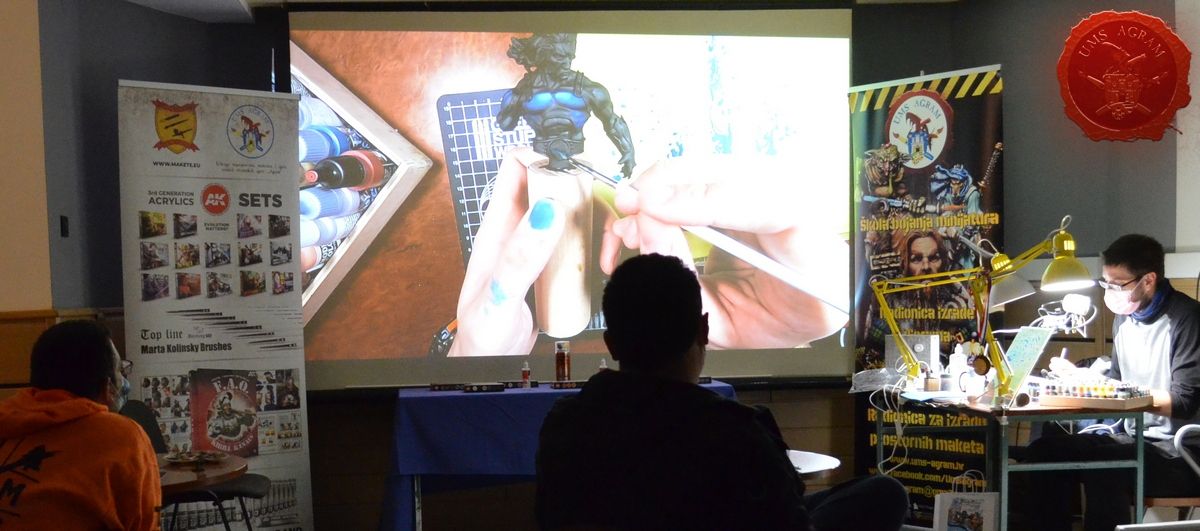
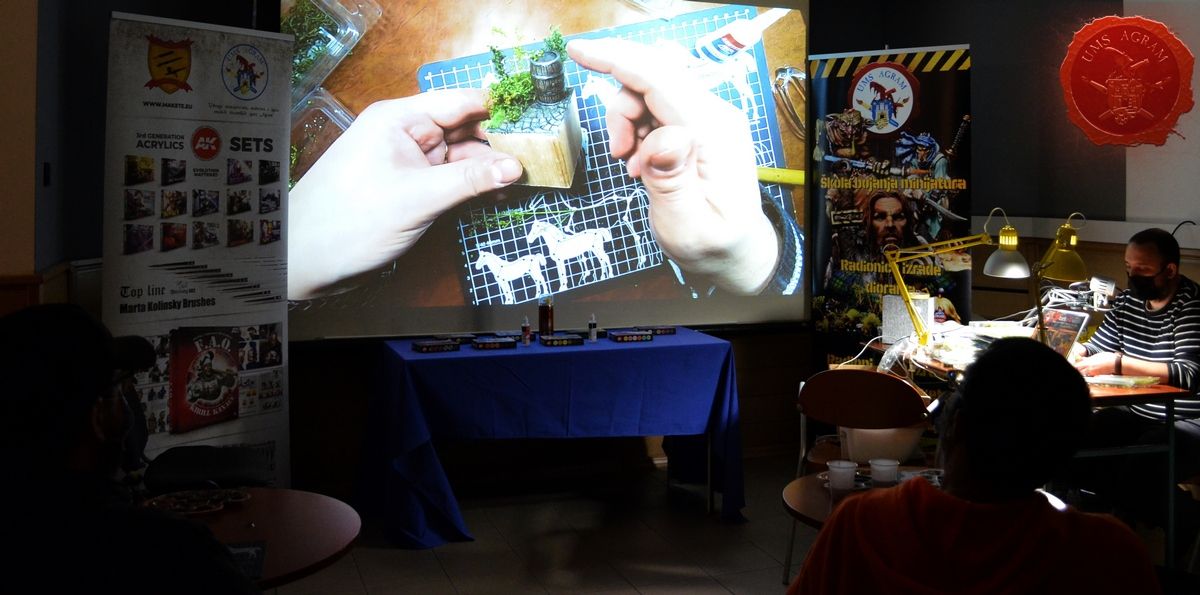
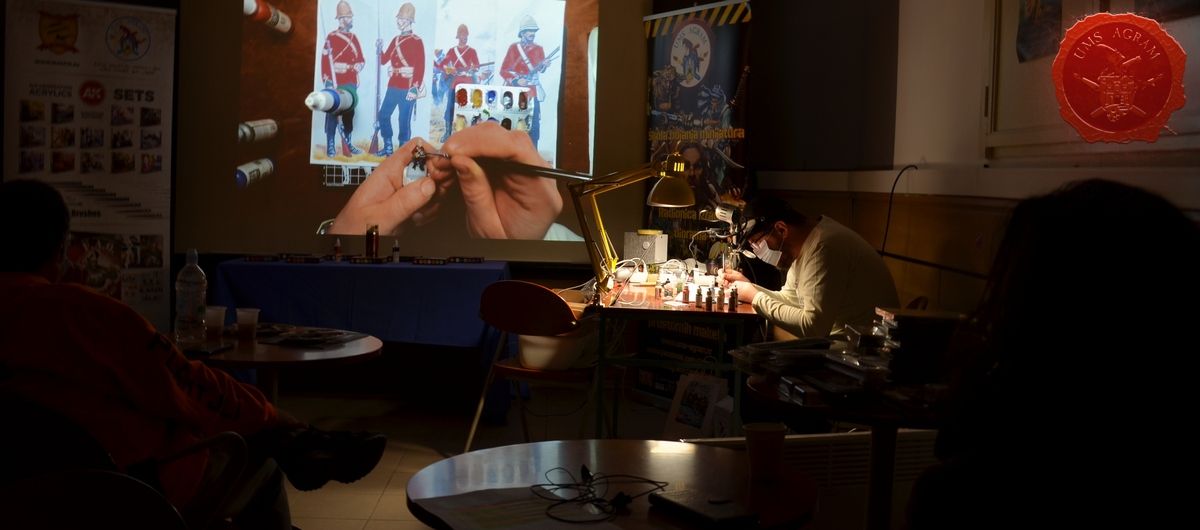
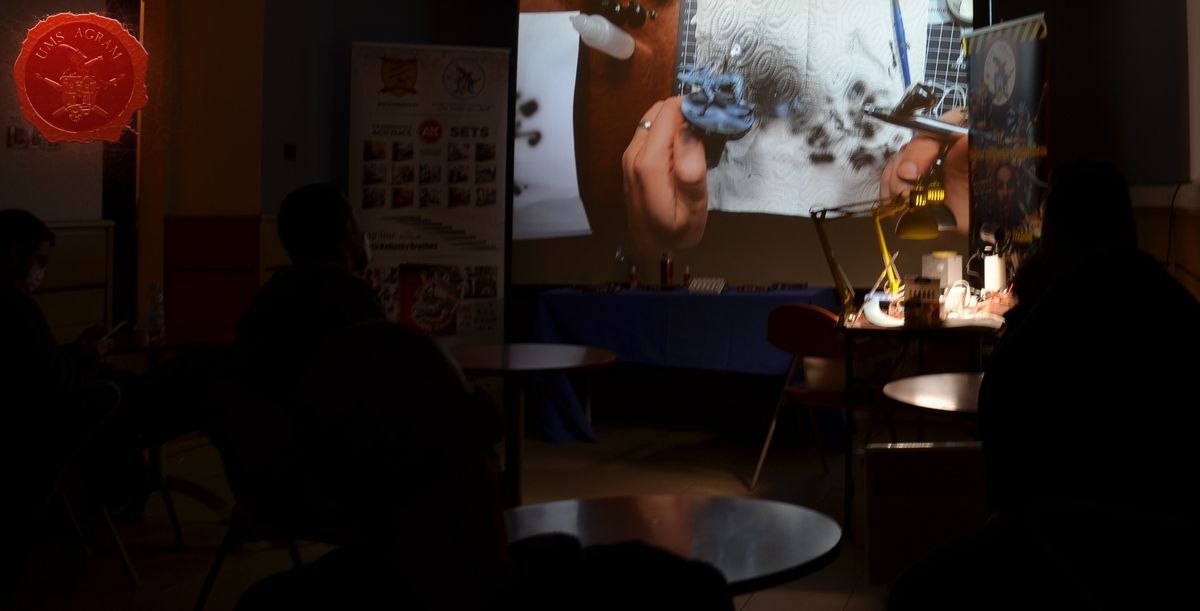
The layout of the venue at the Vladimir Horvat Gallery makes it possible to hold several workshops throughout the weekend. Therefore, there were three one-hour workshops on Saturday after the official opening of the competition and three on Sunday before the awards ceremony. This year, the workshops were held in the cinema hall in the basement of the venue. The tutor's work was filmed with a camera and projected on the projection screen in the hall. That way the social distancing could have been maintained. Also, this setup means the workshops were capped at 10 people so registrations for the workshops also took place.

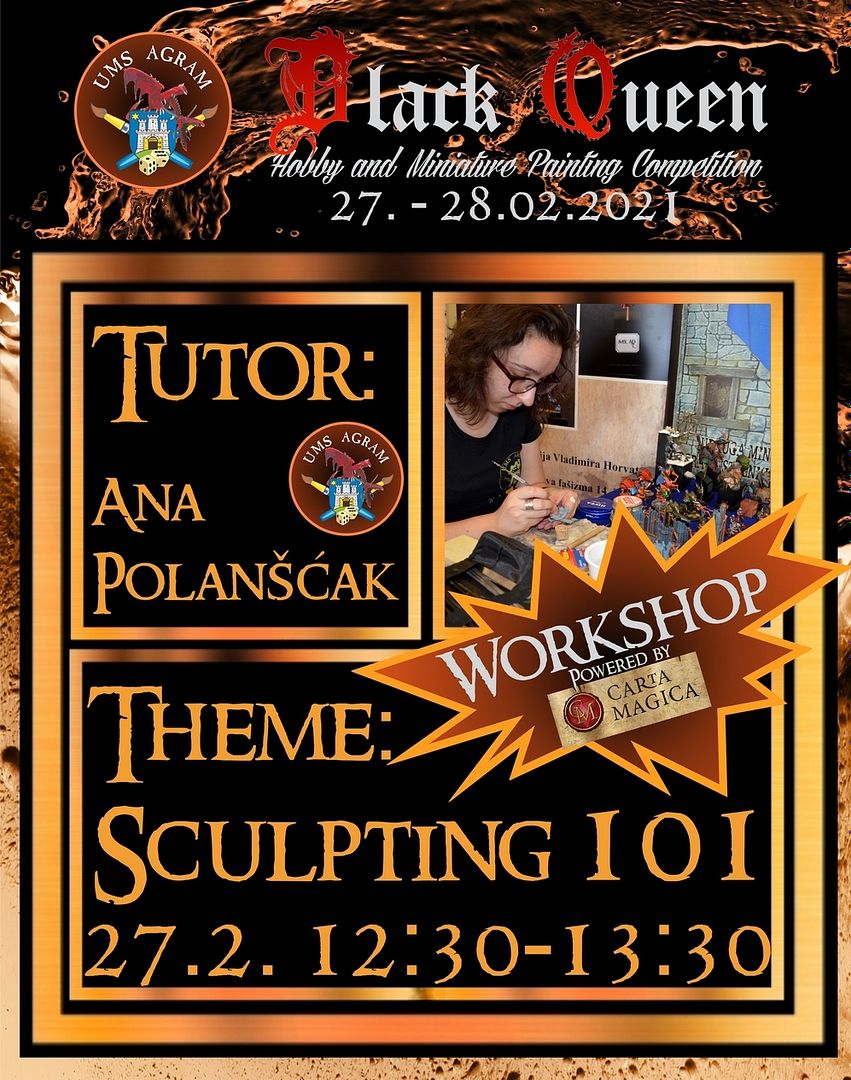
SCULPTING 101 WORKSHOP

Date and time: Saturday 27. February 2021, 12:30-13:30

TUTOR:Ana Polanšćak

Click for enlarged picture

CONTENT:

The Workshop will cover modelling of three separate textures:chainmailfurscalesThose three textures are the most common when converting or even assembling your fantasy, SF and historical miniatures. Ana will show her method using two-component epoxies (like Green Stuff, Miliput etc.).

ABOUT THE TUTOR:

ANA POLANŠĆAK - Born in 1991 in Zagreb. Member of UMS Agram since 2007. She has been the project manager of the club's Terrain Workshop since 2013 and the club librarian since 2014. She used to write for the miniature magazines Figure Painter Magazine and Initiative Magazine (UK) and has been the editor of miniature magazine 28 Mag since 2018. She has won numerous medals at the Black Queen Hobby and the Miniature Painting Competition, the Zagreb Modeler Cup Crna Kraljica, and the second and third place (2013 and 2015) at the Rotten Harvest Competition. She is the author of the blog Gardens of Hecate.

Click for enlarged picture

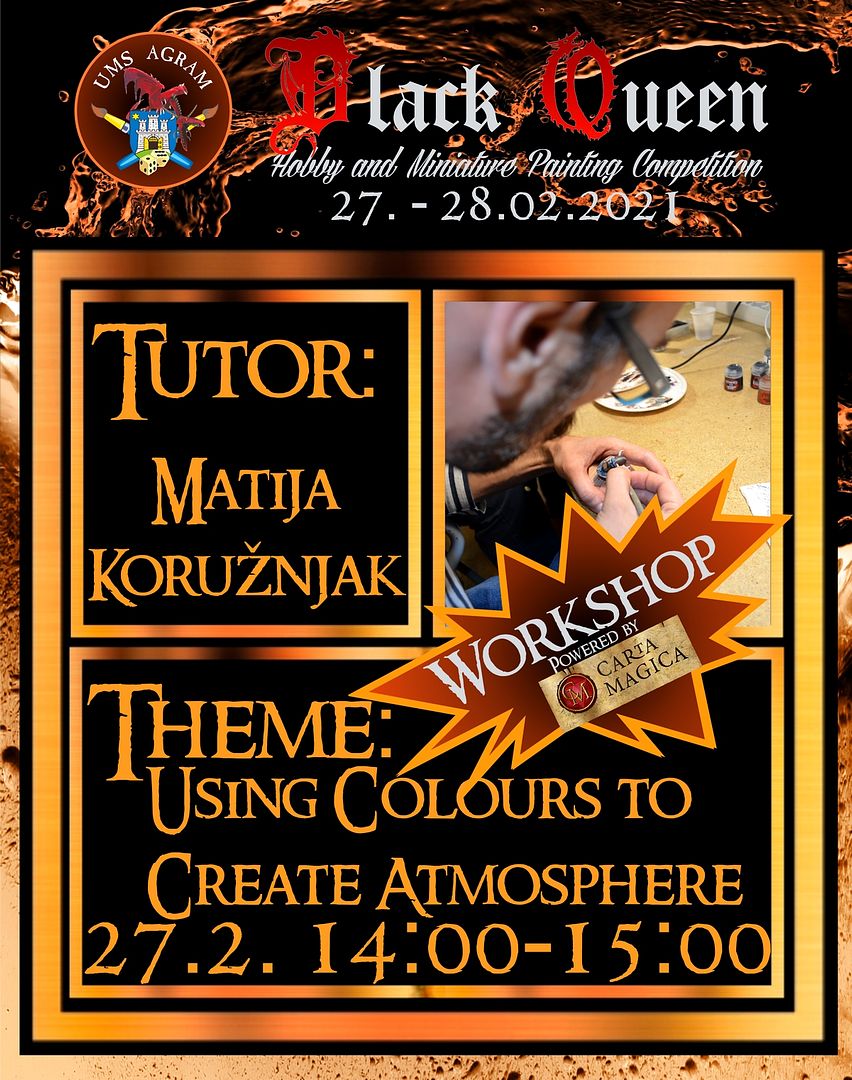
USING COLOURS TO CREATE ATMOSPHERE

Date and time: Saturday 27. February 2021, 14:00-15:00

TUTOR: @Matija Koružnjak

Click for enlarged picture

CONTENT:

The workshop deals with the process of selecting, mixing and using colour in order to create an ambient atmosphere using miniatures in 28-32mm scale. The theoretical part covers the reasoning behind the selection of a specific palette with regard to the colour theory, the concept of saturation and ambient lighting as the main postulates of practical application, while through the practical part of the sketching process we show how to turn an idea into realisation.

ABOUT THE TUTOR:

MATIJA KORUŽNJAK - has been involved in miniature painting since 1998, where, like many, he stepped through the fantasy world of Warhammer. Although painting was an integral part of the hobby, play and socializing were the main motivators for doing miniatures. After a long yawn during college and early youth, he returns to the world of miniatures in 2017 with a desire to reactivate an old hobby. Encouraged by the work of the FB group Miniature Painters Croatia and the lack of organizational opportunities for meetings with like-minded people, the focus of the hobby shifts from the gaming to painting where the last few years he paints regardless of the scale, system or theme of miniatures.

Click for enlarged picture

DILUTING PAINT 101

Date and time: Saturday 27. February 2021, 17:00-18:00

TUTOR: Jure Cukar (aka @John Alton)

Click for enlarged picture

CONTENT:

This workshop will cover the basic ways to manipulate paint. How to prepare out-of-the-bottle acrylic paint, using various diluting ratios, to be used for layering, washing and glazing techniques as well as how to properly use those techniques on your miniatures. The tutor will use the Lord of the Cats bust by Michael Kontraros Collectibles.

ABOUT THE TUTOR:

JURE CUKAR - Member of UMS Agram. In the world of miniatures since 2003. Playing Warhammer he discovered painting miniatures can go way beyond just batch-painting for tabletop games. Although active SF tabletop Infinity player, he has always been more of fantasy and history fan. In 2018 he competed in Black Queen Hobby and Miniature Painting Competition for the first time.

Click for enlarged picture

Click for enlarged picture

VEGETATION 101 WORKSHOP

Date and time: Sunday 28. February 2021, 10:00-11:00

TUTOR: @Marko Paunovic
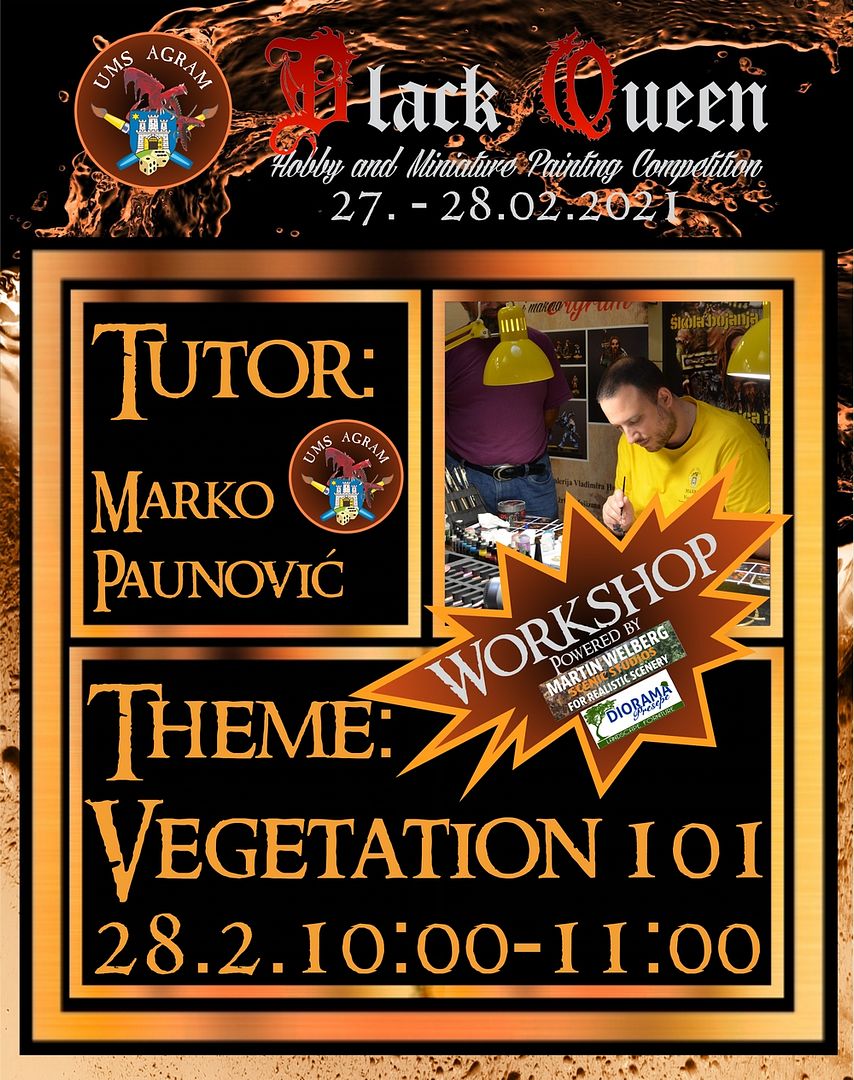
Click for enlarged picture

CONTENT:

The workshop will cover the process of making a simple base/terrain. The focus will be on recreating life-like vegetation where the tutor will show how to use various types of vegetation. The vegetation used will be from @Martin Welberg Scenic Studios and @Diorama Presepe.

ABOUT THE TUTOR:

MARKO PAUNOVIC, mech.eng. - was born in 1979 in Zagreb. He is one of the founders of @UMS Agram and is a longtime project manager of the club's Terrain Workshop. He became the President of UMS Agram in 2009. He is the recepient of the following state and city prizes: - Annual award of the Zagreb Community of Technical Culture “Dr. Oton Kucera ” 2011 - State award for technical culture Faust Vrancic 2012 - Annual award of the Croatian Community of Technical Culture 2017 He started writing miniature reviews for the Portal (UK) miniature magazine in 2011. In 2013 he became the content editor for the esteemed miniature e-zine Figure Painter Magazine (UK). In 2015, he started writing a column about terrain building for the bi-monthly e-zine, Wyrd Chronicles (USA) and in 2016 he began writing for the Initiative Magazine (UK). He eventually became the editor-in-chief of Initiative Magazine in 2018. He has received numerous international miniature awards and honors at competitions in Mitterdorf and Vienna and Topor Hobby Coompetition, Zagreb Cup, Zagreb Modeling Cup Crna kraljica as well as Black Queen Hobby and Miniature Painting Competition. He also participates in online miniature painting competitions where he won a third place at the 2011 Rotten Harvest International Competition in the United States, second place at Wyrd 2013 International Competition by Wamp from the UK, second place at the Infamy 2013 International Competition of the same company and two fifth place in the prestigious Iron Painter Competition (USA) in the competition of over 220 competitors (2011 and 2015). In addition, he led the UMS "Agram" team in designing the winning City of Death 2006 model.

Click for enlarged picture

HISTORIC MINIATURES 101 WORKSHOP

Date and time: Sunday 28. February 2021, 11:30-12:30

TUTOR: @Dalibor Čavić
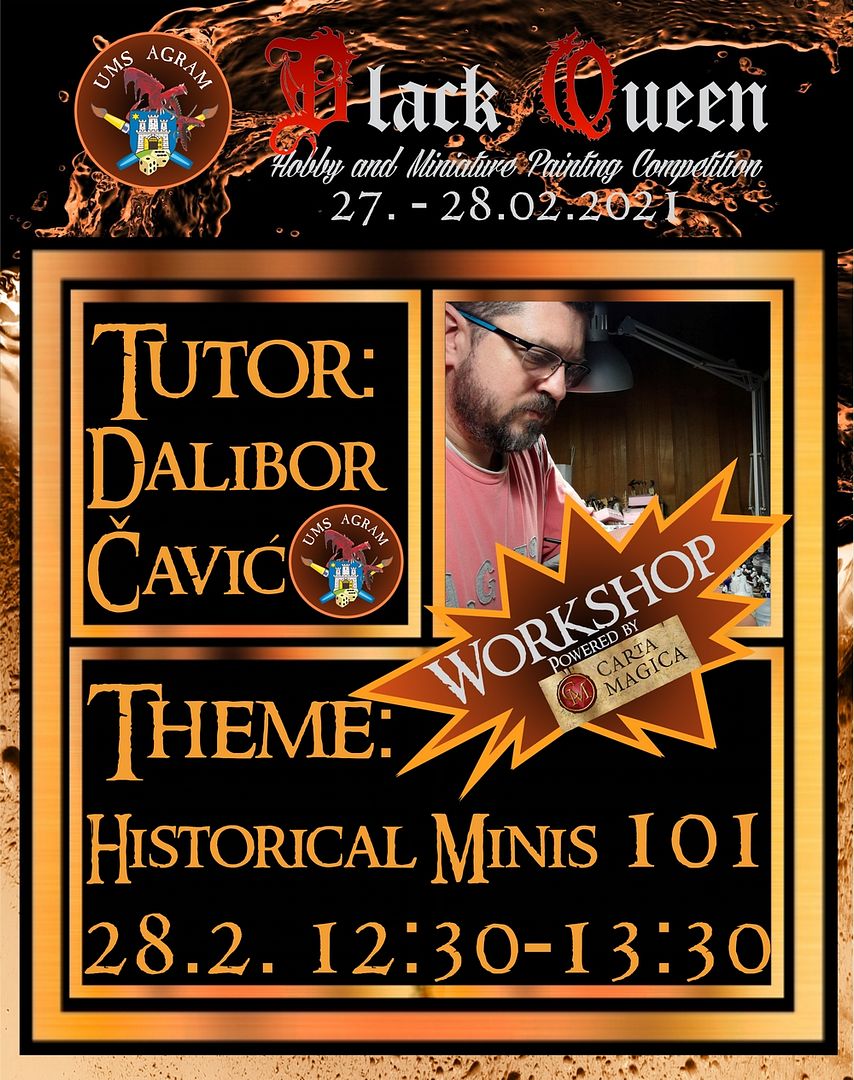
Click for enlarged picture

CONTENT:

This workshop will cover the process of painting 28mm historical miniatures. The tutor has chosen British colonial infantry from Anglo-Zulu wars (1879) by Perry Miniatures to explain the theory behind finding historic sources for uniforms as well as practical application using various techniques like basecoating, washing, highlighting and detailing with acrylic paints.

ABOUT THE TUTOR:

DALIBOR ČAVIĆ – has entered the world of miniaturism in 2011. His first area of interest were historic miniatures in 1/72 scale, especially from the Napoleonic Era. His hobby interest widened to larger miniatures (28mm, 32mm and 54mm) as well as to different themes like fantasy and SF. He also enjoys making vignettes and dioramas. In the last several years he has participated in several domestic competitions as well as several abroad (Slovenia, Hungary and Austria) where he sometimes wins medals. He has been a prolific member of Miniarure Painters Croatia FB group since 2018. and in 2021 he became an UMS “Agram” member.

Click for enlarged picture

AIRBRUSHING 101

Date and time:Sunday 28. February 2021, 14:30-15:30

TUTOR: Mario Ogrizek-Tomaš (aka @Cuvar Boja)
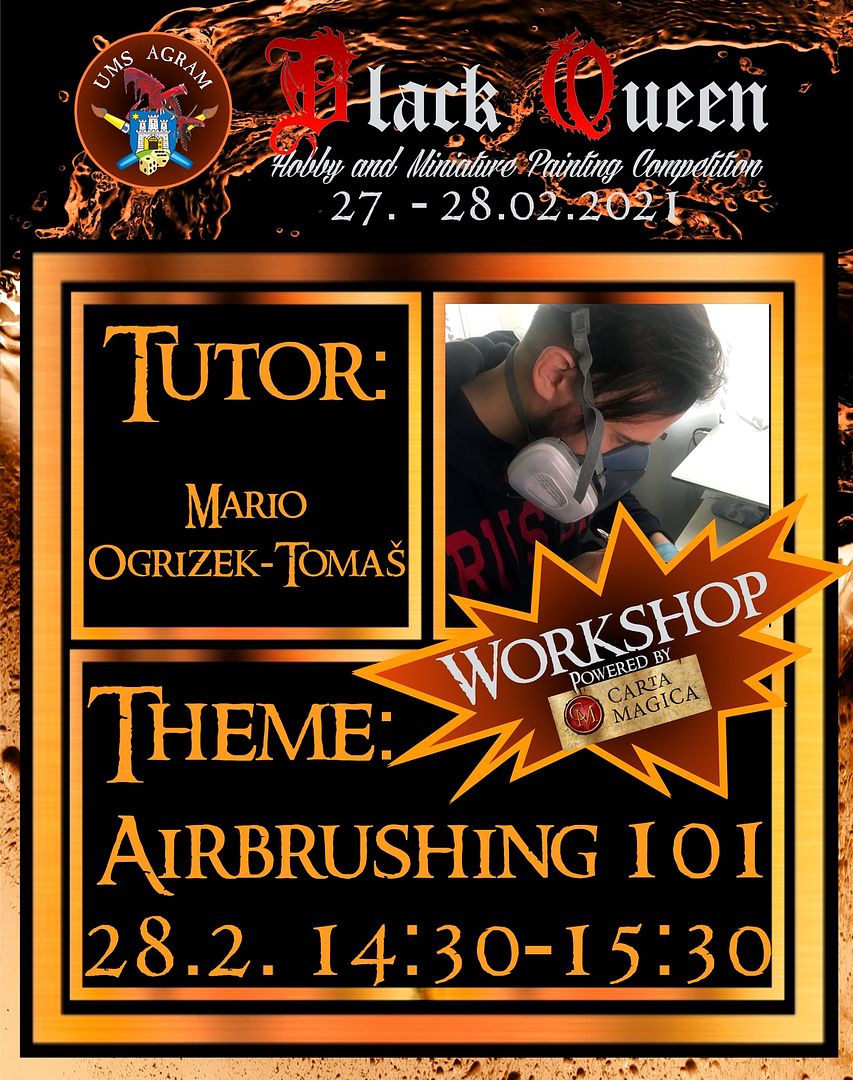
Click for enlarged picture

CONTENT:

The workshop will cover the basic techniques for working with an airbrush. Topics we will address: • myths and legends about miniature painting with an airbrush (mythbusting) • airbrush anatomy, • which compressor settings to use, • basics of using dual action airbrush (trigger control), • colour consistency and troubleshooting, • zenithal undercoat, • precision spraying, • cleaning, • safety at work.

ABOUT THE TUTOR:

MARIO OGRIZEK-TOMAŠ aka Guardian, has been in this hobby for over 15 years, and he has been using the airbrush for 5 years. He has gone through many battles with this tool and will be happy to share his experiences and tips on how to make the first steps and venture into the painting a miniature with an airbrush easier.

Click for enlarged picture

Speed Painting Contests

There was a speed painting contest organised on Saturday. Participants (up to 10) had an hour to paint a single miniature. Thanks to our sponsor Hobby Chest who secured a huge donation of painting materials by AK Interactive, we were able to hold a Speed Painting Contest with the following rules: - contestants had an hour to paint a miniature - all contestants painted the same (type of) miniature - we provided the paints by AK Interactive - we provided the brushes by AK Interactive

Click for enlarged picture

Click for enlarged picture

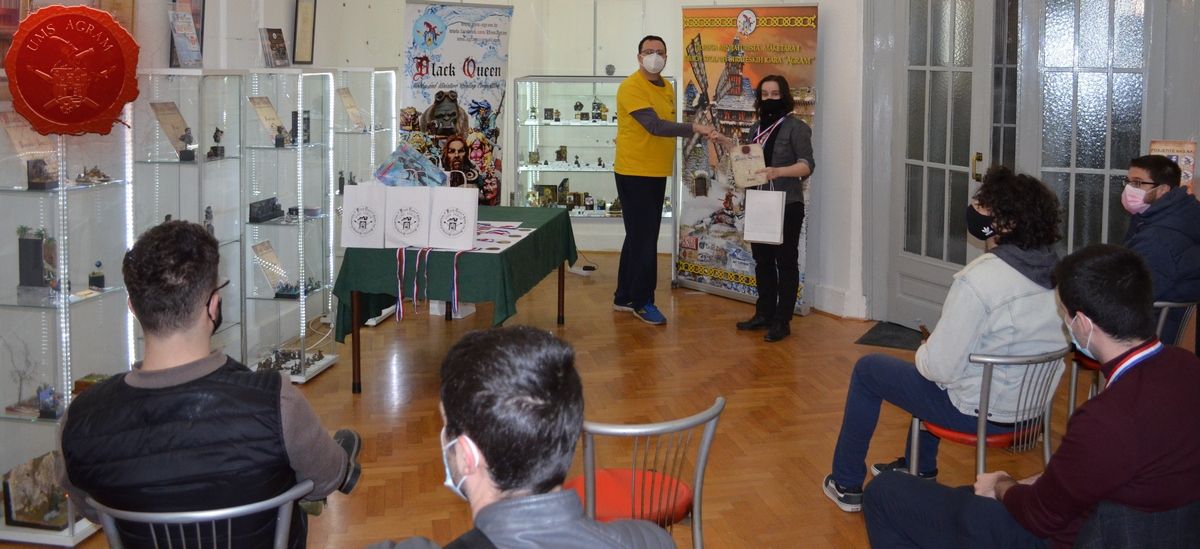
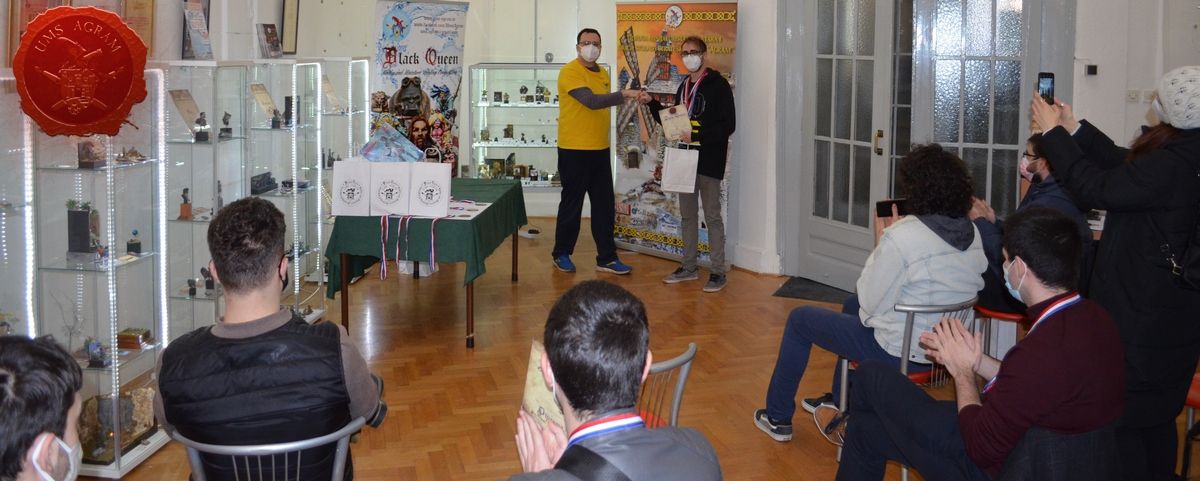
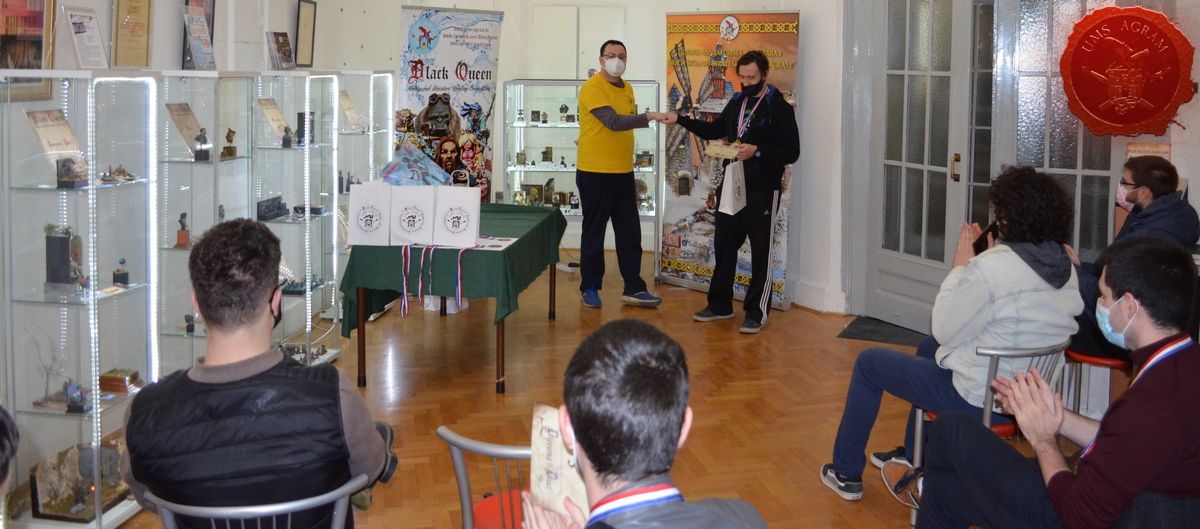
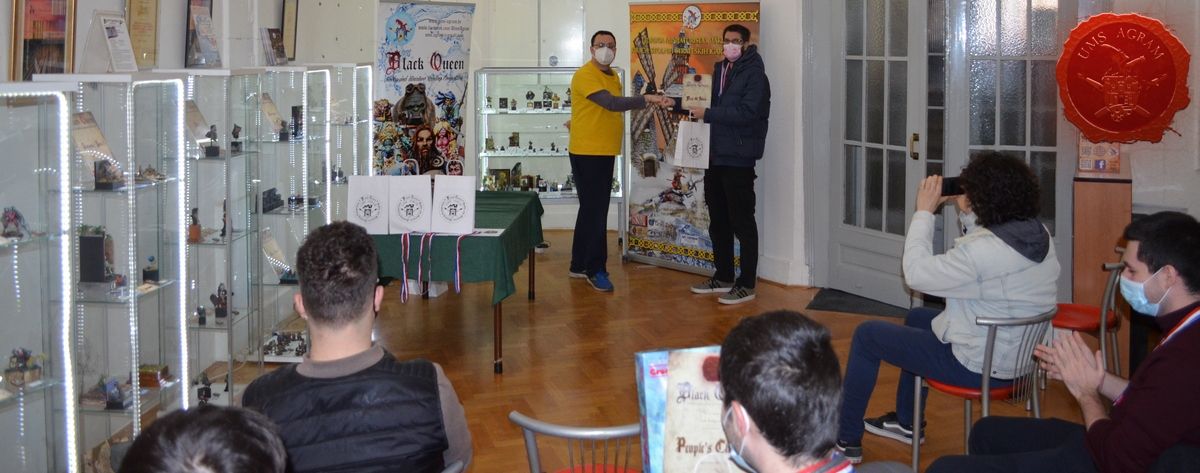
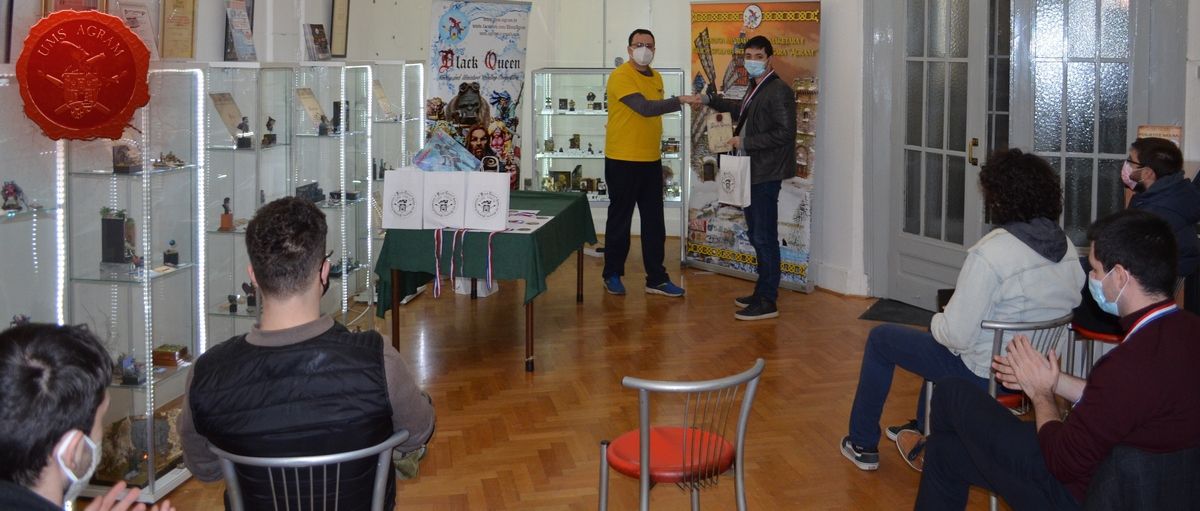
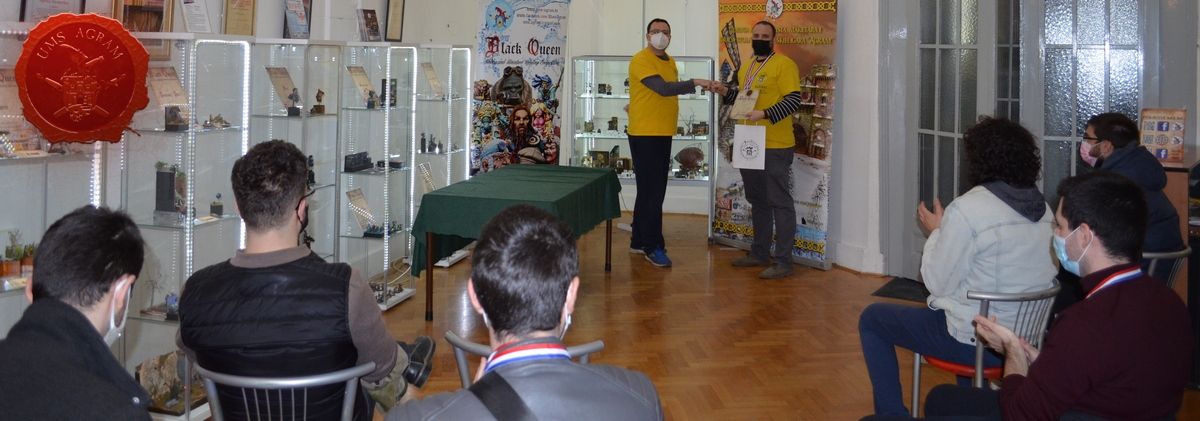
After all the events of the weekend it was time to award our winners with prizes supplied by our generous sponsors: Carta Magica, Art Zumbur, DIY Connect, Hobby Chest, Battlefield Berlin, Buco Model Base, Grey Mountain Review, Triglav Model. Gardens of Hecate i Green Stuff World. An extensive gallery of entries in this year's competition can be viewed here

Click for enlarged picture

Click for enlarged picture

Click for enlarged picture

Click for enlarged picture

Click for enlarged picture

Click for enlarged picture

Click for enlarged picture

On Wednesday 03.03.2021. we held our annual General Assembly where the club members voted for a new leadership, changed the address of the club and made some changes in the Statute of the Association.

Click for enlarged picture

Click for enlarged picture

Latest articles

  • AGRAM LEGO SECTION - Orient Express
              array(2) {
      ["Article"]=>
      array(10) {
        ["id"]=>
        string(3) "443"
        ["member_id"]=>
        string(3) "100"
        ["title_eng"]=>
        string(35) "AGRAM LEGO SECTION - Orient Express"
        ["title_hrv"]=>
        string(72) "AGRAM LEGO SEKCIJA - Orient Express prvo predavanje i početak izgradnje"
        ["mask_eng"]=>
        string(35) "agram_lego_section_-_orient_express"
        ["mask_hrv"]=>
        string(71) "agram_lego_sekcija_-_orient_express_prvo_predavanje_i_pocetak_izgradnje"
        ["content_eng"]=>
        string(1437) "

    Click for enlarged picture

    Click for enlarged picture

    Click for enlarged picture

    Click for enlarged picture

    " ["content_hrv"]=> string(2980) "

    U srijedu 16.4. u sklopu naše Agram Lego Sekcije započelismo sa serijom predavanja paralelno sa izradom LEGO makete vlaka Orient Express!

    Prvo predavanje u ovoj seriji je počelo u 18:00 i trajalo je otprilike 45 minuta u kojem nas je naš Mario upoznao sa pojavljivanjem vlaka u pop-kulturi.

    Click for enlarged picture

    Ulaz na predavanja je besplatan i otvoren za sve te prijave nisu potrebne.

    Click for enlarged picture

    Click for enlarged picture

    Izrada makete je rezervirana za članove Agram Lego Sekcije. Ukoliko se želite uključiti u sljedeće projekte, javite se za više informacija na ums.agram@gmail.com .

    Click for enlarged picture

    " ["created"]=> string(19) "2025-04-18 09:51:34" ["modified"]=> string(19) "2025-04-18 09:51:34" } ["Member"]=> array(10) { ["id"]=> string(3) "100" ["group_id"]=> string(1) "2" ["first_name"]=> string(5) "Mario" ["last_name"]=> string(7) "Grgurev" ["first_name_mask"]=> string(5) "mario" ["last_name_mask"]=> string(7) "grgurev" ["username"]=> string(9) "lepimario" ["password"]=> string(40) "11e0b1ecc2c467637dfa513774d2426f3b925264" ["born"]=> string(19) "2003-01-21 09:02:00" ["created"]=> string(19) "2022-01-21 09:02:32" } }
    Mario Grgurev, 18th April 2025
  • March to Hren28 week 2-3
              array(2) {
      ["Article"]=>
      array(10) {
        ["id"]=>
        string(3) "442"
        ["member_id"]=>
        string(2) "35"
        ["title_eng"]=>
        string(25) "March to Hren28 week 2-3 "
        ["title_hrv"]=>
        string(26) "March to Hren28 tjedan 2-3"
        ["mask_eng"]=>
        string(24) "march_to_hren28_week_2-3"
        ["mask_hrv"]=>
        string(26) "march_to_hren28_tjedan_2-3"
        ["content_eng"]=>
        string(6115) "

    Our team is preparing to perform at the Turnip28 tournament called H.R.E.N.28 in Slovenia in July. Ana, Mario, Domagoj, Seb and Antoni assemble their armies and paint, and we follow them on their way!

    Click for enlarged picture

    ANA: "Continuation of last week's Fodder unit. I basecoated the shoes and hats in black and some details in red and washed them with a brown wash.

    Click for enlarged picture

    After that, I started adding additional shading and the first highlights on the uniform.“

    Click for enlarged picture

    Click for enlarged picture

    ANTONI: "I named the army (cult) for Turnip28 Feast of Charybdis. The entire army is based on crabs. And it will consist of 1 Toff, 2 Toadies, a cannon and a unit on "horses" of three pieces and 12 Napoleonic British soldiers who will form the gunlines.

    Click for enlarged picture

    In addition to those figures, there will also be this Scuttler that I worked on this week. It's a cool unit because it doesn't deploy in deployment, but comes out of the mud in the first turn and gets some crazy charges"

    Click for enlarged picture

    Click for enlarged picture

    Click for enlarged picture

    MARIO: "My army/cult is based on elephants/birds and it's called March of the Proboscis. The story behind the cult is that the main elephant eats everything it comes across and the rest of the army follows and camps behind it and vultures on the remains of its victims. I started with elephant conversions.

    Click for enlarged picture

    ... and then I continued to convert the other figures. In fact, the army will be made up of an elephant (Probiscis) with a figure lying in a deckchair stretched between two trees on the elephant's back. Next to him there will be 6 x brutes (men-at-arms), then 3 x Bastards (knights on horses) and 12 x Fodder (Austrian Napoleonics) whose heads and torsos I will change..."

    Click for enlarged picture

    SEB: "My cult, called Knights of Shellwood, as you can probably gather, will be based on shells, but also snails. There will be a lot of conversions, more or less swapping heads on Napoleonic warriors, with shells instead of heads.

    Click for enlarged picture

    The army will consist of a Toff (leader), 2 snail knights, 4 cheffs and 1 unit of 6 Brutes. Today I started work on the second snail knight which will actually be a cannon.“

    Click for enlarged picture

    " ["content_hrv"]=> string(6108) "

    Naša ekipa se sprema za nastup na Turnip28 turniru pod nazivom H.R.E.N.28 u Sloveniji u srpnju. Ana, Mario, Domagoj, Seb i Antoni slažu svoje vojske i farbaju, a mi ih pratimo na njihovom putu!

    Click for enlarged picture

    ANA: „Nastavak na unitu Foddera od prošlog tjedna. Basecoatala sam cipele i šešire u crno i neke detalje u crveno te ih powashala smeđim washem.

    Click for enlarged picture

    Nakon toga sam se bacila na dodatan shading i prve highlighte na uniformi.“

    Click for enlarged picture

    Click for enlarged picture

    ANTONI: „Vojsku (kult) za Turnip28 sam nazvao Feast of Charybdis. Cijela vojska je bazirana na rakovima. I sastojat će se od 1 Toffa, 2 Toadiesa, topa i jedinice na „konjima“ od tri komada te 12 napoleonskih britanskih vojnika koji će tvoriti gunline.

    Click for enlarged picture

    Pored tih figura, bit će i ovaj Scuttler na kojem sam radio ovaj tjedan. Fora je jedinica jer se ne postavlja u deploymentu već izlazi u prvom krugu iz mulja i dobiju neki ludi charge.“

    Click for enlarged picture

    Click for enlarged picture

    Click for enlarged picture

    MARIO: „Moja vojska/kult je bazirana na slonovima/pticama i zove se March of the Proboscis. Priča iza kulta je da glavni slon ždere sve na što naleti, a ostatak vojske ga prati i kampira iza njega te se lešinari na ostacima njegovih žrtava. Krenuo sam s konverzijama slona.

    Click for enlarged picture

    ... a onda sam nastavio konvertirati ostale figure. Zapravo vojsku će sačinjavati slon (Probiscis) sa likom koji će ležati u ležaljki razapetoj između dva drva na slonovim leđima. Pored njega bit će tu 6 x brutes (men-at-armsi), zatim 3x Bastards (vitezovi na konjima) te 12x Fodder (austrijski napoleonci kojima ću mijenjati glave i torzoe…“

    Click for enlarged picture

    SEB: „Moj kult, pod nazivom Knights of Shellwood, kao što mu i i me kaže bit će baziran na školjkama, ali i puževima. Bit će podosta konverzija, manje-više zamijene glava na napoleonskim ratnicima kojima ću umjesto glava postaviti školjke.

    Click for enlarged picture

    Vojska će se sastojati od Toffa (vođa), 2 snail knighta, 4 cheffa i 1 jedinice Brutesa od 6 komada. Danas sam počeo rad na drugom snail knightu koji će zapravo biti top.“

    Click for enlarged picture

    " ["created"]=> string(19) "2025-04-17 16:21:00" ["modified"]=> string(19) "2025-04-17 16:21:00" } ["Member"]=> array(10) { ["id"]=> string(2) "35" ["group_id"]=> string(1) "1" ["first_name"]=> string(5) "Marko" ["last_name"]=> string(9) "Paunović" ["first_name_mask"]=> string(5) "marko" ["last_name_mask"]=> string(8) "paunovic" ["username"]=> string(5) "marko" ["password"]=> string(40) "3bd37b326d19d1880d3b93a4b32e8fb3a90fa122" ["born"]=> string(19) "2033-03-07 20:35:00" ["created"]=> string(19) "2009-06-02 20:37:03" } }
    Marko Paunović, 17th April 2025
  • CSSR 1986 Diorama part 7
              array(2) {
      ["Article"]=>
      array(10) {
        ["id"]=>
        string(3) "441"
        ["member_id"]=>
        string(2) "35"
        ["title_eng"]=>
        string(24) "CSSR 1986 Diorama part 7"
        ["title_hrv"]=>
        string(28) "Diorama ČSSR 1986 – dio 7"
        ["mask_eng"]=>
        string(24) "cssr_1986_diorama_part_7"
        ["mask_hrv"]=>
        string(23) "diorama_cssr_1986_dio_7"
        ["content_eng"]=>
        string(3995) "

    In this series of articles, we will follow my work on a new diorama, another in the 1986 series. This time, we take you behind the Iron Curtain to Czechoslovakia.

    Click for enlarged picture

    Next are the final details, which are not necessarily connected to each other, nor were they done in the chronological order in which these articles are published. They simply were not connected to the rest of the story in the articles, so they all deserve their own mish-mash article. First, preparing the substation for painting by spraying the interior black. So that it will be dark inside through the openings in the doors and windows. Once the substation is fixed to the base, this will be impossible to do.

    Click for enlarged picture

    From the clear plastic that I also used to make the fence, I cut out the shape of the window for the substation.

    Click for enlarged picture

    In the box with the bits I also found a barrel in good scale so I assembled that too.

    Click for enlarged picture

    Finally, there was corrosion on the door. First, I thinned the holes in the gate panels using a drill.

    Click for enlarged picture

    Then I added hinges to the door and gate. I made them out of paper clips.

    Click for enlarged picture

    I also added a lamp above the entrance to the substation. Given the thin rod it hangs from, I drilled a hole in the substation wall and pinned the lamp that way.

    Click for enlarged picture

    This concludes the work on this diorama. Now it's time for painting and vegetation.

    Click for enlarged picture

    " ["content_hrv"]=> string(3977) "

    U ovoj seriji članaka pratit ćemo moj rad na novoj diorami, još jednoj u nizu serijala 1986. Ovoga puta, vodimo vas iza željezne zavjese u Čehoslovačku.

    Click for enlarged picture

    Na redu su završni detalji, koji nisu nužno povezani jedni sa drugima, niti su odrađeni u vremenskom slijedu kako izlaze ovi članci. Jednostavno, nisu bili povezani sa ostatkom priče po člancima pa su svi skupa zaslužili svoj miš-maš članak. Prvo, priprema trafostanice za bojanje na način da je unutrašnjost posprejana u crno. Tako da kroz otvore na vratima i prozorima unutra bude mrak. Jednom kad se fiksira trafostanica na bazu, to će biti nemoguće napraviti.

    Click for enlarged picture

    Od prozirne plastike od koje sam napravio i ogradu, izrezao sam oblik prozora za trafostanicu.

    Click for enlarged picture

    U kutiji sa bitsima našao sam i bačvu u dobrom mjerilu pa sam i nju sastavio.

    Click for enlarged picture

    Za kraj je ostala korozija na vratima. Prvo sam rupe u pločama na kapiji stanjio koristeći bušilicu.

    Click for enlarged picture

    Onda sam dodao i šarke na vrata i kapiju. Njih sam napravio od spajalice.

    Click for enlarged picture

    Dodao sam i lampu iznad ulaza u trafostanicu. S obzirom na tanku šipku o kojoj visi, izbušio sam rupu u zidu trafostanice te na taj način pinirao lampu.

    Click for enlarged picture

    Time završava rad na ovoj diorami. Sad je na redu bojanje i vegetacija.

    Click for enlarged picture

    " ["created"]=> string(19) "2025-04-10 15:35:08" ["modified"]=> string(19) "2025-04-10 15:35:08" } ["Member"]=> array(10) { ["id"]=> string(2) "35" ["group_id"]=> string(1) "1" ["first_name"]=> string(5) "Marko" ["last_name"]=> string(9) "Paunović" ["first_name_mask"]=> string(5) "marko" ["last_name_mask"]=> string(8) "paunovic" ["username"]=> string(5) "marko" ["password"]=> string(40) "3bd37b326d19d1880d3b93a4b32e8fb3a90fa122" ["born"]=> string(19) "2033-03-07 20:35:00" ["created"]=> string(19) "2009-06-02 20:37:03" } }
    Marko Paunović, 10th April 2025
  • CSSR 1986 Diorama part 6
              array(2) {
      ["Article"]=>
      array(10) {
        ["id"]=>
        string(3) "440"
        ["member_id"]=>
        string(2) "35"
        ["title_eng"]=>
        string(24) "CSSR 1986 Diorama part 6"
        ["title_hrv"]=>
        string(28) "Diorama ČSSR 1986 – dio 6"
        ["mask_eng"]=>
        string(24) "cssr_1986_diorama_part_6"
        ["mask_hrv"]=>
        string(23) "diorama_cssr_1986_dio_6"
        ["content_eng"]=>
        string(5028) "

    In this series of articles, we will follow my work on a new diorama, another in the 1986 series. This time, we take you behind the Iron Curtain to Czechoslovakia.

    Click for enlarged picture

    We are slowly coming to the end of this diorama. Apart from a few more small things, the main job that remains is to make the concrete parts. First, we will make the concrete slabs for the pedestrians. To do this, the simplest method is to cast them from plaster. So first, let's make a mold.

    Click for enlarged picture

    I made a mold of thin strips (2 x 2 mm cross-section) on plastic foil. I made a grid for the panels. This way, the panels will all be the same thickness and shape.

    Click for enlarged picture

    I then poured some sand into the mold – to simulate the pebbles in the composite concrete slab.

    Click for enlarged picture

    Then I mixed the plaster with water until I had a pasty mixture and then poured it into the mold.

    Click for enlarged picture

    Using the rest of the batten, I leveled the boards inside the mold.

    Click for enlarged picture

    While the plaster was drying in the mold, I added a little water to the remaining mixture and used a paintbrush to paint over the concrete parts of the diorama. The sidewalk and the concrete part of the fence.

    Click for enlarged picture

    In the meantime, the plaster in the mold had dried and I was able to remove it. The more flexible the foil, the easier the job will be. .

    Click for enlarged picture

    We checked again to make sure everything fit and when we were sure everything went according to plan, we could glue the parts together.

    Click for enlarged picture

    We coat the base with PVA glue (do not thin it too much) and place the concrete slabs in their place, making sure to leave some space between the slabs for texture and later vegetation.

    Click for enlarged picture

    All that's left is to add some details to the diorama base and this process is complete.

    " ["content_hrv"]=> string(5030) "

    U ovoj seriji članaka pratit ćemo moj rad na novoj diorami, još jednoj u nizu serijala 1986. Ovoga puta, vodimo vas iza željezne zavjese u Čehoslovačku.

    Click for enlarged picture

    Polagano dolazimo prema kraju izrade ove diorame. Osim par još sitnica, glavni posao koji je ostao je izrada betonskih dijelova. Prvo ćemo napraviti betonske ploče za pješake. Da bismo to napravili, najjednostavnija metoda jest lijevanje iz gipsa. Stoga prvo idemo napraviti kalup.

    Click for enlarged picture

    Na plastičnoj foliji sam izradio kalup od tankih letvica (2 x 2 mm poprečnog presjeka). Napravio sam raster za ploče. Na taj način, ploče će sve biti jednake debljine i jednakih oblika.

    Click for enlarged picture

    U kalup sam zatim nasipao malo pijeska – kako bi simulirao kamenčiće u kompozitnoj betonskoj ploči.

    Click for enlarged picture

    Zatim sam zamiješao gips sa vodom dok nisam dobio pastastu smjesu te ju potom ulio u kalup.

    Click for enlarged picture

    Koristeći ostatak letvice, izravnao sam ploče unutar kalupa.

    Click for enlarged picture

    Dok se gips sušio u kalupu, dodao sam malo vode u preostalu smjesu i kistom prešao preko betonskih dijelova diorame. Pločnik te betonski dio ograde.

    Click for enlarged picture

    U međuvremenu se osušio gips u kalupu te sam ga mogao izvaditi. Što je folija fleksibilnija, posao će biti lakši. .

    Click for enlarged picture

    Opet smo napravili provjeru da li sve paše i kad smo se uvjerili da je sve prošlo po planu, možemo zalijepiti dijelove.

    Click for enlarged picture

    Premažemo podlogu PVA ljepilom (nemojte razrijeđivati previse) te postavimo betonske ploče na njihovo mjesto pri čemu pazimo da ostane malo mjesta između ploča za teksturu i kasnije vegetaciju.

    Click for enlarged picture

    Još je ostalo samo dodati nešto detalja na bazu diorame i ovaj proces je gotov.

    " ["created"]=> string(19) "2025-04-10 15:09:45" ["modified"]=> string(19) "2025-04-10 15:09:45" } ["Member"]=> array(10) { ["id"]=> string(2) "35" ["group_id"]=> string(1) "1" ["first_name"]=> string(5) "Marko" ["last_name"]=> string(9) "Paunović" ["first_name_mask"]=> string(5) "marko" ["last_name_mask"]=> string(8) "paunovic" ["username"]=> string(5) "marko" ["password"]=> string(40) "3bd37b326d19d1880d3b93a4b32e8fb3a90fa122" ["born"]=> string(19) "2033-03-07 20:35:00" ["created"]=> string(19) "2009-06-02 20:37:03" } }
    Marko Paunović, 10th April 2025
  • CSSR 1986 Diorama part 5
              array(2) {
      ["Article"]=>
      array(10) {
        ["id"]=>
        string(3) "439"
        ["member_id"]=>
        string(2) "35"
        ["title_eng"]=>
        string(24) "CSSR 1986 Diorama part 5"
        ["title_hrv"]=>
        string(28) "Diorama ČSSR 1986 – dio 5"
        ["mask_eng"]=>
        string(24) "cssr_1986_diorama_part_5"
        ["mask_hrv"]=>
        string(23) "diorama_cssr_1986_dio_5"
        ["content_eng"]=>
        string(5113) "

    In this series of articles, we will follow my work on a new diorama, another in the 1986 series. This time, we take you behind the Iron Curtain to Czechoslovakia.

    Click for enlarged picture

    After the gate, it's time to tackle the rest of the fence. First, we'll make a post that will hold the closed part of the gate on one side and the open pedestrian door on the other. We'll make the shape of the post (and the rest of the fence) from linden slats with a cross section of 5 x 5 mm.

    Click for enlarged picture

    To fix this part of the fence properly, I decided to pin the batten to the base. I drilled a hole with a drill and put a staple in it. I glued it with superglue, and the fence post with PVA glue to the base. (NOTE: be careful not to use superglue on Styrofoam or Styrodur, as the glue will eat through it.)

    Click for enlarged picture

    Once the post was glued, I added both doors also with superglue.

    Click for enlarged picture

    For the second part of the fence, I decided to make part concrete and part steel. The concrete base, like the post, will be made of slats with a cross section of 5 x 5 mm.

    Click for enlarged picture

    I drilled holes in the fence posts at the same heights so that we could thread thicker plastic rods (2 mm) through them.

    Click for enlarged picture

    Then I glued the wooden parts together and threaded the horizontal bars through them. This made the structure very sturdy.

    Click for enlarged picture

    I then started making the cross bars in the fence from the thinner bar (1.5 mm). I glued everything together with superglue (although we could have done these with plastic glue as well).

    Click for enlarged picture

    The next step was to glue the fence to the base. I did this using PVA glue.

    Click for enlarged picture

    Finally, I added the second part of the gate and glued it together with superglue.

    Click for enlarged picture

    This concludes the construction of the fence and gate. Next time we will tackle the plaster and the construction of the concrete slabs.

    " ["content_hrv"]=> string(5074) "

    U ovoj seriji članaka pratit ćemo moj rad na novoj diorami, još jednoj u nizu serijala 1986. Ovoga puta, vodimo vas iza željezne zavjese u Čehoslovačku.

    Click for enlarged picture

    Nakon kapije, vrijeme je da se bacimo na ostatak ograde. Prvo ćemo napraviti stup koji će držati zatvoreni dio kapije s jedne i otvorena vrata za pješake s druge strane. Oblik stupa (i ostatka ograde) ćemo izraditi od lipovih letvica 5 x 5 mm poprečnog presjeka.

    Click for enlarged picture

    Da bismo dobro fiksirali taj dio ograde, odlučio sam pinirati letvicu u bazu. Izbušio sam bušilicom rupu i u nju stavio spajalicu. Zaljepio sam ju superljepilom, a stup ograde PVA ljepilom na bazu. (NAPOMENA: pazite da superljepilom ne idete po stiroporu ili stiroduru jer će ga to ljepilo nagristi.)

    Click for enlarged picture

    Kad se stup zaljepio, dodao sam oba vrata također superljepilom.

    Click for enlarged picture

    Za drugi dio ograde sam odlučio da bude dio betonski, a dio čelični. Betonsku bazu ćemo kao i sa stupom napraviti od letvica 5 x 5 mm poprečnog presjeka. .

    Click for enlarged picture

    Stupove na ogradi sam bušilicom probušio na istim visinama kako bismo kroz njih mogli provući deblje plastične šipke (2 mm).

    Click for enlarged picture

    Potom sam zalijepio drvene dijelove i kroz njih provukao horizontalne šipke. To je učinilo konstrukciju jako čvrstom.

    Click for enlarged picture

    Od tanje šipke (1,5 mm) sam onda počeo raditi poprečne šipke u ogradi. Lijepio sam sve superljepilom (iako bismo ove mogli i sa ljepilom za plastiku).

    Click for enlarged picture

    Sljedeći korak bio je ljepljenje ograde za bazu. To sam učinio pomoću PVA ljepila.

    Click for enlarged picture

    Za kraj, dodao sam i drugi dio kapije i zalijepio ga supreljepilom.

    Click for enlarged picture

    Time završava izrada ograde i kapije. Sljedeći put bacamo se na gips i izradu betonskih ploča.

    " ["created"]=> string(19) "2025-04-10 14:45:00" ["modified"]=> string(19) "2025-04-10 14:45:00" } ["Member"]=> array(10) { ["id"]=> string(2) "35" ["group_id"]=> string(1) "1" ["first_name"]=> string(5) "Marko" ["last_name"]=> string(9) "Paunović" ["first_name_mask"]=> string(5) "marko" ["last_name_mask"]=> string(8) "paunovic" ["username"]=> string(5) "marko" ["password"]=> string(40) "3bd37b326d19d1880d3b93a4b32e8fb3a90fa122" ["born"]=> string(19) "2033-03-07 20:35:00" ["created"]=> string(19) "2009-06-02 20:37:03" } }
    Marko Paunović, 10th April 2025

All articles

Latest battle-reports

All battle-reports