Pouring the paint into new bottles
This next article was written by our long time member who now lives in far away Germany, Berislav Tušek.
Introduction
Dear hobby friends, it was my turn to give in under Marko's relentless pressure and to dare to write an article. I hope you won’t be overly sorry for wasting time after reading it.
I decided to write my own review of the issue I have been dealing with lately, and that is the transfer of Citadel paints from their Copyright bottles into some more meaningful ones, i.e. into dropper bottles (i.e. nozzles).
First a little introduction. I started working on hobbies in parallel with the first film in the Lord of the Rings trilogy, and I used Citadel colors almost exclusively. After a few years break, I returned to the hobby and started buying Citadel paints again, probably because I knew them best. Over time, ie after watching a bunch of videos on wet blending and other techniques, I started to get some Scale 75 because I probably expected the colors to achieve wet blending on their own, which I haven't mastered yet. However, I realized that there are other ways to put paint on a wet palette and that dropper bottles are much easier to use. In addition, I have seen that almost everyone who posts something on the internet uses Citadel paints in dropper bottles. This prompted me to take a step called color pouring.
In preparation, I watched a lot of videos on youtube, not all of which make sense. In the end, I took something from everyone. Here I did streaming only Citadel Base and Layer paints.
Materials Needed
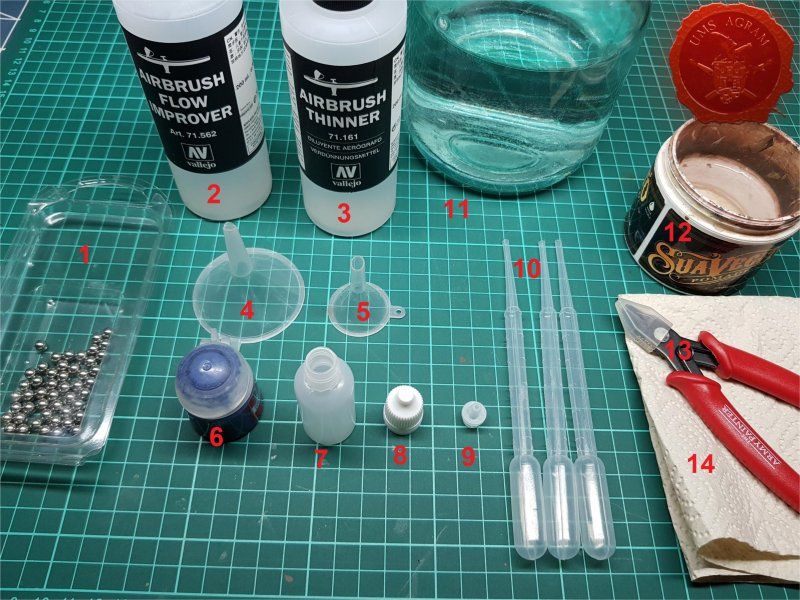
Figure 1 shows everything we need to transfer color.
Figure 1: Required material
Description according to the numbers in the picture:
1. Stainless steel balls - not needed for pouring, but help to mix the color in future use
2. Vallejo Airbrush Flow Improver 71,562
3. Vallejo Airbrush Thinner 71,161
4. Large funnel
5. Small funnel
6. Citadel color
7. 15 ml bottle
8. Bottle cap
9. Nozzle / dropper
10. "Disposable" pipettes
11. Glass container with water
12. Another vessel with water
13. Hobby pliers
14. Paper towel
I used Vallejo Flow improver and Thinner, but the same products from other hobby brands will definitely be fine.
As for items 7, 8 and 9, they usually come together, and I ordered it all through Amazon.
I didn't pay attention to the funnels being made in three sizes, the small size is quite enough.
Steps
Step 1
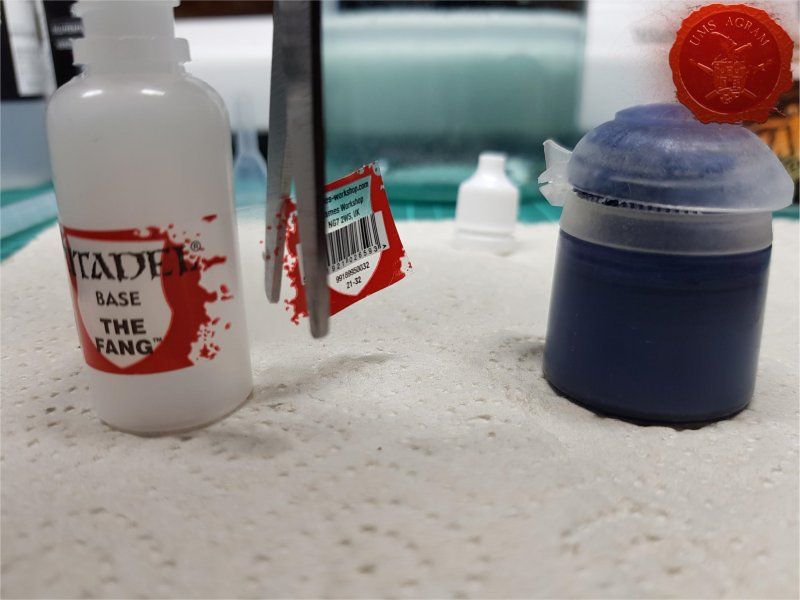
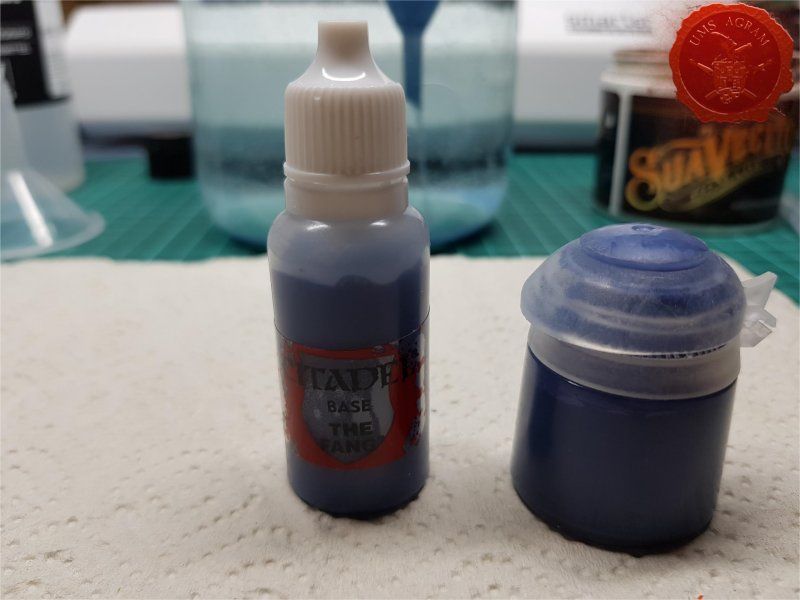
Remove the sticker from the Citadel bottle and stick it on the new bottle. In doing so, we can cut off the excess sticker with scissors, but it is not absolutely necessary. In this step, we insert one (or two) balls into a new bottle. (Figure 2)
Figure 2: Switching the label
Step 2
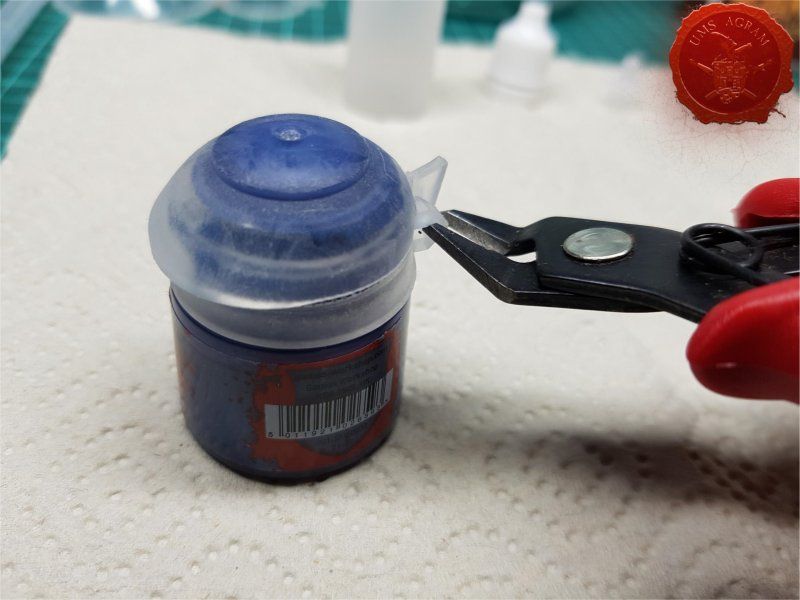
Cut the plastic joints of the Citadel bottle cap. This will make it easier for us to prepare the color with Flow enhancer and Thinner. (Figure 3)
Figure 3: Cutting the plastic joints of the bottle cap
Step 3
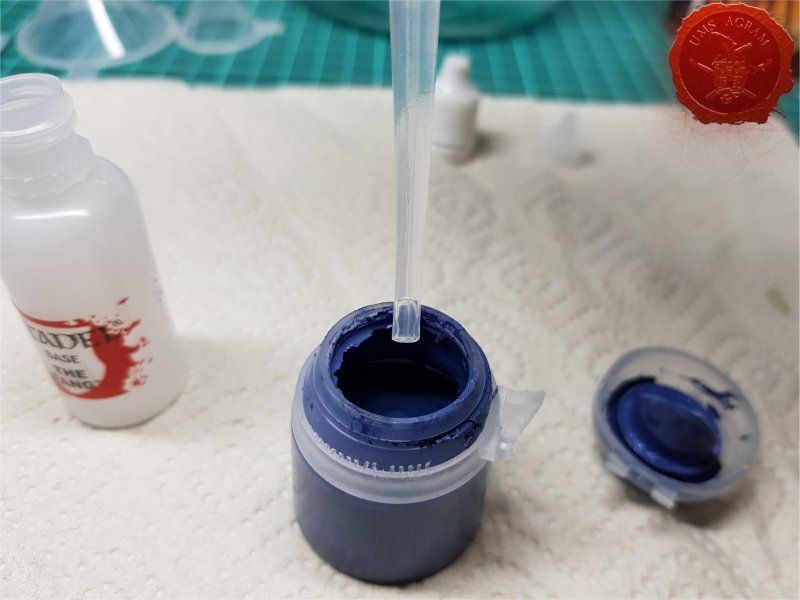
Pipette about 1 ml of Flow Improver and up to 1 ml of Thinner into the Citadel bottle with color. After that, it is obligatory to close the bottle and mix well. Here it is necessary to adjust the amount of paint viscosity additive. The paint should flow through the funnel without the paint level in the funnel increasing due to the viscosity of the paint, which will lead to increased paint loss on the funnel. This will make it easier for us to prepare the color with Flow enhancer and Thinner. (Figure 4)
Figure 4: Adding Flow improvers and Thinners
Step 4
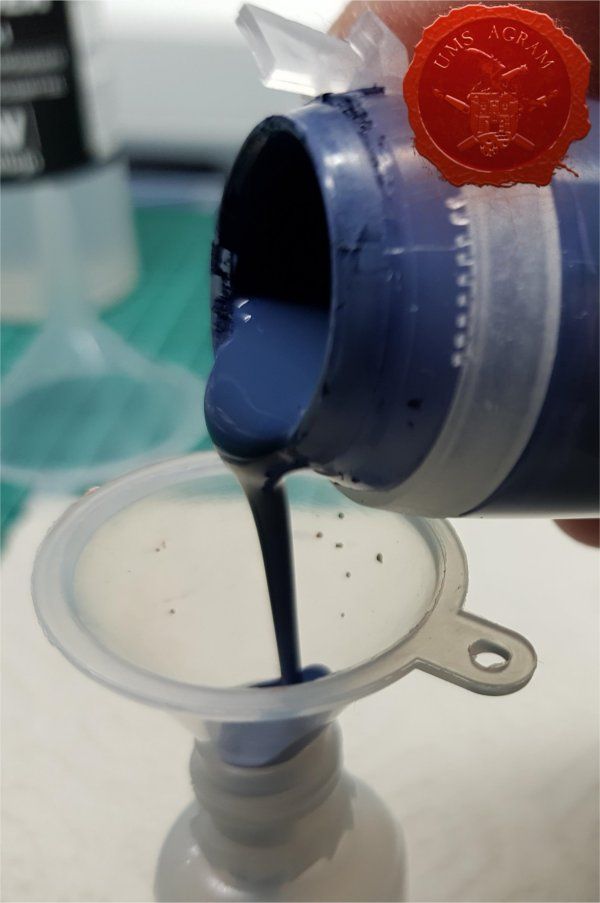
We open the well-mixed bottle and pour it into a new bottle in which we put the funnel before. If the funnel tube is so wide that it fits snugly on the neck of the bottle, it is necessary to raise the funnel a little so that the air can reach the bottle without hindrance and thus facilitate the entry of paint into the bottle. (Figure 5)
Figure 5: Pouring the paint
After the paint starts to drip, stop pouring and add approximately 0.5ml of thinner to the Citadel bottle and mix again. Repeat the remaining color. With this procedure, I was able to extract most of the paint from the bottle and I did not bother with any paint residue on the cap.
Step 5
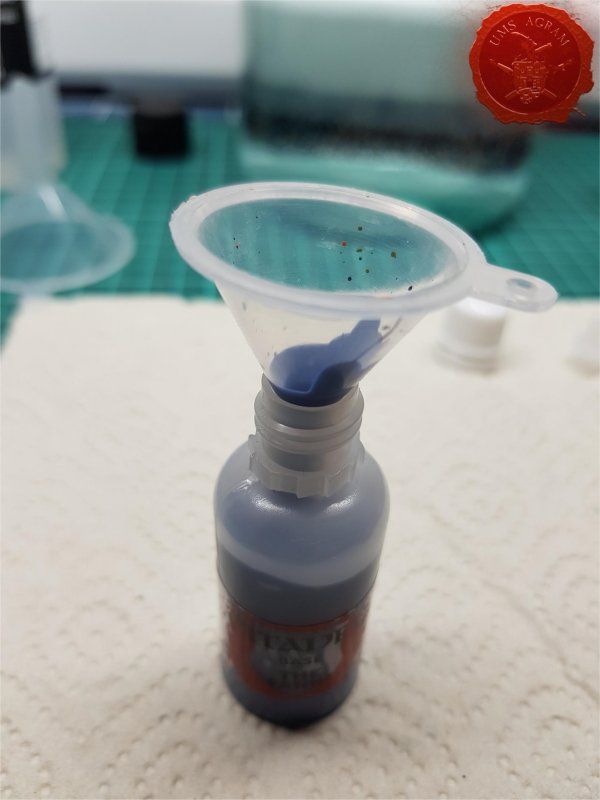
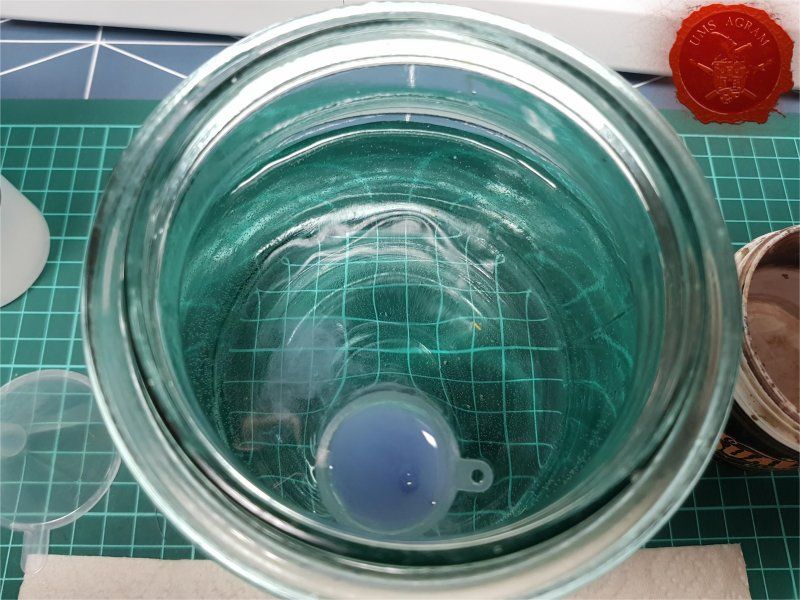
We let gravity do its thing and put the funnel in a container with water. (Figures 6 and 7)
Figure 6: Pouring of color into a new bottle
Figure 7: Disposing of the funnel in a container of water will facilitate its later cleaning
Step 6
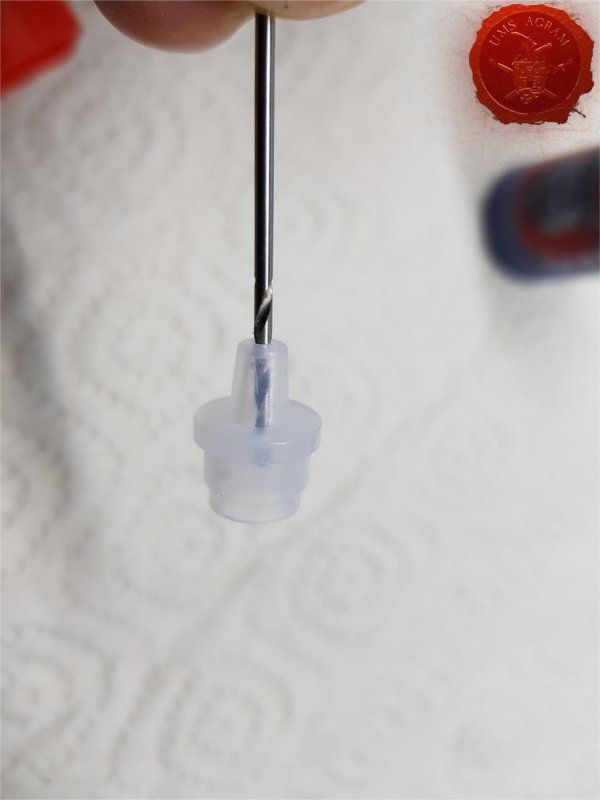
If you notice that the nozzle opening of the bottle is too narrow, you can drill it, either with an awl or a drill of a hobby drill. This will reduce the likelihood that the paint in the nozzle will dry out and the nozzle will crack. (Figure 8)
Figure 8: Nozzle drilling
And that's it.
Figure 9: Paint in its new home
Additional notes
The mystery of the second water vessel is that some youtubers also use water to dilute the paint. In my opinion, that is not necessary, the two products I listed were quite enough for me.
I guess Citadel washes or contrast paints don’t need as many diluent additives because they’re already a lot rarer than base coat and base paints anyway.
The paint poured in this way is a bit thinner than the original paint, but for me it is negligible. I mostly paint using layering and glazing anyway so I prefer that anyway.
Latest articles
- SFRJ 1986 v2 Diorama part 5 Marko Paunović, 19th January 2026
- SFRJ 1986 v2 Diorama part 4 Marko Paunović, 19th January 2026
- SFRJ 1986 v2 Diorama part 3 Marko Paunović, 19th January 2026
- SFRJ 1986 v2 Diorama part 2 Marko Paunović, 19th January 2026
- SFRJ 1986 v2 Diorama part 1 Marko Paunović, 19th January 2026
Latest battle-reports
- Kill Team - Blooded vs. Vespid Stingwings 28th February 2025, GW - Warhammer 40.000, and Antoni Pastuović (Imperial Guard)
- 22nd April 2022, GW - Warhammer 40.000, Borna Pleše (Space Marines) and Kristijan Kliska (Tau Empire)
- 17th November 2021, GW - Warhammer 40.000, and Nino Marasović (Space Marines)

