Mech Assembly Diorama
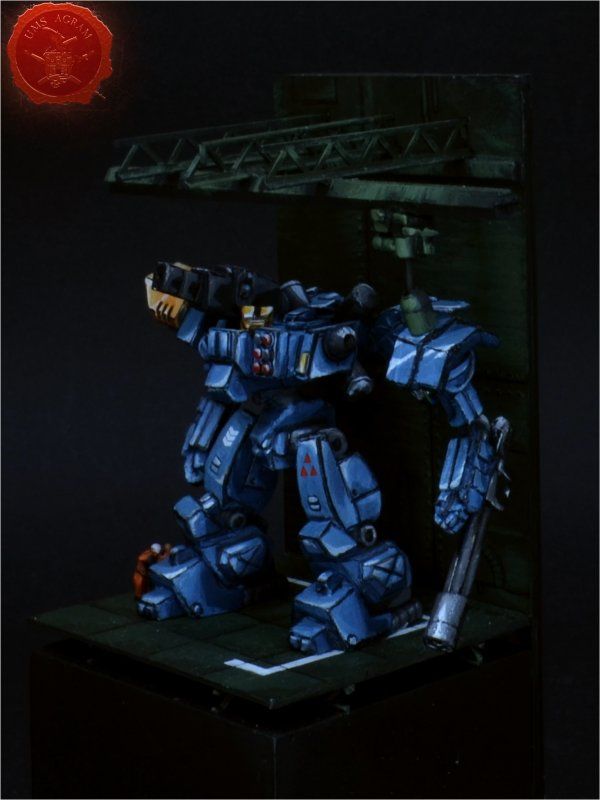
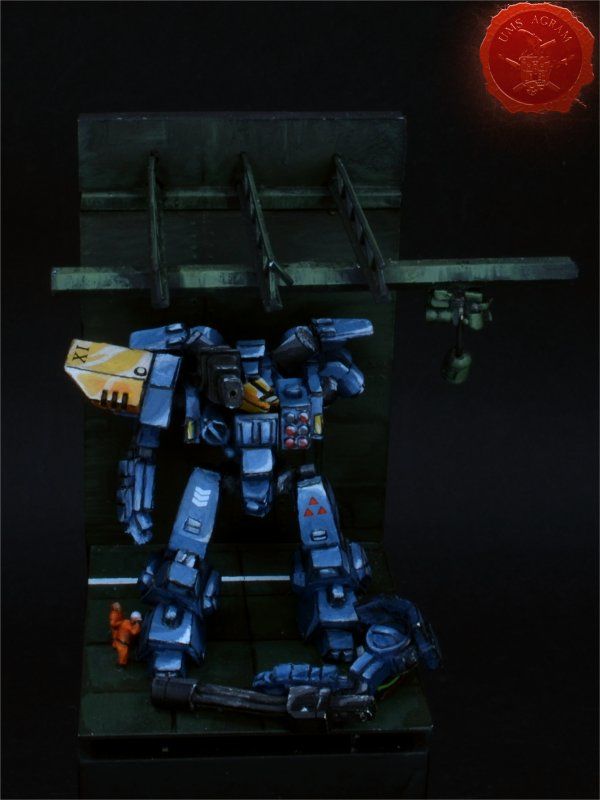
In today's article I describe how to make a diorama mech from Heavy Gear Blitz. The idea was to make a representation of the assembly of mecha in a warehouse, an image that was etched in my memory from various sources, either the games I played or the anime I watched.
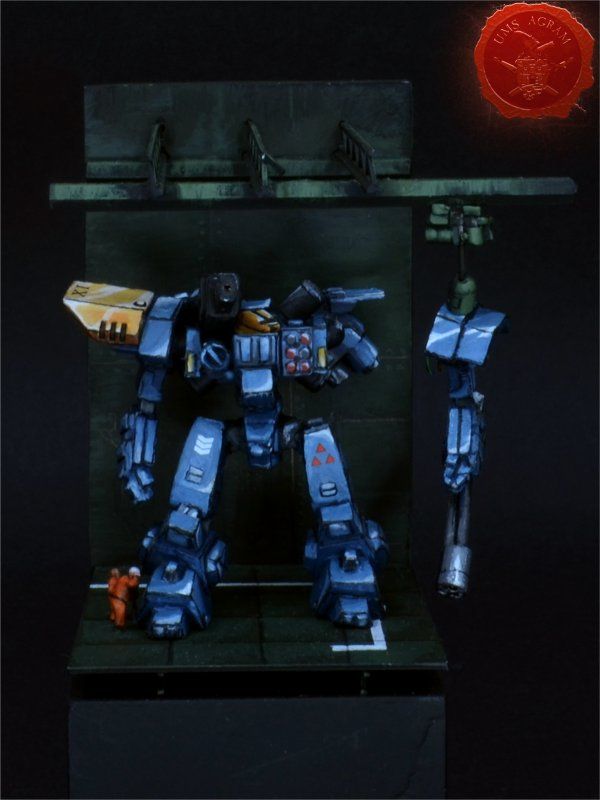
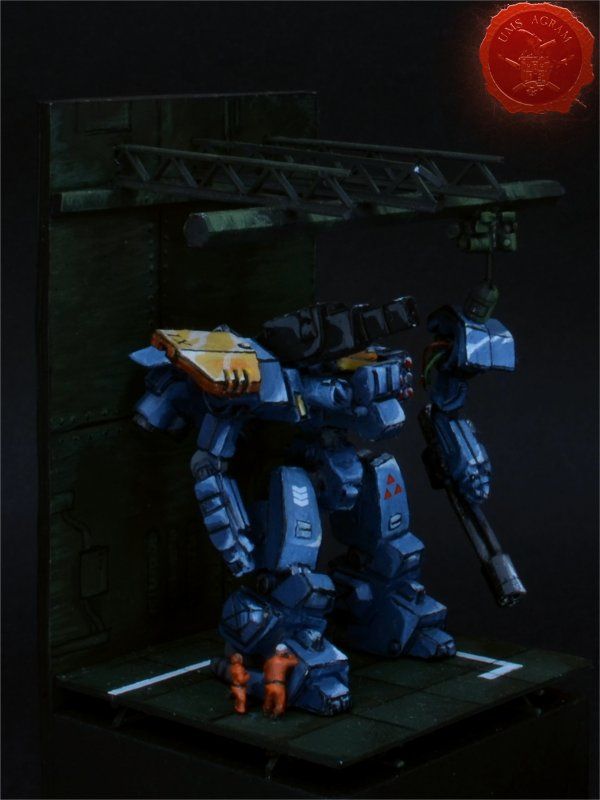
I wanted to do a relatively peaceful scene where the mech is in the middle of being assembled, with workers walking around it.
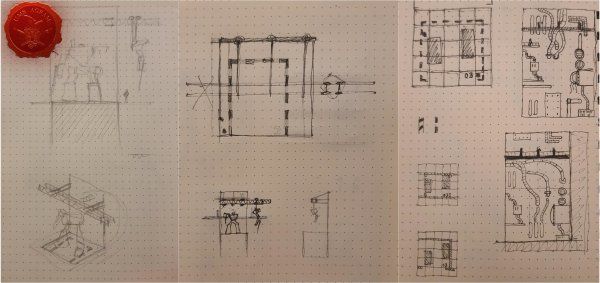
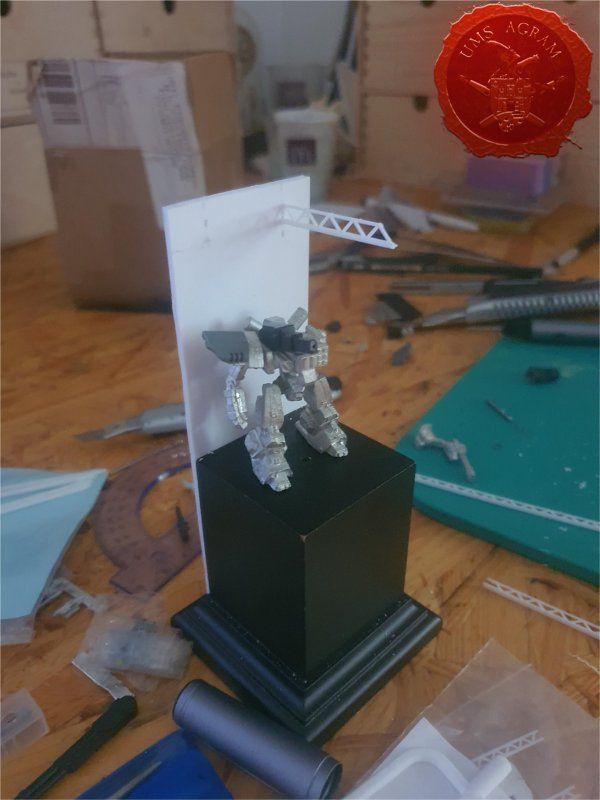
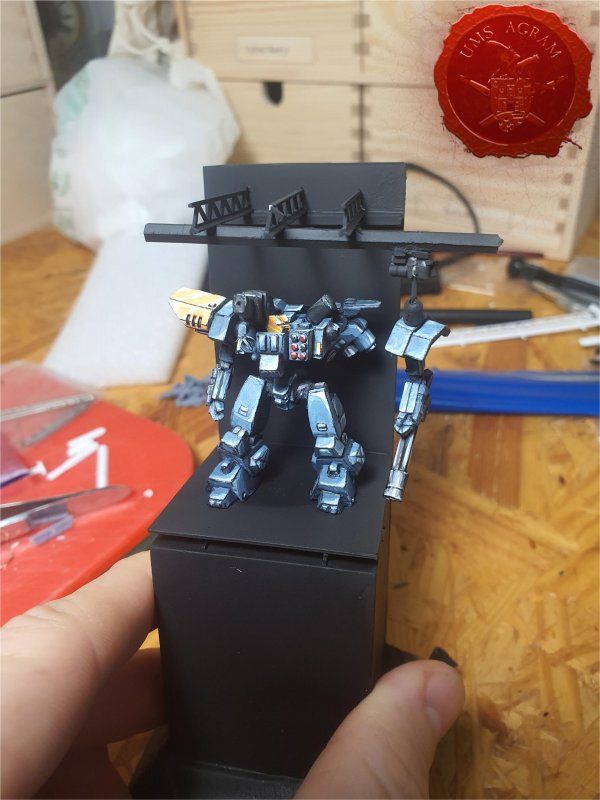
After a lot of thinking (and a couple of sketches), I decided to place it on the plinth I had, and to add the background from which the horizontal construction with the crane goes. The background and the base on which it stands would be painted instead of three-dimensional elements, to give the effect of a cartoon.
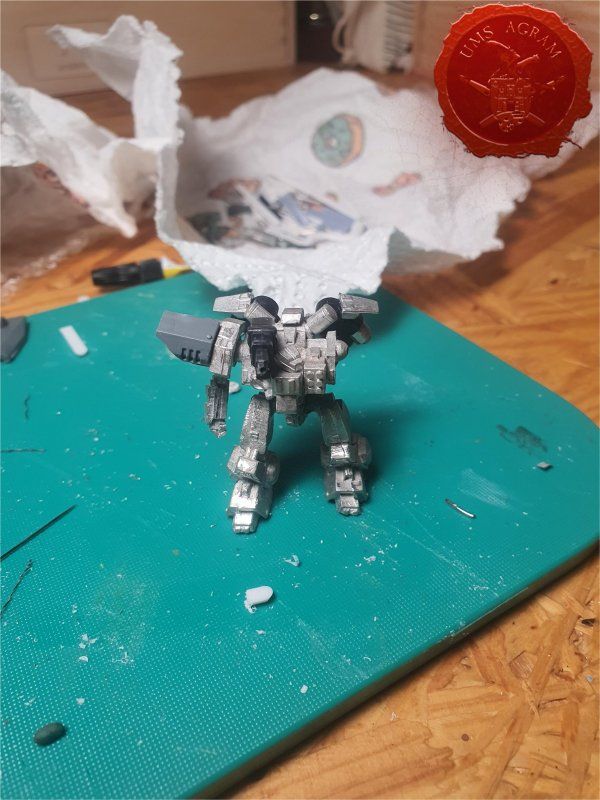
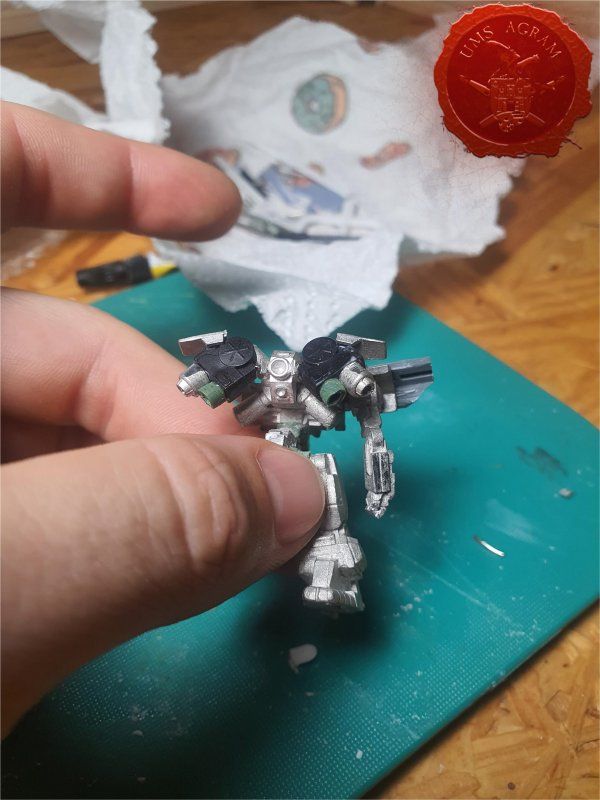
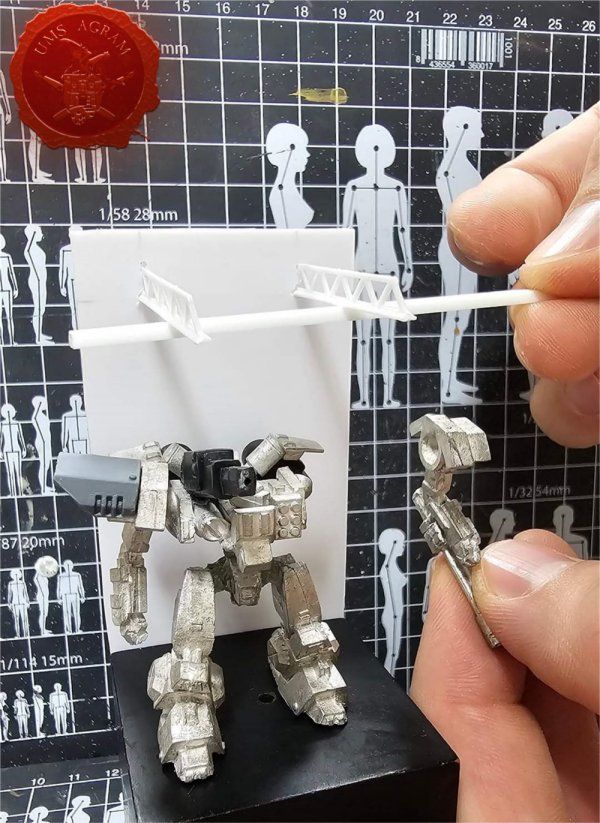
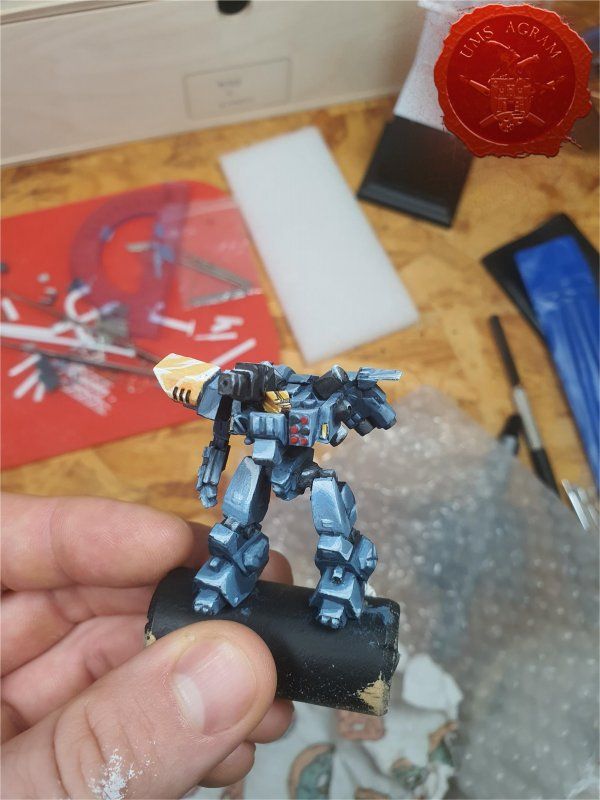
The first step was to modify the mech itself. Heavy gear blitz mechs have a nice old-school aesthetic to me, and I chose the F2-19 model, which I already use in my army. However, the F2-19 is a bit disproportionate in my opinion and lacks a certain amount of "oomph" that I like in my mech fantasies. So I tackled adding the monster cannon and jetpack, and added a shoulder shield to reinforce the upper torso. My only regret is the lack of a melee weapon or at least a shield, but that seems to be for a future project.
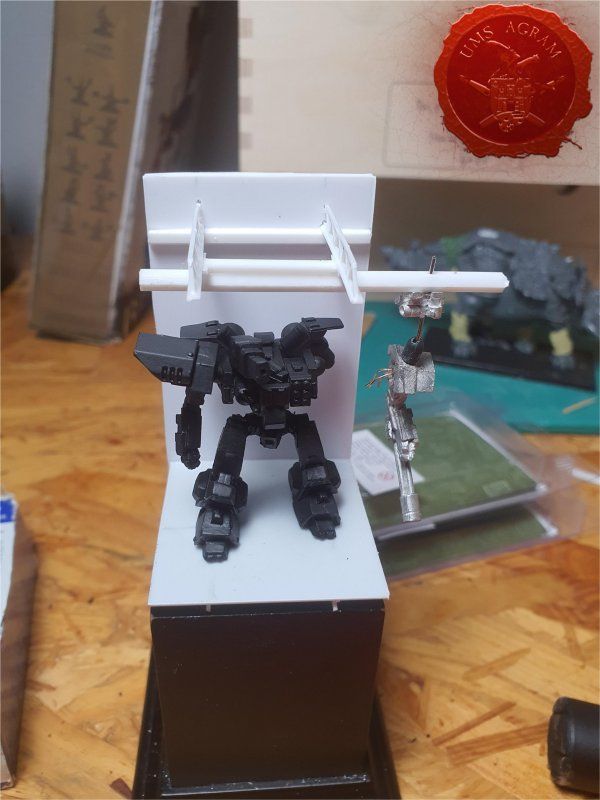
After completing the mech conversion, I started with the rendering of the crane and metal beams. I attached the base to the beams that Marko brought me from Berlin, and I placed the rest at a satisfactory height above the model itself. After stretching with the load capacity and placing the crane at an adequate distance, I decided that the arm would be magnetized for the crane. This, along with the reality of the sentiment, is also more practical for conveying and setting up. In retrospect, I should have strengthened those beams somehow, now when I put my hand on it, the whole structure bends slightly. But it looks good in the pictures :D.
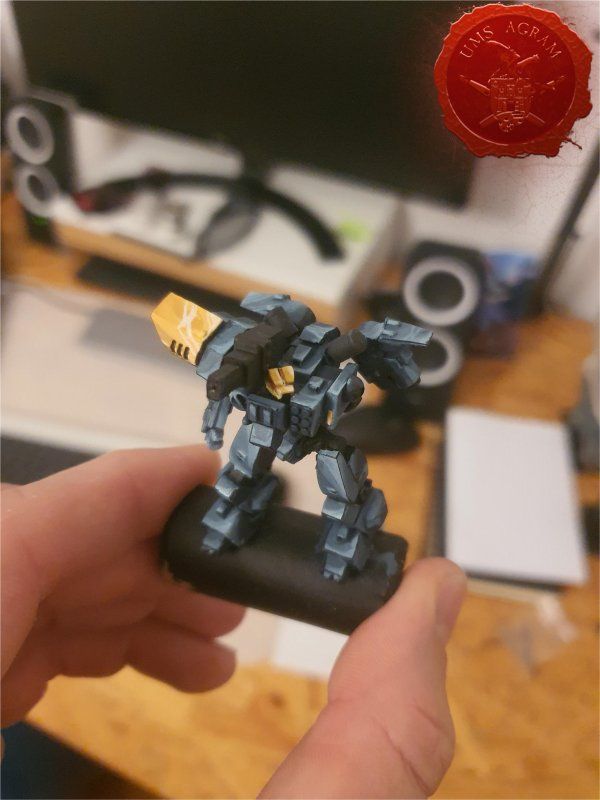
Painting was a dual experience. Both the mech and the background were painted twice because I made mistakes on both. I first painted the mech the way I explained in the last article, but I did it in too many layers and it turned out like NMM shading, which is not the effect I was looking for. I fixed it by repainting the unnecessary layers and it turned out more "striped". I thought the background itself too complex for my skill level. After the mistakes I made with the thin marker, I decided to simplify and it turned out better. A couple of rivets and some pipe, on that scale it turns out better than many small elements that are drawn imprecisely.
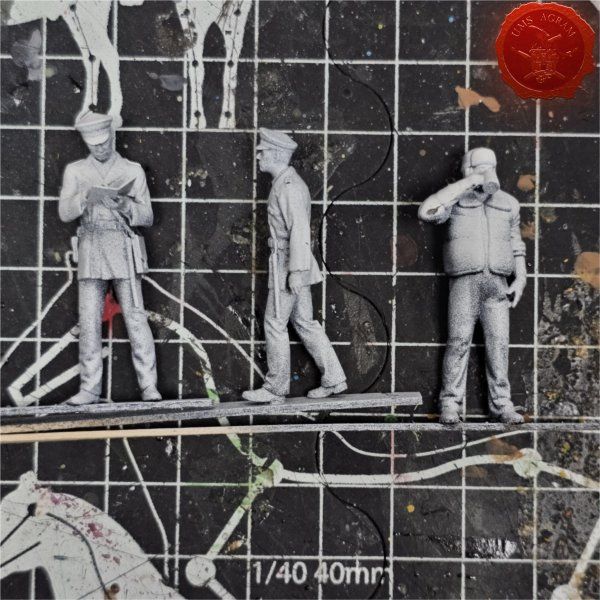
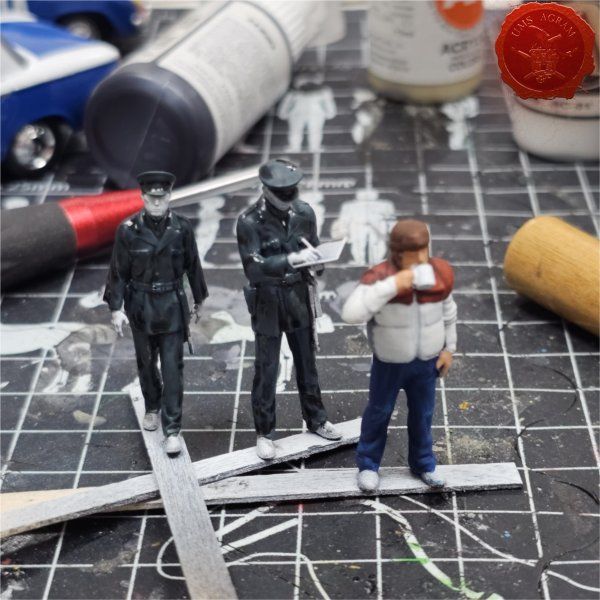
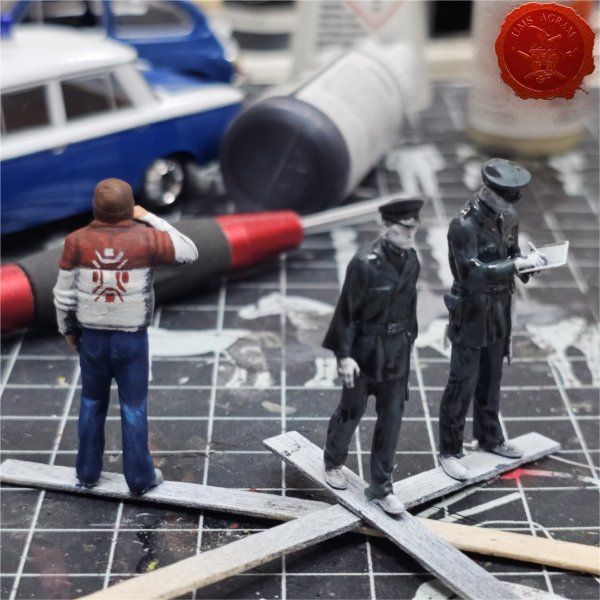
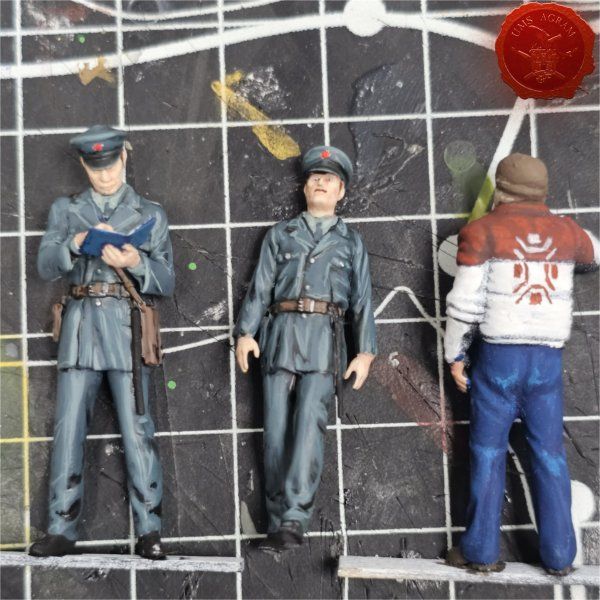
The last element that was missing was the workers. I found a couple of low poly models that Kiki printed for me in a suitable scale, after a couple of layers of paint (radius to make them easier to differentiate from the rest of the models) and the diorama was ready.
Latest articles
- SFRJ 1986 v2 Diorama part 5 Marko Paunović, 19th January 2026
- SFRJ 1986 v2 Diorama part 4 Marko Paunović, 19th January 2026
- SFRJ 1986 v2 Diorama part 3 Marko Paunović, 19th January 2026
- SFRJ 1986 v2 Diorama part 2 Marko Paunović, 19th January 2026
- SFRJ 1986 v2 Diorama part 1 Marko Paunović, 19th January 2026
Latest battle-reports
- Kill Team - Blooded vs. Vespid Stingwings 28th February 2025, GW - Warhammer 40.000, and Antoni Pastuović (Imperial Guard)
- 22nd April 2022, GW - Warhammer 40.000, Borna Pleše (Space Marines) and Kristijan Kliska (Tau Empire)
- 17th November 2021, GW - Warhammer 40.000, and Nino Marasović (Space Marines)

