
May and June in UMS Agram
We had a busy schedule in May and June. Let's start in chronological order:
1. Miniature Painting Workshop – Bretonnia
2. Kup Zagreb
3. Train Exhibition by KZMZ
4. Svet v Malem 2024 – Pivka, Slovenia
5. ITTD 2024 - Jalžabet
6. PSMK 2024 – Budapest, Hungary
7. Wednesday's Hobby Corner
8. Agram Group Build
And in this article, we will bring the impressions of our volunteers from all the actions that we have organized, as well as in which we have participated - either as visitors, competitors or as presenters...
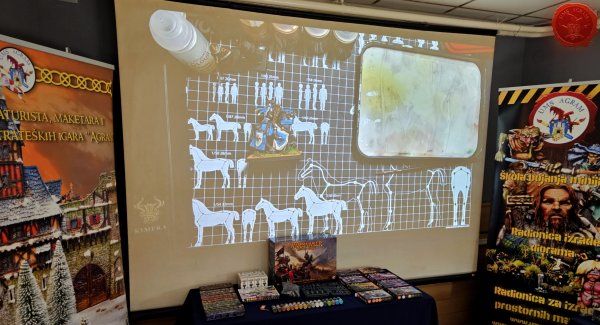
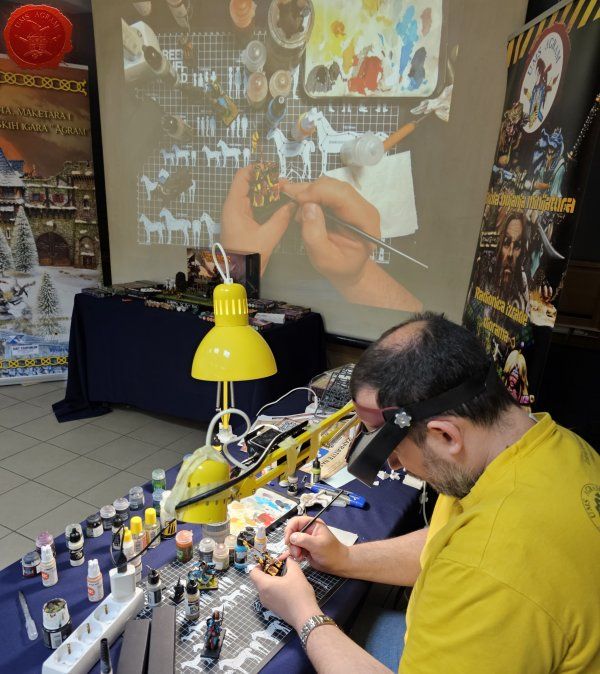
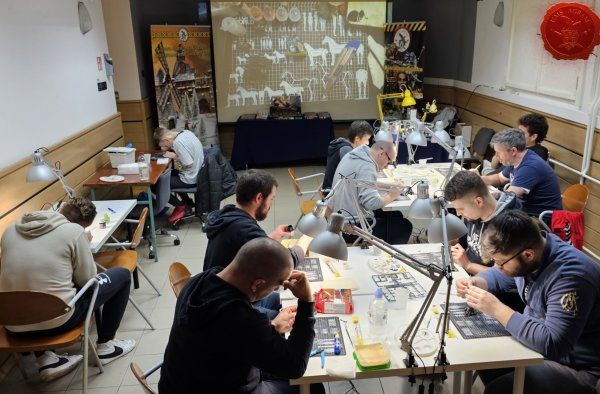
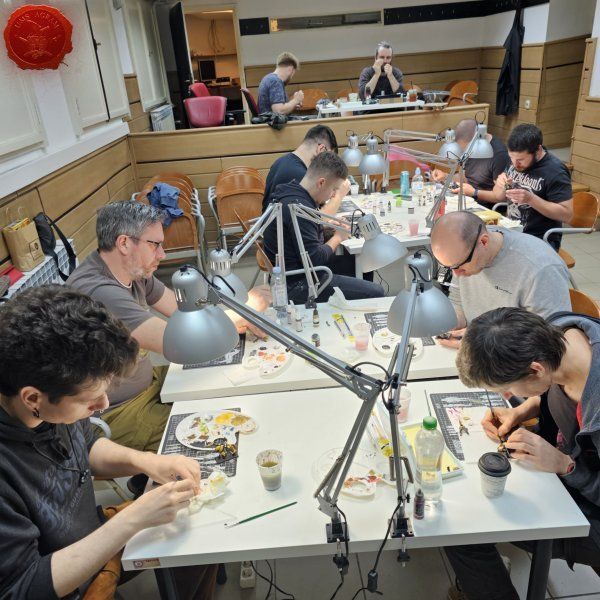
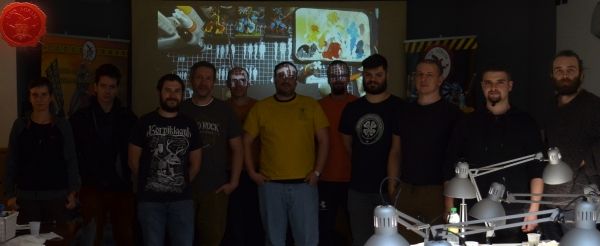
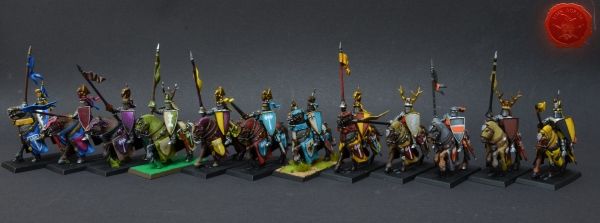
Miniature Painting Workshop - Bretonnia
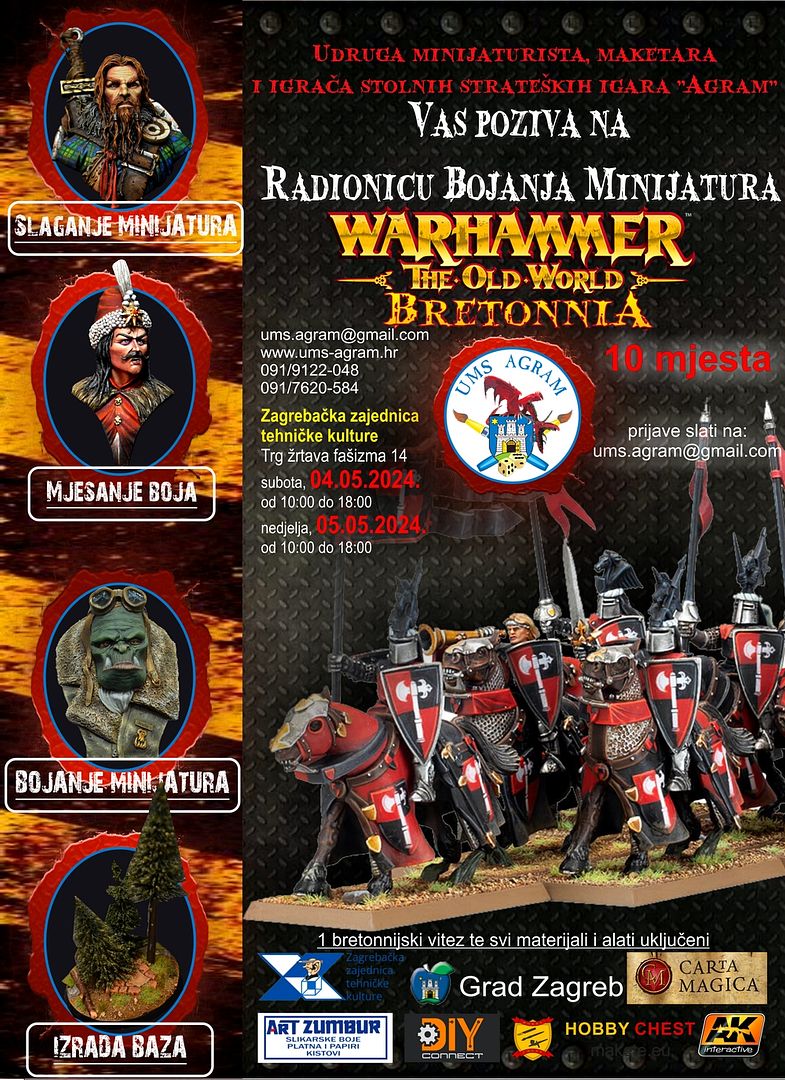
The workshop was held over two days (May 4 and 5) and participants painted a Bretonnian knight on horseback for the Warhammer The Old World tabletop strategy game. The focus of these lectures was coloring several miniatures at once, but the knowledge from the workshop is equally applicable to coloring armies for boardgames and a collection of figures for pen&paper rpgs. Each participant assembled his own knight with a spear, shield and ornamental helmet as well as a horse according to his own discretion. The workshop presented colors and accessories, preparation of figures, several techniques for painting miniatures from basic to more advanced, as well as techniques for placing stickers, and finally basing the figure. Water-based acrylic paints were used as part of the workshop.
The workshop included the following thematic units: 1. Planning and preparation and assembly of miniatures 2. Processing of miniatures before painting 3. Basic colors 4. Shading and highlighting techniques 5. Placing stickers without gloss 6. Basics of freehand
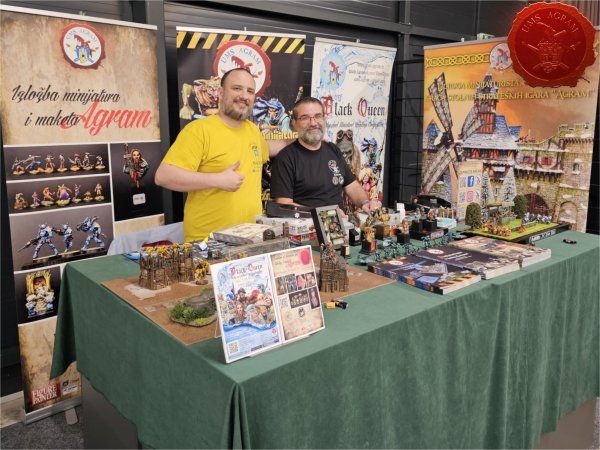
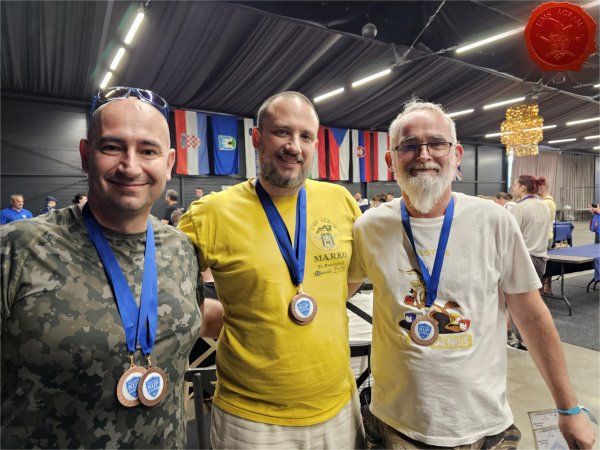
Kup Zagreb
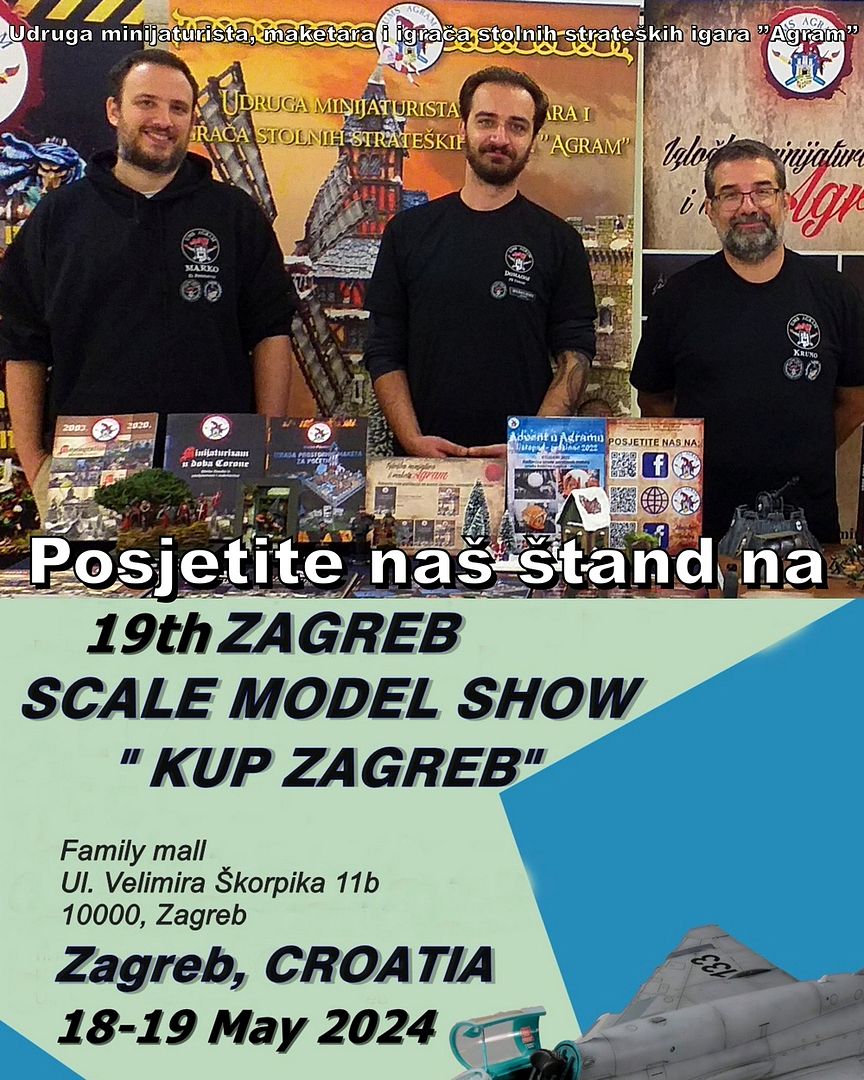
The Zagreb Cup, a modelling competition organized by ZMMS, was held this year over two days on May 18-19, 2024. in the Family Mall. The organizer asked us to participate by presenting our programs and projects, to which we responded with pleasure.
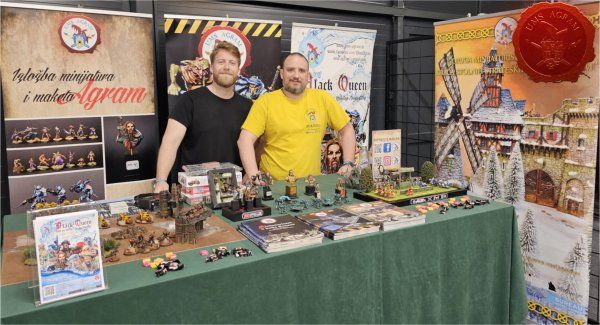
Mario: "I consider the Zagreb Cup a successful representation of Agram. I had fun talking to the people who came to the stand and I managed to paint the helicopter from Heavy gear. Plus, I got myself a little Jeep Grand Cherokee from the car show waiting for a diorama.”
Kruno: "This year's Zagreb Cup will remain in my memory because we represented Agram in direct contact with the visitors. I was surprised how many people are also interested in our hobby, they just didn't know that someone was "organized" into it. I can also say that I am satisfied with the result achieved in the competition. I am sorry that the number of exhibits is relatively small, but I believe that this will also change in the future."
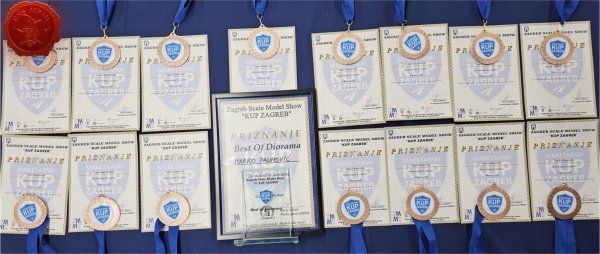
And we ended the competitive part with the harvest of medals and special prizes!
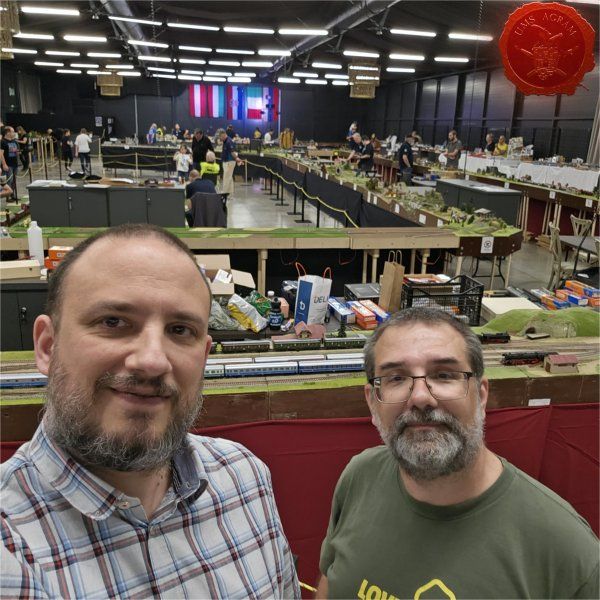
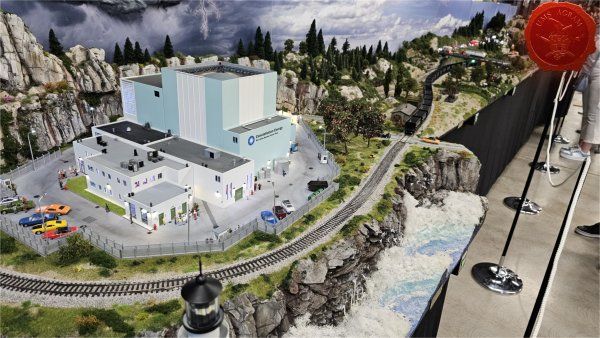
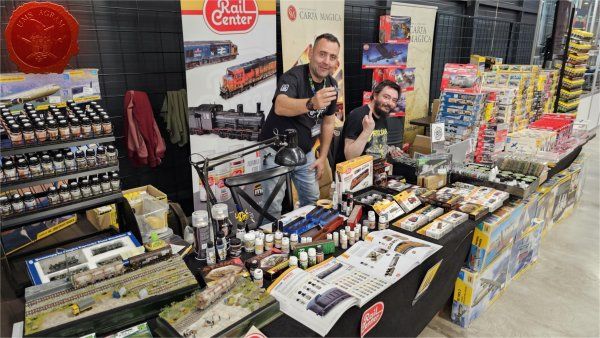
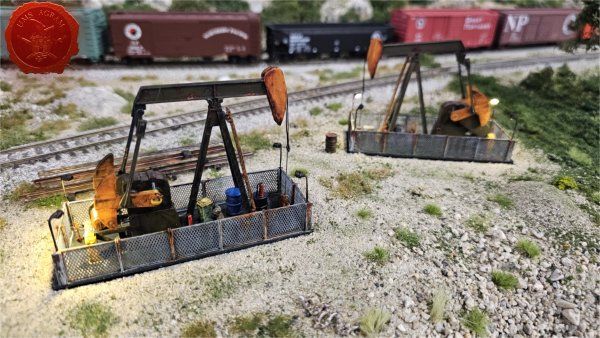
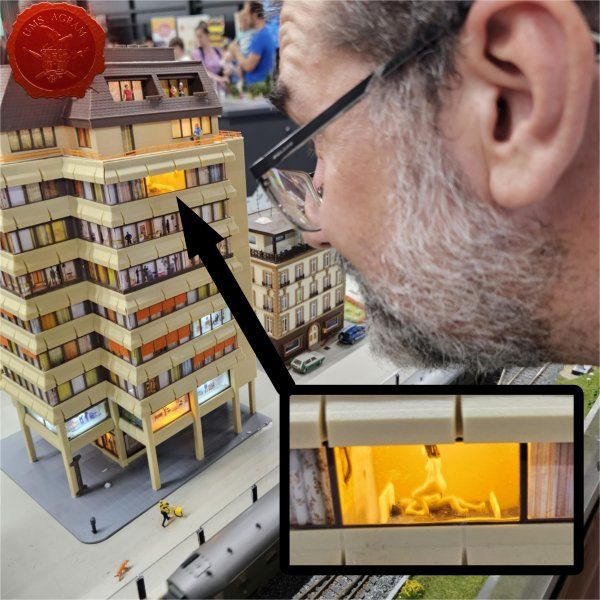
Train Exhibition by KZMZ
On Friday, May 24, at the invitation of the organizers of the KZMZ, we visited the Train Exhibition, which was also held in the Family Mall.
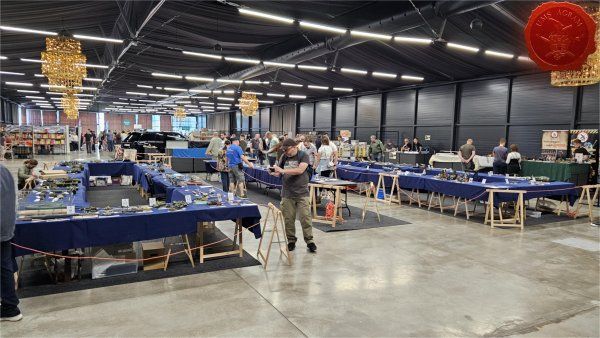
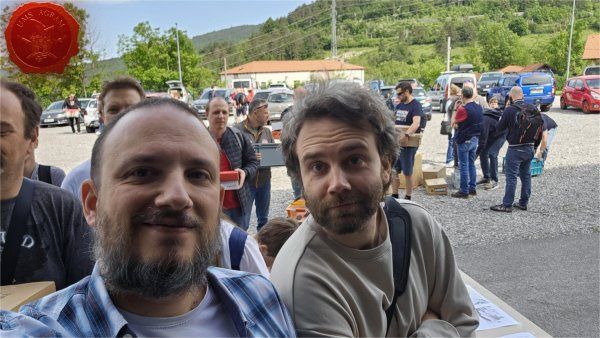
Svet v Malem, Pivka, Slovenia
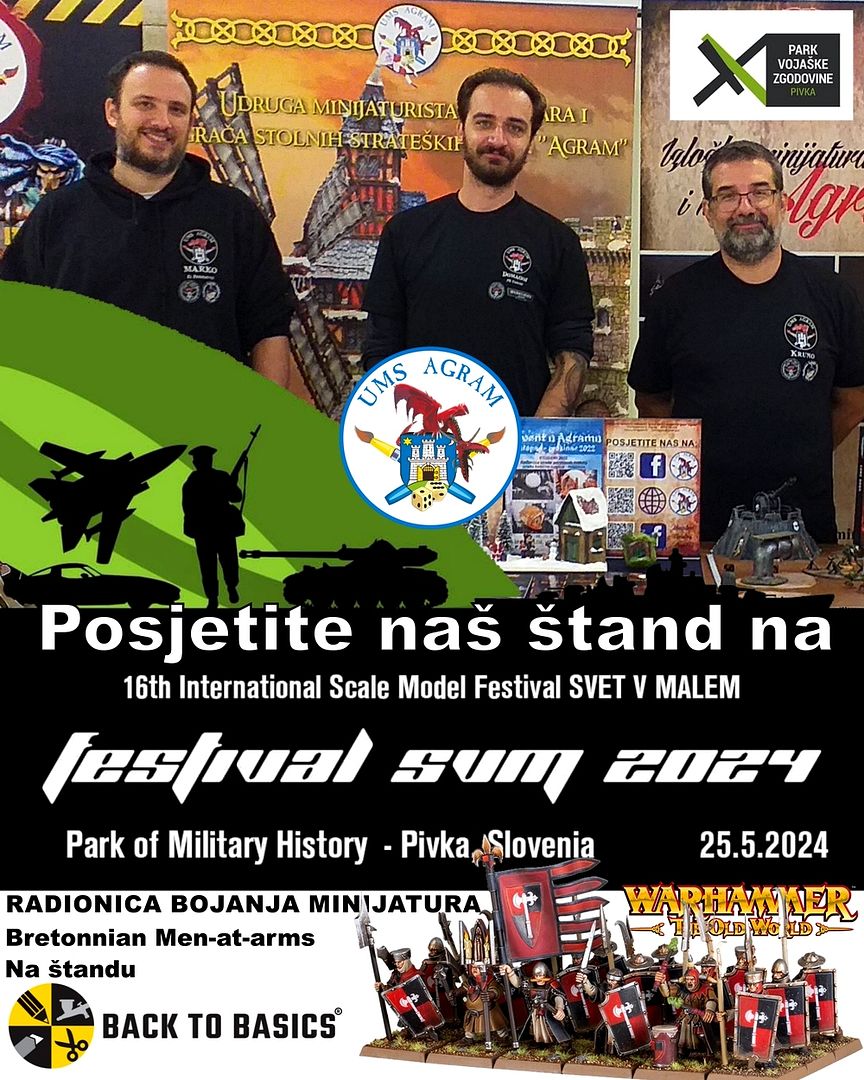
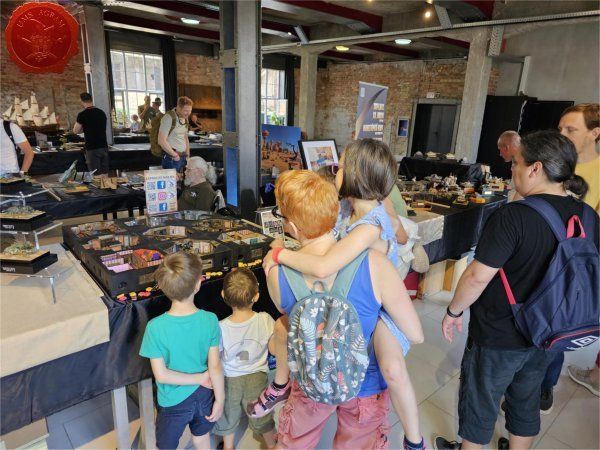
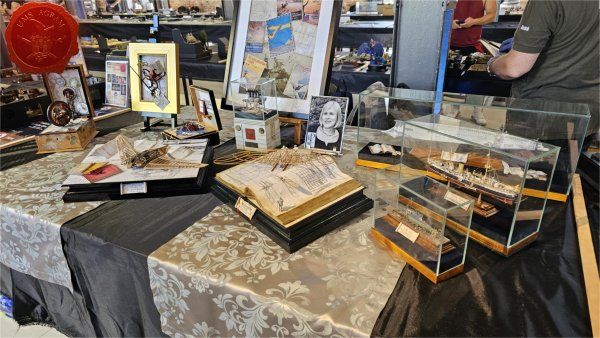
Svet v Malem, a model competition show was held at the Museum of Military History in Pivka, Slovenia on May 25, 2024. We also presented our programs and activities at this competition. For the first time, our Norwegian member, Sebastian, went with us, for whom this was also the first competition abroad in which he participated.

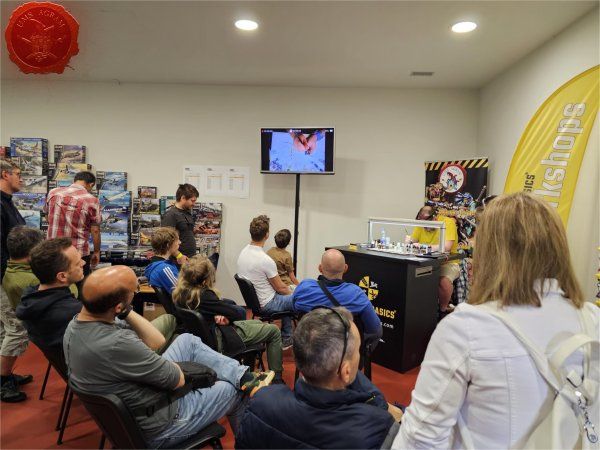
In addition to the competition, traditionally, our Slovenian partner Back to Basics and Miniatures.si organized miniature painting workshops. Our Marko was also invited to hold one - quick painting of the Bretonnian Man-at-Arms.

Kruno: "Traditionally, there is a lot to see at the SVM from exhibited works, shops and museum exhibits. This year I finally dared to cross paths with other competitors and I am quite satisfied with my success. The ambience, atmosphere and exhibits (museum and competition) are still impressive and I recommend everyone who hasn't been yet to dare to go."

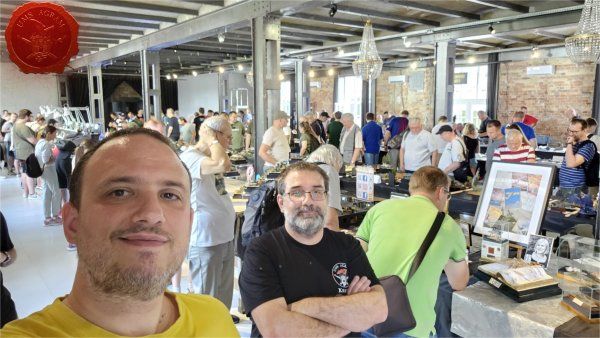
Sebastian:” We left Zagreb for Pivka early in the morning on Saturday 25ht of May, and soon found ourselves leaving Croatia. Driving through Slovenia, to Pivka, was very nice, with lots of rich, green, tranquil landscapes, and mountains in the distance. It was my first time at the event, SVM (Svet v malem) and I was excited. Kruno and Marko have been before, but since we all had brought entries for the competition, I think we were all curious to see what the day would bring. “
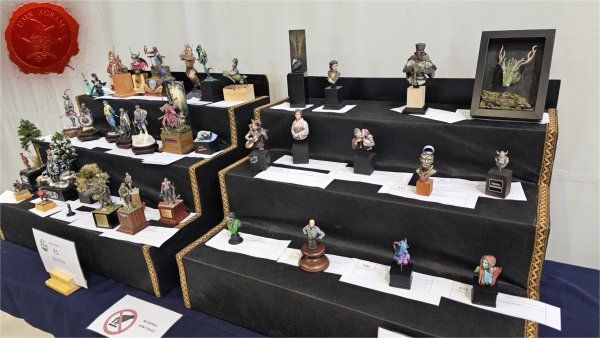
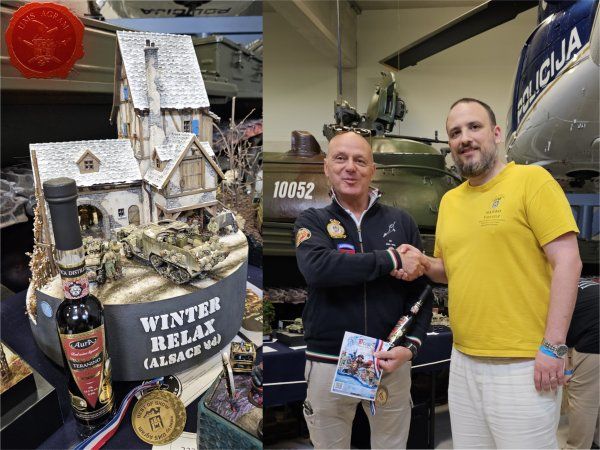
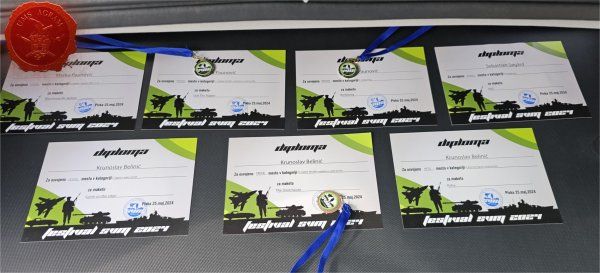
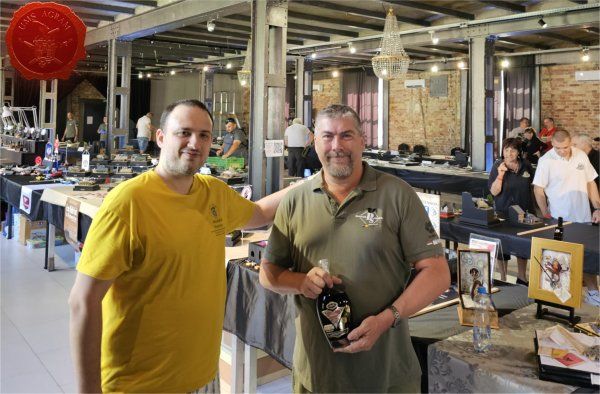
„First of all, the location of the event is perfect for a miniature convention. The Park of Military History in Pivka has an interesting story, and learning about its historical and geographical importance, as well as Yugoslavian military history at their museum, was certainly interesting, although the best part of the place for me was the large airplanes, helicopters, tanks and cars hanging or standing around the venue. This brings a perfect complement and contrast to all the tiny miniatures being exhibited. The exhibition mostly consisted of military and historical vehicles, dioramas or displays, but the three of us entered in the somewhat smaller categories of "Wargaming", "What If (Sci-fi)", "Movie scenes", "Bust" and "Figures all scales". Even here though, there were some pretty good entries. But most impressive of all were some of the dioramas displaying historicial military events (also complementing the museum exhibits and several historical artefacts to be found there), such as Winter Relax, Alsace 1944, the "Best of Show" from Moson. This large, spinning diorama, complete with well-lit interiors and a completely realistic winter scene of vehicles, soldiers and equipment, was mindblowing to me so we awarded it the BEST OF SHOW by UMS AGRAM award and presented the award to the author Giampiero Bianchi. “
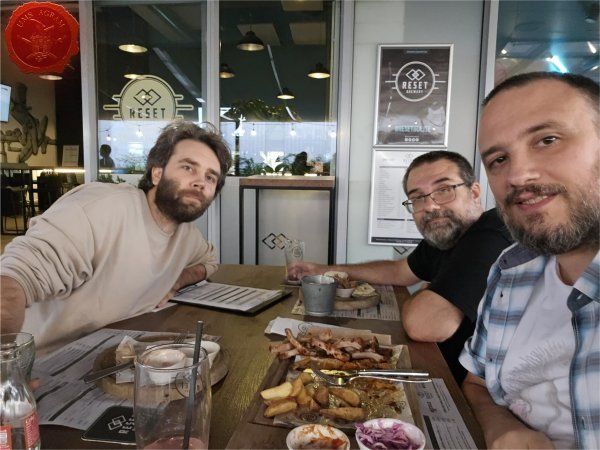
“ There were a lot of people at the event, but we had more than enough time and space to take in the full exhibition. I did it twice, and was glad as I got more out of it the second time. There were a few interesting workshops (one held by our Marko), several booths to buy hobby equipment as well as a plethora of Revel kits and other brands - mostly vehicles, military and civilian. A lot of people came by our humble UMS Agram booth, chatted with us, showed interest, and took our fliers. When the award ceremony finally came around, we had seen everything we needed to see - the exhibtion is not very large, and is easily taken in in an hour or so - and we just wanted to know if we would get any awards, and then go home to Zagreb. Thankfully our work was appreciated, and Marko won two medals and got two commended, Kruno one medal and two commended, and I got commended for my only entry, a Necromancer diorama (keep an eye out for an article on the making of this diorama soon) I had been working on for a month, specifically for the Pivka exhibiton. This added an extra layer of excitement for me I think, as I didn't bring several works I already had at home, but rather put all my eggs in one basket, and just made one work. It was a relief to finish it in time (I glued my last spider the night before), which filled the day with extra good vibes for me, but also left me more disappointed than I expected at not receiving a medal. Although now a few days later, the disappointment is gone, I'm happy with my commended plaque, and with the great day the three of us had in Slovenia, and have already moved on to my next project. Also, we had a great meal at Reset Brewery in Brezice on our way back to Croatia - an awesome place for beer and grill if you find yourself in the area.”
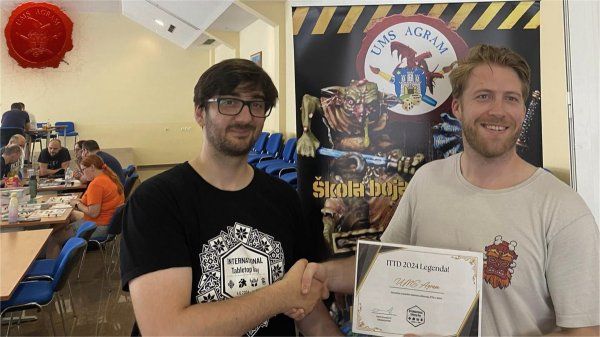
International TableTop Day 2024, Jalžabet
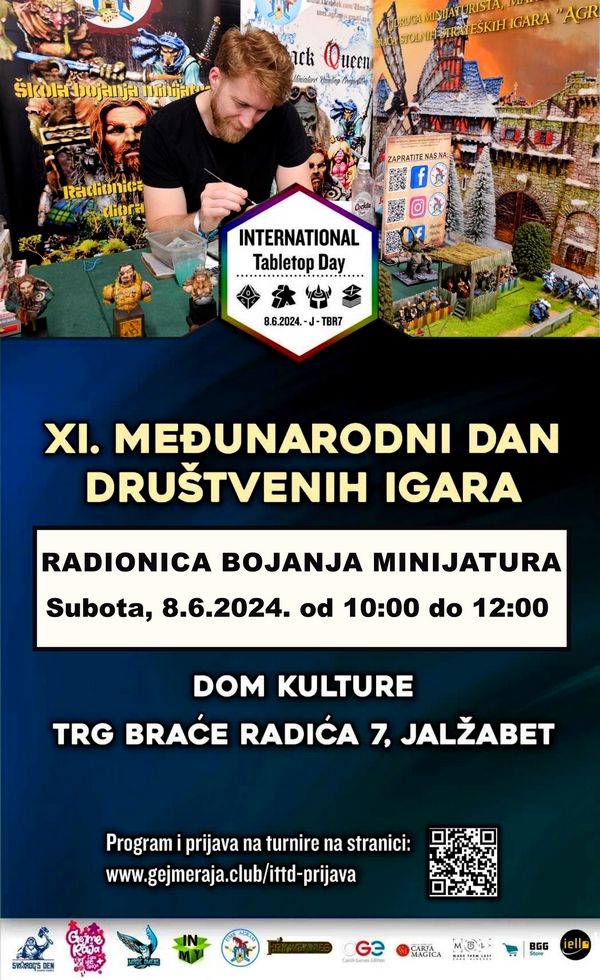
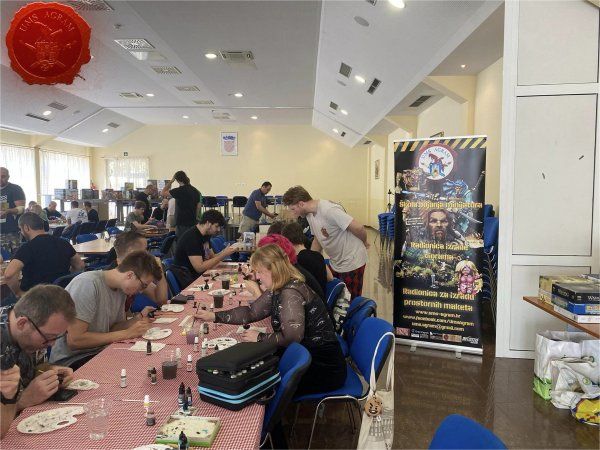
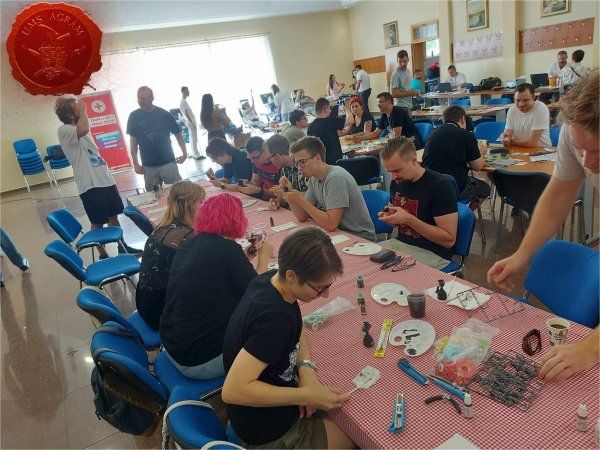
On June 8, we organized an interactive miniature painting workshop as part of International Tabletop Day 2024 in Jalžabet near Varaždin.
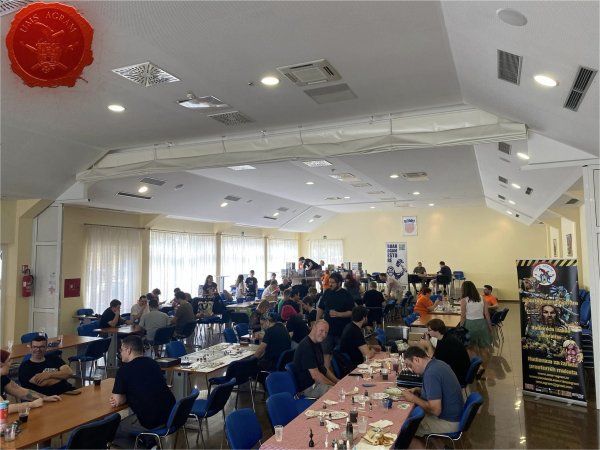
Our Mario, with the help of the local viking Sebastian, led the miniature painting workshop, which according to the program was supposed to last for two hours, from 10 a.m. to 12 p.m. However, due to great interest, the duration was extended until almost 5 p.m.
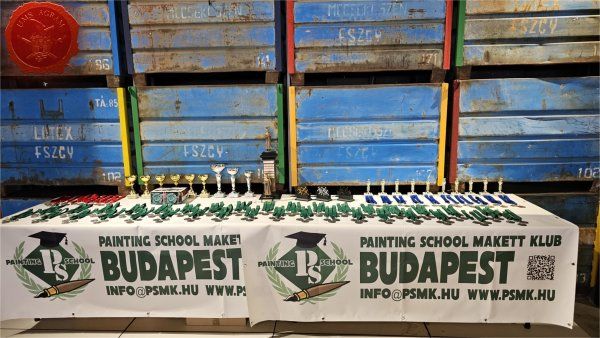
PSMK 2024, Budapest, Hungary
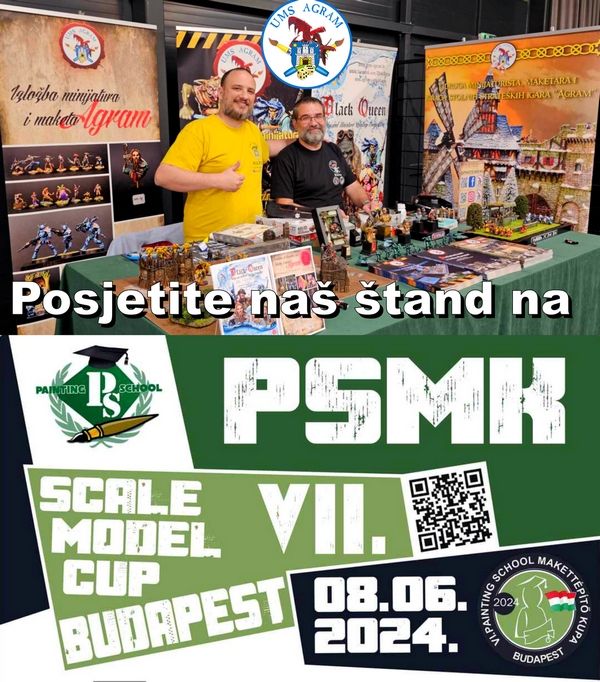
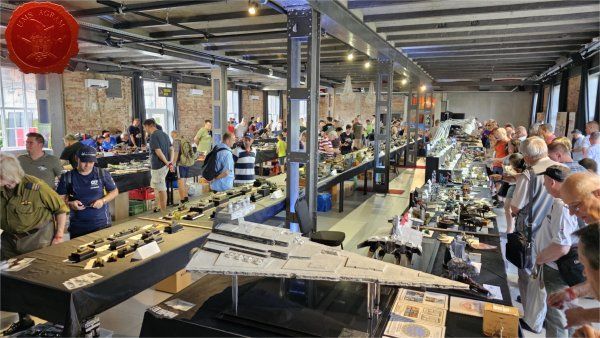
Parallel to the workshop in Jalžabet, our second delegation went to Budapest to defend the colors of UMS Agram at the international model competition PSMK 2024. Our team, Kruno and Marko, went there on Friday and stayed until Sunday, although the competition itself was a one-day event.

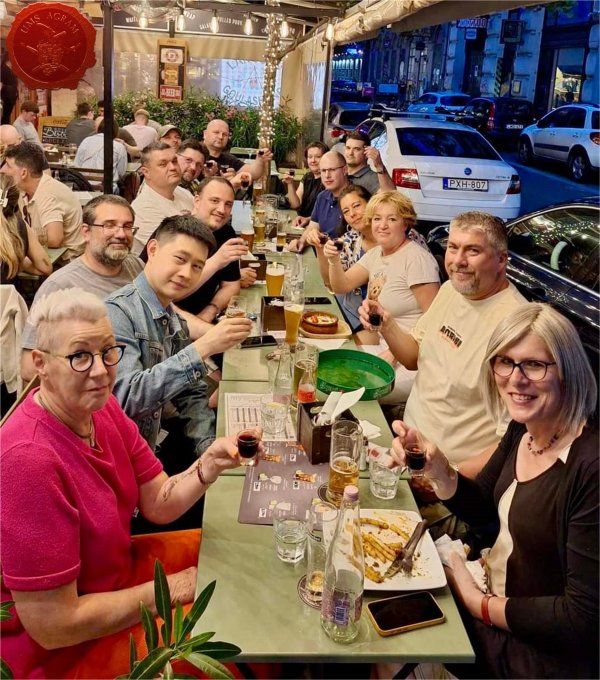
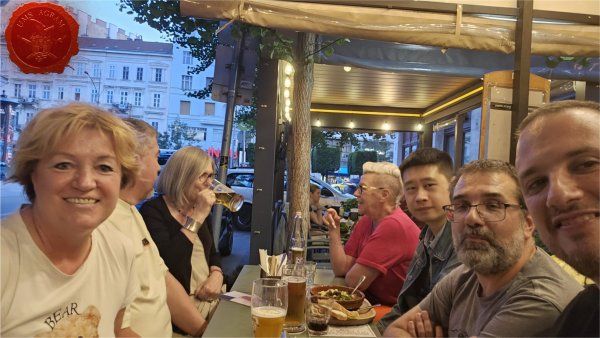
Upon arrival in Budapest, we joined the miniaturist team for a welcome dinner with Hungarian specialties. Throughout the weekend, it was a pleasure to exchange experiences and knowledge with world greats such as Margot Crombeecke, Chloe Plattner, James Zhou and Miklos Bute.
On Saturday morning, we arrived at the competition and set up our stand (which later won a "We Like It" souvenir from the organizers. Then we placed the exhibits in the corresponding categories and the competition could begin.
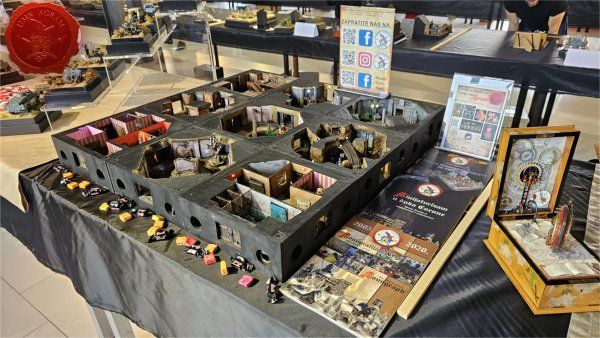
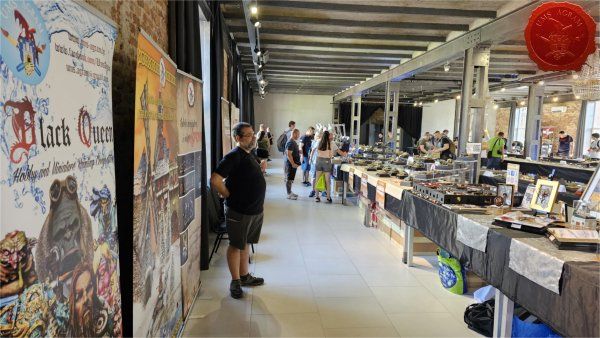
During the competition itself, we thanked one of the organizers, Miklos, for the invitation, but also for the help in promoting our Black Queen, and we looked at the exhibits and answered various questions about our activities next to our stand.
After a short deliberation, the decision to award the BEST OF SHOW by UMS AGRAM was easy to award to Chloe Plattner's wonderful display.
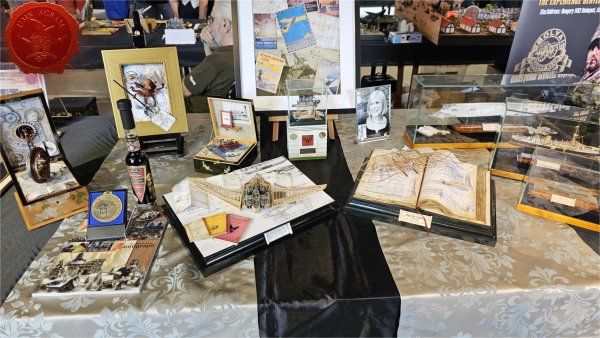

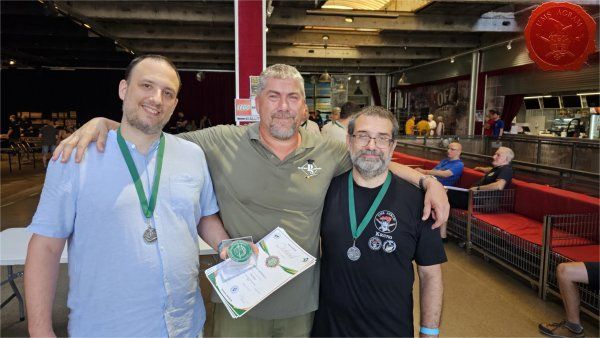
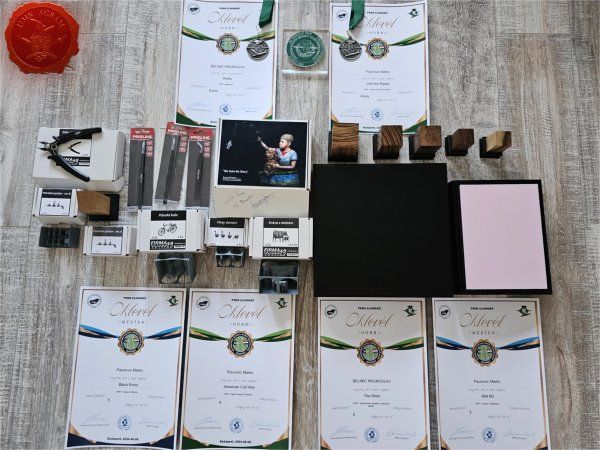
After a whole day of socializing and shopping, it was time for the awards ceremony. To our surprise, we won several awards and recognitions which filled us both with pride.
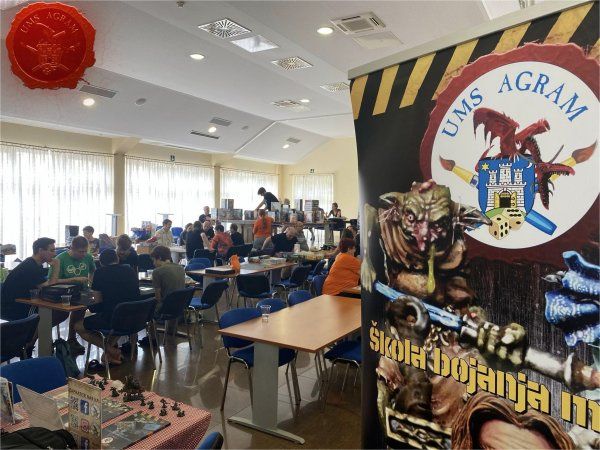
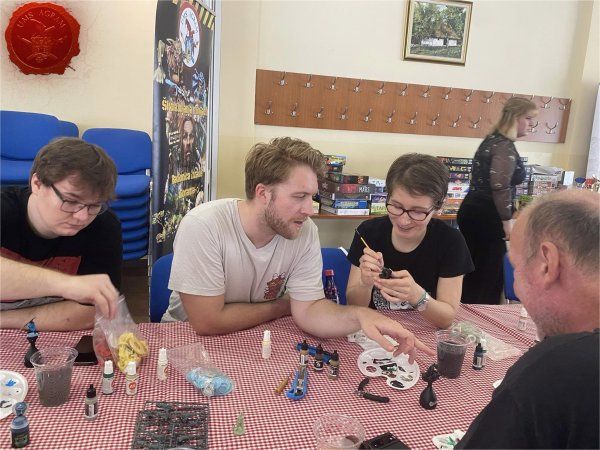
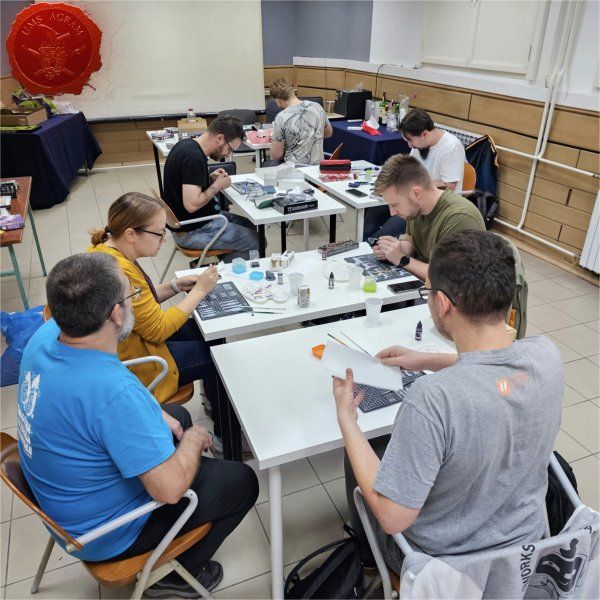
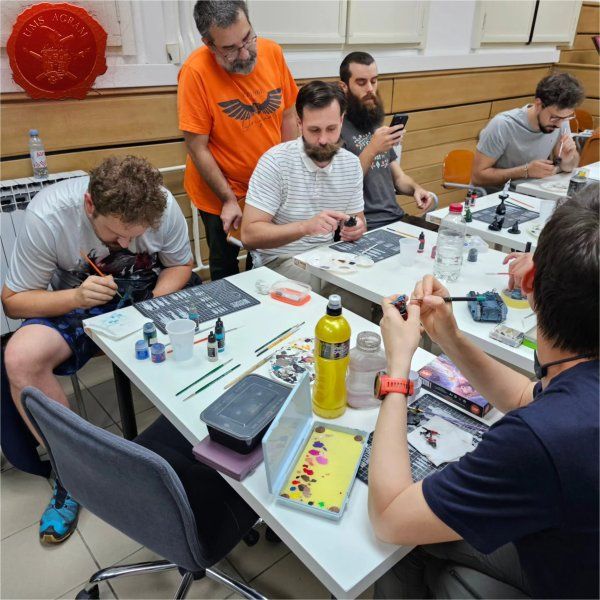
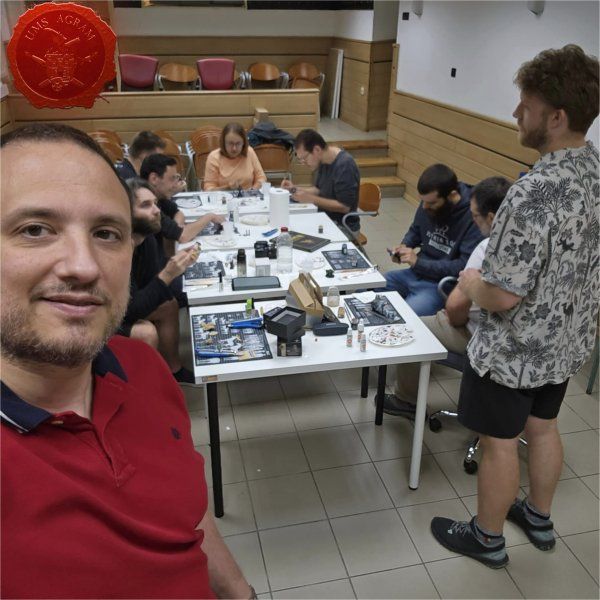
Wednesday's Hobby Corner
During May and June, on Wednesdays, we also continued with our gatherings in our space at Trg žrtava fašizma 14. It is nice to see that the efforts of our volunteers are paying off and that with each new week the number of users increases - as well as new members of the association who recognize the work Associations. There are more and more requests for one-on-one Workshops, so we have reactivated on that front as well.
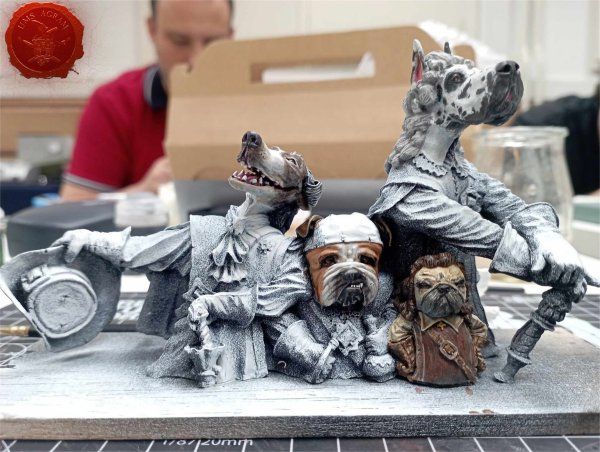
Agram Group Build
In addition to informal socializing with the hobby and once again included one-on-one workshops, there was also time to work on our Agram Group Build. For the next project, we chose to work on the Musketeers (in the fabulous form of dogs).
Finally, we invite you to join us every Wednesday during the summer. In this part of the program, the association will work all summer non-stop due to vacations. (the administrative part will not work from July 10 to August 1)
Latest articles
- We attended: Isle of Wonders 2026 Ili Said, 6th July 2026
- We attended: 13. Trofeo San Giusto 2026. Marko Paunović, 6th July 2026
- We attended: Zagreb Scale Model Show 2026 Mario Grgurev, 6th July 2026
- Making of MUMMY dioramas Sebastian Søgård, 17th June 2026
- Miniature Painting Workshop - 75mm Dwarf Ivan Knezović, 26th May 2026


Latest battle-reports
- Kill Team - Blooded vs. Vespid Stingwings 28th February 2025, GW - Warhammer 40.000, and Antoni Pastuović (Imperial Guard)
- 22nd April 2022, GW - Warhammer 40.000, Borna Pleše (Space Marines) and Kristijan Kliska (Tau Empire)
- 17th November 2021, GW - Warhammer 40.000, and Nino Marasović (Space Marines)